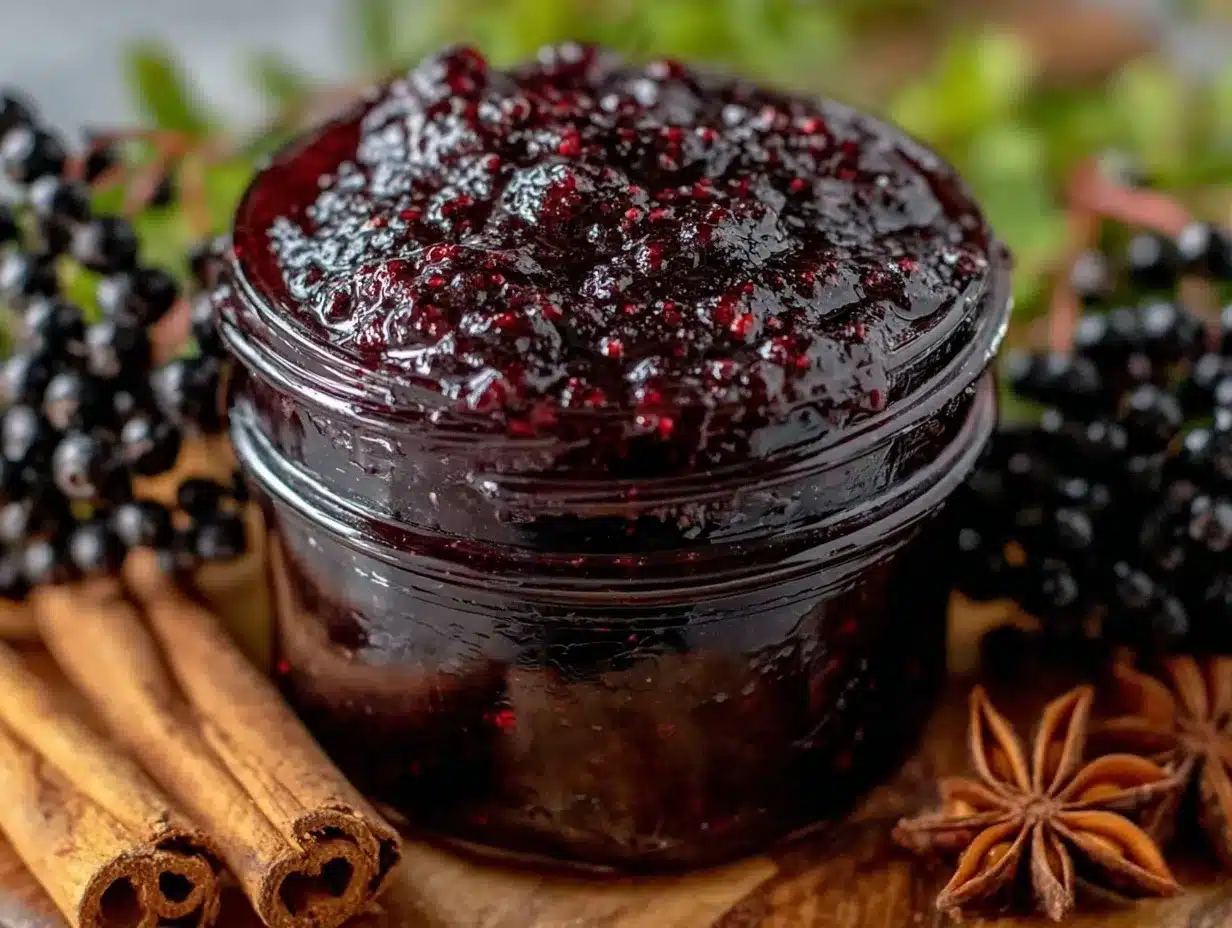
Thick, glossy, and almost jewel-like — that’s the whole point. The syrup clings to the spoon with a slow, deliberate drip, catching the light just so, like liquid garnet. The sheen invites your fingers to trace its smooth surface before your taste buds even get a chance. It’s this texture that made me fall for elderberry syrup, long before I understood its reputation as a natural immunity booster.
There’s something quietly satisfying about stirring those dark berries and warming them gently with cinnamon sticks and whole cloves. The syrup itself isn’t flashy—it’s humble, rustic even—but the texture is what keeps me coming back. It’s thick enough to coat the back of a spoon, yet fluid enough to swirl easily into hot tea or drizzle over yogurt. That tactile quality is what I made this wholesome homemade elderberry syrup with cinnamon and clove for — everything else is secondary.
I first started making elderberry syrup when a cold season caught me off guard and the pharmacy shelves were bare. I needed something soothing, something that felt like a small act of care, and this syrup delivered. The warmth of the cinnamon and the subtle bite of the clove lend it a cozy complexity that’s hard to find in store-bought versions. Honestly, it’s the kind of kitchen ritual that slows you down and rewards you physically and emotionally.
There’s also a quiet realization that comes with making your own elderberry syrup: it’s not just about warding off sniffles. It’s about connecting to the rhythm of the seasons, using ingredients that are simple yet powerful, and trusting the slow simmer to coax out the best flavors and benefits. This recipe stuck with me because it’s real, wholesome, and, well, it just works. No fuss, no gimmicks — just a syrup you can believe in.
Why You’ll Love This Wholesome Homemade Elderberry Syrup Recipe
Having tested many elderberry syrup versions over the years, I can confidently say this recipe stands out in a few key ways. It’s not just another herbal concoction; it’s thoughtfully balanced, easy to make, and genuinely comforting.
- Quick & Easy: Comes together in under 30 minutes, perfect for busy days when you want something natural but don’t want to fuss in the kitchen.
- Simple Ingredients: Uses pantry staples and fresh or dried elderberries, cinnamon sticks, and whole cloves — no exotic herbs or hard-to-find extras.
- Perfect for Cold & Flu Season: Ideal for cozy evenings sipping warm tea or adding to your morning routine during flu season.
- Crowd-Pleaser: The gentle sweetness from raw honey (added after cooking) and the subtle spice make it palatable for kids and adults alike.
- Unbelievably Delicious: The texture is smooth but substantial, and the flavor blend is warm and inviting without overpowering the elderberries.
What makes this elderberry syrup different? The slow simmer method draws out maximum flavor and nutrients without losing the syrup’s lovely thickness. The cinnamon and clove aren’t just for flavor; they add a depth that gives it a homemade charm you won’t get from commercial brands. Plus, I add the honey at the end to preserve its natural enzymes — a little trick I learned from a nutritionist friend.
Honestly, this isn’t just a syrup recipe — it’s a little kitchen ritual that makes you feel grounded and cared for. It’s the kind of recipe I’ve returned to time and again, especially after a cold catches me or when I want to share something nourishing with family and friends. If you’re looking for a real, trustworthy elderberry syrup recipe, this one’s worth your time.
What Ingredients You Will Need
This recipe uses simple, wholesome ingredients to deliver bold flavor and satisfying texture without the fuss. Most are pantry staples or easy to find at local markets. Here’s what you’ll gather:
- Dried elderberries: 1 cup (about 80 grams) – I prefer dried because they’re more concentrated and shelf-stable. Look for organic elderberries from trusted brands to avoid any additives.
- Water: 4 cups (960 ml) – for simmering the berries and extracting their goodness.
- Cinnamon sticks: 2 sticks (about 4 inches each) – whole sticks bring out a warm, woody aroma without overpowering.
- Whole cloves: 5-6 cloves – just enough to add a subtle spicy depth.
- Raw honey: 1/2 to 3/4 cup (120-180 ml) – added after cooling to preserve beneficial enzymes. Use local raw honey if possible, it makes a difference.
- Fresh ginger (optional): 1 tablespoon, peeled and sliced – adds a gentle zing and extra immune support.
Substitutions and tips:
- If you can’t find dried elderberries, fresh elderberries in season work too, but the syrup will be less concentrated—double the quantity to compensate.
- For a vegan version, swap honey for maple syrup after the syrup has cooled.
- Fresh ginger is optional but highly recommended for an added spicy kick and health boost.
By using these straightforward ingredients, you’re making a syrup that’s not only delicious but genuinely wholesome. This recipe keeps it real and accessible — no intimidating herbal blends or hard-to-pronounce extras here.
Equipment Needed
- Medium saucepan: A 2-3 quart (2-3 liter) pot is perfect for simmering the berries and spices without boiling over.
- Fine mesh strainer or cheesecloth: Essential for straining out the elderberry skins and spices to get a smooth syrup texture.
- Measuring cups and spoons: For precise ingredient amounts. I like glass measuring cups for liquids because they’re easy to read and don’t stain.
- Wooden spoon or silicone spatula: To stir the simmering mixture gently without scratching your pan.
- Glass jar or bottle with lid: For storing the finished syrup. A dark glass bottle helps protect it from light and keeps it fresh longer.
If you don’t have a cheesecloth, a clean thin kitchen towel can work in a pinch, but I recommend a fine mesh strainer for ease and cleaner results. For budget-friendly options, a regular stainless steel saucepan and a basic sieve will do just fine — no fancy gear required.
Preparation Method
- Combine elderberries, water, cinnamon sticks, cloves, and ginger (if using) in the saucepan. Use 4 cups (960 ml) water and 1 cup (80 g) dried elderberries. Start with cold water to allow the flavors to infuse slowly.
Estimated time: 2 minutes. - Bring to a boil over medium-high heat. Watch carefully so it doesn’t boil over — stirring occasionally helps prevent sticking.
Estimated time: 5-7 minutes. - Reduce heat to low and simmer gently. Let the mixture simmer, uncovered, for 30-40 minutes. You’ll notice the liquid reduces and thickens slightly. The aroma will become warm and spicy, filling your kitchen.
Tip: Stir every 10 minutes to prevent burning and help the flavors meld. - Remove from heat and let cool for 10-15 minutes. This resting time lets the syrup settle and cool enough to safely add honey without destroying its nutrients.
- Strain the syrup through a fine mesh strainer or cheesecloth into a large bowl or jug. Press gently to extract as much liquid as possible but avoid pushing through solids that might cloud the syrup.
Tip: Use a wooden spoon to press the berries for maximum yield. - Once the syrup is warm but not hot, stir in raw honey. Use 1/2 to 3/4 cup (120-180 ml), adjusting to taste. Honey adds sweetness and acts as a natural preservative.
Warning: Adding honey to hot syrup kills beneficial enzymes, so let the syrup cool first. - Pour the finished syrup into clean glass jars or bottles, seal tightly, and store in the refrigerator.
Tip: Label with date; the syrup keeps for up to 3 weeks refrigerated.
When I make this syrup, I usually double the batch so I have enough to share or keep on hand through the season. The slow simmer is key — rushing it results in a thinner, less flavorful syrup that lacks the satisfying texture I crave. And don’t skip the straining step; it makes a smoother syrup that’s easier to drizzle or mix into your favorite drinks.
Cooking Tips & Techniques
Getting the texture and flavor of elderberry syrup just right takes a little practice, but a few tips can save you headaches.
- Don’t boil vigorously: A gentle simmer is best. Boiling too hard breaks down the delicate compounds and can make the syrup bitter or overly thick.
- Use dried elderberries for consistency: Fresh ones vary in water content, which affects concentration and shelf life.
- Strain carefully: Press the berry solids gently to avoid cloudiness but don’t overdo it — too much pulp can lead to faster spoilage.
- Add honey last: As mentioned, honey loses health benefits when heated above 140°F (60°C), so stir it in after cooling.
- Store in the fridge: This slows spoilage and keeps flavors vibrant. Freezing is also fine for longer storage.
I once tried speeding up the simmer time to save time. Big mistake! The syrup was thin and bland. Patience really does pay off here. Also, I like to keep a batch on hand next to my snickerdoodle zucchini bars for a cozy afternoon when I want a natural pick-me-up with a bit of sweetness.
Variations & Adaptations
One of the best things about homemade elderberry syrup is how easy it is to tweak for your taste or dietary needs. Here are some ideas I’ve experimented with:
- Spiced Up: Add a star anise pod or a few slices of fresh turmeric root during simmering for a more complex spice profile.
- Vegan Version: Replace honey with pure maple syrup or agave nectar — add once cooled just like honey.
- Stronger Immunity Boost: Include a teaspoon of dried echinacea or a few slices of fresh turmeric for extra herbal support.
- No-Sugar Option: Skip the honey altogether and sweeten with a splash of apple juice or stevia after cooling.
- Fresh Elderberries: When in season, swap dried for fresh (about 2 cups/300 g), but simmer longer and consider reducing water slightly.
Personally, I sometimes make this syrup with a touch of fresh ginger and a pinch of black pepper for a warming winter version. It’s a subtle change but really wakes up the flavor. If you’re interested in other ways to make cozy homemade staples, my bread and butter pickles with turmeric offer a nice contrast of sweet and tangy that balances richly spiced syrups like this.
Serving & Storage Suggestions
This elderberry syrup is versatile and easy to serve. Here’s how I like to enjoy it:
- Serving Temperature: Warm it gently by stirring a tablespoon into hot water or tea for a comforting drink during cold evenings.
- Cold Beverage: Mix into sparkling water or lemonade for a refreshing, healthful spritz.
- Drizzle: Spoon over yogurt, oatmeal, or even pancakes for a naturally fruity twist.
- Storage: Keep refrigerated in a sealed glass jar or bottle for up to 3 weeks. You can also freeze in ice cube trays for easy portioning.
- Reheating: Warm gently over low heat or in a cup of hot tea. Avoid boiling to preserve flavor and nutrients.
Flavors tend to deepen after a day or two in the fridge. So if you can wait, let it rest before using. And if you want a sweet treat alongside your syrup-topped breakfast, try pairing with my Southern peach cobbler — the cinnamon notes in both recipes play nicely together.
Nutritional Information & Benefits
While exact nutrition can vary, here’s a rough idea per tablespoon (15 ml) of this elderberry syrup:
| Nutrient | Amount |
|---|---|
| Calories | 40-50 kcal |
| Carbohydrates | 12 g (mostly natural sugars) |
| Vitamin C | Moderate (varies by elderberry source) |
| Antioxidants | High (from elderberries, cinnamon, and cloves) |
Elderberries are rich in antioxidants and vitamins that support immune function. Cinnamon and cloves add anti-inflammatory properties and help improve circulation. Using raw honey adds soothing, antibacterial qualities, especially for sore throats. This syrup is naturally gluten-free and can be adapted for vegan diets.
For me, it’s a go-to wellness booster during colder months — a natural way to support the body without synthetic ingredients. Of course, it’s not a cure-all, but it’s a comforting addition to my seasonal health routine.
Conclusion
Wholesome homemade elderberry syrup with cinnamon and clove is more than just a recipe — it’s a little jar of comfort and care you create yourself. The thick, glossy texture, warm spice notes, and simple sweetness come together to form a syrup that feels both nourishing and satisfying.
Whether you’re looking to support your immune system or just want a tasty, natural syrup to sweeten your teas and breakfasts, this recipe fits the bill. Don’t be afraid to tweak the spices or sweetness to suit your palate — that’s part of the fun.
Personally, making this syrup reminds me to slow down and appreciate small rituals in the kitchen, like the way the syrup swirls thickly on the spoon or the gentle aroma of cinnamon filling the air. If you try it, I’d love to hear how you customize yours or what cozy moments it becomes part of in your home.
Happy syrup-making!
FAQs About Wholesome Homemade Elderberry Syrup
How long does homemade elderberry syrup last?
Stored in a sealed glass container in the refrigerator, it lasts about 3 weeks. For longer storage, freeze in ice cube trays and thaw as needed.
Can I use fresh elderberries instead of dried?
Yes, but fresh elderberries contain more water, so use about twice the amount and simmer a bit longer to reduce the liquid.
Is this syrup safe for children?
Generally, yes — but avoid giving elderberry syrup to children under one year due to honey content. Always check with a pediatrician if unsure.
Can I omit the cinnamon and cloves?
You can, but they add flavor depth and immune-supporting properties. Without them, the syrup will taste simpler but still be beneficial.
How do I take elderberry syrup for immune support?
Commonly, take 1 tablespoon daily as a preventative measure, or up to 1 tablespoon every 3-4 hours during illness. Consult your healthcare provider for personalized advice.
Pin This Recipe!
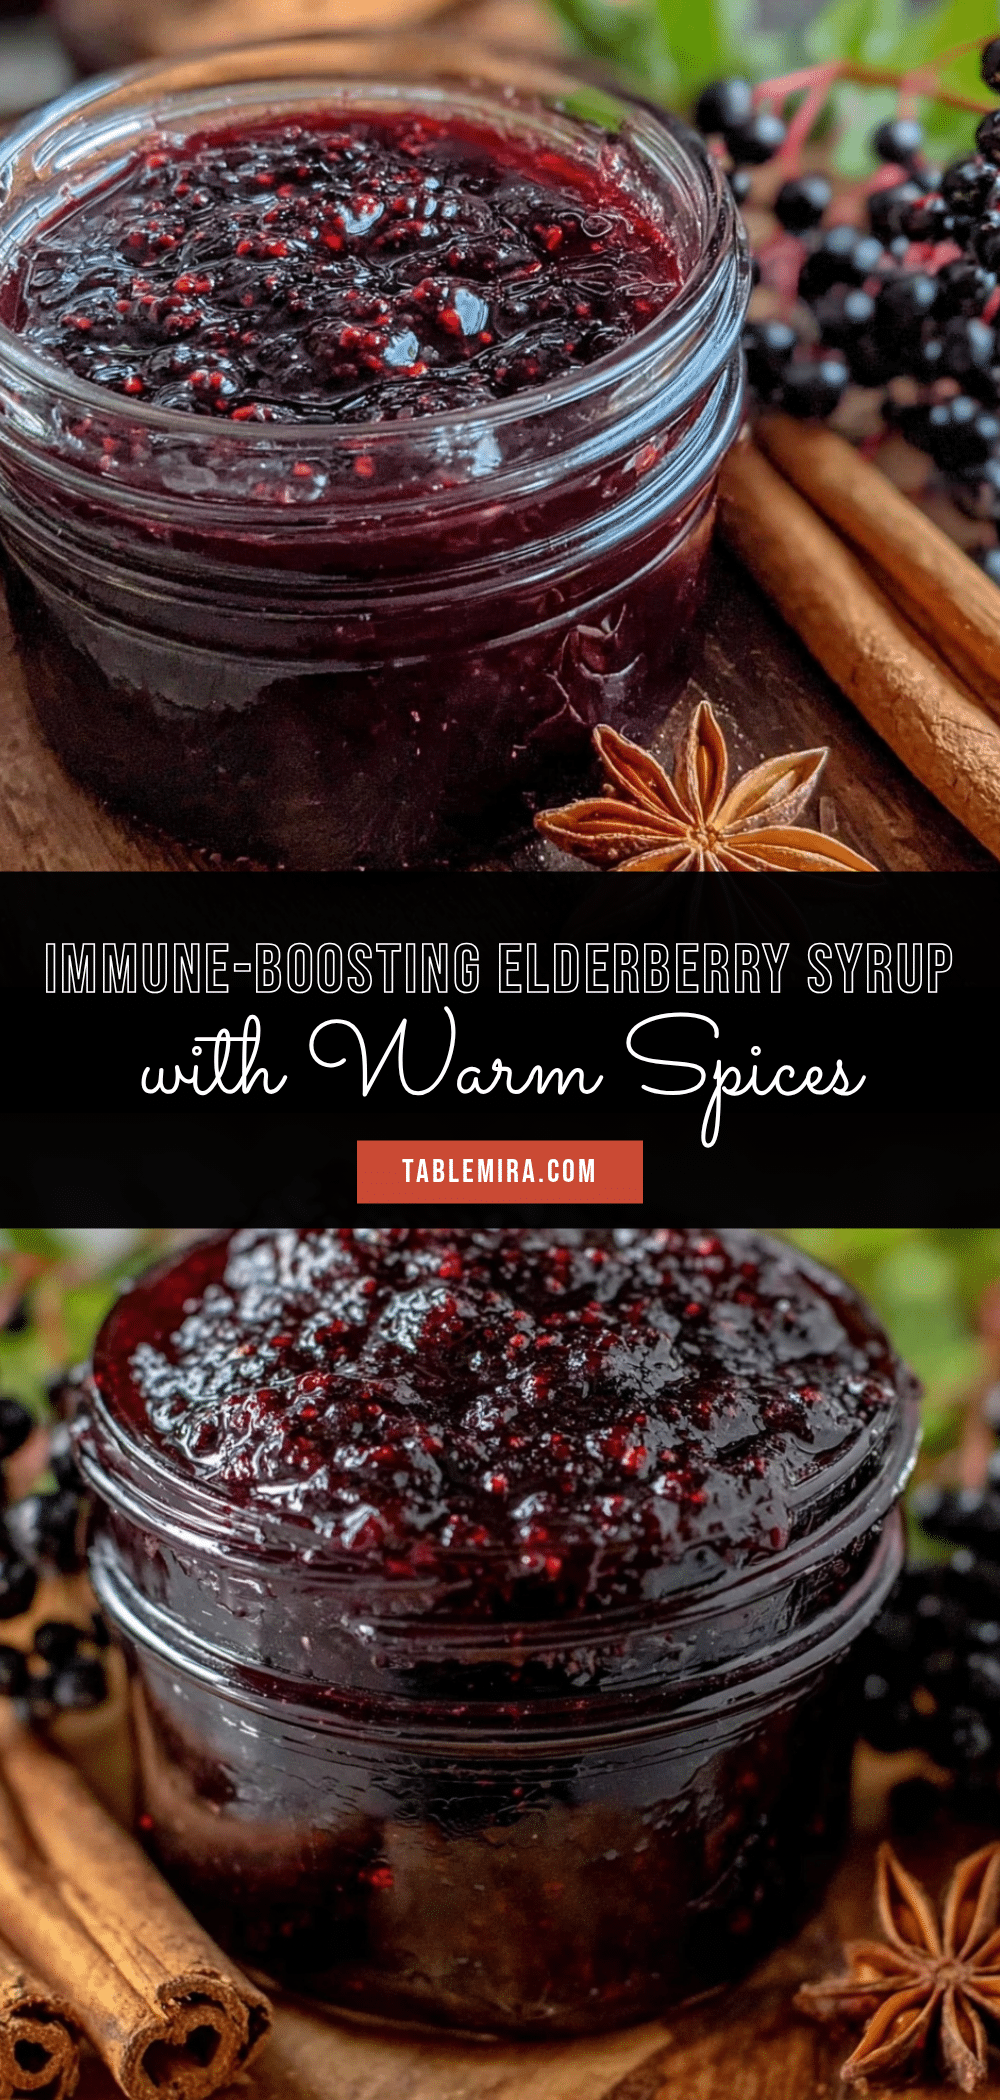
Wholesome Homemade Elderberry Syrup Recipe with Cinnamon and Clove for Immunity Boost
A thick, glossy elderberry syrup infused with cinnamon and cloves, perfect for boosting immunity and adding warmth to your cold season routine. This easy-to-make syrup uses simple ingredients and a slow simmer method to create a comforting, wholesome syrup.
- Prep Time: 5 minutes
- Cook Time: 35 minutes
- Total Time: 40 minutes
- Yield: About 2 cups (16 servings of 1 tablespoon each) 1x
- Category: Health Tonic / Syrup
- Cuisine: American
Ingredients
- 1 cup (about 80 grams) dried elderberries
- 4 cups (960 ml) water
- 2 cinnamon sticks (about 4 inches each)
- 5–6 whole cloves
- 1/2 to 3/4 cup (120–180 ml) raw honey, added after cooling
- 1 tablespoon fresh ginger, peeled and sliced (optional)
Instructions
- Combine elderberries, water, cinnamon sticks, cloves, and ginger (if using) in a medium saucepan with cold water to allow flavors to infuse slowly.
- Bring to a boil over medium-high heat, stirring occasionally to prevent sticking and boiling over.
- Reduce heat to low and simmer gently, uncovered, for 30-40 minutes, stirring every 10 minutes to prevent burning and help flavors meld.
- Remove from heat and let cool for 10-15 minutes to allow the syrup to settle and cool enough to safely add honey.
- Strain the syrup through a fine mesh strainer or cheesecloth into a large bowl or jug, pressing gently to extract as much liquid as possible without pushing solids through.
- Once the syrup is warm but not hot, stir in raw honey, adjusting the amount to taste.
- Pour the finished syrup into clean glass jars or bottles, seal tightly, and store in the refrigerator.
Notes
Do not boil vigorously to avoid bitterness and loss of beneficial compounds. Add honey only after syrup has cooled below 140°F (60°C) to preserve enzymes. Store refrigerated for up to 3 weeks or freeze for longer storage. Fresh elderberries can be used but require doubling the quantity and longer simmering. For a vegan version, substitute honey with maple syrup or agave nectar after cooling.
Nutrition
- Serving Size: 1 tablespoon (15 ml)
- Calories: 4050
- Carbohydrates: 12
Keywords: elderberry syrup, immunity booster, homemade syrup, cinnamon, clove, natural remedy, cold and flu, raw honey, elderberries