This was supposed to be a roasted turkey breast with all the traditional sides. I had the bird brining, the potatoes peeled, and even a pie crust chilling in the fridge. Then the power flickered and went out at 3 PM on a gray November afternoon, two hours before my friends were supposed to arrive for our casual pre-Thanksgiving get-together. I stood in my dark kitchen, phone battery at 15%, and just stared at the counter. No oven, no stove, no plan.
I grabbed the cheese board I’d bought on clearance months ago and started pulling things from the fridge that didn’t need cooking. Apples, cheese, crackers, some leftover roasted nuts from last week. I sent my husband to the store for prosciutto and a baguette while I rummaged through the pantry for anything that looked remotely fancy. The whole thing felt like a disaster in slow motion. Honestly, I was embarrassed to even call it dinner.
But here’s the thing — when the power came back on two hours later, nobody cared about the turkey. They were standing around the coffee table, grabbing slices of apple and chunks of brie, laughing and talking over each other. The platter was almost empty. Someone asked me for the recipe. I mean, it wasn’t even a recipe. It was just stuff on a board. But that night taught me something important: sometimes the best meals are the ones you don’t plan, and the best gatherings are the ones where you stop trying so hard.
That’s how this Quick Friendsgiving Charcuterie Board with Fall Fruits was born. It’s the dish I make every year now for our pre-Thanksgiving hangout, and honestly, it’s become more requested than any roasted bird I’ve ever made. Maybe you’ve been there — the panic of a kitchen failure, the scramble to make something presentable, the surprise when it turns out better than the original plan. This board is for those moments. It’s simple, it’s forgiving, and it tastes like fall in the best way possible.
Why You’ll Love This Recipe
Let me tell you why this Quick Friendsgiving Charcuterie Board with Fall Fruits has become my go-to for every fall gathering. First off, it’s ready in under 15 minutes. No cooking, no baking, no stress. You just arrange everything on a board and call it dinner. For those chaotic weeknights when you’re hosting friends but have zero energy left, this is your answer.
- Quick & Easy: Comes together in under 15 minutes, perfect for last-minute gatherings or when the oven is occupied with other dishes.
- Simple Ingredients: Everything is available at any grocery store. No special trips to fancy markets needed.
- Perfect for Friendsgiving: It’s the ideal appetizer or main event for a casual pre-Thanksgiving get-together with friends.
- Crowd-Pleaser: I’ve served this to picky eaters, cheese snobs, and kids alike — everyone finds something they love on this board.
- Unbelievably Delicious: The combination of creamy brie, sharp cheddar, sweet apples, and salty prosciutto is pure magic. It’s comfort food without the cooking.
What makes this board different from every other charcuterie board out there? It’s designed specifically for fall. The fruits are seasonal, the cheeses are rich and warming, and the whole thing feels like a cozy sweater in food form. I’ve tested dozens of combinations over the years, and this one hits that perfect balance of sweet, salty, creamy, and crunchy. Plus, it’s completely flexible — you can swap ingredients based on what you have or what’s on sale.
This isn’t just a cheese plate. It’s the kind of spread that makes people close their eyes after the first bite. It’s Friendsgiving reimagined — easier, faster, but with the same soul-soothing satisfaction. Perfect for impressing your friends without spending hours in the kitchen, or turning a simple Tuesday night into something memorable.
What Ingredients You Will Need
This recipe uses simple, seasonal ingredients to deliver big flavor without any fuss. Most of these are pantry staples or easily found at any grocery store during the fall months.
- Brie cheese (8 oz wheel) — I prefer the double cream brie from Trader Joe’s for its extra creamy texture. Let it sit at room temperature for 20 minutes before serving so it spreads beautifully.
- Aged sharp cheddar (6 oz, sliced into thin wedges) — The sharper the better. Cabot’s Seriously Sharp is my go-to brand for that bold, nutty flavor that pairs perfectly with sweet fruit.
- Goat cheese log (4 oz) — Adds that tangy, creamy element that cuts through the richness. Look for one rolled in herbs or cranberries for extra fall flavor.
- Prosciutto (4 oz, thinly sliced) — Go for the good stuff here. I like Boar’s Brand or the store-brand imported Italian prosciutto. Ask the deli counter to slice it paper-thin.
- Salami (4 oz, sliced into thin rounds) — Genoa salami works best. The peppery bite balances the sweetness of the fruit.
- Honeycrisp apples (2 large) — These hold up well and don’t brown too quickly. Slice them right before serving and give them a quick spritz of lemon juice if you’re prepping ahead.
- Bosc pears (2 large) — Firmer than other varieties, so they won’t get mushy on the board. Their slightly spicy flavor is perfect for fall.
- Dried figs (1/2 cup) — Chewy, sweet, and a little fancy. I get these from the bulk section at Whole Foods or just the dried fruit aisle.
- Roasted almonds (1/2 cup) — The salty crunch is essential. I use Blue Diamond roasted salted almonds for convenience.
- Pecans (1/2 cup) — Candied or plain, either works. If you have time, toast them in a dry pan for 3 minutes for extra flavor.
- Honey (for drizzling) — Local honey is best, but any good quality honey works. The floral sweetness ties everything together.
- Fresh rosemary sprigs (for garnish) — Totally optional but adds that gorgeous fall look. Plus it smells amazing.
- Crackers (about 8 oz) — I use a mix of water crackers and rosemary olive oil crackers for variety. Simple Mills almond flour crackers are great if you need gluten-free options.
- Baguette (1 small) — Sliced into thin rounds and lightly toasted if you have time. Day-old baguette works perfectly here.
Substitution Tips: If you can’t find dried figs, dried apricots or dates work beautifully. Swap the goat cheese for blue cheese if you want something bolder. Use turkey slices instead of prosciutto for a lighter option. And if apples aren’t in season, firm pears or even sliced fuyu persimmons are lovely alternatives.
Equipment Needed
You don’t need much for this Quick Friendsgiving Charcuterie Board with Fall Fruits, and that’s part of the beauty. Here’s what I recommend:
- Large wooden board or platter (at least 12×18 inches) — I use a reclaimed wood board from World Market, but a large cutting board, baking sheet, or even a marble slab works. The key is having enough surface area to spread everything out so it looks abundant.
- Small bowls or ramekins (2-3) — For honey, nuts, or dried fruit. I love the little ceramic ones from Target’s dollar section.
- Cheese knives (2-3) — One for soft cheese, one for hard cheese. A small spreader for the goat cheese is helpful too.
- Sharp knife and cutting board — For slicing apples, pears, and baguette. A serrated knife works best for bread.
- Cheesecloth or parchment paper (optional) — If you want to line your board for easier cleanup. I skip this most of the time, but it’s nice for parties.
Don’t have a cheese board? No worries. I’ve used a sheet pan covered with a clean kitchen towel before and it looked perfectly rustic. The presentation matters less than the company, trust me.
Preparation Method
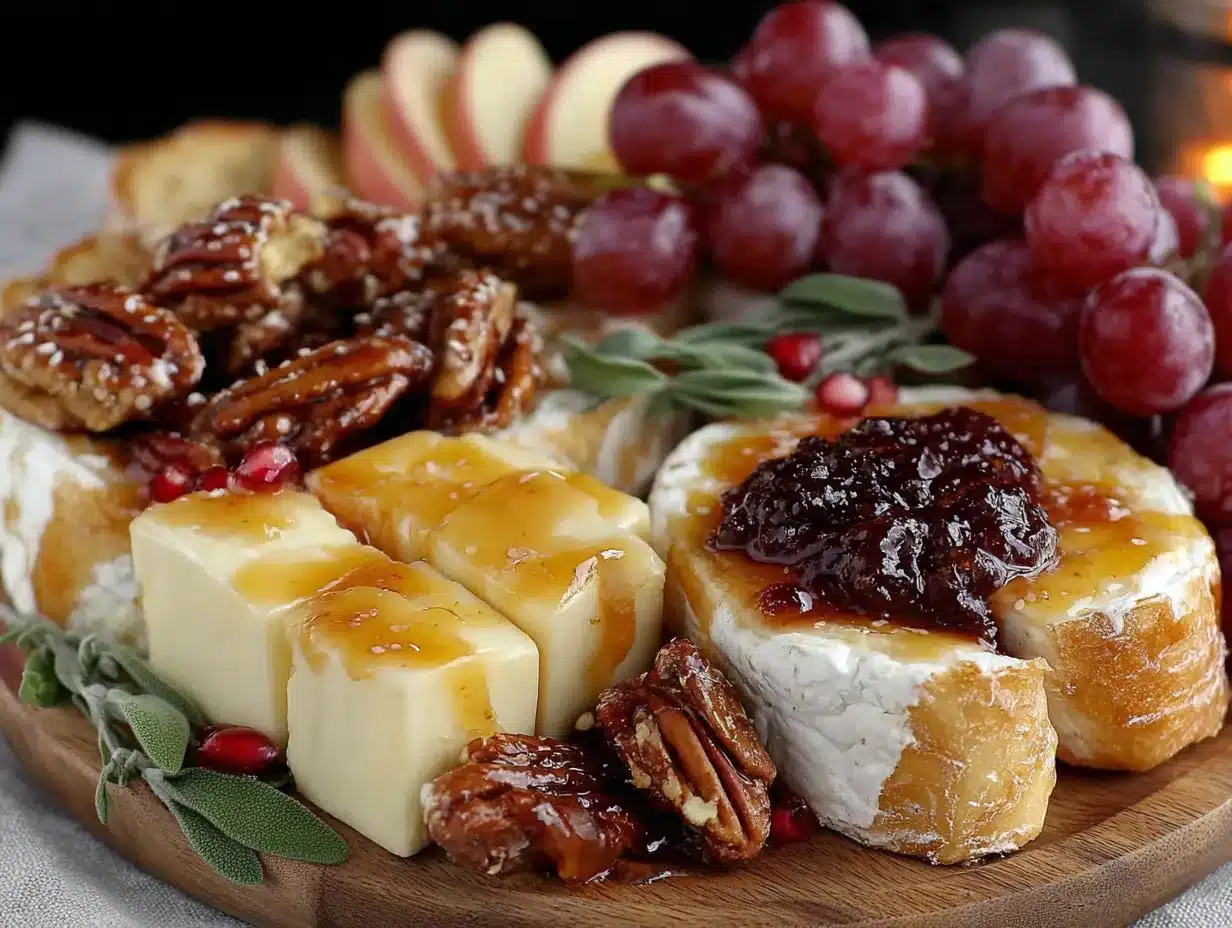
Let me walk you through how I put this Quick Friendsgiving Charcuterie Board with Fall Fruits together. It’s more about arranging than actually cooking, which is exactly what you want when you’re short on time.
- Start with the cheese. Remove the brie from the fridge about 20 minutes before you start building the board. Place the wheel of brie on the board first — I usually put it off-center to create visual interest. Arrange the cheddar wedges in a fan shape on one side, and place the goat cheese log on the opposite side. The cheese should be the anchor points of your board.
- Add the meats. Fold the prosciutto slices into loose ribbons or waves and place them near the brie. For the salami, I like to fold each slice in half and then in half again, creating little triangles that stand up slightly. Arrange these in a small cluster near the cheddar. Don’t worry about being perfect — a little messy looks more inviting.
- Place the fruit. Slice the apples and pears just before assembling so they don’t brown. I cut them into thin wedges, removing the cores. Fan them out in groups around the board — apples near the cheddar, pears near the goat cheese. The dried figs can go in a small bowl or scattered in the gaps. This is where the board starts looking beautiful, honestly.
- Fill in with nuts and extras. Sprinkle the almonds and pecans in the empty spaces. I like to put them in small piles rather than scattering them evenly, so people can grab them easily. Drizzle a little honey over the brie and goat cheese — just a light ribbon across the top. It looks gorgeous and tastes incredible.
- Add the crackers and bread. Arrange the crackers around the edges of the board, overlapping slightly. Place the baguette slices in a separate pile or on the side. You want the crackers accessible but not dominating the board. I usually put them in two or three clusters so people can reach from anywhere.
- Garnish and serve. Tuck fresh rosemary sprigs between the cheese and fruit for that fall look. Give everything one final check — are there any empty spots? Fill them with extra nuts or dried fruit. Serve immediately at room temperature. The whole process takes about 10 to 12 minutes once you get the hang of it.
Pro tip from my many mistakes: Don’t overcrowd the board. Leave a little space between items so people can actually grab things without knocking over the cheese. If you have too much food, use a second board or plate. I learned this the hard way when a whole wheel of brie ended up on someone’s lap.
Cooking Tips & Techniques
After making this Quick Friendsgiving Charcuterie Board with Fall Fruits more times than I can count, I’ve picked up a few tricks that make a real difference.
Temperature matters. Cheese should always be served at room temperature. Cold cheese loses all its flavor and gets that waxy texture nobody likes. Take everything out of the fridge 30 minutes before your guests arrive. I set a timer on my phone because I’ve forgotten this step more times than I’d like to admit.
Prep in stages. Wash and dry the fruit the night before. Slice the baguette and store it in an airtight container. Arrange the board up to the point of adding the fruit and crackers, then cover with plastic wrap and refrigerate. Add the fresh fruit and crackers right before serving. This makes the whole process take about 5 minutes when guests are at the door.
Balance your flavors. A good charcuterie board should have a mix of creamy, sharp, salty, sweet, and crunchy elements. If you notice your board is too heavy on one note, adjust. Too salty? Add more fruit or honey. Too sweet? Add more salami or a stronger cheese. I once made a board that was all brie and honey and apples — delicious but one-note. Now I always check for balance before serving.
Watch the apple browning. Apples and pears oxidize quickly once sliced. To keep them looking fresh, toss them with a little lemon juice or spritz them with lemon water. Or just slice them right before serving — that’s what I do most of the time. If they brown a little, it’s okay. They still taste great.
Learn from my failure. The first time I made this board for Friendsgiving, I arranged everything too perfectly. It looked like a magazine spread, but nobody wanted to be the first to grab something and ruin the design. Now I make it look abundant and slightly messy on purpose. Pull a few grapes off the stem, scatter some nuts, let the prosciutto drape naturally. It invites people to dig in.
Variations & Adaptations
This Quick Friendsgiving Charcuterie Board with Fall Fruits is incredibly flexible. Here are some ways I’ve adapted it over the years:
- Vegetarian version: Skip the prosciutto and salami entirely. Add marinated artichoke hearts, roasted red peppers, and a bowl of olives to keep the savory element. Roasted chickpeas are also a great crunchy substitute.
- Gluten-free option: Use gluten-free crackers or sliced cucumber rounds as the base. Rice crackers also work well. Just make sure your meats and cheeses are certified gluten-free if needed.
- Vegan adaptation: Replace the cheese with vegan alternatives — there are some really good cashew-based brie and cheddar options now. Use smoked tofu slices instead of prosciutto, and add roasted nuts and dried fruit for richness.
- Seasonal swap: In the summer, I use fresh figs, peaches, and plums instead of apples and pears. In winter, pomegranate seeds and blood oranges are gorgeous and festive.
- Spicy twist: Add a small bowl of hot honey for drizzling, or include some spicy Calabrian chili paste on the side. The heat cuts through the richness beautifully.
- Nut-free version: Replace almonds and pecans with pumpkin seeds, sunflower seeds, or roasted chickpeas. Everything else remains the same.
I once made a version with fig jam and blue cheese for a friend who swore she hated blue cheese. She ended up eating most of it. Sometimes the best variations come from accidents or stubborn guests.
Serving & Storage Suggestions
This Quick Friendsgiving Charcuterie Board with Fall Fruits is best served at room temperature, right after assembly. The cheese is soft, the fruit is crisp, and everything tastes exactly as it should.
Serving temperature: Keep the board out for up to 2 hours at room temperature. After that, the cheese starts to sweat and the crackers get soft. If you’re serving it as a main course for a casual dinner, this timing works perfectly for a relaxed meal.
What to serve with it: A light red wine like Pinot Noir or a crisp cider pairs beautifully with the fall flavors. Sparkling water with a slice of apple is a great non-alcoholic option. If you want to make it a full meal, serve with a simple arugula salad dressed with lemon and olive oil.
Storage: Leftover cheese and meats can be wrapped separately and stored in the fridge for up to 3 days. The fruit will brown, so it’s best eaten fresh. If you have leftover crackers, store them in an airtight container to keep them crisp.
Reheating: You don’t really reheat a charcuterie board, but if you have leftover baguette slices, toast them in the oven at 350°F for 5 minutes. They come out crispy and perfect for spreading leftover cheese on. The honey can be re-drizzled over the brie if you want to serve it again for a second round.
Flavor development: The flavors actually get better after about 30 minutes at room temperature. The cheese softens, the honey seeps into the brie, and everything melds together. So if you can, let the board sit for 15 minutes before your guests arrive. It’s worth the wait.
Nutritional Information & Benefits
This Quick Friendsgiving Charcuterie Board with Fall Fruits is indulgent, but it also has some nutritional bright spots worth mentioning.
Estimated per serving (based on 6 servings): Approximately 450 calories, 28g fat, 35g carbohydrates, 18g protein, 5g fiber. These numbers vary based on exactly what you include and how much you eat. Let’s be real — it’s cheese and cured meat, so it’s not health food. But it’s real food made from whole ingredients, and that counts for something.
Health benefits: Apples and pears are packed with fiber and vitamin C. Nuts provide healthy fats and protein. Cheese offers calcium and probiotics (especially in aged varieties). The honey has antioxidants and can help with seasonal allergies if it’s local. It’s not a salad, but it’s not junk food either.
Dietary considerations: This recipe is naturally low-carb and keto-friendly if you skip the crackers and baguette. It’s also vegetarian if you omit the meats. For gluten-free needs, just swap the crackers. The main allergens are dairy and tree nuts, so keep that in mind for your guests.
Honestly, I don’t stress about the numbers when I serve this. It’s a gathering food, meant to be shared and enjoyed. One board won’t make or break your diet, but it might make your evening.
Conclusion
This Quick Friendsgiving Charcuterie Board with Fall Fruits has saved me more times than I can count. It’s the recipe I turn to when I want to host but have zero energy, when plans change last minute, or when I just want to enjoy my friends without being stuck in the kitchen. It’s proof that you don’t need a fancy meal to make a gathering special — sometimes a board full of cheese, fruit, and good company is exactly enough.
I’d love for you to try this and make it your own. Swap in your favorite cheeses, use whatever fruit looks best at the market, add your own little touches. That’s the beauty of a charcuterie board — it’s never the same twice, and it’s always exactly right for the moment. Leave a comment below and tell me what you put on your board, or tag me in your photos. I genuinely love seeing how people make this recipe their own.
So grab a board, some cheese, and the people you love. Friendsgiving doesn’t have to be complicated to be memorable. Sometimes the quickest meals are the ones that stick with us the longest. Happy eating, friends.
Frequently Asked Questions
Can I make this charcuterie board ahead of time?
Yes! You can prep everything up to 4 hours in advance. Arrange the cheese, meats, and nuts on the board, cover with plastic wrap, and refrigerate. Add the fresh fruit and crackers right before serving for the best texture and appearance.
How many people does this board serve?
This board serves 6 to 8 people as an appetizer, or 4 to 6 as a light main course. If you’re serving it as the main event for Friendsgiving, I’d recommend doubling the recipe for a crowd of 8 or more.
What if I don’t like one of the cheeses?
No problem at all! Swap it for something you prefer. Manchego, gouda, or even a simple cream cheese with herbs works. The beauty of this board is its flexibility — use what you love.
Can I use different fruits?
Absolutely. Grapes, fresh figs, pomegranate seeds, or sliced persimmons are all fantastic fall options. Just keep the fruit firm enough to hold up on the board and slice them right before serving.
How do I keep the apples from turning brown?
Spritz them with a little lemon juice or toss them in a bowl with lemon water. You can also use an apple variety like Honeycrisp or Fuji that browns more slowly. Or just slice them right before your guests arrive — that’s what I do most of the time.
Pin This Recipe!
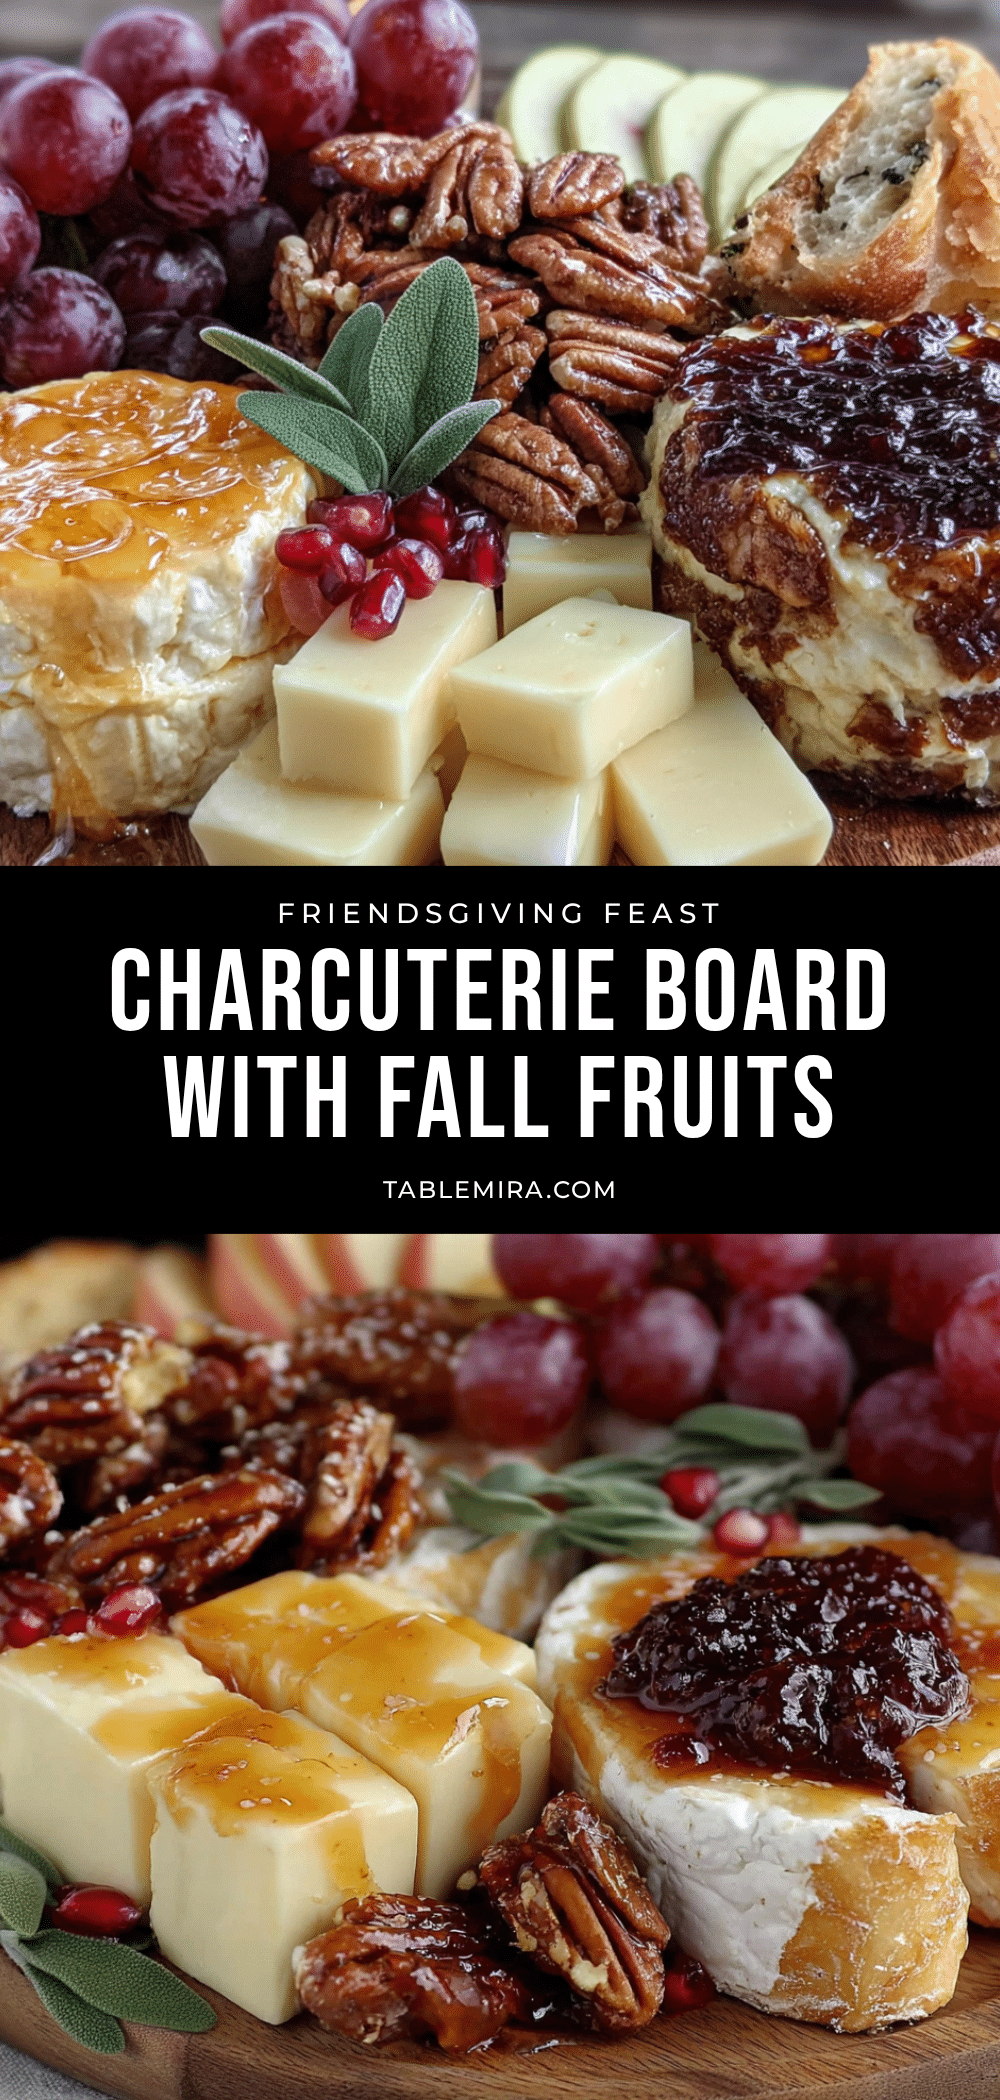
Quick Friendsgiving Charcuterie Board with Fall Fruits

A no-cook, under-15-minute charcuterie board featuring creamy brie, sharp cheddar, sweet apples, and salty prosciutto. Perfect for last-minute Friendsgiving gatherings or any fall celebration.
- Prep Time: 10 minutes
- Cook Time: 0 minutes
- Total Time: 10 minutes
- Yield: 6 servings 1x
- Category: Appetizer
- Cuisine: American
Ingredients
- 8 oz Brie cheese (double cream recommended)
- 6 oz Aged sharp cheddar (sliced into thin wedges)
- 4 oz Goat cheese log
- 4 oz Prosciutto (thinly sliced)
- 4 oz Salami (Genoa, sliced into thin rounds)
- 2 large Honeycrisp apples (sliced into wedges)
- 2 large Bosc pears (sliced into wedges)
- 1/2 cup Dried figs
- 1/2 cup Roasted almonds (salted)
- 1/2 cup Pecans (plain or candied)
- Honey (for drizzling)
- Fresh rosemary sprigs (for garnish)
- 8 oz Crackers (mix of water crackers and rosemary olive oil crackers)
- 1 small Baguette (sliced into thin rounds, lightly toasted if desired)
Instructions
- Remove brie from fridge 20 minutes before assembling. Place brie wheel off-center on a large wooden board or platter. Arrange cheddar wedges in a fan shape on one side and goat cheese log on the opposite side.
- Fold prosciutto slices into loose ribbons or waves and place near brie. Fold salami slices in half twice to create small triangles and cluster near cheddar.
- Slice apples and pears into thin wedges just before assembling. Fan out apple wedges near cheddar and pear wedges near goat cheese. Scatter dried figs in small bowls or gaps on the board.
- Sprinkle almonds and pecans in small piles in empty spaces. Drizzle honey lightly over brie and goat cheese.
- Arrange crackers around edges of board, overlapping slightly. Place baguette slices in a separate pile or on the side.
- Tuck fresh rosemary sprigs between cheese and fruit for garnish. Serve immediately at room temperature.
Notes
Let cheese sit at room temperature for 20-30 minutes before serving for best flavor. Prep fruit right before serving to prevent browning; spritz with lemon juice if prepping ahead. Don’t overcrowd the board—leave space between items for easy grabbing. The board can be prepped up to 4 hours in advance (add fruit and crackers just before serving).
Nutrition
- Serving Size: 1 serving (based on
- Calories: 450
- Sugar: 18
- Sodium: 800
- Fat: 28
- Saturated Fat: 12
- Carbohydrates: 35
- Fiber: 5
- Protein: 18
Keywords: charcuterie board, Friendsgiving, fall appetizer, cheese board, no-cook recipe, easy entertaining


