The jar was empty before I could even grab my phone to snap a picture. Twice in a week. That’s what happens when you make homemade elderberry gummies with honey and lemon for the first time in the household. The kids practically swiped them off the counter, and my husband texted me halfway through the day asking for the recipe. Honestly, I didn’t expect such a fuss over something so simple, but there it was: a sweet little victory that quietly surprised me.
This all started when I was rummaging through my pantry looking for a wholesome snack that could actually do some good this season. I’d heard about elderberries being immune-boosting and figured why not try making something tasty out of them? The combination of honey and lemon felt like the perfect touch—not just for flavor but for a natural zing that wakes up your senses. The texture? Just the right chewiness without being too sticky, like candy that actually feels like a treat you don’t have to feel guilty about.
And as I watched everyone savor those little gummies, I realized something. It’s not just about making a healthy treat. It’s about making something that people ask for again. Those little bites carry this subtle promise of comfort and care, wrapped in the tangy-sweet blend of elderberry, honey, and lemon. Not to mention, they’re a quiet reminder that good health can be delicious.
It stuck with me, this recipe. Not because it’s fancy, but because it works—and it brings a little calm to the chaos of everyday life. If you’re looking for a snack that’s simple, wholesome, and surprisingly satisfying, this might just be the one that grows on you too.
Why You’ll Love This Healthy Homemade Elderberry Gummies Recipe
After testing and tweaking this recipe a handful of times (okay, maybe a bit more), I’m confident these elderberry gummies are worth your time. They’re not just another health snack; they’re a little powerhouse of flavor and wellness that’s easy to make and a hit with everyone.
- Quick & Easy: Ready in under 30 minutes, perfect for busy mornings or quick afternoon boosts.
- Simple Ingredients: Mostly pantry staples—elderberry syrup, honey, lemon juice, and gelatin. Nothing exotic or hard to find.
- Perfect for Anytime: Great for keeping on hand during cold and flu season, or anytime you want a tasty immune boost.
- Crowd-Pleaser: My kids ask for these more than their usual candy (which says a lot), and adults love them too.
- Unbelievably Delicious: The tartness of lemon and elderberry balances the natural sweetness of honey, creating a flavor combo that feels fresh and comforting.
This recipe stands out because it uses real elderberry syrup—not just powders or extracts—which gives it that authentic, deep berry flavor. Plus, blending in raw honey and fresh lemon juice adds a natural brightness that you just don’t get with store-bought gummies.
Honestly, it’s the kind of recipe that feels like a small act of care you can make for yourself or your family. It’s immune-boosting without tasting medicinal. Plus, making your own gummies means you skip the additives and preservatives that come with commercial products. That peace of mind makes all the difference.
What Ingredients You Will Need
This recipe uses simple, wholesome ingredients to deliver bold flavor and satisfying texture without the fuss. Most of these are pantry staples, so you probably have everything on hand already.
- Elderberry syrup: 1 cup (240 ml) – I prefer using a high-quality, organic elderberry syrup for the best flavor and potency.
- Honey: ¼ cup (85 g) – Raw honey is ideal for its health benefits and natural sweetness.
- Fresh lemon juice: 2 tablespoons (30 ml) – Freshly squeezed gives that bright, zesty kick that balances the sweetness.
- Unflavored gelatin powder: 3 tablespoons (about 30 g) – This gives the gummies their chewy texture. I use Knox gelatin, which dissolves easily.
- Filtered water: ½ cup (120 ml) – Helps bloom the gelatin properly.
Substitution tips: If you need a vegan alternative, agar-agar can work, but the texture will be slightly different—less chewy, more jelly-like. For a sugar-free version, you can substitute honey with pure maple syrup or a natural sweetener like stevia, but it may impact the setting time.
When choosing your elderberry syrup, look for one that’s made with real elderberries and minimal added sugars. Homemade elderberry syrup works great too if you have it on hand.
Equipment Needed
- Small saucepan: For gently heating the ingredients without boiling off the nutrients.
- Mixing bowl: To bloom the gelatin before combining with the syrup mixture.
- Whisk or spoon: For stirring the mixture smoothly.
- Silicone gummy molds or small baking dish: Silicone molds make shaping the gummies easy and fun. If you don’t have molds, a small glass or silicone baking dish works fine—just cut the gummies into squares once set.
- Measuring cups and spoons: For precise ingredient amounts.
- Refrigerator: For setting the gummies, patience is key here.
If you don’t own silicone molds, you can often find them online or at kitchen stores for a reasonable price. They’re super easy to clean and reusable, which makes them worth the investment. I’ve tried metal molds before, but silicone is gentler on the gummies and easier to pop them out.
Preparation Method
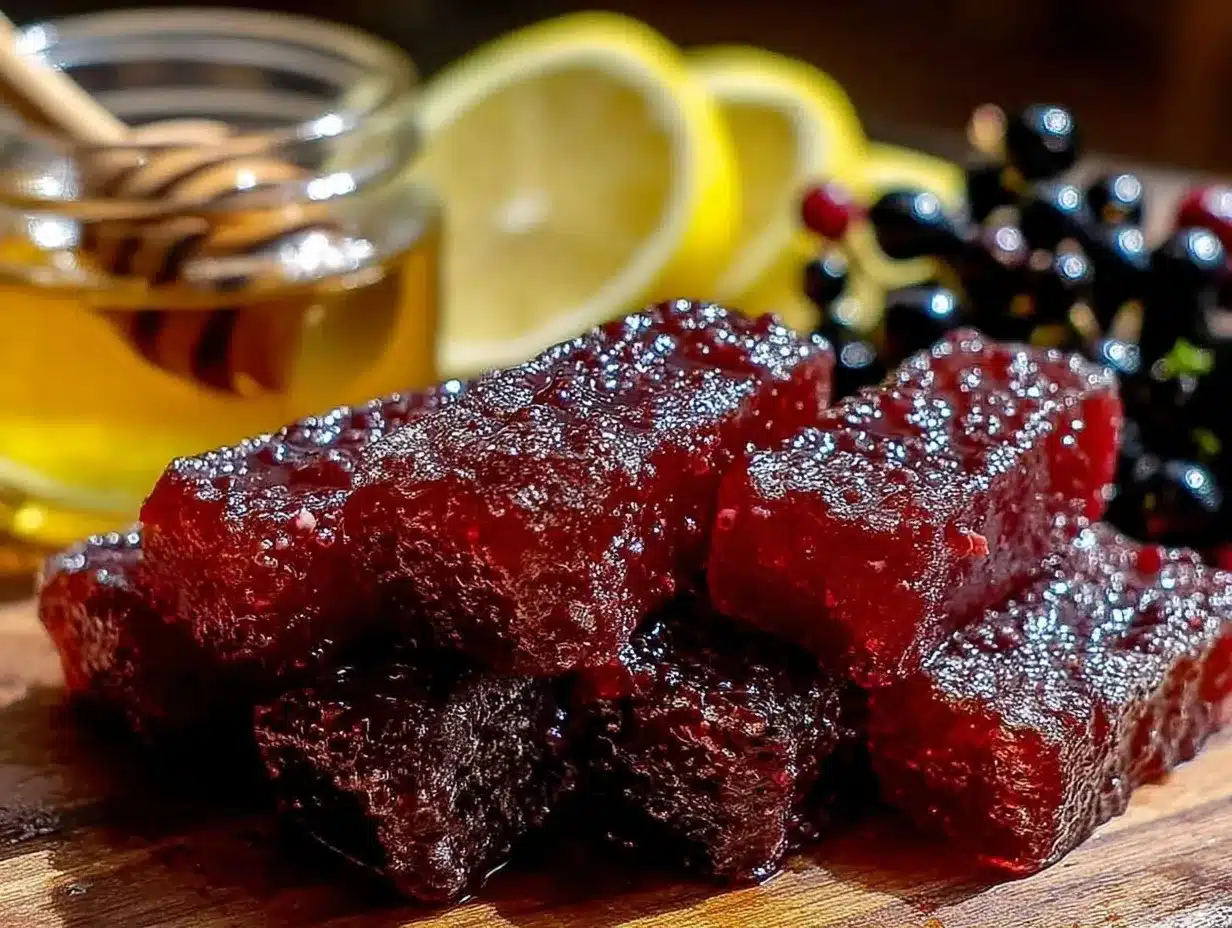
- Bloom the gelatin: Pour ½ cup (120 ml) of filtered water into a mixing bowl. Sprinkle 3 tablespoons (about 30 g) of unflavored gelatin over the water and let it sit for 5 minutes. You’ll notice it thickens and becomes spongy—that’s exactly what you want. This step ensures the gelatin dissolves evenly later.
- Warm the syrup mixture: In a small saucepan, combine 1 cup (240 ml) of elderberry syrup, ¼ cup (85 g) of raw honey, and 2 tablespoons (30 ml) of fresh lemon juice. Warm the mixture over low heat, stirring gently until the honey fully dissolves. Avoid boiling; keep it just warm enough to melt the honey and meld flavors, about 3 to 5 minutes.
- Add the gelatin: Remove the syrup mixture from heat. Slowly whisk the bloomed gelatin into the warm liquid. Stir continuously until the gelatin fully dissolves into the mixture, about 2 to 3 minutes. You shouldn’t see any lumps or graininess. If you do, gently heat it a little longer but don’t boil.
- Pour into molds: Carefully pour the mixture into your silicone gummy molds or prepared baking dish. Work quickly before the gelatin starts to set.
- Chill and set: Place the molds in the refrigerator for at least 2 hours, preferably 3, until the gummies are firm and springy to the touch.
- Remove and store: Pop the gummies out of the molds or cut them into bite-sized squares if using a baking dish. Store in an airtight container in the fridge for up to 2 weeks.
Tip: If you find your gummies are sticky, dusting them lightly with a bit of powdered sugar or cornstarch can help. Also, make sure the syrup isn’t too hot when adding gelatin—it can kill the gelling power.
Cooking Tips & Techniques
Getting the texture just right with elderberry gummies can be a little tricky if you’re new to working with gelatin. Here’s what I learned the hard way so you don’t have to:
- Bloom gelatin first: This step is non-negotiable. Sprinkling gelatin directly into warm liquid can cause lumps and uneven setting.
- Keep heat low: Heating the syrup mixture gently preserves the delicate flavors of elderberry and lemon without cooking off the honey’s beneficial enzymes.
- Don’t rush cooling: Patience is key. If you try to unmold the gummies too soon, they’ll be sticky or misshapen.
- Use fresh lemon juice: Bottled lemon juice lacks that bright punch and can dull the flavor.
- Adjust sweetness carefully: Everyone’s taste varies, so feel free to tweak the honey amount. I like mine just sweet enough to balance the tartness without overpowering.
One mistake I made early on was overheating the mixture and ending up with gummies that were rubbery instead of pleasantly chewy. Keeping the temperature below boiling and stirring gently made all the difference.
Also, when multitasking in the kitchen, I find blooming the gelatin while warming the syrup saves time. Just keep a close eye so nothing overheats.
Variations & Adaptations
This recipe is flexible and lends itself well to personal tweaks. Here are some ideas I’ve tried or considered:
- Flavor twists: Add a teaspoon of grated ginger or a pinch of cinnamon for a warming spice edge that complements the elderberry’s tartness.
- Vegan version: Substitute gelatin with agar-agar powder (about 2 teaspoons, dissolved and boiled per package instructions). The texture will be softer but still enjoyable.
- Fruit blends: Mix elderberry syrup with other berry syrups like blueberry or blackcurrant for a layered berry flavor.
- Less sweet: Reduce honey and add a splash of apple cider vinegar for a tangier, less sweet gummy.
- Boosted immunity: Stir in a teaspoon of vitamin C powder or a pinch of turmeric powder for an extra health kick.
Personally, I once tried swapping lemon juice for lime juice—it gave the gummies a sharper citrus pop that was surprisingly refreshing. Perfect for summer snacking.
Serving & Storage Suggestions
Serve these elderberry gummies chilled straight from the fridge for the best texture and flavor. They make a great little pick-me-up snack during the day or a thoughtful addition to a wellness-focused gift basket.
They pair nicely with warm herbal teas, especially ginger or chamomile, for a soothing combo that feels like a hug on a cold day. I often serve them alongside cozy dishes like my one-pot chicken and wild rice soup when the weather calls for comfort.
Store the gummies in an airtight container in the refrigerator for up to two weeks. If you want to keep them longer, you can freeze them in a sealed container for up to 3 months. Just thaw in the fridge before enjoying.
Reheating isn’t really recommended, but if they get too firm after chilling, let them sit at room temperature for a few minutes to soften up. Flavors actually deepen after a day or two in the fridge, so making a batch ahead is a smart move.
Nutritional Information & Benefits
Each elderberry gummy is a small but potent source of antioxidants, vitamins, and minerals thanks to elderberries, honey, and lemon. Here’s a rough estimate per serving (assuming 20 gummies per batch):
| Component | Amount per Gummy |
|---|---|
| Calories | 25 kcal |
| Carbohydrates | 6 g |
| Protein | 1 g |
| Vitamin C | About 5% DV |
Elderberries are known for their antiviral and immune-supporting properties, while honey offers natural antibacterial benefits and soothes the throat. Lemon juice adds a healthy dose of vitamin C and aids digestion.
This recipe is gluten-free and can be dairy-free if you choose honey alternatives. However, it does contain gelatin, so it’s not suitable for vegans unless you substitute with agar-agar.
From a wellness standpoint, these gummies feel like a little daily ritual that supports your body gently and naturally. I like to think of them as a tasty insurance policy during cold seasons.
Conclusion
Healthy homemade elderberry gummies with honey and lemon aren’t just a recipe—they’re a way to bring a bit of simple, natural care into your day. They’re easy to make, fun to eat, and bring people back for seconds (or thirds).
Whether you’re making them for yourself, your kids, or someone special, these gummies offer a blend of flavor and function that’s hard to beat. Feel free to adjust the sweetness, add your favorite spices, or experiment with different syrup blends to make them truly your own.
I keep coming back to this recipe myself—partly because it tastes good, but mostly because it feels like a small, quiet way to look after the people I care about. If you try it, I’d love to hear how you make it your own.
FAQs About Healthy Homemade Elderberry Gummies
Can I use store-bought elderberry syrup for this recipe?
Yes! Just make sure it’s a high-quality syrup made from real elderberries with minimal added sugars for the best flavor and benefits.
How long do the elderberry gummies last?
Stored in an airtight container in the refrigerator, they last about two weeks. You can freeze them for up to three months if needed.
Can I make these gummies vegan?
Substitute the gelatin with agar-agar powder. The texture will be a bit different—less chewy and more jelly-like—but still tasty.
What if my gummies are too sticky?
A light dusting of powdered sugar or cornstarch can reduce stickiness. Also, make sure the syrup isn’t too hot when adding gelatin.
Can I add other flavors to the gummies?
Absolutely! Ginger, cinnamon, or even a splash of vanilla extract can add a nice twist. Just keep the balance so the elderberry flavor still shines through.
For a balanced meal to support your wellness goals, consider pairing these gummies with a fresh, bright salad like the Greek orzo pasta salad with feta and Kalamata olives. It’s a refreshing combo after a cozy soup or a day spent indoors nurturing your health.
Pin This Recipe!
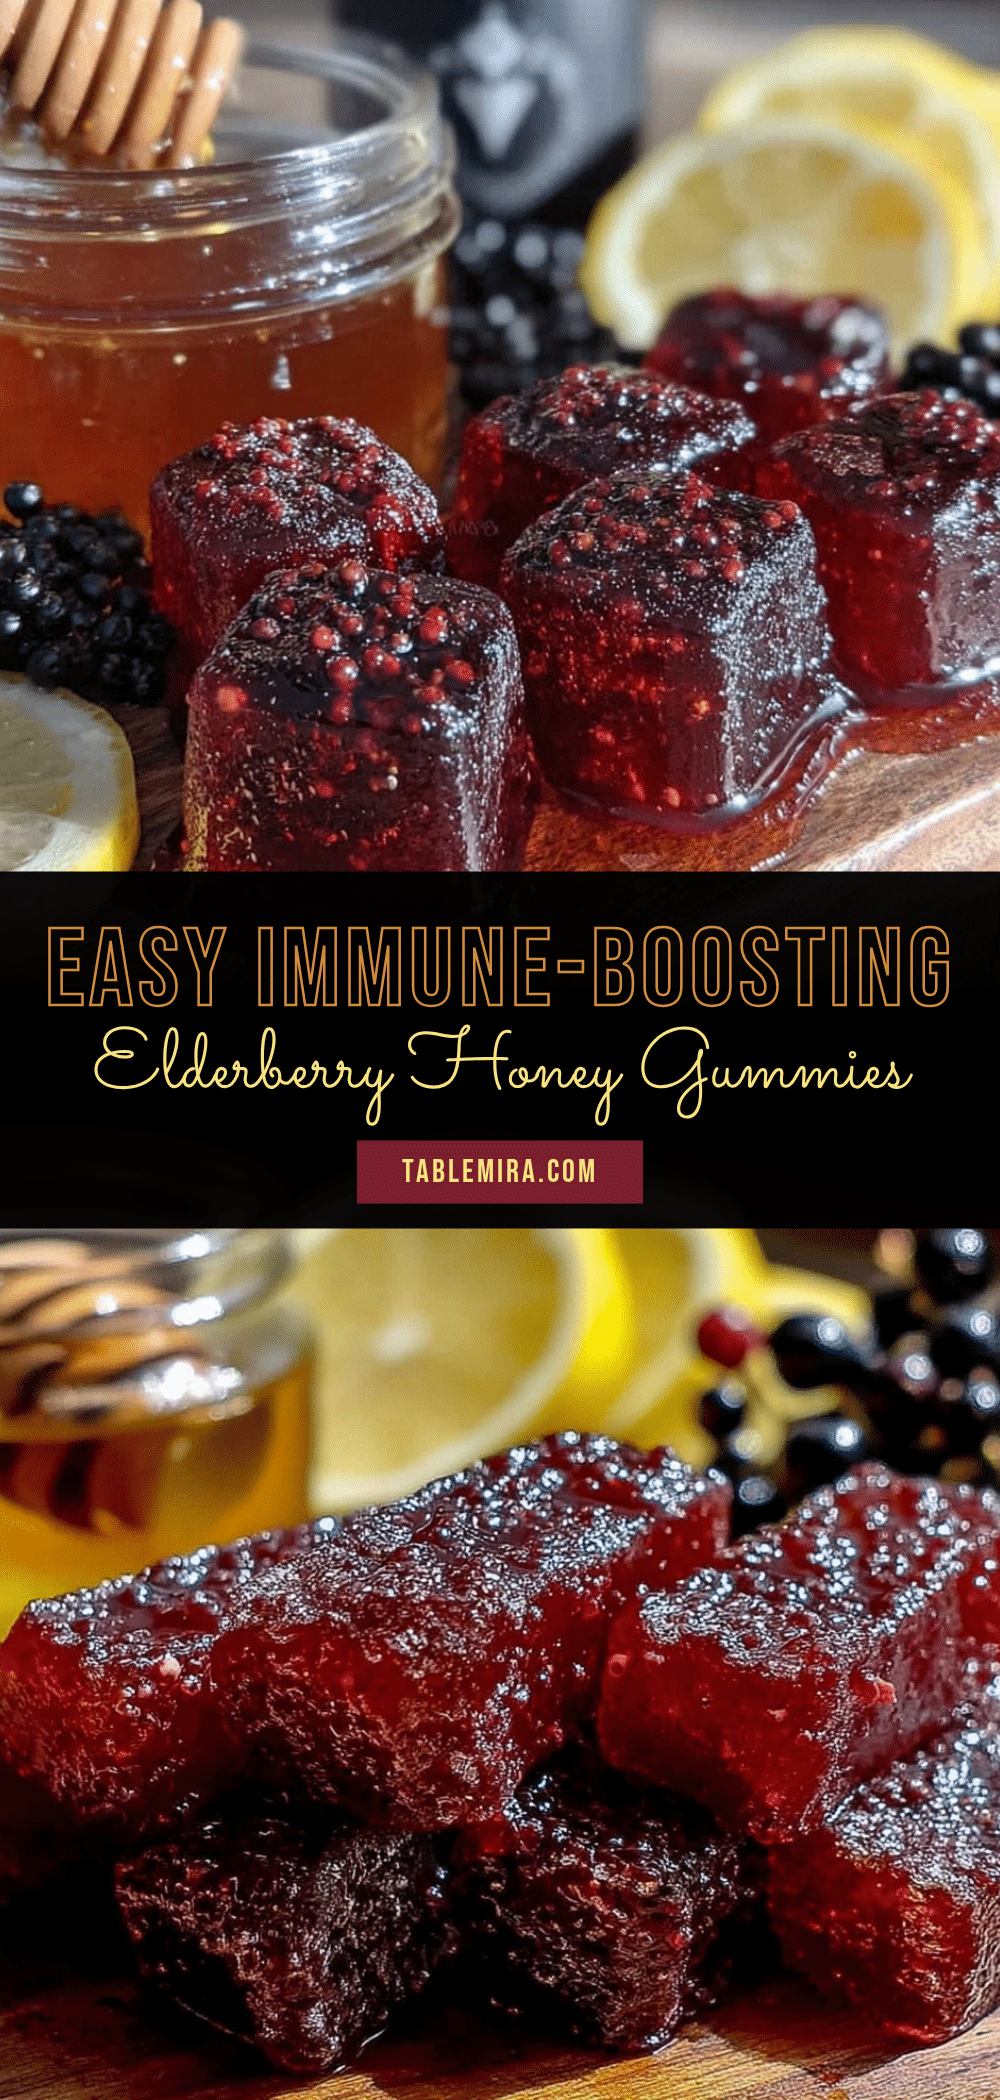
Healthy Homemade Elderberry Gummies Recipe for Immune Boosting with Honey and Lemon
These homemade elderberry gummies combine elderberry syrup, honey, and lemon juice to create a tasty, immune-boosting snack with a chewy texture and natural sweetness.
- Prep Time: 10 minutes
- Cook Time: 10 minutes
- Total Time: 2 hours 20 minutes
- Yield: 20 gummies 1x
- Category: Snack
- Cuisine: American
Ingredients
- 1 cup (240 ml) elderberry syrup
- 1/4 cup (85 g) raw honey
- 2 tablespoons (30 ml) fresh lemon juice
- 3 tablespoons (about 30 g) unflavored gelatin powder
- 1/2 cup (120 ml) filtered water
Instructions
- Pour 1/2 cup (120 ml) of filtered water into a mixing bowl. Sprinkle 3 tablespoons (about 30 g) of unflavored gelatin over the water and let it sit for 5 minutes until thickened and spongy.
- In a small saucepan, combine 1 cup (240 ml) elderberry syrup, 1/4 cup (85 g) raw honey, and 2 tablespoons (30 ml) fresh lemon juice. Warm over low heat, stirring gently until honey dissolves, about 3 to 5 minutes. Do not boil.
- Remove the syrup mixture from heat. Slowly whisk the bloomed gelatin into the warm liquid and stir continuously until fully dissolved, about 2 to 3 minutes. Avoid lumps.
- Carefully pour the mixture into silicone gummy molds or a prepared baking dish.
- Place molds in the refrigerator for at least 2 hours, preferably 3, until gummies are firm and springy.
- Pop gummies out of molds or cut into bite-sized squares if using a baking dish. Store in an airtight container in the refrigerator for up to 2 weeks.
Notes
Bloom gelatin first to avoid lumps. Keep heat low to preserve honey’s enzymes. Chill gummies for at least 2 hours for best texture. Dust with powdered sugar or cornstarch if gummies are sticky. Use fresh lemon juice for best flavor. For vegan version, substitute gelatin with agar-agar powder.
Nutrition
- Serving Size: 1 gummy
- Calories: 25
- Carbohydrates: 6
- Protein: 1
Keywords: elderberry gummies, immune boosting, homemade gummies, elderberry syrup, honey, lemon, healthy snack, gelatin gummies


