Late Sunday afternoon, the kitchen light had that soft, golden slant to it that makes everything feel a little quieter. I had three kids underfoot, a half-empty bag of Oreos from the week before, and absolutely no energy for a real dessert. The kind of tired where you just need something to work. Something that didn’t require turning on the oven or washing a mixer bowl. That’s when I remembered the pudding cups from my own childhood—the ones with the crushed cookies on top that looked like dirt. But I wanted them to be more than just chocolate pudding. I wanted them to feel like a little event. So I grabbed the cream cheese, whipped up the pudding, and let the kids crush the Oreos in a ziplock bag with a rolling pin (which, honestly, is half the fun). We stuck a gummy worm in each one, and they looked at me like I’d just pulled off a magic trick. That’s how these Easy Oreo Dirt Cups with Gummy Worms became our go-to.
There’s something about a no-bake dessert that just hits different. No stress, no complicated steps, no waiting for things to cool. And when it looks this cute? It feels like you cheated the system. These dirt cups are the kind of thing you can throw together in ten minutes flat, and they still feel special enough for a party or a classroom treat. The creamy pudding layer, the crunchy Oreo crumble, the little gummy worm peeking out—it’s nostalgic without being fussy. And honestly? It’s the dessert that keeps the kids busy for five extra minutes while they figure out which worm goes where. That alone is worth the price of admission.
I’ve made these for Halloween parties, birthday barbecues, and random Tuesday afternoons when we just needed a win. They never last long. There’s a reason this recipe has been around for decades—it just works. And once you see how easy it is, you’ll probably find yourself making them for no reason at all. Which is exactly what I do.
Why You’ll Love This Recipe
I’ve tested this recipe about a dozen times to get the texture just right. Too much cream cheese and it gets dense. Not enough pudding and it’s soupy. But this version? It hits that sweet spot every time. Here’s why it’s earned a permanent spot in my rotation:
- Quick & Easy : From start to finish, you’re looking at about ten minutes of active work. No baking, no boiling, no complicated techniques. Just stir, layer, and chill.
- Simple Ingredients : You probably already have most of this stuff in your pantry. Oreos, instant pudding, cream cheese, milk, and gummy worms. That’s it. No fancy grocery runs required.
- Perfect for Any Occasion : These work for Halloween parties, Easter brunch, classroom celebrations, or just a fun weekend treat. They’re also great for no-bake Halloween desserts because they come together so fast.
- Crowd-Pleaser : I’ve served these to kids, adults, and even picky grandparents. Everyone smiles when they see the gummy worm poking out. It’s basically impossible not to.
- Unbelievably Delicious : The creamy pudding base with the crunchy Oreo topping is comfort food at its finest. And the gummy worm? That little surprise makes every bite feel like a discovery.
What sets this recipe apart from the rest is the cream cheese in the pudding layer. Most versions just use instant pudding and milk, which is fine, but it lacks that rich, almost cheesecake-like depth. Adding softened cream cheese gives it a silky texture and a slight tang that balances the sweetness of the Oreos. It’s a small tweak, but it makes a huge difference. I’ve had people ask me if I used a special pudding mix—nope, just cream cheese doing the heavy lifting.
These dirt cups aren’t just good—they’re the kind of dessert that makes you feel like a kid again. The kind where you dig your spoon in and find a gummy worm hiding in the middle. It’s comfort food, pure and simple, but with a little extra love in every layer.
What Ingredients You Will Need
This recipe uses simple, everyday ingredients that come together to create something surprisingly special. No obscure spices or specialty baking items here—just pantry staples that you probably already have on hand. Here’s what you’ll need:
- 1 (3.9 oz) package instant chocolate pudding mix — I prefer Jell-O brand for consistency, but any brand works. Make sure it’s instant, not cook-and-serve. The texture is completely different.
- 2 cups cold milk — Whole milk gives the richest texture, but 2% works fine too. For a dairy-free version, use unsweetened almond or oat milk. Just know the pudding might be slightly less firm.
- 4 oz cream cheese, softened — This is my secret ingredient. It adds a creamy, almost cheesecake-like richness to the pudding layer. Let it sit out for about 20 minutes to soften before mixing.
- 1/4 cup powdered sugar — Just a little sweetness to balance the tang of the cream cheese. You could skip this if you’re using sweetened cream cheese, but I like the control of adding my own.
- 1/2 teaspoon vanilla extract — Pure vanilla is best, but imitation works in a pinch. It rounds out the flavor nicely.
- 1 (14.3 oz) package Oreo cookies — Regular Oreos are perfect. Double Stuf works too, but you might need to adjust the crumb texture. Avoid the thin ones—they don’t crush into that signature dirt-like consistency.
- 1 cup gummy worms — Any brand works. I like the sour ones for a little tangy contrast, but classic gummy worms are great too. You can also use gummy bugs or spiders for a Halloween twist.
- Optional: 1 cup Cool Whip (or homemade whipped cream) — If you want an extra fluffy texture, fold this into the pudding mixture. I often skip it for a denser, more pudding-like consistency, but it’s a nice option if you prefer a lighter dessert.
A quick note on ingredient selection: For the best texture, use full-fat cream cheese and whole milk. Low-fat versions can make the pudding layer a bit watery. And when it comes to the Oreos, don’t bother removing the cream filling—it helps bind the crumb together and adds a little extra sweetness. Trust me on this one.
Equipment Needed
You don’t need any fancy equipment for these dirt cups. That’s part of the beauty. Here’s what you’ll need:
- Mixing bowls — One large bowl for the pudding mixture and one medium bowl for the crushed Oreos. Glass or stainless steel works best.
- Electric hand mixer or stand mixer — A hand mixer makes whipping the cream cheese and pudding super easy. You can do it by hand with a whisk, but it takes a bit more elbow grease.
- Ziplock bag or food processor — For crushing the Oreos. A ziplock bag and a rolling pin is the classic method and honestly more fun. A food processor gives you a finer, more even crumb in about 10 seconds.
- 6-8 small cups or glasses — Clear plastic cups work great for showing off the layers. I use 6-ounce disposable cups for parties, but small mason jars or juice glasses are perfect too. You want something clear so you can see the dirt and worm layers.
- Spatula or spoon — For layering the pudding and Oreo crumbs. A small offset spatula is nice for smoothing the tops.
- Measuring cups and spoons — Standard set for the milk, powdered sugar, and vanilla.
If you don’t have a hand mixer, you can whisk the cream cheese and pudding by hand—just make sure the cream cheese is really soft. And if you don’t have a rolling pin, a heavy-bottomed glass or even a wine bottle works for crushing the Oreos. I’ve used all three at various points, and they all get the job done.
Preparation Method
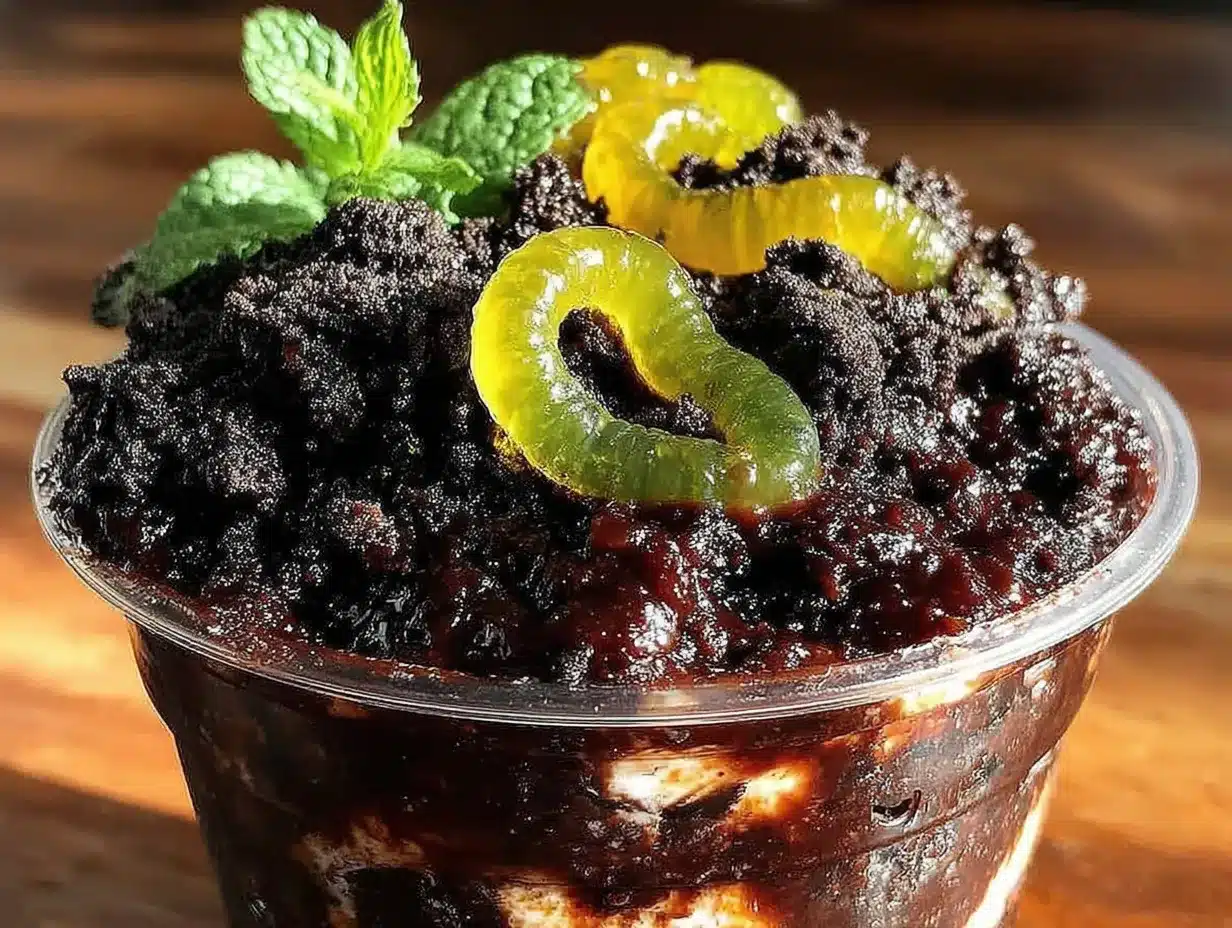
These Easy Oreo Dirt Cups with Gummy Worms come together in about ten minutes of active time. The hardest part is waiting for them to chill. Here’s how to do it:
- Crush the Oreos. Place the entire package of Oreos (cream filling and all) in a large ziplock bag. Seal it up and crush them with a rolling pin until you have a fine, sandy crumb. You want some small chunks for texture, but mostly a consistent dirt-like consistency. Alternatively, pulse them in a food processor until finely ground. Set aside about 1/2 cup of the crumbs for topping.
- Make the cream cheese base. In a large mixing bowl, beat the softened cream cheese with the powdered sugar and vanilla extract using an electric hand mixer on medium speed. Beat for about 2 minutes until smooth and fluffy. Scrape down the sides of the bowl with a spatula.
- Prepare the pudding. In a separate bowl, whisk together the instant chocolate pudding mix and cold milk. Whisk for about 2 minutes until the pudding starts to thicken. It should be slightly set but still pourable.
- Combine everything. Pour the pudding mixture into the bowl with the cream cheese mixture. Beat on low speed until fully combined and smooth. If you’re using Cool Whip, fold it in gently at this point with a spatula. The mixture should be thick, creamy, and a little bit dreamy.
- Layer the cups. Spoon about 2 tablespoons of the crushed Oreo crumbs into the bottom of each cup. This is the “dirt” base. Then spoon or pipe the pudding mixture on top, filling each cup about three-quarters full. Smooth the tops with a spatula.
- Add the gummy worms. Gently press 1-2 gummy worms into the pudding layer, letting part of them stick out so they look like they’re crawling out of the dirt. You can also place them on top after adding the final Oreo layer for a more dramatic effect.
- Top with the remaining Oreo crumbs. Sprinkle the reserved crushed Oreos over the top of each cup, covering the pudding completely. This is your final “dirt” layer. Make sure it’s thick enough that you can’t see the pudding underneath.
- Chill before serving. Place the cups in the refrigerator for at least 30 minutes. This allows the pudding to set fully and the flavors to meld together. For best results, chill for 2-3 hours. The longer they sit, the better they taste.
A few sensory cues to watch for: The cream cheese mixture should be completely smooth with no lumps—if you see lumps, keep beating. The pudding should be thick enough that it doesn’t run off the spoon but still pourable. And when you press the gummy worms in, they should stay in place without sinking to the bottom. If they sink, your pudding might be too thin—just add a little more crushed Oreo on top to anchor them.
Cooking Tips & Techniques
After making these dirt cups more times than I can count, I’ve picked up a few tricks that make the process smoother and the results better. Here are my top tips:
- Soften the cream cheese properly. Cold cream cheese will leave lumps in your pudding mixture. Let it sit on the counter for 20-30 minutes before you start. If you’re in a hurry, microwave it for 10-15 seconds on low power—just watch it carefully so it doesn’t melt.
- Don’t overmix the pudding. Once you add the milk to the pudding mix, whisk just until it starts to thicken. Overmixing can make it grainy or thin. You want it to be slightly loose because it will firm up in the fridge.
- Crush the Oreos to the right consistency. You want a mix of fine crumbs and small chunks. If you pulverize them into dust, it loses that dirt-like texture. If you leave them too chunky, they don’t distribute evenly. Aim for a sandy consistency with a few pea-sized pieces.
- Chill the cups before serving. I know it’s tempting to eat them right away, but the texture is so much better after they’ve had time to set. The pudding firms up, the Oreo crumbs soften slightly, and the flavors meld together. Trust the process.
- Make them ahead of time. These dirt cups actually taste better the next day. The pudding gets creamier, and the Oreo crumbs absorb a little moisture without getting soggy. I often make them the night before a party and just pull them out when guests arrive.
- Use a piping bag for the pudding. If you want cleaner layers, spoon the pudding into a piping bag or a ziplock bag with the corner snipped off. Pipe it into the cups instead of spooning it. It gives you more control and keeps the sides of the cups clean.
One mistake I made early on was using too much milk in the pudding. I thought it would make it creamier, but it just made it runny. Stick to the 2 cups of milk called for in the recipe. And if you’re using a different brand of pudding mix, check the package directions—some brands require slightly less milk. Always follow the package instructions for the pudding base, then adjust the cream cheese ratio from there.
Variations & Adaptations
These dirt cups are incredibly versatile. Here are some of my favorite ways to change them up:
- Halloween Version : Use orange and black gummy worms, or swap in gummy spiders and bugs. You can also add a few candy eyeballs on top for a spooky effect. This version is always a hit at Halloween charcuterie boards because it’s so easy to grab and go.
- Easter Version : Use pastel-colored gummy worms or swap in gummy bunnies. You can also layer in some crushed pastel candy melts for a colorful twist. The kids love finding the “Easter eggs” in the dirt.
- Gluten-Free Version : Use gluten-free chocolate sandwich cookies (like Glutino or Kinnikinnick brand) in place of Oreos. The rest of the ingredients are naturally gluten-free, so this is an easy swap. Just make sure your pudding mix is certified gluten-free—most are, but double-check the label.
- Dairy-Free Version : Use dairy-free cream cheese (like Kite Hill or Miyoko’s), dairy-free milk (unsweetened almond or oat milk), and dairy-free chocolate pudding mix. The texture might be slightly less creamy, but it still tastes great. You can also use dairy-free whipped topping if you want that extra fluff.
- Flavor Twist : Swap the chocolate pudding for vanilla, butterscotch, or white chocolate. Each one gives a completely different flavor profile. Vanilla with golden Oreos is a fun variation that tastes like a cookies and cream milkshake.
- Extra Crunchy Version : Add a layer of crushed pretzels or chopped peanuts between the pudding and the Oreo crumbs. The salty crunch is a great contrast to the sweet, creamy pudding. I’ve done this for game day parties and it’s always a crowd favorite.
One variation I’ve tried that turned out surprisingly well: using crushed graham crackers instead of Oreos for the dirt layer. It gives a lighter, more buttery flavor that works especially well with vanilla pudding. I called them “Beach Cups” and topped them with gummy fish instead of worms. The kids thought it was hilarious.
Serving & Storage Suggestions
These dirt cups are best served cold, straight from the refrigerator. The contrast between the chilled, creamy pudding and the crunchy Oreo topping is part of the magic. Here’s how to serve and store them:
- Serving Temperature : Serve them cold. Pull them out of the fridge about 5-10 minutes before serving to take the chill off slightly, but don’t let them sit out too long or the Oreo crumbs will get soggy.
- Presentation : Clear plastic cups or small mason jars are perfect for showing off the layers. You can also use small terracotta pots for a garden-themed party—just line them with plastic wrap first. Add a small spoon and a gummy worm poking out of the top for that classic dirt cup look.
- Garnish Ideas : Top with a few extra gummy worms, a dollop of whipped cream, or a sprinkle of chocolate shavings. For a party, you can also add a small plastic flower or a little garden sign to each cup. It’s a fun touch that kids love.
- Storage : Store any leftover cups in the refrigerator, covered with plastic wrap or a lid. They’ll keep for up to 3 days. The Oreo crumbs will soften over time, but they’ll still taste delicious. I actually prefer them on day two when the flavors have had time to meld.
- Freezing : I don’t recommend freezing these cups. The pudding can become watery and grainy when thawed, and the Oreo crumbs get mushy. If you need to make them ahead, just prepare them the day before and keep them in the fridge.
- Reheating : These are meant to be served cold, so no reheating needed. If you’ve stored them in the fridge, just pull them out and serve. They’re ready to go.
A note on how flavors develop over time: The pudding gets creamier and the Oreo crumbs soften slightly, creating a more cohesive texture. The gummy worms also soften a bit, which some people prefer. If you want the worms to stay chewier, add them just before serving instead of layering them in during assembly.
Nutritional Information & Benefits
Let’s be real—these dirt cups are a treat, not a health food. But that doesn’t mean they can’t fit into a balanced lifestyle. Here’s a rough nutritional breakdown per serving (based on 8 servings):
- Calories: Approximately 320-350 per cup
- Fat: 14-16g (mostly from cream cheese and Oreos)
- Carbohydrates: 45-50g
- Protein: 5-6g
- Sugar: 30-35g
- Fiber: 1-2g
While these aren’t exactly a superfood, they do have a few redeeming qualities. The cream cheese provides a small amount of calcium and protein, and the milk adds a bit more calcium and vitamin D. The Oreos… well, they provide joy, which is important too. If you’re looking for a lighter version, you can use low-fat cream cheese, skim milk, and sugar-free pudding mix. It won’t be as rich, but it’ll still satisfy that sweet tooth.
For those with dietary restrictions, this recipe can be adapted for gluten-free and dairy-free diets (see the variations section above). It’s also nut-free as written, making it safe for school parties and nut-free environments. Just double-check your gummy worm brand—some are processed in facilities that handle nuts.
My personal take? Desserts like this are about balance. I don’t make them every day, but when I do, I enjoy every single bite. Life’s too short to skip the gummy worms.
Conclusion
These Easy Oreo Dirt Cups with Gummy Worms are the kind of dessert that makes you feel like you’ve pulled off something impressive, even though it only took ten minutes. They’re fun, they’re nostalgic, and they’re absolutely delicious. Whether you’re making them for a Halloween party, a classroom celebration, or just a random Tuesday when you need a little joy, they never disappoint.
I love how customizable they are—you can change the pudding flavor, swap the gummy worms for something else, or add extra toppings to make them your own. That’s the beauty of a simple recipe. It leaves room for your own creativity. So go ahead, crush those Oreos, stir up that pudding, and stick a gummy worm in there. You deserve it.
If you try these dirt cups, I’d love to hear about it! Leave a comment below and let me know how they turned out. Did you add any fun twists? Did the kids go crazy for them? Share your photos and tag me on social media—I can’t wait to see your creations. And if you’re looking for more easy, no-bake desserts, check out our no-bake s’mores icebox cake or our no-churn salted caramel ice cream. Happy cooking!
Frequently Asked Questions
Can I make these dirt cups ahead of time?
Absolutely! In fact, they taste even better the next day. Prepare them up to 24 hours in advance and keep them covered in the refrigerator. Just add the gummy worms right before serving if you want them to stay extra chewy.
Can I use homemade pudding instead of instant?
You can, but the texture will be different. Instant pudding sets up faster and has a creamier consistency that works well for layering. Homemade pudding is thinner and might not hold its shape as nicely in the cups. If you go the homemade route, let it chill for at least 4 hours before assembling.
How do I keep the gummy worms from sinking to the bottom?
Make sure your pudding mixture is thick enough before layering. If it’s too runny, the worms will sink. You can also add a thin layer of crushed Oreos on top of the pudding before pressing the worms in—this gives them something to grip onto. Chilling the cups for 10-15 minutes before adding the worms also helps.
Can I use a different type of cookie for the dirt layer?
Definitely! Golden Oreos, chocolate wafers, or even crushed graham crackers work great. Each one gives a slightly different flavor and texture. Just make sure whatever cookie you use crushes into a fine, sandy consistency. Avoid cookies with large chunks or hard pieces that won’t crush evenly.
How long do these dirt cups last in the fridge?
They’ll keep for up to 3 days in the refrigerator, covered. The Oreo crumbs will soften over time, but the flavor actually gets better as the pudding sets. If you’re making them for a party, I recommend assembling them no more than 24 hours in advance for the best texture.
Pin This Recipe!
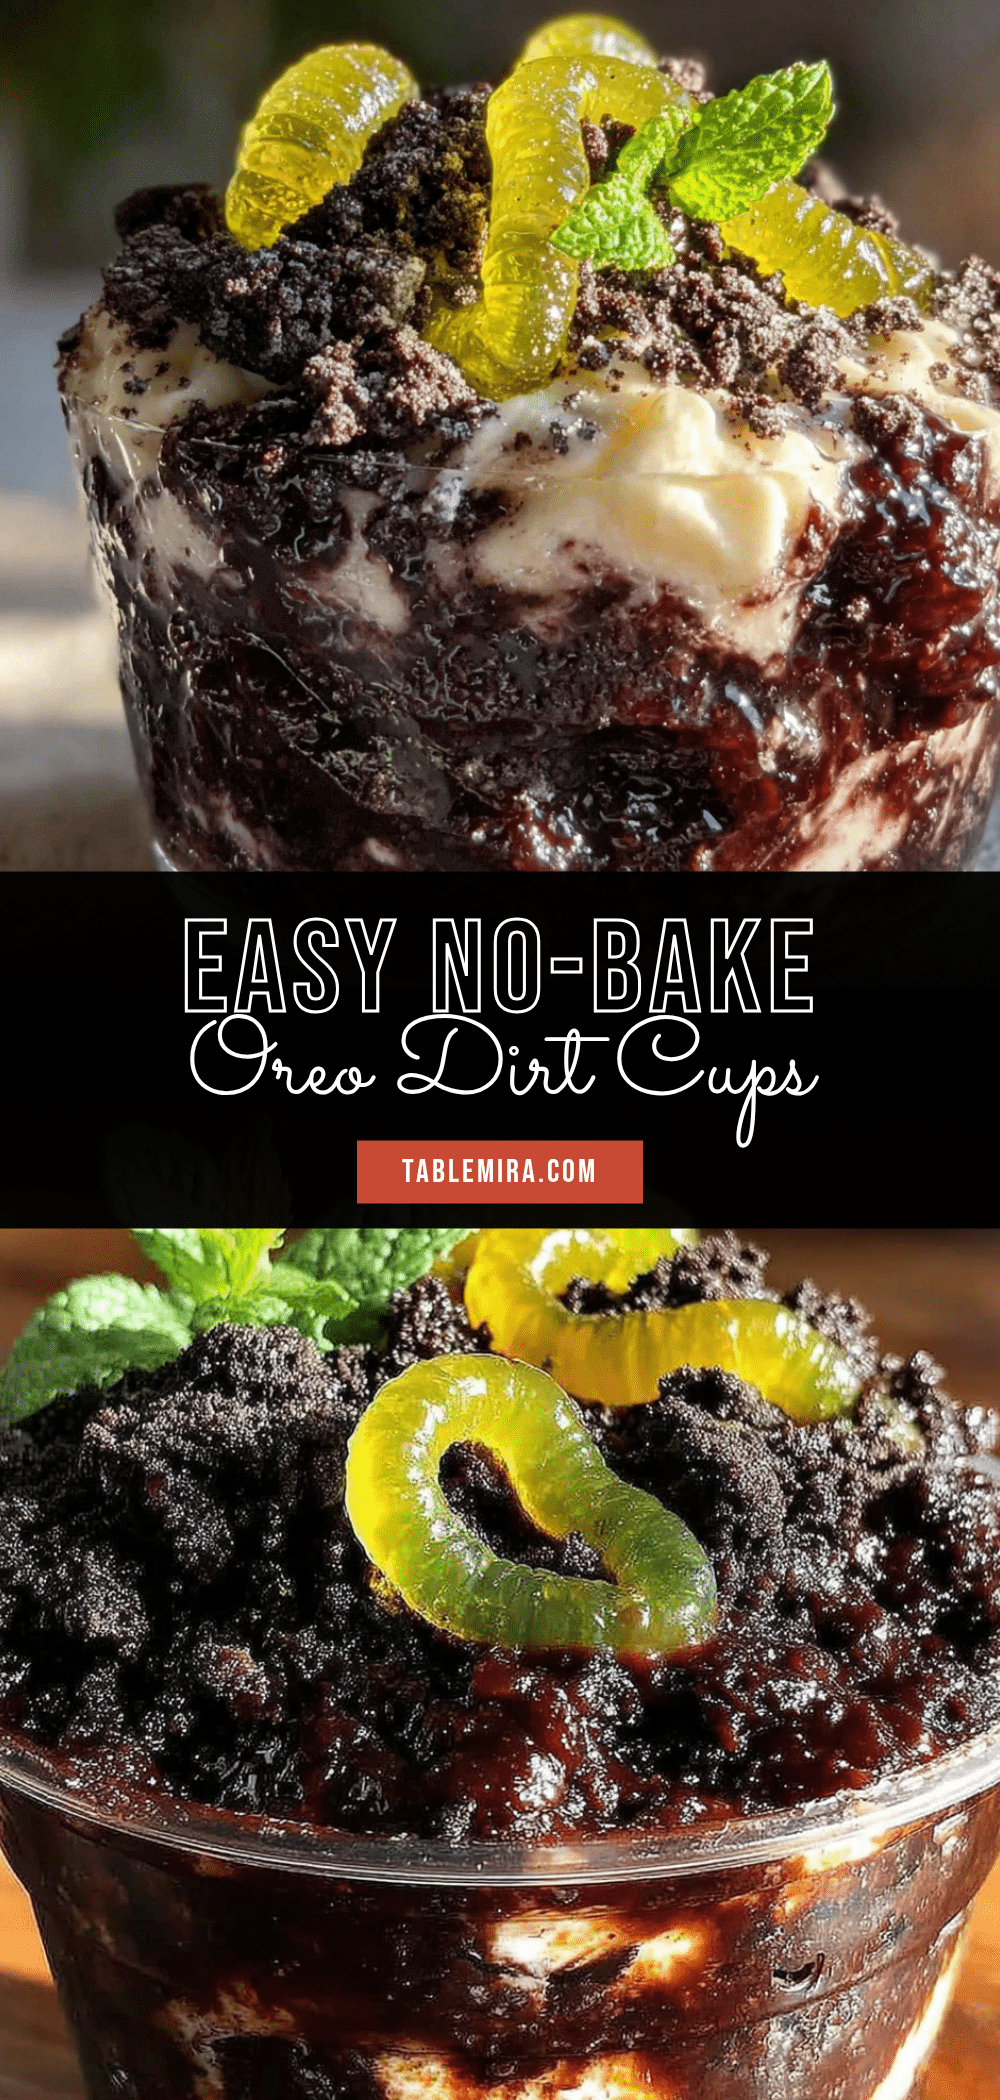
Easy Oreo Dirt Cups with Gummy Worms: Best 10-Minute Dessert

These Easy Oreo Dirt Cups with Gummy Worms are a quick, no-bake dessert that comes together in just ten minutes. Creamy chocolate pudding, a rich cream cheese layer, crunchy Oreo crumbs, and a playful gummy worm make this a nostalgic treat perfect for any occasion.
- Prep Time: 10 minutes
- Cook Time: 0 minutes
- Total Time: 40 minutes (including 30 minutes chilling)
- Yield: 8 servings 1x
- Category: Dessert
- Cuisine: American
Ingredients
- 1 (3.9 oz) package instant chocolate pudding mix
- 2 cups cold milk
- 4 oz cream cheese, softened
- 1/4 cup powdered sugar
- 1/2 teaspoon vanilla extract
- 1 (14.3 oz) package Oreo cookies
- 1 cup gummy worms
- Optional: 1 cup Cool Whip (or homemade whipped cream)
Instructions
- Crush the Oreos. Place the entire package of Oreos (cream filling and all) in a large ziplock bag. Seal it up and crush them with a rolling pin until you have a fine, sandy crumb. You want some small chunks for texture, but mostly a consistent dirt-like consistency. Alternatively, pulse them in a food processor until finely ground. Set aside about 1/2 cup of the crumbs for topping.
- Make the cream cheese base. In a large mixing bowl, beat the softened cream cheese with the powdered sugar and vanilla extract using an electric hand mixer on medium speed. Beat for about 2 minutes until smooth and fluffy. Scrape down the sides of the bowl with a spatula.
- Prepare the pudding. In a separate bowl, whisk together the instant chocolate pudding mix and cold milk. Whisk for about 2 minutes until the pudding starts to thicken. It should be slightly set but still pourable.
- Combine everything. Pour the pudding mixture into the bowl with the cream cheese mixture. Beat on low speed until fully combined and smooth. If you’re using Cool Whip, fold it in gently at this point with a spatula. The mixture should be thick, creamy, and a little bit dreamy.
- Layer the cups. Spoon about 2 tablespoons of the crushed Oreo crumbs into the bottom of each cup. This is the “dirt” base. Then spoon or pipe the pudding mixture on top, filling each cup about three-quarters full. Smooth the tops with a spatula.
- Add the gummy worms. Gently press 1-2 gummy worms into the pudding layer, letting part of them stick out so they look like they’re crawling out of the dirt. You can also place them on top after adding the final Oreo layer for a more dramatic effect.
- Top with the remaining Oreo crumbs. Sprinkle the reserved crushed Oreos over the top of each cup, covering the pudding completely. This is your final “dirt” layer. Make sure it’s thick enough that you can’t see the pudding underneath.
- Chill before serving. Place the cups in the refrigerator for at least 30 minutes. This allows the pudding to set fully and the flavors to meld together. For best results, chill for 2-3 hours. The longer they sit, the better they taste.
Notes
For best texture, use full-fat cream cheese and whole milk. Let cream cheese soften for 20-30 minutes before mixing. Crush Oreos to a sandy consistency with some small chunks. Chill cups for at least 30 minutes before serving; they taste even better the next day. Gummy worms can be added just before serving to keep them chewier.
Nutrition
- Serving Size: 1 cup
- Calories: 335
- Sugar: 32
- Sodium: 380
- Fat: 15
- Saturated Fat: 7
- Carbohydrates: 47
- Fiber: 1.5
- Protein: 5.5
Keywords: Oreo dirt cups, gummy worms, no-bake dessert, easy dessert, kids dessert, Halloween dessert, chocolate pudding, cream cheese


