I wasn’t expecting pumpkin seed advice from the guy who fixes my car, but there I was, waiting for an oil change, listening to Marco describe exactly how to make them taste like a carnival treat. He’d pulled a crumpled napkin from his coveralls, covered in grease stains and what looked like a schematic for an engine, but on the back was a recipe for “Cinnamon Sugar Pepitas.” He said his grandma made them every Halloween, and they were the only reason his family still bothered carving pumpkins. Honestly, I was just there to pay a bill and get my tires rotated. But Marco was insistent. “You gotta try them,” he said, wiping his hands on a rag. “They disappear faster than the candy.”
I scribbled the basic idea on my phone—butter, sugar, cinnamon, salt, pumpkin seeds—and thanked him. I figured I’d tweak it, because Marco’s version was probably meant to be eaten over a sink in a garage, not served at a dinner party. And let me tell you, the first batch I made was a disaster. I used way too much butter, and the seeds turned into a soggy, clumpy mess. It was a sticky, sweet failure that I had to throw away. But I learned my lesson: the key is toasting them first to get them dry and crispy, then adding the glaze at the very end. That little tweak turned a garage snack into a party-worthy dish.
Now, this recipe is my secret weapon for fall gatherings. It’s the bowl that everyone hovers around, the one that gets picked clean before the dip. There’s just something about that combination of salty, sweet, and crunchy that hits every single craving at once. Maybe you’ve been there—you spend hours on a main course, but the thing people remember is the bowl of crispy pumpkin seeds. That’s the power of this little snack. It’s unassuming, but it steals the show every single time. I keep making it because it’s the easiest way to look like a hero host with almost zero effort.
Why You’ll Love This Recipe
Let’s be real—most pumpkin seeds are either burnt, bland, or have the texture of cardboard. This recipe is none of those things. It’s the one I’ve tested and retested to get that perfect crackle without any bitterness. Here’s why you’ll want to make a double batch immediately.
- Quick & Easy: From prep to plate in just 15 minutes. This is perfect for last-minute guests or when you need a snack *now*.
- Simple Ingredients: You probably already have everything in your pantry—no weird extracts or specialty sugars required.
- Perfect for Parties: This is the ultimate “set it and forget it” snack. It’s great for Halloween parties, Thanksgiving appetizers, or just a Tuesday night movie marathon.
- Crowd-Pleaser: Kids love the sweetness, adults love the crunch. It’s a rare snack that appeals to everyone, from picky eaters to foodies.
- Unbelievably Delicious: The secret is a two-step process: dry-toast the seeds first, then toss them in a buttery cinnamon-sugar coating. The result is a candy-like crunch that’s dangerously addictive.
This isn’t just another version of spiced seeds. The technique of toasting them dry before adding the butter is a game-changer. It ensures every single seed is crispy, not chewy. This is the best version because it focuses on texture first, flavor second. And honestly, when you bite into one and hear that snap, you’ll know exactly what I mean. It’s the kind of snack that makes you close your eyes after the first bite—satisfying, nostalgic, and just sweet enough.
What Ingredients You Will Need
This recipe uses simple, wholesome ingredients to deliver that addictive, candy-like crunch. Most of these are pantry staples, making this an easy win for any host.
- Fresh Pumpkin Seeds (1 cup / 120g): You can use seeds straight from a pumpkin, but make sure to rinse them thoroughly to remove all the stringy pulp. Pat them *very* dry with a towel—moisture is the enemy of crispiness. I prefer using “pepitas” (the hulled green seeds) for a more uniform texture, but whole white seeds work beautifully too. If using fresh, look for seeds that are plump and not shriveled.
- Unsalted Butter (2 tablespoons / 28g), melted: Butter gives the seeds that rich, savory base that balances the sugar. I use unsalted so I can control the salt level. If you only have salted butter, just skip the extra salt in the recipe. I recommend using a good quality butter like Kerrygold for the best flavor, but any brand works.
- Granulated Sugar (2 tablespoons / 25g): This provides the classic sweetness and helps create that crackly coating. You can use coconut sugar for a deeper, caramel-like flavor, but the texture will be slightly less crunchy.
- Ground Cinnamon (1 teaspoon): The star of the show. Make sure your cinnamon is fresh—if it doesn’t smell potent, it won’t taste potent. I prefer Saigon cinnamon for its bold, spicy-sweet kick.
- Sea Salt (½ teaspoon): This is non-negotiable. The salt cuts through the sweetness and makes the flavor pop. I use flaky sea salt like Maldon for a final sprinkle, but fine sea salt works for the mix.
- Vanilla Extract (½ teaspoon, optional): This adds a warm, aromatic depth that makes the seeds taste almost like a snickerdoodle cookie. It’s optional, but I highly recommend it.
Substitution Guidance: If you want a dairy-free version, swap the butter for coconut oil. The flavor will be slightly different—more tropical—but still delicious. For a sugar-free option, use monk fruit sweetener or allulose, but note that the texture might be slightly less crunchy. You can also add a pinch of nutmeg or cardamom for a more complex spice blend.
Equipment Needed
You don’t need a fancy kitchen to make these. Here’s what you’ll need:
- Large Skillet or Frying Pan: A non-stick or well-seasoned cast iron skillet works best. You want a wide surface area so the seeds toast in a single layer, not piled on top of each other.
- Wooden Spoon or Silicone Spatula: For stirring the seeds constantly so they don’t burn.
- Baking Sheet or Large Plate: To spread the seeds out after cooking so they can cool and crisp up.
- Paper Towels: For drying the seeds if you’re starting with fresh pumpkin seeds. This step is crucial.
- Small Bowl: To mix the cinnamon and sugar together before adding it to the pan.
- Measuring Spoons and Cups: For accuracy. I’ve eyeballed this before and ended up with a sugar-coated mess.
Budget-Friendly Tip: If you don’t have a non-stick skillet, a stainless steel pan works, but you’ll need to watch them even more closely. You can also use a heavy-bottomed pot, but the sides might make it harder to stir. Honestly, a good $15 non-stick skillet from the store is perfect for this job.
Preparation Method
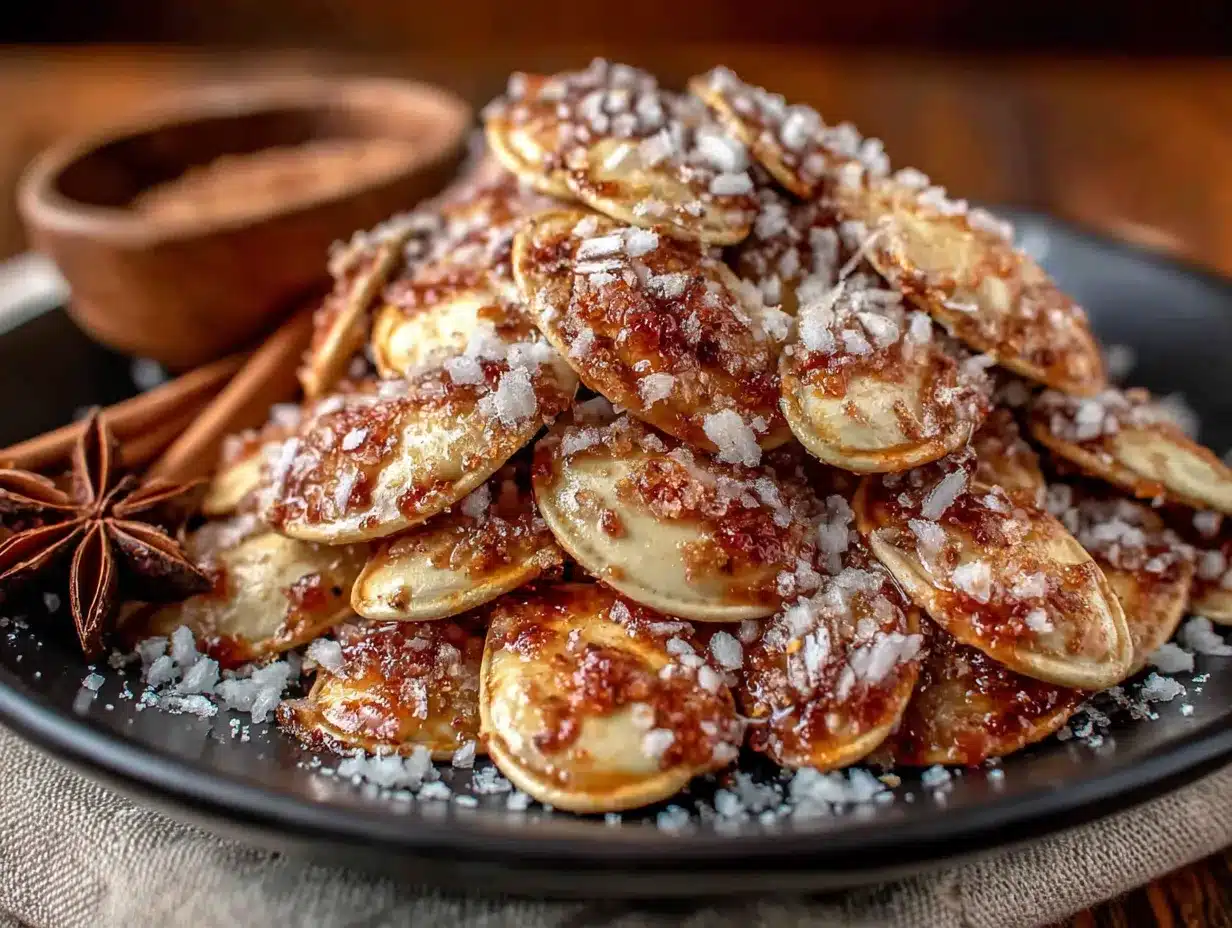
This whole process takes about 15 minutes, but don’t leave the stove. Things happen fast here.
- Prepare the Seeds (2 minutes): If using fresh pumpkin seeds, rinse them in a colander under cold water. Pick out any remaining pumpkin guts or stringy bits. Spread them on a paper towel and pat them *extremely* dry. Any moisture will cause them to steam instead of toast, making them chewy. Let them air dry for 5 minutes if you have time.
- Dry Toast the Seeds (5 minutes): Place your large skillet over medium heat. Add the *dry* pumpkin seeds to the pan—no oil, no butter yet. Spread them in a single layer. Toast them for 3-5 minutes, stirring constantly with your wooden spoon. You’ll hear them start to pop and crackle. That’s the sound of moisture leaving the seeds. They should be fragrant and just starting to turn golden brown. Do not walk away—they can burn in seconds.
- Make the Glaze (1 minute): While the seeds are toasting, mix the sugar, cinnamon, and salt in a small bowl. If using vanilla extract, have it ready next to the stove.
- Add the Butter and Coat (3 minutes): Reduce the heat to medium-low. Pour the melted butter over the toasted seeds and stir quickly to coat every seed. The sizzle should be immediate. Sprinkle the cinnamon-sugar mixture evenly over the seeds. Add the vanilla extract if using. Stir constantly for 1-2 minutes until the sugar melts and the seeds are glossy and coated. The mixture will look a little wet—that’s perfect.
- Spread and Cool (4 minutes): Immediately pour the seeds onto a baking sheet or large plate. Spread them out in a single layer—don’t let them clump together. Sprinkle with a tiny pinch of extra flaky sea salt if you want that sweet-salty kick. Let them cool completely for at least 10 minutes. They will crisp up as they cool. Do not skip this step! Eating them warm will taste good, but they won’t be crunchy.
- Break Apart and Serve: Once cool, break apart any clusters with your fingers. They should shatter easily. Transfer to a serving bowl.
Troubleshooting Tip: If your seeds taste burnt, your heat was too high. Next time, keep the flame on medium and stir faster. If they are chewy, they weren’t dry enough before toasting, or you didn’t toast them long enough in the dry phase.
Cooking Tips & Techniques
I’ve made this recipe about a dozen times, and I’ve learned a few things the hard way so you don’t have to.
The Dry Toast is Non-Negotiable. I know it’s tempting to just add the butter and sugar right away, but that’s how you get soggy seeds. The dry toast step is what removes the internal moisture. Think of it like roasting nuts—they need that initial dry heat to get crunchy. The first time I made this, I skipped this step, and the seeds were like eating sweetened pencil erasers. Never again.
Keep the Seeds Moving. Because the sugar can burn very quickly, you need to stir constantly once the butter and sugar are added. I like to use a silicone spatula because it scrapes the bottom of the pan and prevents sugar from sticking and scorching. If you see the sugar turning dark brown, pull the pan off the heat immediately.
Use a Timer. Set a timer for each step. It’s easy to get distracted while chatting with guests or prepping other food. I once burned a batch because I answered the door for a delivery. The smell of burnt cinnamon is not a good party scent.
Scale Up Carefully. If you’re making a huge batch for a party, do not overcrowd the pan. Work in batches. If you pile too many seeds in the skillet, they will steam instead of toast. It’s better to spend an extra 10 minutes doing two batches than to end up with a giant bowl of sad, chewy seeds.
Variations & Adaptations
This base recipe is fantastic, but it’s also a great canvas for creativity. Here are a few variations I’ve tried and loved.
- Spicy Churro Seeds: Add ¼ teaspoon of cayenne pepper to the cinnamon-sugar mix. The heat sneaks up on you and pairs beautifully with the sweetness. I made these for a taco night once, and they were the first thing to disappear.
- Pumpkin Pie Spice Seeds: Swap the cinnamon for 1 teaspoon of pumpkin pie spice (or a mix of cinnamon, nutmeg, ginger, and cloves). This version tastes exactly like the holidays. I like to add a tablespoon of maple syrup instead of sugar for a deeper, more complex sweetness.
- Dark Chocolate Drizzle: Once the seeds have cooled, melt ¼ cup of dark chocolate chips and drizzle it over the seeds. Let the chocolate set in the fridge for 10 minutes. This turns the snack into a full-on dessert. It’s incredible for a movie night.
- Savory-Sweet Hybrid: Reduce the sugar to 1 tablespoon and add ½ teaspoon of smoked paprika and a pinch of black pepper. The smokiness with the cinnamon is a weirdly good combination. I served these with cocktails, and people couldn’t stop eating them.
Dietary Swaps: For a vegan version, use coconut oil instead of butter. For a nut-free environment, obviously these are seed-based, so they are safe. Just make sure your spices are processed in a nut-free facility if that’s a concern.
Serving & Storage Suggestions
These seeds are best served at room temperature, straight from the cooling sheet. They are the perfect pre-dinner nibble or a movie snack.
Presentation: For a party, I like to serve them in a wide, shallow wooden bowl. It makes them look rustic and abundant. Place the bowl next to a cheese board or a bowl of popcorn for a snack station. They also look beautiful in a clear glass jar with a lid—great for gifting.
What to Serve Alongside: These seeds pair wonderfully with a sharp cheddar cheese board, a creamy pumpkin dip, or even a spicy chili. The sweetness cuts through rich, savory flavors. For a drink, try them with a cold beer or a spiced apple cider.
Storage: Store any leftovers (if there are any!) in an airtight container at room temperature. They will stay crispy for up to 5 days. Do not refrigerate them—the moisture in the fridge will make them soft. If they do lose their crunch, you can re-crisp them in a dry skillet over medium heat for 2 minutes, but be careful not to burn the sugar.
Flavor Development: Honestly, these are best the day they are made. The sugar coating is at its peak crispiness right after cooling. By day two, the coating will have softened slightly, but they are still delicious. I’ve never had a batch last longer than two days in my house.
Nutritional Information & Benefits
While this is a treat, it does have some redeeming qualities. Pumpkin seeds are a powerhouse of nutrition.
Estimated Nutritional Values (per ¼ cup serving):
- Calories: 180
- Fat: 14g (mostly healthy unsaturated fats)
- Carbohydrates: 8g
- Fiber: 2g
- Protein: 7g
- Sugar: 5g
Health Benefits: Pumpkin seeds are an excellent source of magnesium, zinc, and healthy fats. Magnesium is great for sleep and muscle recovery, while zinc supports your immune system—perfect for the cold and flu season. They also contain antioxidants that help reduce inflammation. The butter and sugar obviously add calories, but the base ingredient is a real superfood.
Dietary Considerations: This recipe is naturally gluten-free and can be made dairy-free. It is not low-carb due to the sugar, but you can use a sugar substitute. Potential allergens include dairy (butter) and, rarely, pumpkin seeds themselves. Always check with your guests if you’re serving a crowd.
Conclusion
This recipe is proof that the best party snacks don’t come from a bag. They come from a little bit of patience, a hot skillet, and a willingness to listen to your mechanic. These crispy cinnamon sugar pumpkin seeds are the snack that makes people hover around the kitchen island, asking, “What’s in these?” They’re easy, they’re fast, and they’re absolutely addictive.
I encourage you to make this recipe your own. Play with the spices, add a drizzle of chocolate, or go the spicy route. The base technique is solid, so you can’t go wrong. I love this recipe because it turns something we usually throw away into the star of the show. It’s resourceful, it’s delicious, and it’s a little bit unexpected—just like the day I got the recipe from Marco.
Have you tried these? Did you add your own twist? I’d love to hear about it in the comments below. Share this recipe with a friend who loves to host, and let’s make sure no pumpkin seed ever goes to waste again. Happy snacking!
Frequently Asked Questions
Can I use store-bought pumpkin seeds instead of fresh ones?
Absolutely! In fact, store-bought raw pepitas (hulled pumpkin seeds) are often easier because they are already clean and dry. Just skip the rinsing step and go straight to the dry toasting. The cooking time might be slightly shorter, so watch them closely.
Why did my pumpkin seeds turn out chewy instead of crispy?
This usually happens for two reasons: either the seeds weren’t dried thoroughly before cooking, or you didn’t toast them long enough in the dry phase. Make sure to pat them very dry with a towel, and listen for the popping sound—that’s the sound of moisture escaping. Also, let them cool completely on the baking sheet before eating.
Can I make these in the oven instead of on the stovetop?
Yes, you can! Spread the seeds on a baking sheet and toast at 350°F (175°C) for 10 minutes, stirring halfway. Then, toss them with the melted butter and sugar mixture and return to the oven for another 5 minutes, watching carefully so the sugar doesn’t burn. The stovetop method is faster and gives you more control, but the oven works for larger batches.
How do I prevent the sugar from burning?
The key is to use medium-low heat after adding the sugar and to stir constantly. Don’t walk away from the stove. If you see the sugar turning a dark amber color, immediately remove the pan from the heat and keep stirring. The residual heat will finish the cooking process.
Can I double this recipe?
Yes, but do not try to cook a double batch in one pan. The seeds need to be in a single layer to toast properly. If you double the recipe, cook it in two separate batches, or use a very large, wide skillet. It takes a bit more time, but the texture will be much better.
Pin This Recipe!
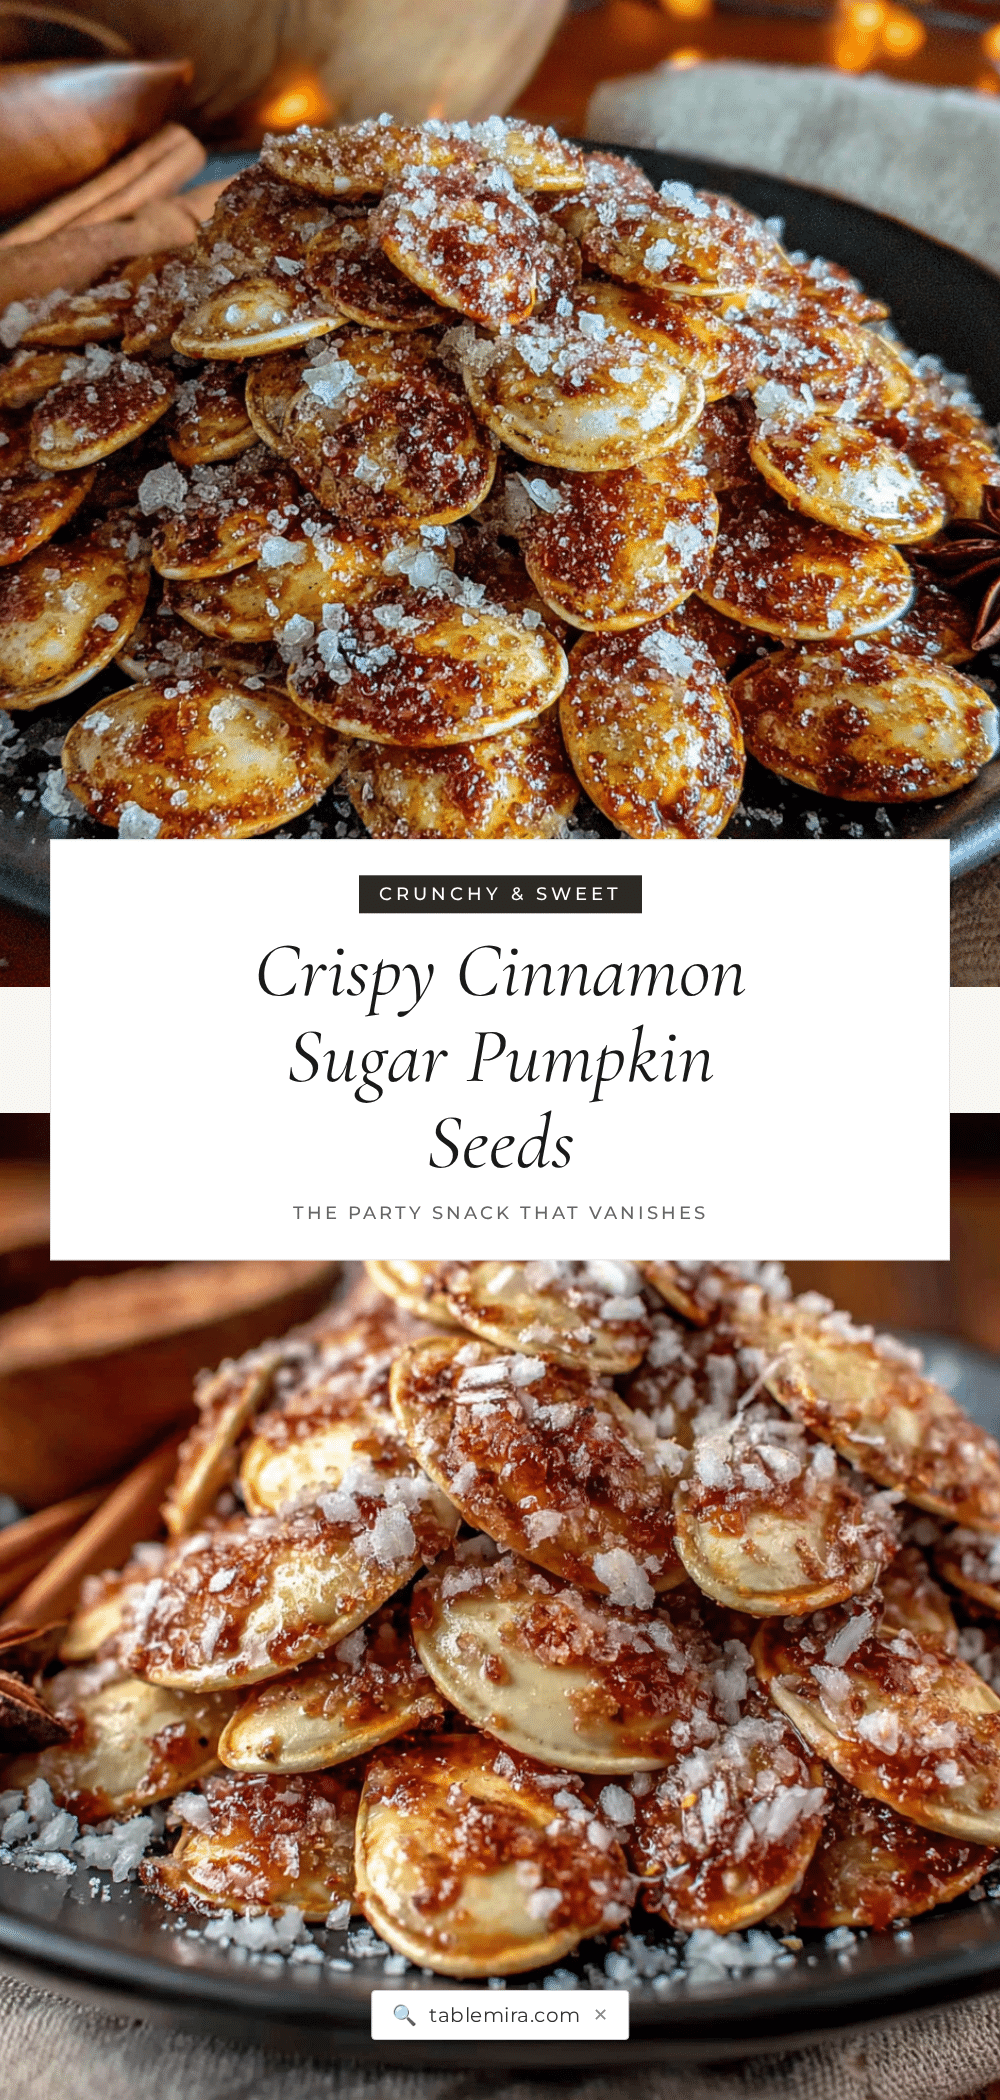
Crispy Cinnamon Sugar Pumpkin Seeds: Easy 15-Minute Snack

These crispy cinnamon sugar pumpkin seeds are a quick and easy snack that’s perfect for fall gatherings. With a candy-like crunch and a sweet-salty coating, they’re dangerously addictive and ready in just 15 minutes.
- Prep Time: 5 minutes
- Cook Time: 10 minutes
- Total Time: 15 minutes
- Yield: 4 servings 1x
- Category: Snack
- Cuisine: American
Ingredients
- 1 cup (120g) fresh pumpkin seeds or pepitas
- 2 tablespoons (28g) unsalted butter, melted
- 2 tablespoons (25g) granulated sugar
- 1 teaspoon ground cinnamon
- ½ teaspoon sea salt
- ½ teaspoon vanilla extract (optional)
Instructions
- Prepare the Seeds: If using fresh pumpkin seeds, rinse them in a colander under cold water, removing any pulp. Pat them extremely dry with paper towels and let air dry for 5 minutes if possible.
- Dry Toast the Seeds: Place a large skillet over medium heat. Add the dry pumpkin seeds in a single layer. Toast for 3-5 minutes, stirring constantly, until they start to pop and turn golden brown.
- Make the Glaze: While seeds toast, mix sugar, cinnamon, and salt in a small bowl. Have vanilla extract ready if using.
- Add the Butter and Coat: Reduce heat to medium-low. Pour melted butter over toasted seeds and stir quickly. Sprinkle cinnamon-sugar mixture evenly over seeds. Add vanilla extract if using. Stir constantly for 1-2 minutes until sugar melts and seeds are glossy.
- Spread and Cool: Immediately pour seeds onto a baking sheet or large plate in a single layer. Sprinkle with extra flaky sea salt if desired. Let cool completely for at least 10 minutes to crisp up.
- Break Apart and Serve: Once cool, break apart any clusters with your fingers. Transfer to a serving bowl.
Notes
The key to crispy seeds is dry-toasting them first before adding butter and sugar. Do not skip the cooling step—they crisp up as they cool. For best results, use fresh cinnamon and stir constantly to prevent burning. Store in an airtight container at room temperature for up to 5 days.
Nutrition
- Serving Size: ¼ cup
- Calories: 180
- Sugar: 5
- Sodium: 150
- Fat: 14
- Saturated Fat: 4
- Carbohydrates: 8
- Fiber: 2
- Protein: 7
Keywords: pumpkin seeds, cinnamon sugar, crispy snack, fall recipe, Halloween snack, easy snack, 15-minute recipe


