Early Sunday morning sunlight filters softly through half-closed blinds, casting gentle shadows on the worn wooden countertop. The kitchen is quiet except for the faint hum of the refrigerator and the occasional clink as I reach for the mixing bowl. It’s October, and the crispness in the air nudges me to revisit a ritual that’s comfort woven into every bite: baking my cozy soft-baked M&M monster cookies for school lunchboxes.
I’m not making these cookies to impress anyone but myself and the little hands that will reach into their lunch bags later today. There’s something quietly satisfying about watching the dough come together—sticky, sweet, and studded with those colorful candies like little bursts of joy. It’s not a race, no flashy tricks here, just a slow, deliberate process that fills the kitchen with warmth and the faint smell of brown sugar and vanilla.
These monster cookies have been a quiet staple in our home for years. They’re not just treats; they’re tiny comfort capsules. I remember the first time I made them, slightly hesitant but hopeful—hoping they’d survive the lunchbox journey and the playground tests. Turns out, they did more than survive; they became the go-to sweet that my kids begged for and classmates coveted.
There’s a soft magic in these cookies, honestly. The way the edges hold just enough chew while the center stays tender is a small victory in itself. And those M&Ms? A childhood reminder wrapped in every bite. So, here’s the recipe that’s been quietly comforting us through slow mornings and busy school days alike. It’s simple, honest, and exactly what you want when you need a little cozy in your afternoon.
Why You’ll Love This Recipe
From my many afternoons baking these soft-baked M&M monster cookies, I can say this recipe ticks all the boxes for a fuss-free, crowd-pleasing treat that fits perfectly in a school lunchbox. Here’s why you’ll find yourself reaching for this one more than any other:
- Quick & Easy: Ready in under 30 minutes, these cookies come together fast—perfect when you’re juggling morning chaos or last-minute lunch prep.
- Simple Ingredients: No hunting for rare components here. You likely have most of these staples in your pantry already, which makes baking a breeze.
- Perfect for School Lunches: Sized just right and soft enough to avoid crumbling, they travel well without losing that fresh-baked feel.
- Crowd-Pleaser: Kids love the colorful M&M surprise inside, and adults can’t resist the nostalgic comfort of chewy, sweet cookie dough.
- Unbelievably Delicious: The balance between buttery richness, gentle sweetness, and melty chocolate candies is honestly next-level cozy.
This isn’t just another cookie recipe floating around. What sets it apart is the soft-baked texture that’s achieved by a little trick I picked up after several trial batches—adding a touch of cornstarch to keep things tender without falling apart. Also, mixing in a hint of brown sugar lends that deep caramel flavor that makes every bite feel like a warm, familiar hug.
It’s the kind of treat that makes you pause mid-afternoon and savor the moment, even if it’s just a quick break between errands or school runs. I love that it’s easy enough to bake on a whim but comforting enough to carry a quiet promise of home in every crumb.
Ingredients Needed
This recipe uses simple, wholesome ingredients to deliver bold flavor and a satisfying, soft texture without any complicated steps. Most are pantry staples, which means you can whip these up anytime without a special trip to the store.
- All-Purpose Flour – 2 ½ cups (312g); the base that gives structure to your cookies
- Cornstarch – 2 teaspoons; a key secret for that soft, tender crumb
- Baking Soda – 1 teaspoon; helps the cookies rise gently
- Salt – ½ teaspoon; balances sweetness
- Unsalted Butter, softened – 1 cup (227g); adds rich, creamy texture (I prefer using Land O’Lakes for consistent results)
- Brown Sugar, packed – 1 cup (200g); for that deep molasses flavor
- Granulated Sugar – ½ cup (100g); for balanced sweetness and slight crispness on edges
- Large Eggs – 2, room temperature; helps bind everything together
- Pure Vanilla Extract – 2 teaspoons; a touch of warmth and aroma
- M&M’s – 1 ½ cups (about 250g); the colorful star of the show (feel free to swap for peanut butter or mini chocolate chips)
Optional and substitutions:
- For gluten-free option, replace all-purpose flour with a 1:1 gluten-free flour blend.
- You can swap unsalted butter with dairy-free margarine for a dairy-free version, though the texture may vary slightly.
- If you want an even softer texture, a spoonful of Greek yogurt mixed into the dough works wonders.
- For a seasonal twist, try adding a handful of chopped nuts or dried cranberries along with the M&Ms.
Equipment Needed
- Mixing Bowls: At least two—one for dry ingredients and one for wet.
- Electric Mixer or Stand Mixer: Makes creaming butter and sugars effortless. (I’ve done this by hand before, but honestly, the mixer saves time and arm fatigue.)
- Measuring Cups and Spoons: Accurate measurements are key to soft-baked success.
- Silicone Spatula: For gentle folding of the M&Ms without breaking them.
- Baking Sheets: Preferably rimmed to catch any spreading dough.
- Parchment Paper or Silicone Baking Mat: Prevents sticking and helps with even baking.
- Cookie Scoop: Optional but highly recommended for consistent-sized cookies that bake evenly.
If you don’t have a cookie scoop, a heaping tablespoon works fine, just try to keep the sizes uniform so they bake evenly. Also, I like to keep a small cooling rack handy; it’s a simple step but helps prevent soggy bottoms and keeps cookies tender.
Preparation Method

- Preheat your oven to 350°F (175°C) and line two baking sheets with parchment paper or silicone mats. This ensures easy cleanup and prevents sticking.
- Mix the dry ingredients: In a medium bowl, whisk together 2 ½ cups (312g) all-purpose flour, 2 teaspoons cornstarch, 1 teaspoon baking soda, and ½ teaspoon salt. Set aside.
- Cream the butter and sugars: In a large bowl, use an electric mixer to beat 1 cup (227g) softened unsalted butter with 1 cup (200g) packed brown sugar and ½ cup (100g) granulated sugar until light and fluffy—about 3-4 minutes. This step is key for that tender texture.
- Add eggs and vanilla: Beat in 2 large eggs, one at a time, then stir in 2 teaspoons pure vanilla extract. The mixture will look smooth and glossy.
- Combine wet and dry: Gradually add the dry ingredients to the wet, mixing on low speed until just combined. Avoid overmixing here; you want tender cookies, not tough ones.
- Fold in M&M’s: Gently fold 1 ½ cups (about 250g) M&M candies into the dough with a spatula. Be careful not to crush the candies—their colorful shells are part of the fun.
- Scoop the dough: Use a cookie scoop or tablespoon to drop generous mounds (about 2 tablespoons / 30g each) onto the prepared baking sheets, spacing them about 2 inches apart.
- Bake: Place in the oven and bake for 10-12 minutes. The cookies should look set around the edges but still soft in the center. Resist the urge to overbake—they will firm up as they cool.
- Cool: Let the cookies rest on the baking sheet for 5 minutes before transferring them to a cooling rack. This step helps them finish cooking gently and keeps them soft.
Pro tip: If your kitchen is warm or your butter too soft, chill the dough for 15 minutes before scooping. This helps prevent excessive spreading and keeps cookies thick and tender.
Cooking Tips & Techniques
Getting that perfect soft-baked texture takes a few small tricks I’ve picked up over time:
- Don’t skip the cornstarch. It’s the unsung hero for tenderness. Without it, you’ll end up with chewier, more typical cookies, not the soft, pillowy ones you want.
- Room temperature ingredients matter. Using butter and eggs at room temp helps everything blend smoothly and traps the air needed for lightness.
- Watch your baking time closely. Those last few minutes make all the difference. Pull the cookies out when edges are set but centers are still a little underdone—they’ll finish baking on the sheet.
- Use a light hand folding in the M&Ms. Too rough, and you’ll break the colorful candy shells which can bleed color into the dough.
- Chill your dough if your kitchen is humid or warm. This helps the cookies hold shape and avoids spreading too thin.
- Don’t overmix the dough. Once the dry ingredients go in, stir only until just combined to keep cookies tender.
- Try baking one test cookie first. It’s a small step but can save you from overbaking a whole batch if your oven runs hot.
I remember the first time I ignored the chilling step—cookies spread into flat discs, no monster in sight! Lesson learned, and now I swear by it.
Variations & Adaptations
While the classic M&M monster cookie is a star, it’s fun to tweak and make it your own. Here are a few variations I’ve tried (and loved):
- Peanut Butter Monster Cookies: Swap ½ cup (120g) butter for creamy peanut butter for a nutty, rich twist. Add chopped peanuts for crunch.
- Gluten-Free Version: Use a 1:1 gluten-free flour blend. Add a teaspoon of xanthan gum if your blend doesn’t already include it to keep the texture just right.
- Seasonal Twist: Replace M&Ms with chopped dried cranberries and white chocolate chips during the winter months for a festive feel.
- Mini Monster Cookies: Use a teaspoon to make bite-sized cookies—perfect for after-school snacking or party trays.
- Dairy-Free Adaptation: Substitute butter with coconut oil or dairy-free margarine, and use dairy-free chocolate candies or chips.
One of my favorite experiments was adding a sprinkle of flaky sea salt on top before baking—gives that sweet-salty balance that’s hard to beat.
Serving & Storage Suggestions
These cozy soft-baked M&M monster cookies are best enjoyed fresh but also store beautifully:
- Serving: Serve at room temperature for the perfect chewy-soft texture. They pair wonderfully with a cold glass of milk or a warm cup of tea on a slow afternoon.
- Lunchbox Friendly: Pack individually in wax paper or small reusable containers to keep them from sticking together during the day.
- Storage: Store cookies in an airtight container at room temperature for up to 4 days. For longer storage, freeze them in a sealed bag for up to 3 months.
- Reheating: Warm frozen cookies in the microwave for 10-15 seconds to regain that fresh-baked softness. Avoid overheating or they’ll dry out.
- Flavor Development: Over time, the flavors mellow and meld, making them ideal for making ahead—just keep them sealed tight to maintain moisture.
These cookies have made many appearances in our lunchbox rotations and pair surprisingly well with savory items like homemade chicken sliders or fresh fruit for a balanced school meal.
Nutritional Information & Benefits
Each cookie (assuming about 24 per batch) contains approximately:
| Calories | ~150 kcal |
|---|---|
| Fat | 7g |
| Carbohydrates | 20g |
| Sugars | 12g |
| Protein | 2g |
While these cookies are definitely a treat, they also offer some nutritional value thanks to the eggs providing protein and the butter adding healthy fats. Choosing natural vanilla and avoiding artificial colors in M&Ms can help keep ingredients cleaner.
For dietary considerations, these cookies can be made gluten-free and dairy-free with simple swaps as mentioned earlier. However, they contain eggs and chocolate, so those with allergies should proceed with caution or adapt accordingly.
From a wellness perspective, I appreciate that they bring a bit of joy and comfort without fuss—sometimes that small mental break is just as nourishing as the food itself.
Conclusion
These cozy soft-baked M&M monster cookies are more than just a sweet treat; they’re a quiet ritual, a moment of simple joy crafted with intention. They’re easy to make, comforting to eat, and carry a little piece of home in every bite.
Whether you’re packing a school lunchbox, need a quick afternoon snack, or just want to slow down and savor something sweet, this recipe fits seamlessly into your day. Don’t hesitate to tweak it to your liking—add nuts, swap candies, or try mini versions. It’s all about making it yours.
I keep coming back to this recipe because it never fails to bring a smile and a little cozy calm to busy days. If you give it a try, I’d love to hear how your batch turns out or any fun twists you discover along the way. Baking is better shared, even if quietly.
Frequently Asked Questions
Can I use other candies instead of M&Ms?
Absolutely! Mini chocolate chips, peanut butter chips, or even chopped candy bars work well. Just fold them in gently to avoid melting or color bleeding.
How do I keep the cookies soft for longer?
Store them in an airtight container at room temperature with a slice of bread inside—the bread helps maintain moisture and softness.
Can I make the dough ahead of time?
Yes, you can refrigerate the dough for up to 24 hours before baking. Just let it sit at room temperature for 10 minutes before scooping to make handling easier.
What’s the best way to measure flour for this recipe?
Fluff the flour with a spoon, lightly spoon it into your measuring cup, and level it off with a knife. This prevents packing and keeps the dough from getting too dense.
Can I freeze the baked cookies?
Yes, freeze fully cooled cookies in a sealed container or bag for up to 3 months. Warm them briefly in the microwave before serving for that fresh-baked feel.
Pin This Recipe!
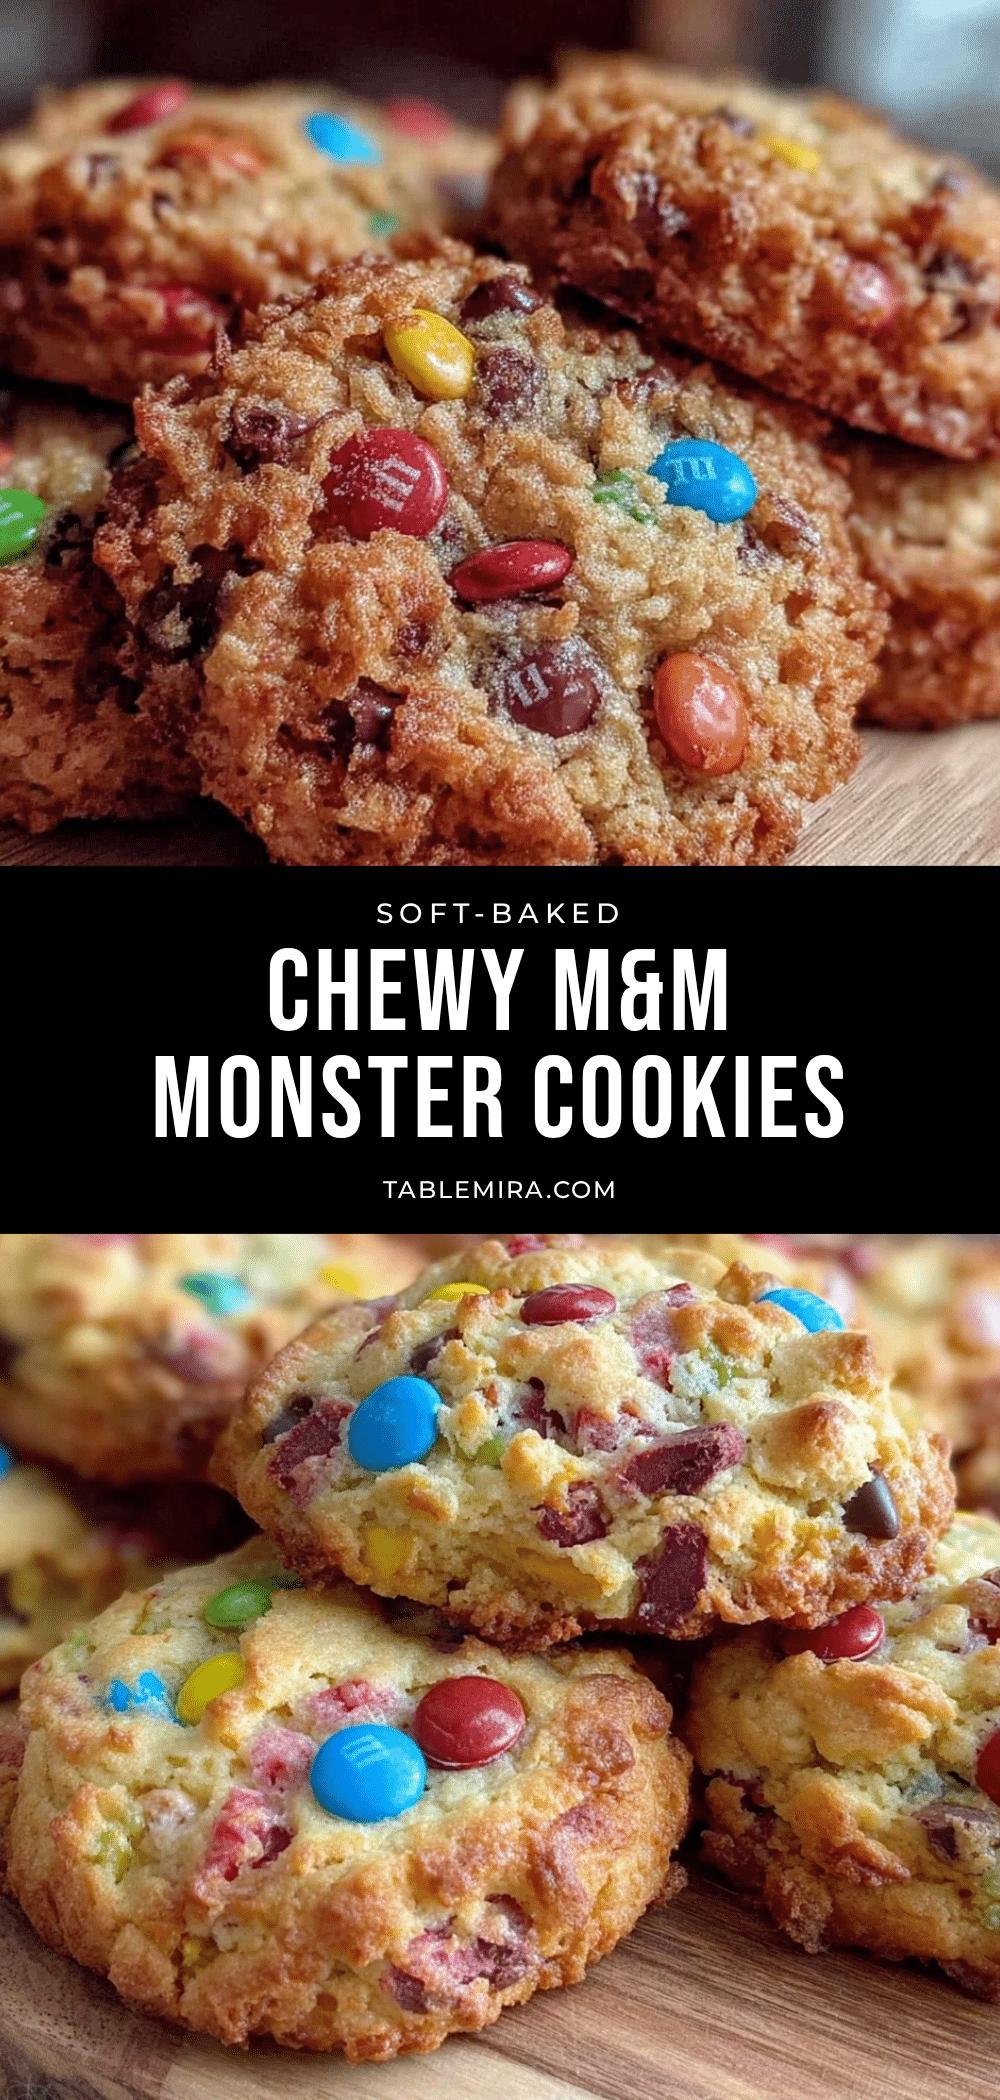
Cozy M&M Monster Cookies Recipe Easy Soft-Baked School Lunch Treats

Soft-baked M&M monster cookies that are perfect for school lunchboxes, featuring a tender crumb and chewy edges with colorful candy bursts.
- Prep Time: 10 minutes
- Cook Time: 12 minutes
- Total Time: 22 minutes
- Yield: 24 cookies 1x
- Category: Dessert
- Cuisine: American
Ingredients
- 2 ½ cups (312g) all-purpose flour
- 2 teaspoons cornstarch
- 1 teaspoon baking soda
- ½ teaspoon salt
- 1 cup (227g) unsalted butter, softened
- 1 cup (200g) packed brown sugar
- ½ cup (100g) granulated sugar
- 2 large eggs, room temperature
- 2 teaspoons pure vanilla extract
- 1 ½ cups (about 250g) M&M’s
Instructions
- Preheat your oven to 350°F (175°C) and line two baking sheets with parchment paper or silicone mats.
- In a medium bowl, whisk together all-purpose flour, cornstarch, baking soda, and salt. Set aside.
- In a large bowl, use an electric mixer to beat softened unsalted butter with packed brown sugar and granulated sugar until light and fluffy, about 3-4 minutes.
- Beat in eggs one at a time, then stir in pure vanilla extract until smooth and glossy.
- Gradually add the dry ingredients to the wet mixture, mixing on low speed until just combined. Avoid overmixing.
- Gently fold in M&M candies with a spatula, being careful not to crush them.
- Use a cookie scoop or tablespoon to drop generous mounds (about 2 tablespoons / 30g each) onto the prepared baking sheets, spacing about 2 inches apart.
- Bake for 10-12 minutes until edges look set but centers are still soft. Do not overbake.
- Let cookies rest on the baking sheet for 5 minutes before transferring to a cooling rack to finish cooking and keep soft.
Notes
Chill dough for 15 minutes if kitchen is warm to prevent spreading. Do not overmix dough to keep cookies tender. Use a light hand folding in M&Ms to avoid breaking candy shells. Baking one test cookie first can help avoid overbaking the whole batch.
Nutrition
- Serving Size: 1 cookie
- Calories: 150
- Sugar: 12
- Fat: 7
- Carbohydrates: 20
- Protein: 2
Keywords: M&M cookies, monster cookies, soft-baked cookies, school lunch treats, easy cookies, chewy cookies, colorful cookies


