The summer I turned thirty, my neighbor Margot watched me wrestling with a store-bought pie crust in my driveway. I was trying to impress my in-laws for a Labor Day barbecue, and honestly, I was losing. The crust was cracking, the edges were crumbling, and I looked like I was trying to perform surgery on a pastry. Margot didn’t say anything at first. She just walked over, took the dough from my hands, and pressed it back together with her thumbs. “You’re fighting it,” she said, wiping her hands on her apron. “Pie dough doesn’t like to be bossed around.” She grew up in a tiny bakery in rural France before moving here, and she never once made me feel silly for my kitchen disasters. She just showed me—without a single recipe card—how to coax butter and flour into something that actually felt like a promise. That afternoon, she taught me the rhythm of the dough, the way it should feel between your fingers, the patience it asks for. This homemade pumpkin pie with flaky all-butter crust is the direct result of that conversation. It’s not a formal recipe handed down on parchment; it’s a story told over flour-dusted hands and a cracked ceramic bowl that Margot insists “has character.” I’ve adapted it over the years—tweaked the spices, perfected the bake time—but the heart of it is still her quiet lesson: respect the ingredients, and they’ll respect you back. Maybe you’ve had that moment where a stranger or a neighbor changed the way you cook. This pie is that for me.
Why You’ll Love This Recipe
Let me tell you why this particular homemade pumpkin pie is the one you’ll want to pull out for every Thanksgiving, Friendsgiving, or cozy fall dinner party. I’ve tested this recipe more times than I can count, and I’ve had friends text me at midnight asking for the exact spice blend. It’s that good.
- Perfect for Hosting: This pie is designed to impress a crowd. The all-butter crust is flaky, golden, and honestly, it makes the whole table stop and stare. Your guests will think you spent all day in the kitchen—but you won’t have to.
- Simple Ingredients: You probably already have most of these in your pantry. No weird extracts, no hard-to-find spices. Just honest, real ingredients that work together beautifully.
- Make-Ahead Friendly: The crust can be made two days in advance. The filling comes together in minutes. You can even bake the whole pie a day ahead—it actually tastes better after resting overnight. That’s a hosting win right there.
- Crowd-Pleaser: I’ve served this at potlucks, holiday dinners, and casual get-togethers. It disappears every single time. Kids love it, adults fight over the last slice, and someone always asks for the recipe.
- Unbelievably Delicious: The filling is silky, spiced just right, and not overly sweet. The crust shatters when you bite into it. It’s the kind of pie that makes you close your eyes after the first bite—I mean it.
What makes this recipe different from all the others? It’s the technique. Most pumpkin pie recipes skip the step of pre-cooking the filling slightly on the stove, which concentrates the flavor and prevents that watery, soggy bottom crust. And the all-butter crust? No shortening, no Crisco—just cold butter, flour, salt, and ice water. It’s a little more work, but the payoff is a crust that’s tender, flaky, and actually tastes like something. This isn’t just another version of pumpkin pie. It’s the version you’ll come back to year after year.
What Ingredients You Will Need
This recipe uses simple, wholesome ingredients to deliver that classic pumpkin pie flavor with a crust that steals the show. Most of these are pantry staples, especially during fall, but I’ll share a few tips to help you pick the best ones.
For the All-Butter Crust
- 2 ½ cups (315g) all-purpose flour – I prefer King Arthur Flour for its consistent protein content, but any good brand works. Spoon and level your flour for the best results.
- 1 teaspoon (6g) fine sea salt – Don’t skip this. Salt makes the crust taste buttery and balances the sweetness of the filling.
- 1 tablespoon (12g) granulated sugar – Just a touch. It helps with browning and adds a hint of sweetness.
- 1 cup (226g) unsalted butter, very cold, cut into small cubes – This is non-negotiable. Cold butter creates steam pockets as it bakes, which gives you those beautiful flaky layers. I like to pop my cubed butter in the freezer for 10 minutes before I start.
- ½ cup (120ml) ice water, plus more if needed – You’ll need about 6-8 tablespoons. Keep a bowl of ice water handy and add it tablespoon by tablespoon.
For the Pumpkin Filling
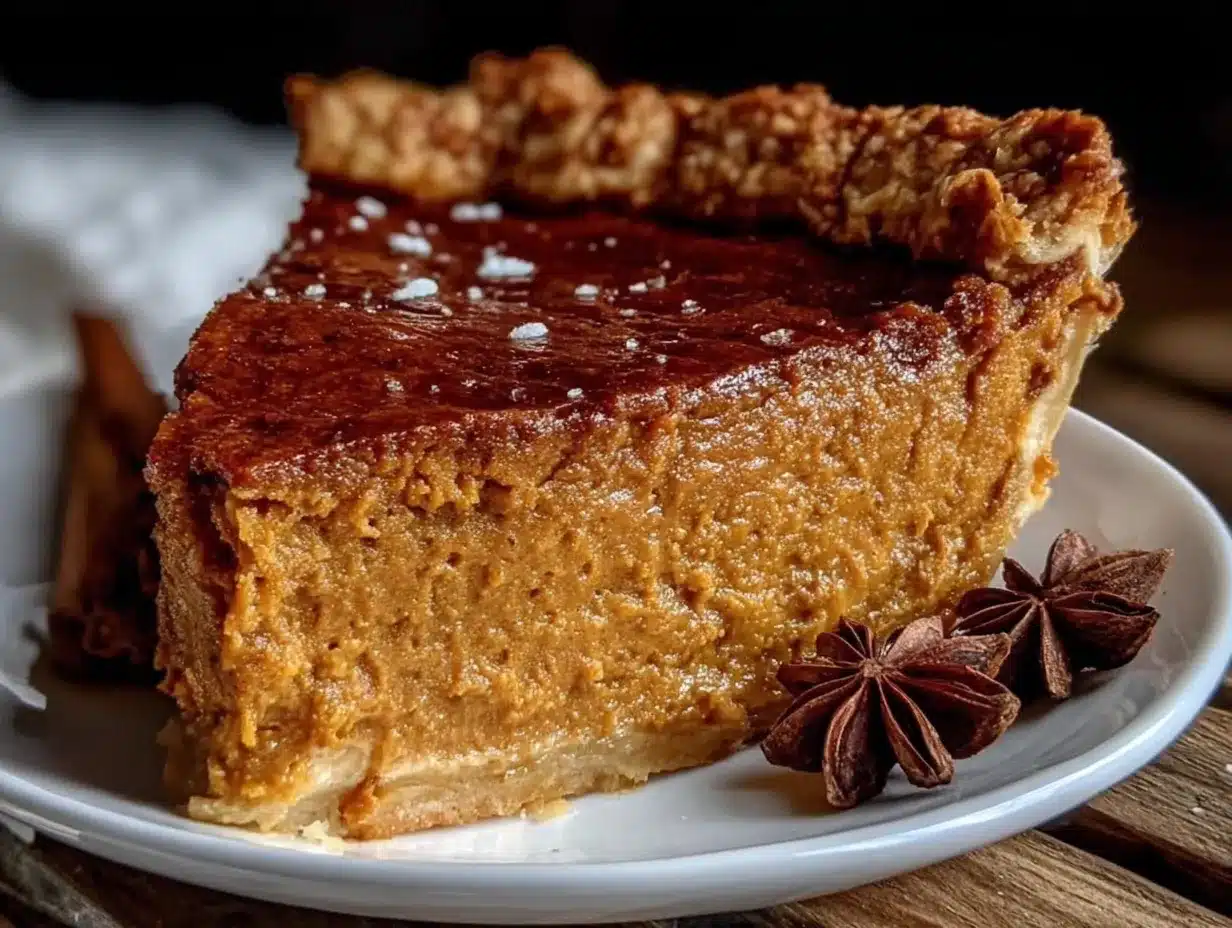
- 1 can (15 oz or 425g) pure pumpkin puree – Make sure you’re buying pure pumpkin, not pumpkin pie filling. Libby’s is my go-to for its consistent texture and flavor.
- 1 cup (240ml) heavy cream – This gives the filling a luxurious, silky texture. You can substitute half-and-half if you want it lighter, but full-fat cream is best for hosting.
- ¾ cup (150g) packed light brown sugar – Brown sugar adds depth and a subtle molasses note. I’ve tried dark brown sugar, and it works too, but light keeps the flavor balanced.
- 2 large eggs – Room temperature eggs blend more smoothly into the filling. Just set them out on the counter 30 minutes before you start.
- 1 teaspoon (5ml) vanilla extract – Pure vanilla, not imitation. It makes a difference.
- 1 ½ teaspoons (3g) ground cinnamon – The backbone of pumpkin pie spice. I use Vietnamese cinnamon for its warm, slightly sweet flavor.
- ½ teaspoon (1g) ground ginger – Adds a little warmth and zing.
- ½ teaspoon (1g) ground nutmeg – Freshly grated is amazing if you have it, but pre-ground works perfectly fine.
- ¼ teaspoon (0.5g) ground cloves – Just a pinch. Cloves are strong, so don’t overdo it.
- ½ teaspoon (3g) fine sea salt – This balances the sweetness and brings out the pumpkin flavor.
For the Egg Wash
- 1 large egg – Beaten with 1 tablespoon of water or milk. This gives the crust that gorgeous golden-brown shine.
Equipment Needed
You don’t need a fancy kitchen to make this pie, but a few key tools make the process much smoother. Here’s what I use and recommend.
- 9-inch pie dish – A standard metal or glass pie dish works great. I prefer a deep-dish ceramic one because it holds all the filling and bakes evenly. Avoid disposable aluminum pans—they can warp and lead to uneven baking.
- Rolling pin – A French-style tapered rolling pin gives you more control, but any rolling pin will do. If you don’t have one, a clean wine bottle works in a pinch—I’ve been there.
- Pastry cutter or food processor – For cutting the butter into the flour. I use a pastry cutter for the most control, but a food processor is faster. Just be careful not to over-process.
- Large mixing bowls – One for the crust, one for the filling. I like glass or stainless steel because they’re easy to clean.
- Whisk – For blending the filling ingredients until smooth.
- Parchment paper and pie weights – For blind baking the crust. Dried beans or rice work perfectly as pie weights if you don’t have the real thing. I’ve used the same bag of dried chickpeas for years.
- Measuring cups and spoons – Accurate measurements matter, especially for the flour and spices.
- Cooling rack – Essential for letting the pie cool evenly after baking. A hot pie on a cold countertop can crack the filling.
Preparation Method
Let’s walk through this step by step. I’ll include all the little details that make the difference between a good pie and a show-stopping one.
Step 1: Make the All-Butter Crust
In a large bowl, whisk together the flour, salt, and sugar. Add the cold butter cubes. Using a pastry cutter or your fingertips, work the butter into the flour until the mixture looks like coarse meal with some pea-sized butter pieces remaining. This is key—those little chunks of butter create the flaky layers.
Drizzle 4 tablespoons of ice water over the mixture and toss gently with a fork. Add more water, 1 tablespoon at a time, until the dough just holds together when you squeeze a handful. You want it to be shaggy, not wet. Turn the dough out onto a lightly floured surface, shape it into a disk, wrap it in plastic wrap, and refrigerate for at least 1 hour. Honestly, 2 hours is even better. This rest relaxes the gluten and chills the butter again, which is crucial for flakiness.
Step 2: Blind Bake the Crust
Preheat your oven to 375°F (190°C). On a lightly floured surface, roll the dough out to a 12-inch circle, about ⅛-inch thick. Gently transfer it to your pie dish, pressing it into the corners. Trim the overhang to about ½ inch, then fold it under and crimp the edges however you like. I use a simple fluted crimp with my fingers—it looks rustic and elegant at the same time.
Line the crust with parchment paper and fill it with pie weights or dried beans. Bake for 15 minutes, then remove the parchment and weights. Brush the crust with the egg wash and bake for another 5-7 minutes, until it’s lightly golden. This step seals the crust and prevents that dreaded soggy bottom. Let it cool slightly while you make the filling.
Step 3: Make the Pumpkin Filling
In a medium saucepan over medium heat, combine the pumpkin puree, heavy cream, and brown sugar. Whisk until smooth and warm, about 3-4 minutes. You’re not boiling it, just warming it up. This is the secret step that concentrates the flavor and helps the filling set perfectly. Remove from heat.
In a separate bowl, whisk the eggs and vanilla together. Slowly drizzle about ½ cup of the warm pumpkin mixture into the eggs while whisking constantly. This tempers the eggs so they don’t scramble. Then pour the egg mixture back into the saucepan with the remaining pumpkin mixture. Add the cinnamon, ginger, nutmeg, cloves, and salt. Whisk until everything is smooth and fragrant.
Step 4: Assemble and Bake
Pour the filling into the pre-baked crust. It will fill the crust almost to the top—don’t worry, it won’t overflow. Place the pie on a baking sheet to catch any drips. Bake at 375°F (190°C) for 15 minutes, then reduce the oven temperature to 350°F (175°C) and bake for another 35-40 minutes. The pie is done when the edges are set and the center jiggles slightly when you gently shake the pan. It will continue to set as it cools.
Let the pie cool completely on a wire rack, at least 2 hours. For the best texture, refrigerate it for at least 4 hours or overnight. The flavors meld together and the filling becomes perfectly sliceable.
Cooking Tips & Techniques
I’ve made this pie more times than I can count, and I’ve definitely had my share of mishaps. Here’s what I’ve learned so you don’t have to repeat my mistakes.
Don’t overwork the dough. The first time I made this crust, I kneaded it like bread. It turned out tough and dense. Handle the dough as little as possible. Mix just until it comes together, and if it gets too warm, pop it back in the fridge for 15 minutes.
Use a thermometer for the filling. If you’re nervous about doneness, the internal temperature should reach 175°F (80°C) when the pie is done. I use an instant-read thermometer and it takes all the guesswork out.
Prevent cracks in the filling. Overbaking is the main culprit. The filling will continue to cook as it cools, so pull it out when the center still has a slight wobble. Also, avoid placing the hot pie directly on a cold surface—the sudden temperature change can cause cracks.
Multitask like a pro. While the crust is chilling, you can measure out your filling ingredients. While the crust is blind baking, you can start the filling on the stove. This way, everything comes together seamlessly, especially when you’re hosting and the timer is ticking.
Chill your tools. For the flakiest crust, chill your flour, your bowl, and even your pastry cutter in the fridge for 15 minutes before you start. It sounds fussy, but it makes a real difference when the butter stays cold.
Variations & Adaptations
This recipe is a great base, and I love playing around with it depending on the occasion or who’s coming over.
Spice it up. Add ¼ teaspoon of cardamom or allspice for a more complex flavor profile. I did this for a fall dinner party once, and my friend Sarah asked for the recipe before she even finished her slice.
Make it dairy-free. Substitute the heavy cream with full-fat coconut cream. The texture is still silky, and the coconut flavor is subtle enough that it won’t overpower the pumpkin. For the crust, use cold coconut oil or vegan butter instead of dairy butter.
Go gluten-free. Use a 1:1 gluten-free flour blend in the crust. I’ve had great results with Bob’s Red Mill. Just add an extra tablespoon of ice water since gluten-free flours absorb more liquid.
Add a bourbon kick. Replace the vanilla extract with 1 tablespoon of bourbon. The warmth of the bourbon pairs beautifully with the spices. I tried this on a whim one Thanksgiving, and it’s become my go-to for adult-only gatherings.
Try a different crust. If you’re short on time, a store-bought refrigerated pie crust works in a pinch. But honestly, the all-butter crust is what makes this pie special. If you can spare the hour, it’s worth it.
Serving & Storage Suggestions
This pie is a showstopper at any gathering, and how you serve it can make it even more memorable.
Serving temperature: I prefer this pie chilled, straight from the fridge. The filling sets up beautifully and slices cleanly. If you prefer it at room temperature, let it sit out for about 20 minutes before serving. Top each slice with a generous dollop of lightly sweetened whipped cream—it balances the spiced filling perfectly.
What to serve alongside: This pie is the star, but it loves company. Serve it with a scoop of vanilla bean ice cream, a drizzle of caramel sauce, or a sprinkle of candied pecans. For a full dessert spread, pair it with apple crisp with oat topping or pecan pie bars for a fall dessert table that’ll have everyone talking.
Storage instructions: Cover the pie loosely with plastic wrap or foil and store it in the refrigerator for up to 4 days. The crust will stay flaky, and the filling will remain creamy. Do not leave it at room temperature for more than 2 hours because of the eggs and cream.
Freezing: You can freeze the fully baked pie for up to 2 months. Wrap it tightly in plastic wrap, then a layer of foil. Thaw it overnight in the refrigerator before serving. I’ve done this for holiday prep, and it works beautifully. The flavor actually seems to deepen.
Reheating: If you want a warm slice, place it in a 300°F (150°C) oven for 10-15 minutes. Avoid the microwave—it will make the crust soggy and the filling rubbery.
Nutritional Information & Benefits
Here’s the approximate nutritional breakdown for one slice of this homemade pumpkin pie (based on 8 servings). Keep in mind these are estimates and can vary based on specific ingredients and portion sizes.
| Nutrient | Amount Per Serving |
|---|---|
| Calories | 380 |
| Total Fat | 22g |
| Saturated Fat | 13g |
| Cholesterol | 105mg |
| Sodium | 310mg |
| Total Carbohydrates | 42g |
| Dietary Fiber | 3g |
| Sugars | 24g |
| Protein | 6g |
Pumpkin is packed with vitamin A, which is great for eye health and your immune system. It’s also a good source of fiber, which helps with digestion. The cinnamon and ginger in this recipe have anti-inflammatory properties, so you can feel a little bit good about indulging. If you’re watching your sugar intake, you can reduce the brown sugar to ½ cup, but I find the sweetness level is just right for a dessert that’s meant to be a treat.
This recipe contains gluten, dairy, and eggs, so it’s not suitable for those with allergies to those ingredients. For a dairy-free version, check out the variations section above.
Conclusion
This homemade pumpkin pie with flaky all-butter crust is more than just a dessert—it’s the centerpiece of fall gatherings, the dish that gets passed around the table with smiles and second helpings. It’s the pie I make when I want to show the people I love that I care, without saying a word. The crust is tender and buttery, the filling is smooth and spiced just right, and every bite tastes like the best parts of autumn.
I hope you give this recipe a try for your next dinner party, holiday meal, or just because it’s Tuesday and you deserve something special. Don’t be afraid to make it your own—add a little extra cinnamon, swap in a different crust, or serve it with your favorite ice cream. The best recipes are the ones that become part of your story.
If you make this pie, I’d love to hear about it! Leave a comment below and let me know how it turned out, or share your own twist on the recipe. And if you’re looking for more fall dessert inspiration, check out my pumpkin cheesecake swirl bars or maple pecan tart for another show-stopping option. Happy baking, friends!
Frequently Asked Questions
Can I use canned pumpkin pie filling instead of pure pumpkin puree?
No, I wouldn’t recommend it. Canned pumpkin pie filling already has sugar and spices added, which will throw off the balance of this recipe. Stick with pure pumpkin puree so you can control the sweetness and spice levels yourself.
Why is my pie crust shrinking in the pan?
This usually happens when the dough is overworked or not chilled enough. The gluten tightens up during baking and pulls the crust down. Make sure you refrigerate the dough for at least an hour before rolling, and handle it as little as possible. Blind baking with pie weights also helps anchor the crust in place.
Can I make this pie ahead of time?
Absolutely! In fact, I recommend it. The pie actually tastes better after resting overnight in the fridge because the flavors have time to meld together. You can also make the crust dough up to 2 days in advance and keep it wrapped in the refrigerator.
How do I know when the pie is done baking?
The edges should be set and slightly puffed, while the center should still jiggle a little when you gently shake the pan. If you’re using an instant-read thermometer, the internal temperature should reach 175°F (80°C). Remember, the filling will continue to set as it cools, so don’t overbake it.
Can I freeze leftover pumpkin pie?
Yes, you can freeze the fully baked pie for up to 2 months. Wrap it tightly in plastic wrap and then a layer of foil. Thaw it overnight in the refrigerator before serving. I’ve done this for holiday prep, and it works like a charm—the flavor actually seems to deepen.
Pin This Recipe!
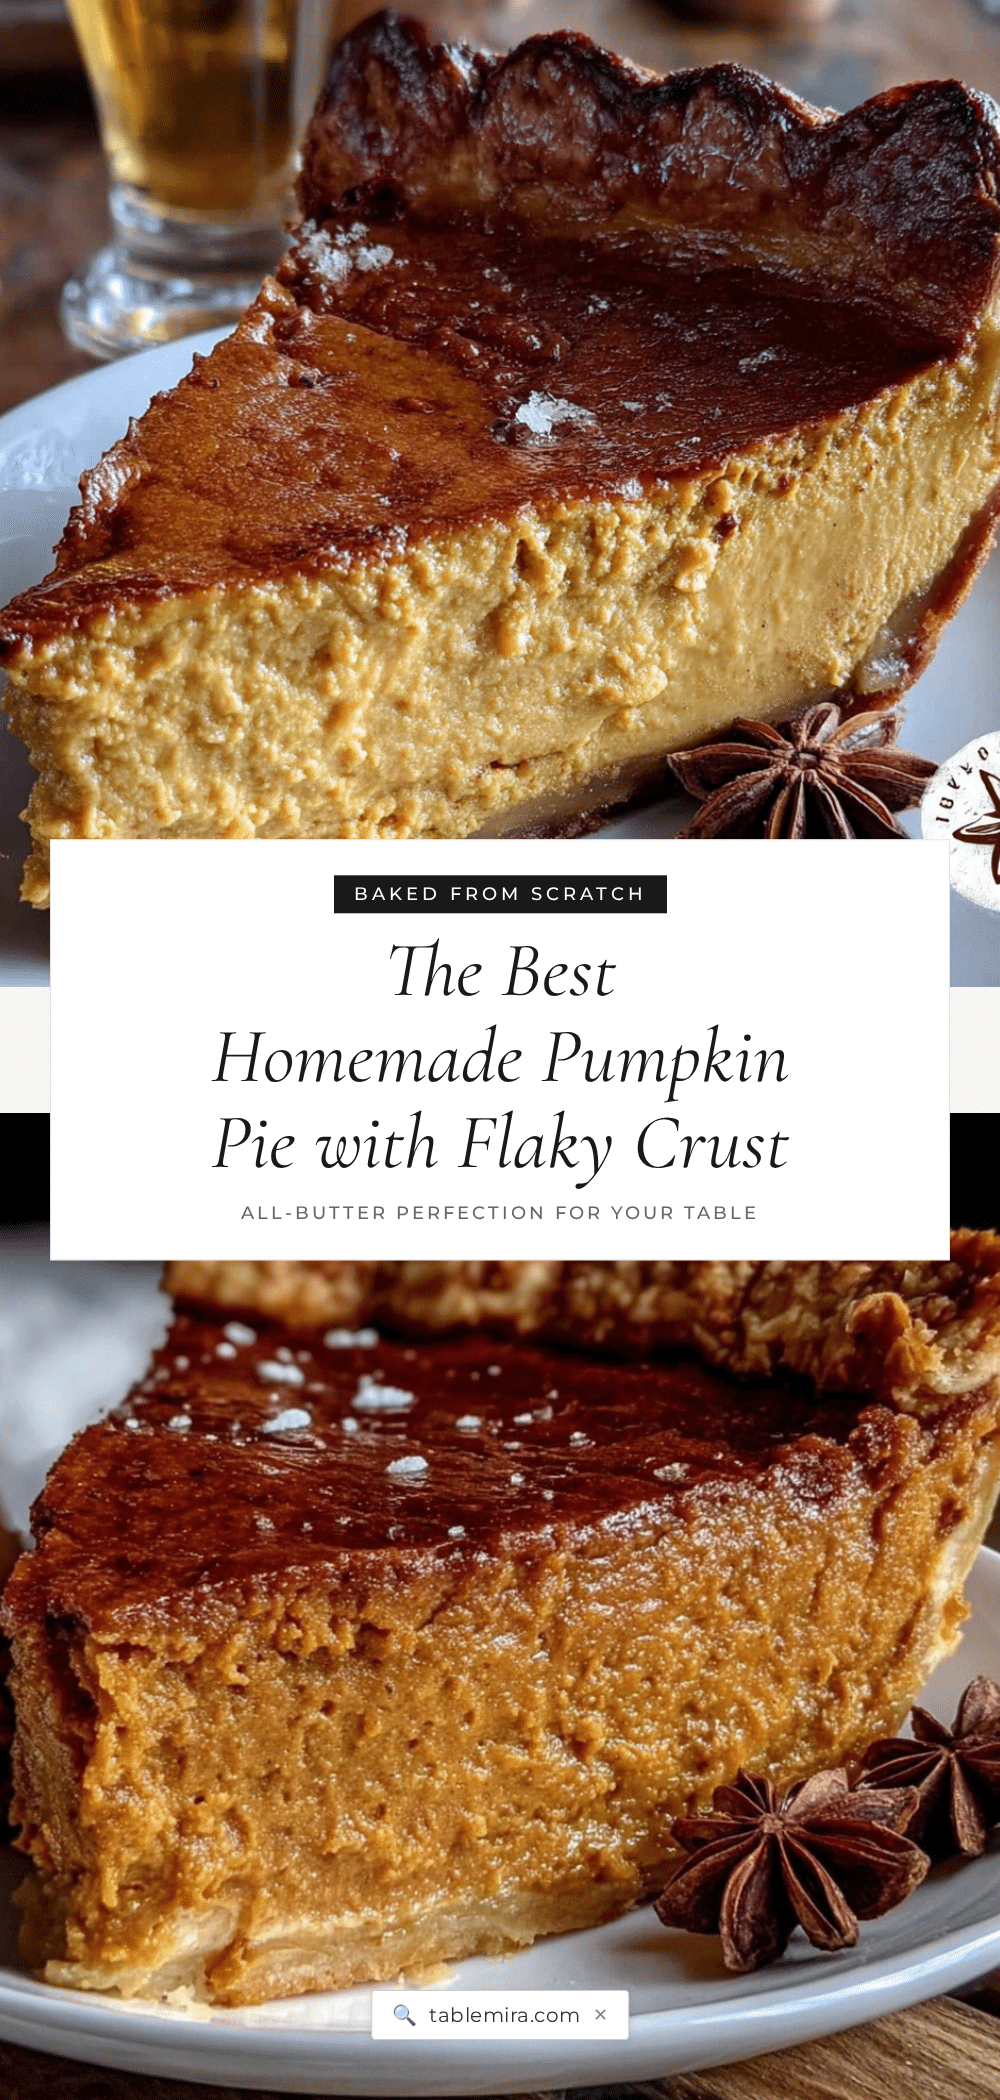
The Best Homemade Pumpkin Pie with Flaky All-Butter Crust

This homemade pumpkin pie features a silky, spiced pumpkin filling and a tender, flaky all-butter crust. It’s the perfect centerpiece for fall gatherings, designed to impress with simple ingredients and make-ahead convenience.
- Prep Time: 30 minutes
- Cook Time: 55 minutes
- Total Time: 1 hour 25 minutes (plus chilling time)
- Yield: 8 servings 1x
- Category: Dessert
- Cuisine: American
Ingredients
- 2 ½ cups (315g) all-purpose flour
- 1 teaspoon (6g) fine sea salt
- 1 tablespoon (12g) granulated sugar
- 1 cup (226g) unsalted butter, very cold, cut into small cubes
- ½ cup (120ml) ice water, plus more if needed
- 1 can (15 oz or 425g) pure pumpkin puree
- 1 cup (240ml) heavy cream
- ¾ cup (150g) packed light brown sugar
- 2 large eggs
- 1 teaspoon (5ml) vanilla extract
- 1 ½ teaspoons (3g) ground cinnamon
- ½ teaspoon (1g) ground ginger
- ½ teaspoon (1g) ground nutmeg
- ¼ teaspoon (0.5g) ground cloves
- ½ teaspoon (3g) fine sea salt
- 1 large egg (for egg wash)
- 1 tablespoon water or milk (for egg wash)
Instructions
- Make the all-butter crust: In a large bowl, whisk together flour, salt, and sugar. Add cold butter cubes. Using a pastry cutter or fingertips, work butter into flour until mixture resembles coarse meal with some pea-sized butter pieces remaining.
- Drizzle 4 tablespoons of ice water over the mixture and toss gently with a fork. Add more water, 1 tablespoon at a time, until dough just holds together when squeezed. Turn dough onto a lightly floured surface, shape into a disk, wrap in plastic wrap, and refrigerate for at least 1 hour (2 hours is better).
- Blind bake the crust: Preheat oven to 375°F (190°C). On a lightly floured surface, roll dough to a 12-inch circle, about ⅛-inch thick. Transfer to a 9-inch pie dish, pressing into corners. Trim overhang to ½ inch, fold under, and crimp edges.
- Line crust with parchment paper and fill with pie weights or dried beans. Bake for 15 minutes. Remove parchment and weights. Brush crust with egg wash (1 egg beaten with 1 tablespoon water or milk) and bake for another 5-7 minutes until lightly golden. Let cool slightly.
- Make the pumpkin filling: In a medium saucepan over medium heat, combine pumpkin puree, heavy cream, and brown sugar. Whisk until smooth and warm, about 3-4 minutes. Remove from heat.
- In a separate bowl, whisk eggs and vanilla together. Slowly drizzle about ½ cup of warm pumpkin mixture into eggs while whisking constantly to temper. Pour egg mixture back into saucepan with remaining pumpkin mixture. Add cinnamon, ginger, nutmeg, cloves, and salt. Whisk until smooth.
- Assemble and bake: Pour filling into pre-baked crust. Place pie on a baking sheet. Bake at 375°F (190°C) for 15 minutes, then reduce oven temperature to 350°F (175°C) and bake for another 35-40 minutes, until edges are set and center jiggles slightly when shaken.
- Let pie cool completely on a wire rack, at least 2 hours. For best texture, refrigerate for at least 4 hours or overnight before serving.
Notes
For the flakiest crust, chill your flour, bowl, and pastry cutter in the fridge for 15 minutes before starting. Don’t overwork the dough. The filling is done when internal temperature reaches 175°F (80°C). The pie tastes even better after resting overnight in the fridge.
Nutrition
- Serving Size: 1 slice
- Calories: 380
- Sugar: 24
- Sodium: 310
- Fat: 22
- Saturated Fat: 13
- Carbohydrates: 42
- Fiber: 3
- Protein: 6
Keywords: pumpkin pie, homemade pumpkin pie, all-butter crust, Thanksgiving dessert, fall dessert, pumpkin dessert, flaky pie crust


