I’m not supposed to play favorites with recipes, but here we are. Let me tell you about the afternoon I walked into my neighbor Clara’s kitchen looking for a missing spatula—she’d borrowed it three weeks prior and I needed it for pancake batter. The smell hit me before I even got through the door. Something warm, savory, and undeniably cheesy wrapped itself around me like a cozy blanket on a cold November afternoon. Clara was standing at her counter, hands covered in cream cheese, a bowl of crushed pecans to her left, and she barely looked up. “Oh, you’re here for the spatula,” she said, like she wasn’t crafting the most adorable, most delicious appetizer I’d ever seen. She called them her “Turkey Cheese Ball Bites,” and honestly, I forgot about the spatula entirely. I sat down on her kitchen stool and watched her work, completely transfixed by how casually she was creating these little works of art. She’d made them for her annual Friendsgiving party, which I’d heard about but never attended. That changed that year. I showed up with a batch of my own, slightly lopsided, and they disappeared before the main course even hit the table. Maybe you’ve been there—that moment when you taste something so simple yet so perfect that you wonder why you’ve never made it before. That’s this recipe for you. These Friendsgiving Turkey Cheese Ball Bites are the appetizer you didn’t know your fall gatherings were missing.
Why You’ll Love This Recipe
Let me be honest with you—I’ve tested this recipe about seven times since that day in Clara’s kitchen. Each batch taught me something new, and I’m sharing all those little discoveries here. These aren’t just cheese balls. They’re conversation starters, crowd-pleasers, and honestly, they’re the cutest thing you’ll put on a platter this season.
- Quick & Easy: Comes together in under 30 minutes with just 15 minutes of active prep time. Perfect for when you’re hosting and your brain is already juggling three other dishes.
- Simple Ingredients: No fancy grocery trips needed. Cream cheese, cheddar, a few seasonings, and some pretzel sticks. You probably have most of this in your fridge right now.
- Perfect for Friendsgiving: These little turkey-shaped bites are made for grazing tables, cocktail hours, and that beautiful chaos when everyone’s gathered in the kitchen talking over each other.
- Crowd-Pleaser: I’ve brought these to three different gatherings now, and every single time, someone asks for the recipe before they’ve finished their second bite. Kids love them because they look like turkeys. Adults love them because, well, cheese.
- Unbelievably Delicious: The texture is what gets me. That creamy, slightly tangy filling combined with the crunch of the coating and the salty pretzel “feathers”—it’s next-level comfort food in two bites.
What makes these different from every other cheese ball recipe out there? It’s the little things. I use a blend of cream cheese and sharp cheddar that I let sit at room temperature for exactly 45 minutes before mixing—this makes the texture impossibly smooth. And instead of just rolling them in nuts, I add a touch of garlic powder and onion powder to the cream cheese base. It gives them a savory depth that makes people take a second look. This isn’t just another appetizer. It’s the kind that makes you close your eyes after the first bite, the kind that turns a simple gathering into something memorable without any stress on your part.
What Ingredients You Will Need
This recipe uses simple, wholesome ingredients to deliver bold flavor and satisfying texture without any fuss. Most of these are pantry staples, which is exactly what you want when you’re already planning a big meal.
For the Cheese Ball Base
- 8 ounces cream cheese, softened to room temperature (I prefer Philadelphia for its consistent creaminess)
- 1 cup sharp cheddar cheese, finely shredded (shred it yourself from a block—the pre-shredded stuff has anti-caking agents that affect texture)
- 1/4 cup unsalted butter, softened (adds richness and helps the mixture hold its shape)
- 1/2 teaspoon garlic powder (not garlic salt—we’re controlling the sodium ourselves)
- 1/2 teaspoon onion powder
- 1/4 teaspoon smoked paprika (optional but highly recommended for a subtle warmth)
- Pinch of salt (go easy—the cheddar and pretzels bring plenty)
- Freshly ground black pepper, to taste
For the Coating and Decoration
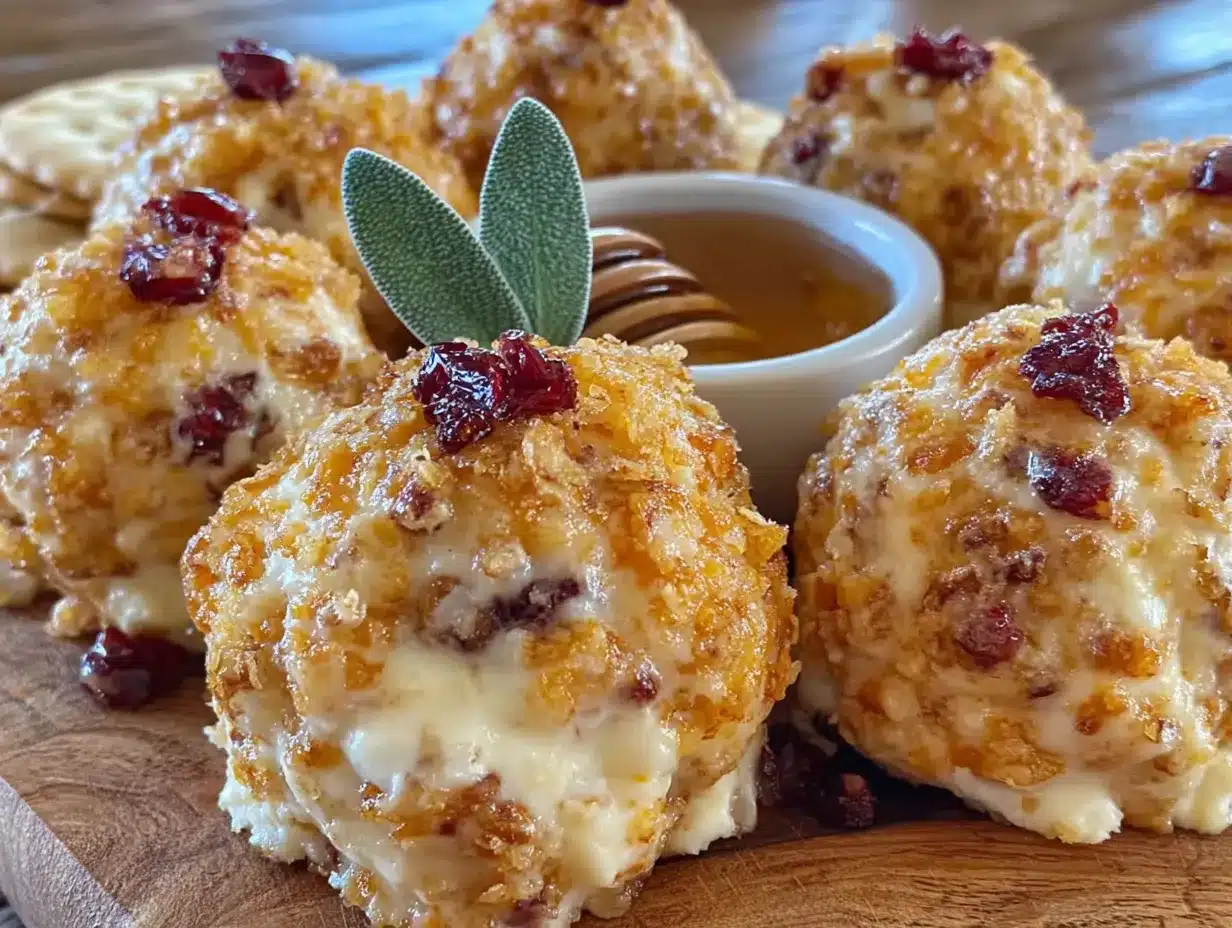
- 1/2 cup finely chopped pecans (toast them lightly in a dry pan for 3 minutes for extra flavor)
- 1/4 cup fresh parsley, finely chopped (adds color and freshness)
- Pretzel sticks, broken into 1-inch pieces (these become the turkey feathers)
- Candy eyes (the small ones, about 4mm—you can find them in the baking aisle)
- 1 small carrot, cut into tiny triangles for the beak (or use orange bell pepper for a sweeter option)
- Red bell pepper, a tiny sliver for the wattle (that’s the red dangly bit under the beak)
For the pretzel sticks, I recommend Snyder’s or the store-brand thin pretzel sticks—they break cleanly and have the right salt level. If you’re making these gluten-free, swap the pretzels for gluten-free pretzel sticks or even thin breadsticks. The candy eyes are totally optional but they make these look absolutely adorable. I’ve also used tiny dots of black sesame seeds in a pinch, and honestly, it worked fine.
Equipment Needed
You don’t need much for these little guys, which is part of the charm. Here’s what you’ll want to have on hand:
- Mixing bowl (medium-sized, preferably glass or stainless steel)
- Hand mixer or stand mixer (you can do this by hand with a sturdy spatula, but a mixer makes the texture dreamy)
- Small cookie scoop or tablespoon (for portioning even-sized balls)
- Baking sheet lined with parchment paper (for chilling the formed balls)
- Sharp knife (for cutting the carrot beaks and bell pepper wattles)
- Small cutting board
- Piping bag or small zip-top bag (if you want to get fancy with the decoration, but fingers work too)
I’ve made these with a cheap hand mixer I bought for fifteen dollars, and they turned out just as good as when I used my fancy stand mixer. Don’t let equipment hold you back. If you’re using your hands, just make sure the cream cheese is properly softened—cold cream cheese will leave you with lumps and sore wrists. A cookie scoop is worth the investment for these; it keeps everything uniform so your turkey bites look like they belong together.
Preparation Method
Alright, let’s get to the fun part. I’ve broken this down so even if you’re multitasking while hosting, you won’t miss a step.
- Soften your cream cheese and butter. Take them out of the fridge about 45 minutes before you start. They should be soft enough that you can press a finger into them without resistance. Trust me on this—cold cream cheese will give you a lumpy mixture, and nobody wants a lumpy turkey.
- Mix the base. In your medium mixing bowl, combine the softened cream cheese, softened butter, and shredded cheddar. Beat with your hand mixer on medium speed for about 2 minutes until everything is smooth and well combined. Scrape down the sides halfway through. The mixture should look creamy and uniform—no streaks of butter or cream cheese.
- Add the seasonings. Sprinkle in the garlic powder, onion powder, smoked paprika, salt, and pepper. Mix on low speed just until incorporated, about 30 seconds. Taste a tiny bit (I won’t tell anyone) and adjust the seasoning if needed. Remember that the pretzels and nuts will add salt too, so don’t go overboard.
- Chill the mixture. Cover the bowl with plastic wrap and pop it in the fridge for 20 minutes. This is crucial—it makes the mixture firm enough to roll into balls without turning into a sticky mess on your hands. While it chills, you can prepare your coatings and decorations.
- Prepare your coatings. On a small plate, combine the finely chopped pecans and parsley. Mix them together with your fingers. On another plate, arrange your broken pretzel stick pieces. Cut your carrot into tiny triangles (about the size of a grain of rice) for the beaks, and cut tiny slivers of red bell pepper for the wattles.
- Form the cheese balls. Using your cookie scoop or a tablespoon, scoop out portions of the chilled cheese mixture. Roll each portion between your palms to form a smooth ball. You should get about 12 to 14 balls, depending on size. Place them on the parchment-lined baking sheet as you go.
- Roll in the coating. Take each cheese ball and gently roll it in the pecan-parsley mixture until it’s evenly coated. Don’t press too hard—you want a light, even coating, not a crust. Place the coated balls back on the baking sheet.
- Assemble the turkey faces. This is where the magic happens. For each cheese ball, gently press two candy eyes into the front. Below the eyes, press a carrot triangle point-side-down for the beak. Just below the beak, press a tiny sliver of red bell pepper for the wattle. If the pieces aren’t sticking, dab a tiny bit of cream cheese on the back as “glue.”
- Add the feathers. Behind each turkey face, gently press 3 to 4 pretzel stick pieces into the cheese ball at slight angles, fanning them out like tail feathers. They should stick in easily—if the cheese is too firm, let the balls sit at room temperature for 5 minutes first.
- Chill again. Place the assembled turkey cheese ball bites back in the fridge for at least 15 minutes before serving. This helps everything set and makes the pretzels less likely to fall out. I’ve skipped this step in a rush, and let me tell you, the pretzels slid right out. Don’t be like me.
Your cheese balls should look like little turkeys at this point—round bodies, feathery backs, and cute little faces staring up at you. If some of them look a bit wonky, that’s part of the charm. Handmade food has personality.
Cooking Tips & Techniques
I’ve made these enough times to know exactly where things can go wrong. Here’s what I’ve learned the hard way so you don’t have to.
Don’t skip the softening step. I know you’re busy. I know you want to save time. But cold cream cheese will leave you with lumps that no amount of mixing can fix. Set a timer on your phone. Walk away. Let it do its thing.
Toast your pecans. This is the difference between good and great. Spread the pecans in a dry skillet over medium heat and stir constantly for 3 minutes until they smell nutty and toasty. Let them cool completely before mixing with the parsley. The warmth brings out their natural oils and adds a depth that raw pecans just don’t have.
Keep your hands slightly damp. If the cheese mixture starts sticking to your palms while rolling, lightly wet your hands with cold water. Not soaking wet—just a quick rinse and shake off. The moisture creates a barrier that keeps the cheese from clinging to your skin.
Break pretzels strategically. Don’t just snap them randomly. Hold the pretzel stick with both hands and apply even pressure to get a clean break. Uneven breaks can look messy, and sharp edges might poke through the cheese ball. Aim for pieces about 1 inch long.
Work in batches. If you’re making a double batch for a big Friendsgiving, don’t try to assemble all 24 at once. Work in groups of 6 to 8, keeping the remaining cheese mixture in the fridge. The mixture softens as it sits at room temperature, and softer mixture is harder to work with.
I once forgot the garlic powder. The whole batch tasted flat. I tried to fix it by sprinkling it on top, but that just gave us little pockets of raw garlic powder—not pleasant. Learn from my mistake: taste the mixture before you chill it. A tiny taste won’t hurt, and it might save your appetizer.
Variations & Adaptations
One of the best things about this recipe is how flexible it is. Here are some variations I’ve tried and loved:
Spicy Southwest Version
Add 1 tablespoon of finely chopped pickled jalapeños and 1/4 teaspoon of cumin to the cheese mixture. Swap the pecans for crushed tortilla chips mixed with a little chili powder. Use black sesame seeds for the eyes instead of candy ones. These have a nice kick that pairs beautifully with a cold beer.
Herb & Goat Cheese Version
Replace half the cream cheese with soft goat cheese. Add 1 tablespoon of fresh chives and 1 teaspoon of fresh thyme to the mixture. Roll in crushed pistachios instead of pecans. The tanginess of the goat cheese cuts through the richness in a way that’s honestly addictive. I made these for a brunch gathering and they disappeared in 10 minutes.
Sweet & Savory Version
Add 2 tablespoons of dried cranberries (finely chopped) and 1 tablespoon of honey to the cheese mixture. Roll in a mixture of chopped walnuts and a pinch of cinnamon. The sweetness from the cranberries and honey plays off the salty pretzels beautifully. These are perfect for a holiday table where you want something that bridges the gap between appetizer and dessert.
Dairy-Free Adaptation
Use dairy-free cream cheese (I like Kite Hill or Violife) and a dairy-free cheddar shred. The texture will be slightly softer, so you’ll need to chill the mixture for an extra 10 minutes before rolling. Use vegan butter or coconut oil in place of the butter. The flavor is still fantastic—I tested this for a friend with dairy sensitivity and she was thrilled.
Don’t be afraid to experiment. The base recipe is forgiving, and half the fun is making these your own. I once added a pinch of cayenne by accident and ended up with my favorite version yet.
Serving & Storage Suggestions
These little turkeys are best served chilled or at cool room temperature. Take them out of the fridge about 15 minutes before your guests arrive so they soften slightly—cold cheese can mute the flavors, and you want people to taste every bit of that garlic and smoked paprika.
Presentation ideas: Arrange them on a wooden board or a white platter in a circular pattern, like they’re all gathered around for their own Friendsgiving. Add small bowls of extra pretzel sticks and fresh veggies on the side for dipping. I like to scatter a few fresh rosemary sprigs around the platter for color—it makes the whole thing look intentional and festive.
What to serve alongside: These pair beautifully with a crisp white wine like Sauvignon Blanc or a light Pinot Grigio. For beer drinkers, a pale ale or a wheat beer works wonderfully. Non-alcoholic options: sparkling apple cider or a cranberry spritzer. I’ve also served them alongside a simple charcuterie board with sliced apples, grapes, and crackers, and they fit right in.
Storage: Store any leftovers in an airtight container in the refrigerator for up to 4 days. The pretzels will soften over time, so if you’re making these a day ahead, I recommend assembling the cheese balls and coating them, but adding the pretzel feathers and faces just before serving. The flavors actually get better after a day in the fridge—the garlic and onion powder meld into the cream cheese in a way that’s even more delicious.
Freezing: You can freeze the uncoated cheese balls for up to 2 months. Roll them into balls, place them on a baking sheet, freeze until solid (about 2 hours), then transfer to a freezer bag. When you’re ready to serve, thaw them in the fridge overnight, then coat and decorate as directed. I’ve done this for holiday prep and it works perfectly.
One thing I’ve noticed: these taste even better the next day. Something about the flavors settling together makes them more complex. If you can resist eating them all at the party, save a few for yourself.
Nutritional Information & Benefits
Let’s be real—these are indulgent little bites. But that doesn’t mean they can’t fit into a balanced eating plan. Here’s what you’re looking at per serving (2 cheese ball bites):
- Calories: Approximately 210
- Protein: 7g
- Fat: 18g (mostly from cream cheese, cheddar, and pecans)
- Carbohydrates: 6g
- Fiber: 1g
- Sugar: 2g
- Sodium: 280mg
The pecans bring healthy fats and a bit of fiber, while the cream cheese and cheddar provide calcium and protein. The parsley adds a touch of vitamin K and freshness. These aren’t health food, but they’re made from real ingredients—nothing processed or artificial.
If you’re watching your sodium, use unsalted butter and unsalted pecans, and skip the extra salt in the seasoning. You can also reduce the pretzels to 2 per turkey instead of 3 or 4. Every little adjustment helps without sacrificing the overall experience.
For those with dietary concerns: these contain dairy (cream cheese, butter, cheddar) and gluten (pretzels). They’re nut-based due to the pecans, though you can swap the pecans for crushed seeds like sunflower or pumpkin seeds for a nut-free version. Always check your ingredient labels if cooking for someone with allergies.
Conclusion
These Friendsgiving Turkey Cheese Ball Bites are more than just an appetizer—they’re a little piece of joy on a platter. Every time I make them, I think of Clara’s kitchen that afternoon, the smell that pulled me in, and the way she shrugged like it was nothing when I asked for the recipe. That’s the energy I want you to bring to your own kitchen. This recipe is forgiving, flexible, and genuinely fun to make. Whether you’re hosting a big Friendsgiving dinner or just want something special for a small gathering, these little turkeys will steal the show.
I’d love to hear how yours turn out. Did you try a variation? Did your guests fight over the last one? Drop a comment below and tell me about it. Share this recipe with your friends—after all, that’s what Friendsgiving is all about. And if you make them, tag me in your photos. I want to see your turkey faces, even the lopsided ones. Those are usually the best ones anyway.
Now go make some cheese balls. Your Friendsgiving table is waiting.
Frequently Asked Questions
Can I make these cheese ball bites ahead of time?
Absolutely! You can prepare the cheese mixture and form the balls up to 2 days in advance. Store them in the fridge, then coat and decorate them the day of your party. The pretzels stay crunchier this way, and your faces won’t get smudged.
My cheese mixture is too sticky to roll. What do I do?
Pop it back in the fridge for another 15 to 20 minutes. The colder the mixture, the easier it is to handle. If it’s still sticky after that, lightly dampen your hands with cold water before rolling. This trick works like magic.
Can I use a different nut for the coating?
Definitely. Walnuts, almonds, or even crushed pistachios work beautifully. For a nut-free option, try crushed pretzels, panko breadcrumbs toasted in butter, or even everything bagel seasoning. Each option gives a different texture and flavor.
How do I keep the pretzel feathers from falling out?
Make sure your cheese balls are well-chilled before inserting the pretzels. The cold cheese grips the pretzels better. Also, don’t insert them too deep—just enough to hold. If they still fall out, use a tiny dab of cream cheese on the end of the pretzel as “glue.”
Can I double this recipe for a large party?
Yes, and I often do. The recipe doubles and triples beautifully. Just make sure you have enough fridge space to chill everything. Work in batches when rolling and decorating so the mixture doesn’t warm up too much. A double batch makes about 24 to 28 turkey bites, which is perfect for a crowd of 10 to 12 people.
Pin This Recipe!
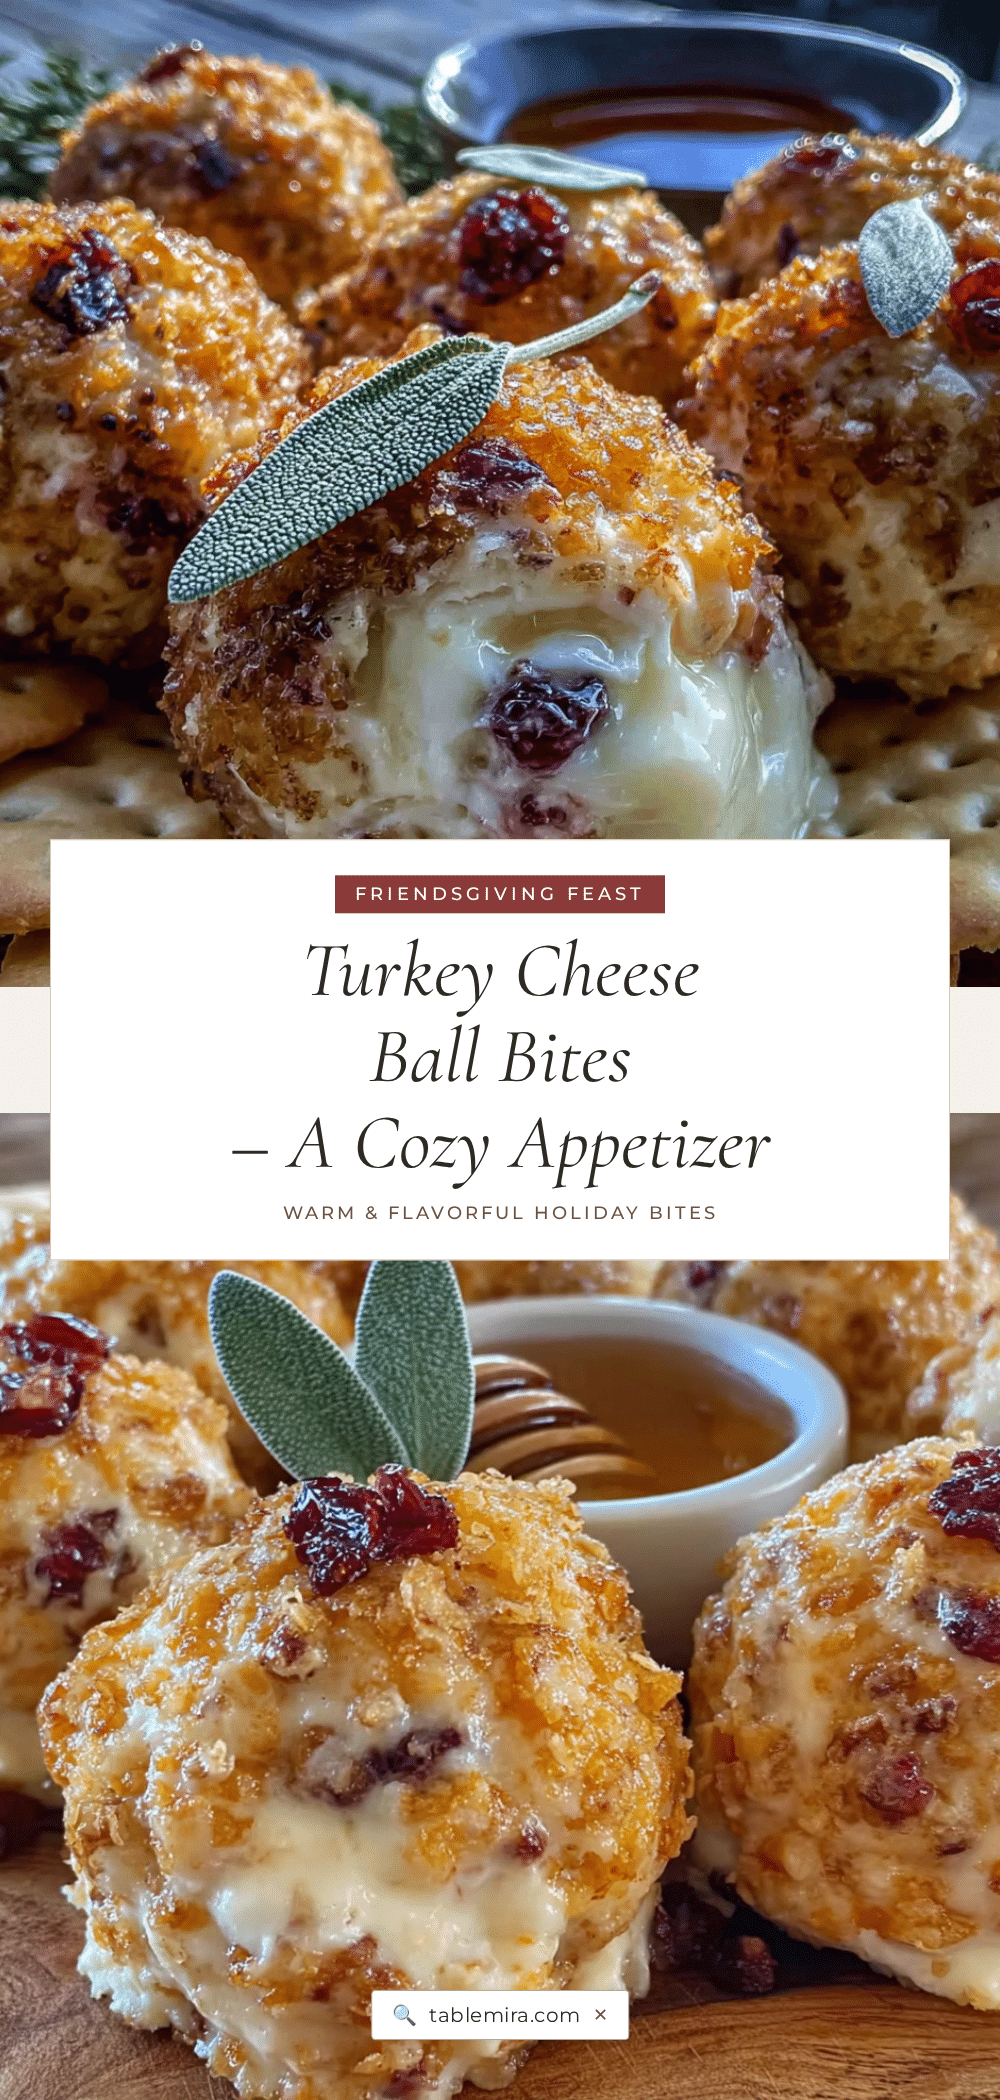
The Best Friendsgiving Turkey Cheese Ball Bites Recipe

These adorable turkey-shaped cheese ball bites are the perfect Friendsgiving appetizer. Made with a creamy blend of cream cheese and sharp cheddar, coated in crunchy pecans and parsley, and decorated with pretzel feathers and cute faces, they’re a crowd-pleasing conversation starter that comes together in under 30 minutes.
- Prep Time: 15 minutes
- Cook Time: 0 minutes
- Total Time: 30 minutes
- Yield: 12-14 servings 1x
- Category: Appetizer
- Cuisine: American
Ingredients
- 8 ounces cream cheese, softened to room temperature
- 1 cup sharp cheddar cheese, finely shredded
- 1/4 cup unsalted butter, softened
- 1/2 teaspoon garlic powder
- 1/2 teaspoon onion powder
- 1/4 teaspoon smoked paprika (optional)
- Pinch of salt
- Freshly ground black pepper, to taste
- 1/2 cup finely chopped pecans
- 1/4 cup fresh parsley, finely chopped
- Pretzel sticks, broken into 1-inch pieces
- Candy eyes (about 4mm)
- 1 small carrot, cut into tiny triangles for the beak
- Red bell pepper, a tiny sliver for the wattle
Instructions
- Soften your cream cheese and butter. Take them out of the fridge about 45 minutes before you start. They should be soft enough that you can press a finger into them without resistance.
- Mix the base. In your medium mixing bowl, combine the softened cream cheese, softened butter, and shredded cheddar. Beat with your hand mixer on medium speed for about 2 minutes until everything is smooth and well combined. Scrape down the sides halfway through.
- Add the seasonings. Sprinkle in the garlic powder, onion powder, smoked paprika, salt, and pepper. Mix on low speed just until incorporated, about 30 seconds. Taste and adjust seasoning if needed.
- Chill the mixture. Cover the bowl with plastic wrap and pop it in the fridge for 20 minutes. This makes the mixture firm enough to roll into balls.
- Prepare your coatings. On a small plate, combine the finely chopped pecans and parsley. On another plate, arrange your broken pretzel stick pieces. Cut your carrot into tiny triangles for the beaks, and cut tiny slivers of red bell pepper for the wattles.
- Form the cheese balls. Using your cookie scoop or a tablespoon, scoop out portions of the chilled cheese mixture. Roll each portion between your palms to form a smooth ball. You should get about 12 to 14 balls. Place them on a parchment-lined baking sheet.
- Roll in the coating. Take each cheese ball and gently roll it in the pecan-parsley mixture until evenly coated. Place the coated balls back on the baking sheet.
- Assemble the turkey faces. For each cheese ball, gently press two candy eyes into the front. Below the eyes, press a carrot triangle point-side-down for the beak. Just below the beak, press a tiny sliver of red bell pepper for the wattle.
- Add the feathers. Behind each turkey face, gently press 3 to 4 pretzel stick pieces into the cheese ball at slight angles, fanning them out like tail feathers.
- Chill again. Place the assembled turkey cheese ball bites back in the fridge for at least 15 minutes before serving.
Notes
Don’t skip the softening step for cream cheese and butter. Toast the pecans in a dry skillet for 3 minutes for extra flavor. Keep your hands slightly damp if the mixture sticks while rolling. Break pretzels strategically with even pressure for clean breaks. Work in batches if making a double batch. The flavors actually improve after a day in the fridge. For best results, add pretzel feathers and faces just before serving if making ahead.
Nutrition
- Serving Size: 2 cheese ball bites
- Calories: 210
- Sugar: 2
- Sodium: 280
- Fat: 18
- Saturated Fat: 9
- Carbohydrates: 6
- Fiber: 1
- Protein: 7
Keywords: Friendsgiving, turkey cheese ball, cheese ball bites, appetizer, fall recipe, Thanksgiving appetizer, party food, easy appetizer


