My husband took a bite of this pumpkin sourdough discard bread, stopped chewing, and just looked at me. Not in a dramatic way—more like he was processing something. He swallowed and said, “Wait, this is the discard? The stuff we usually throw away?” And honestly, that moment summed up everything I love about this recipe. It turns something you’d normally feel guilty about tossing into the star of the show.
I had been staring at my sourdough starter discard jar for three days. It was piling up faster than I could use it. My usual pancakes were getting old. My sourdough French toast casserole was already devoured that week. I needed something new—something that would use a full cup of discard and actually taste intentional, not like a science experiment gone wrong.
Then I spotted the can of pumpkin puree hiding in the back of my pantry. That’s when it clicked. Pumpkin and sourdough discard have this weird, wonderful chemistry. The pumpkin keeps the crumb tender and moist while the discard adds that subtle tang that makes you take another bite just to figure out what’s different. Plus, it’s a no-waste recipe at its core—using up starter discard and canned pumpkin that might otherwise sit forgotten.
This isn’t one of those finicky artisan loaves that requires steam pans and scoring techniques. It’s a quick bread—simple, forgiving, and deeply satisfying. The kind you can mix before coffee and have cooling on the counter by the time you’ve finished your first cup. And the best part? Nobody will ever guess it started as “throwaway” starter.
Why You’ll Love This Recipe
Let me be honest with you—I’ve tested this pumpkin sourdough discard bread six times before getting it right. The first loaf was too dense. The second was oddly gummy. But by batch four, something clicked. Here’s what makes this version worth your time and your precious discard:
- Uses a full cup of discard — No more staring at that jar wondering what to do. This recipe puts your starter discard to real work.
- No yeast required — The discard provides all the flavor without needing active fermentation or proofing time.
- Comes together in 15 minutes — Mix dry ingredients, mix wet ingredients, combine, bake. That’s it.
- Perfectly moist every time — Pumpkin puree keeps this bread tender for days. It doesn’t dry out by the second morning.
- Freezes beautifully — Make two loaves and stash one for later. It thaws like a dream.
- Naturally dairy-free option — Use coconut oil and non-dairy milk, and you’ve got a dairy-free loaf that tastes just as good.
What sets this apart from other pumpkin breads is the sourdough discard. It adds a subtle, almost buttery tang that balances the sweetness of the pumpkin and sugar. You get that unmistakable sourdough flavor without the sourdough timeline. No feeding schedules. No overnight waits. Just dump, stir, and bake.
I’ve made this for book club, for Thanksgiving brunch, and for random Tuesday afternoons when I needed something warm and cozy. Every single time, someone asks for the recipe. And when I tell them it uses sourdough discard, they look at me like I just revealed a magic trick.
What Ingredients You Will Need
This recipe uses simple, pantry-friendly ingredients to create something that tastes much more complicated than it is. Here’s what you’ll need and why each one matters:
For the Bread
- 1 cup sourdough discard (unfed, straight from the fridge) — This is the heart of the recipe. Use unfed discard that’s been sitting in your fridge for up to a week. Don’t use active, bubbly starter—it won’t give you the same tangy flavor. If your discard has a grayish liquid on top (hooch), just stir it back in before measuring.
- 1 cup pumpkin puree (not pumpkin pie filling) — Canned pumpkin works perfectly here. I prefer Libby’s for consistent texture, but any 100% pure pumpkin puree will do. If you’re feeling ambitious, homemade roasted pumpkin puree works too—just make sure it’s not watery.
- 1/2 cup neutral oil (avocado or vegetable) — Oil keeps this bread moist without making it greasy. I use avocado oil because it has a neutral flavor. Melted coconut oil works if you want a hint of coconut in the background.
- 1/2 cup brown sugar, packed — Brown sugar adds moisture and that deep, caramel-like sweetness that pairs perfectly with pumpkin. Dark brown sugar gives an even richer flavor, but light brown works great too.
- 1/4 cup granulated sugar — White sugar helps with structure and balances the tanginess of the discard. You can reduce it to 1/3 cup total if you prefer a less sweet bread.
- 2 large eggs (room temperature) — Eggs bind everything together and add structure. Room temperature eggs incorporate more evenly into the batter. If you forgot to take them out ahead of time, place them in a bowl of warm water for 5 minutes.
- 1 teaspoon vanilla extract — Enhances all the warm flavors without being noticeable on its own. Use pure vanilla extract if you have it—it makes a subtle difference.
For the Dry Ingredients
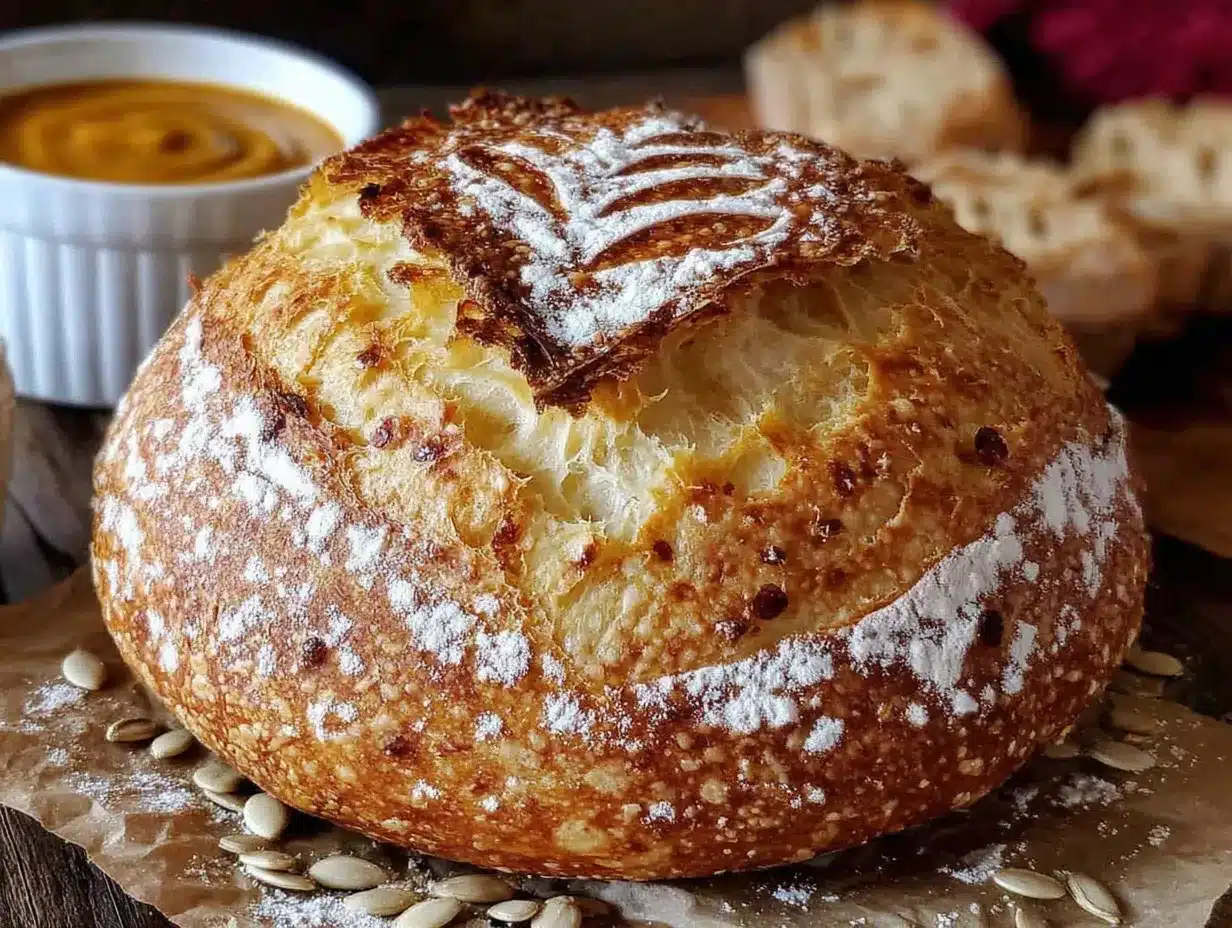
- 1 3/4 cups all-purpose flour — Spoon and level your flour for accurate measuring. Scooping directly from the bag packs in too much flour and makes the bread dense. If you want to use whole wheat pastry flour, substitute half the amount for a heartier texture.
- 1 teaspoon baking soda — This is your leavening agent. Make sure it’s fresh—test it by dropping a pinch into vinegar. If it fizzes vigorously, you’re good.
- 1/2 teaspoon baking powder — Adds extra lift alongside the baking soda. Double-check the expiration date on yours.
- 1/2 teaspoon salt — Salt isn’t optional here. It balances the sweetness and enhances all the other flavors. Use fine sea salt or table salt.
- 2 teaspoons pumpkin pie spice — You can use store-bought or make your own: 1 teaspoon cinnamon, 1/2 teaspoon ginger, 1/4 teaspoon nutmeg, 1/4 teaspoon allspice, and a pinch of cloves. I always make my own blend because I like extra cinnamon.
- 1 teaspoon cinnamon (extra, for good measure) — Pumpkin bread can never have too much cinnamon. Trust me on this one.
Optional Add-Ins
- 1/2 cup chocolate chips — Semi-sweet or dark chocolate chips add little pockets of melted goodness. I’ve used both and can’t decide which I prefer.
- 1/2 cup chopped pecans or walnuts — Toasted nuts add crunch and a savory note that balances the sweetness. Toast them in a dry pan for 3-4 minutes before adding.
- 1/4 cup pepitas (pumpkin seeds) — Sprinkle these on top before baking for a beautiful, crunchy crust.
Equipment Needed
You don’t need a fancy kitchen to make this pumpkin sourdough discard bread. Here’s what you’ll actually use:
- 9×5-inch loaf pan — Standard size works perfectly. If you only have an 8×4-inch pan, increase baking time by 5-10 minutes and check for doneness with a toothpick.
- Parchment paper — Line your pan with a sling of parchment paper for easy removal. This is my number one tip for clean slices and zero sticking.
- Two mixing bowls — One large, one medium. Nothing fancy needed—stainless steel or glass both work fine.
- Whisk — For combining dry ingredients evenly. A fork works in a pinch, but a whisk does it better.
- Rubber spatula — For folding the batter together without overmixing. A wooden spoon works too, but a spatula lets you scrape the bowl clean.
- Measuring cups and spoons — Accurate measurements matter more in baking than cooking. Use dry measuring cups for flour and sugar, liquid measuring cups for oil and discard.
- Cooling rack — Essential for even cooling. If you don’t have one, you can balance the pan on two upside-down ramekins. I’ve done it, and it works.
- Toothpick or cake tester — For checking doneness without opening the oven too early.
Preparation Method
This is where the magic happens. Follow these steps, and you’ll have a beautiful, tender loaf every single time.
Step 1: Preheat and Prep
Preheat your oven to 350°F (175°C). Position the rack in the center of the oven. Line your 9×5-inch loaf pan with parchment paper, leaving a 2-inch overhang on the long sides. This creates handles for lifting the bread out later. Lightly grease the exposed ends of the pan with cooking spray or butter.
Step 2: Mix the Dry Ingredients
In a medium bowl, whisk together the flour, baking soda, baking powder, salt, pumpkin pie spice, and extra cinnamon. Whisk for about 20 seconds—this aerates the flour and distributes the leavening agents evenly. Set this bowl aside while you work on the wet ingredients.
Step 3: Combine the Wet Ingredients
In a large bowl, whisk together the sourdough discard, pumpkin puree, oil, brown sugar, granulated sugar, eggs, and vanilla extract. Whisk until smooth and well combined. The mixture will look slightly thick and glossy. Don’t worry if you see tiny lumps—those are just bits of brown sugar that haven’t dissolved yet. They’ll melt during baking.
Step 4: Fold Everything Together
Pour the dry ingredients into the wet ingredients. Use your rubber spatula to fold them together gently. Start from the bottom of the bowl, scraping upward and turning the batter over itself. Stop folding as soon as you no longer see streaks of flour. A few small lumps are perfectly fine—overmixing will make the bread tough. The batter should be thick but scoopable, like a very thick muffin batter.
Step 5: Add Your Mix-Ins (Optional)
If you’re using chocolate chips, nuts, or any other add-ins, gently fold them in at this point. Use about 5-6 strokes to distribute them evenly. Don’t overwork the batter.
Step 6: Transfer to the Pan
Scrape the batter into your prepared loaf pan. Use the spatula to spread it evenly into the corners. The pan will be about three-quarters full—that’s perfect. Smooth the top gently. If you’re using pepitas, sprinkle them over the surface now and press them in lightly with your fingers.
Step 7: Bake
Place the pan in the preheated oven and bake for 50-60 minutes. At the 30-minute mark, check the top—if it’s browning too quickly, tent the pan loosely with aluminum foil. This prevents the crust from burning while the center finishes baking.
Step 8: Test for Doneness
At 50 minutes, insert a toothpick into the center of the bread. If it comes out clean or with just a few moist crumbs attached, it’s done. If you see wet batter, bake for another 5 minutes and test again. The internal temperature should read 200-205°F (93-96°C) on an instant-read thermometer.
Step 9: Cool Properly
Let the bread cool in the pan for 15 minutes. Then, using the parchment paper sling, lift the bread out and transfer it to a wire cooling rack. Let it cool completely before slicing—this takes about 1-2 hours. I know it’s tempting to cut into it warm, but slicing too early will result in crumbly, gummy pieces. The bread continues to set as it cools.
Cooking Tips & Techniques
After six rounds of testing, I’ve learned a few things the hard way. Here are the tips that make the biggest difference:
Don’t Overmix the Batter
This is the most common mistake with quick breads. When you combine wet and dry ingredients, gluten starts developing. The more you mix, the more gluten forms, and the tougher your bread becomes. Mix just until the flour disappears. Lumps are your friends here.
Room Temperature Ingredients Matter
Cold eggs and cold discard can make your batter seize up and create a dense loaf. Take your eggs and discard out of the fridge 30 minutes before starting. If you’re short on time, place the eggs in warm water for 5 minutes and let the discard sit on the counter while you prep your other ingredients.
Check Your Baking Soda Freshness
Baking soda loses potency over time. If yours has been sitting in the back of your pantry for months, it might not give your bread enough lift. Drop 1/4 teaspoon into a small bowl of vinegar—if it bubbles vigorously, it’s still active. If it barely fizzes, buy a new box.
The Toothpick Test Trick
Insert the toothpick into the center of the bread, but also check near the edges. Sometimes the center looks done while the middle is still raw. If the toothpick comes out clean from both spots, you’re good. Also, the bread should pull away slightly from the sides of the pan.
Let It Cool Completely
I ruined my first loaf by slicing into it after 20 minutes. The texture was gummy and the slices fell apart. Cooling allows the starches to set and the moisture to redistribute. Trust the process—your patience will be rewarded with clean, beautiful slices.
Variations & Adaptations
This pumpkin sourdough discard bread is incredibly versatile. Here are some ways to make it your own:
Dairy-Free Version
Replace the butter (if using) with coconut oil or avocado oil. Use a non-dairy milk like oat or almond milk if the recipe calls for milk. The texture stays just as tender and moist.
Gluten-Free Adaptation
Substitute the all-purpose flour with a 1:1 gluten-free baking flour blend that contains xanthan gum. I’ve had good results with Bob’s Red Mill 1-to-1 Baking Flour. The texture will be slightly more delicate, so handle the bread gently when removing it from the pan.
Lower Sugar Option
Reduce the granulated sugar to 2 tablespoons and use only 1/4 cup brown sugar. The bread will be less sweet but still delicious—the pumpkin and spices carry a lot of natural flavor. You can also substitute maple syrup for the brown sugar, but reduce the oil by 2 tablespoons to compensate for the extra liquid.
Chocolate Pumpkin Version
Fold in 1/2 cup semi-sweet chocolate chips and swap 1/4 cup of the flour for unsweetened cocoa powder. The chocolate and pumpkin combination is absolutely divine—think pumpkin chocolate chip muffin vibes.
Savory Twist
Reduce the sugar to 2 tablespoons total, omit the pumpkin pie spice, and add 1 teaspoon of fresh rosemary, 1/2 teaspoon black pepper, and 1/2 cup of shredded sharp cheddar cheese. This savory version is incredible alongside a bowl of roasted butternut squash soup or chili.
Serving & Storage Suggestions
This bread is incredibly versatile when it comes to serving. Here’s how to enjoy it at its best:
Serving Ideas
Serve slices at room temperature or slightly warmed. To warm, pop a slice in the toaster for about 60 seconds or microwave for 10-15 seconds. Spread with softened butter, cream cheese, or a dollop of Greek yogurt. For a decadent treat, drizzle with honey or maple syrup and sprinkle with flaky sea salt.
This bread pairs beautifully with a hot cup of coffee, chai latte, or apple cider. It’s also wonderful alongside a pumpkin chai latte overnight oats for a cozy fall breakfast spread.
Storage Instructions
Store the bread tightly wrapped in plastic wrap or in an airtight container at room temperature for up to 4 days. The moisture from the pumpkin keeps it tender throughout. If your kitchen is particularly warm, refrigerate it after day 2 to prevent mold.
Freezing Instructions
This bread freezes beautifully. Wrap the completely cooled loaf tightly in plastic wrap, then in aluminum foil, and place in a freezer-safe bag. Freeze for up to 3 months. To thaw, leave it on the counter overnight or unwrap and microwave individual slices for 20-30 seconds.
How Flavors Develop
Like many baked goods, this bread tastes even better the next day. The sourdough tang mellows slightly, and the pumpkin and spice flavors meld together more deeply. If you can resist eating it all on day one, you’ll be rewarded with an even more flavorful loaf on day two.
Nutritional Information & Benefits
Here’s the approximate nutritional breakdown for one slice (based on 10 slices per loaf):
| Nutrient | Amount Per Slice |
|---|---|
| Calories | 245 |
| Total Fat | 11g |
| Saturated Fat | 2g |
| Cholesterol | 37mg |
| Sodium | 280mg |
| Total Carbohydrates | 34g |
| Dietary Fiber | 2g |
| Sugars | 16g |
| Protein | 5g |
Pumpkin is packed with vitamin A, fiber, and antioxidants. Sourdough fermentation breaks down some of the gluten and phytic acid, making nutrients more bioavailable. This bread also provides a good source of iron from the eggs and flour. It’s not health food, but it’s a wholesome treat that offers more nutritional value than standard quick breads.
For those watching their sugar intake, the lower-sugar variation above reduces the sugar content to about 9g per slice. The dairy-free version works well for those with lactose intolerance.
Conclusion
This pumpkin sourdough discard bread has become my go-to solution for leftover starter, and I have a feeling it’ll become yours too. It solves two problems at once—what to do with discard and how to get a delicious pumpkin fix without buying specialty ingredients. The tangy sourdough flavor, warm spices, and tender crumb come together in a way that feels both familiar and surprising.
I love that this recipe doesn’t demand perfection. You don’t need a mature starter or precise temperatures. You just need discard, pumpkin, and about 15 minutes of active time. That’s it. The bread turns out beautifully every time, and it makes you feel clever for using something you might have thrown away.
I’d love to hear how yours turns out. Did you add chocolate chips? Try the savory version? Forget to set your eggs out and it still worked? Drop a comment below and let me know. And if you’re looking for more ways to use that sourdough discard, check out my pumpkin protein pancakes or this pumpkin cream cheese swirl muffins—both use discard too!
Happy baking, friends. Your starter discard just found its new best friend.
Frequently Asked Questions
Can I use active sourdough starter instead of discard?
You can, but the flavor will be milder. Active starter hasn’t developed the same tangy acidity as discard. If you use active starter, the bread will still be delicious—just less sourdough-forward. Reduce the baking soda by 1/4 teaspoon to account for the lower acidity.
Why did my bread sink in the middle?
A sunken middle usually means the bread was underbaked or the oven temperature was too low. Make sure your oven is fully preheated to 350°F and test with a toothpick before removing. Another common cause is opening the oven door too early—try not to peek for the first 30 minutes.
Can I make this into muffins instead?
Absolutely! Grease a 12-cup muffin tin or line with paper liners. Fill each cup about 3/4 full and bake at 350°F for 18-22 minutes. Check for doneness with a toothpick. You’ll get about 12-14 muffins. This is a great option if you want portion-controlled servings or need something grab-and-go.
How do I know if my discard is still good to use?
Healthy discard should smell pleasantly sour and yeasty—like yogurt or sourdough bread. If it smells like acetone (nail polish remover) or has visible mold, toss it. A layer of grayish liquid (hooch) on top is normal; just stir it back in. Discard that’s been in the fridge for up to 2 weeks is usually fine to use.
Can I use whole wheat flour instead of all-purpose?
Yes, but the texture will be denser and more rustic. I recommend using half whole wheat and half all-purpose flour for the best balance of flavor and tenderness. If you go 100% whole wheat, add an extra 2 tablespoons of milk or water to the batter since whole wheat absorbs more liquid.
Pin This Recipe!
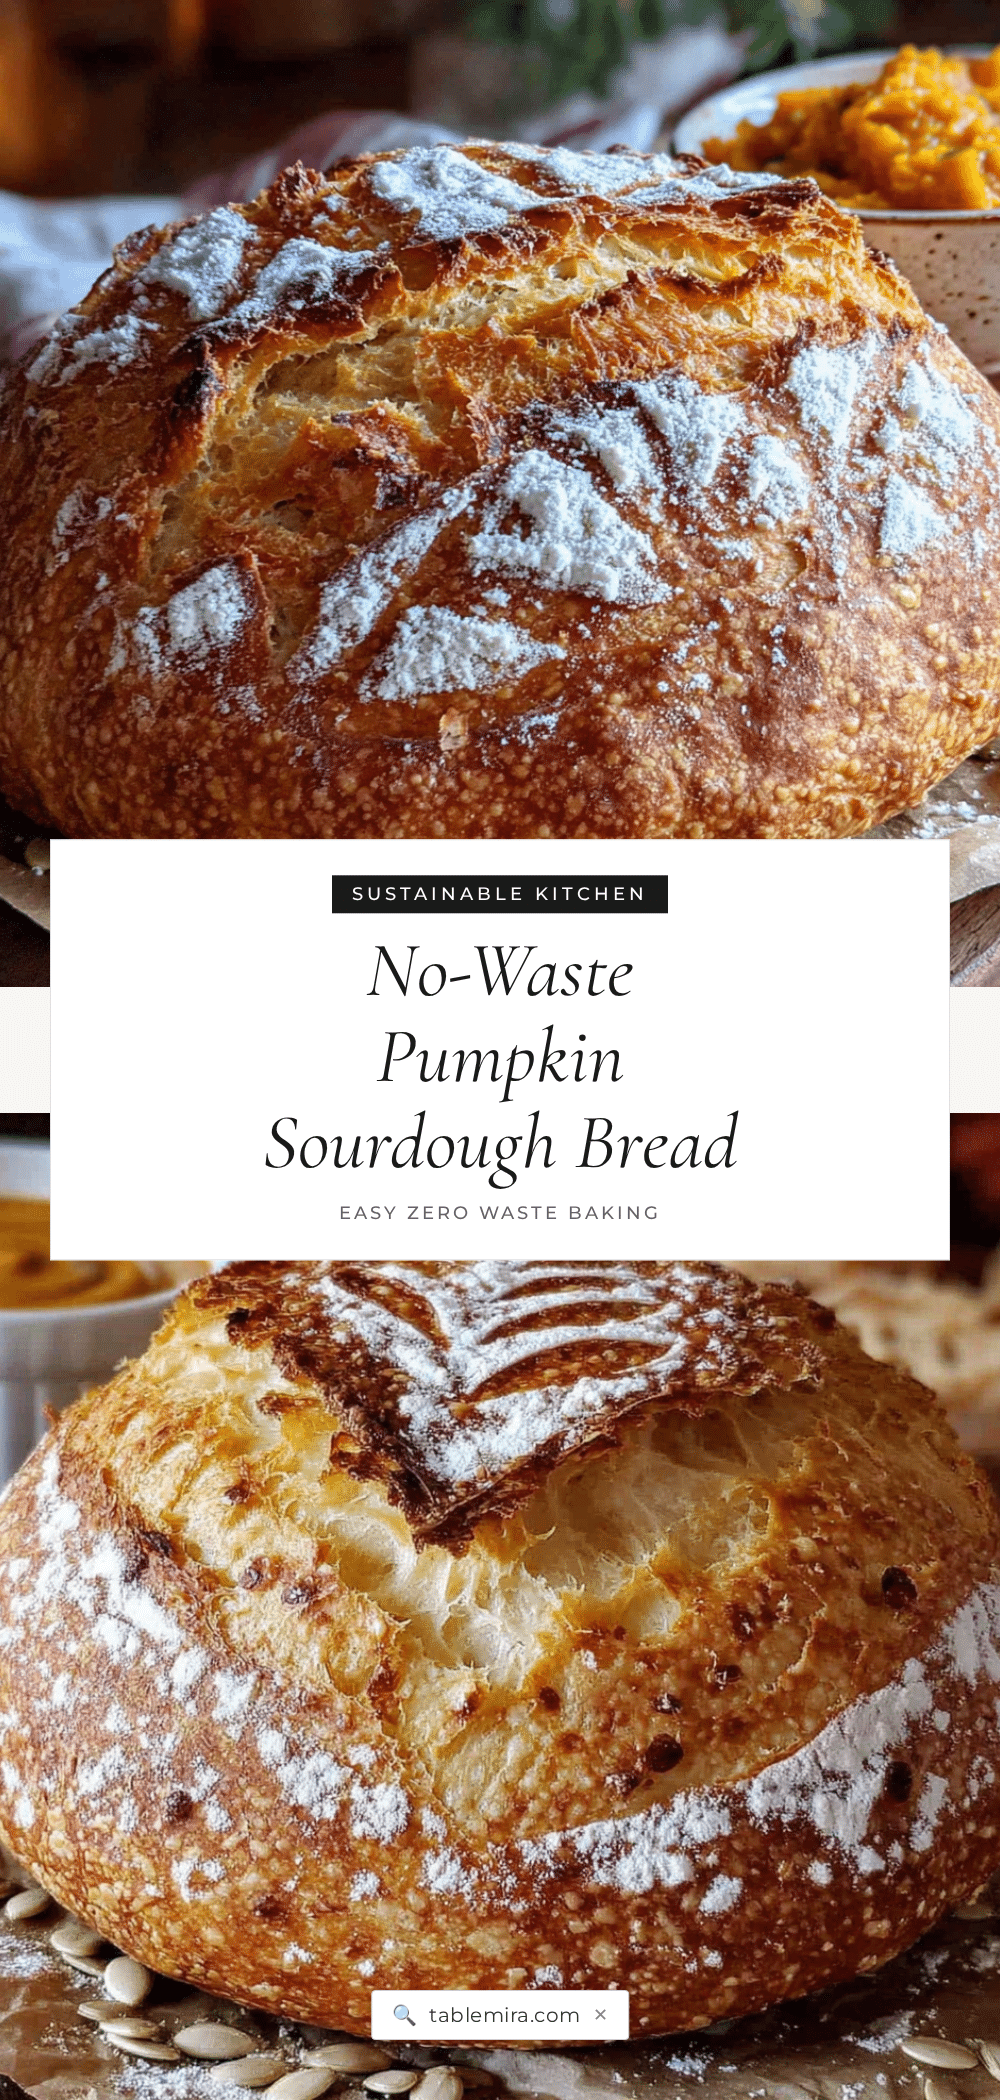
Perfect Pumpkin Sourdough Discard Bread (Easy No-Waste Recipe)
This pumpkin sourdough discard bread turns leftover starter into a tender, moist quick bread with a subtle tang. It’s a no-waste recipe that comes together in 15 minutes and uses a full cup of discard.
- Prep Time: 15 minutes
- Cook Time: 50 minutes
- Total Time: 1 hour 5 minutes
- Yield: 10 servings 1x
- Category: Quick Bread
- Cuisine: American
Ingredients
- 1 cup sourdough discard (unfed, straight from the fridge)
- 1 cup pumpkin puree (not pumpkin pie filling)
- 1/2 cup neutral oil (avocado or vegetable)
- 1/2 cup brown sugar, packed
- 1/4 cup granulated sugar
- 2 large eggs (room temperature)
- 1 teaspoon vanilla extract
- 1 3/4 cups all-purpose flour
- 1 teaspoon baking soda
- 1/2 teaspoon baking powder
- 1/2 teaspoon salt
- 2 teaspoons pumpkin pie spice
- 1 teaspoon cinnamon (extra)
- 1/2 cup chocolate chips (optional)
- 1/2 cup chopped pecans or walnuts (optional)
- 1/4 cup pepitas (pumpkin seeds) (optional)
Instructions
- Preheat your oven to 350°F (175°C). Position the rack in the center of the oven. Line your 9×5-inch loaf pan with parchment paper, leaving a 2-inch overhang on the long sides. Lightly grease the exposed ends of the pan with cooking spray or butter.
- In a medium bowl, whisk together the flour, baking soda, baking powder, salt, pumpkin pie spice, and extra cinnamon. Whisk for about 20 seconds to aerate and distribute evenly. Set aside.
- In a large bowl, whisk together the sourdough discard, pumpkin puree, oil, brown sugar, granulated sugar, eggs, and vanilla extract until smooth and well combined.
- Pour the dry ingredients into the wet ingredients. Use a rubber spatula to fold gently until no streaks of flour remain. A few small lumps are fine—do not overmix.
- If using chocolate chips, nuts, or other add-ins, gently fold them in with about 5-6 strokes.
- Scrape the batter into the prepared loaf pan and spread evenly. If using pepitas, sprinkle on top and press in lightly.
- Bake for 50-60 minutes. At the 30-minute mark, check the top—if browning too quickly, tent loosely with aluminum foil.
- At 50 minutes, insert a toothpick into the center. If it comes out clean or with a few moist crumbs, it’s done. Internal temperature should read 200-205°F (93-96°C).
- Let the bread cool in the pan for 15 minutes. Then lift out using the parchment sling and transfer to a wire cooling rack. Cool completely before slicing (about 1-2 hours).
Notes
Don’t overmix the batter—lumps are fine. Room temperature ingredients help create a tender crumb. Check baking soda freshness by dropping a pinch into vinegar; it should fizz vigorously. Let the bread cool completely before slicing to avoid gummy texture. The bread tastes even better the next day as flavors meld.
Nutrition
- Serving Size: 1 slice
- Calories: 245
- Sugar: 16
- Sodium: 280
- Fat: 11
- Saturated Fat: 2
- Carbohydrates: 34
- Fiber: 2
- Protein: 5
Keywords: pumpkin sourdough discard bread, sourdough discard recipe, pumpkin bread, no-waste recipe, quick bread, fall baking