It was 10:47 PM on a random Wednesday, and I had the strangest craving for a dinner roll. Not just any dinner roll—I wanted one of those soft, pillowy ones from the bakery section that come in a plastic bag and cost way too much for what they are. I didn’t have any bread flour or active dry yeast in the house (the usual suspects for a good roll), but I had all-purpose flour, a jar of honey that was almost empty, and a stick of butter that felt like it was judging me from the fridge. That’s when the idea arrived: what if I just… tried? What if I used what I had and stopped overthinking it?
The kitchen was quiet except for the hum of the refrigerator. I pulled out a mixing bowl that had a small crack on the rim—it’s my favorite one, honestly, because it’s been through so many failed recipes with me. I started mixing flour and yeast, realizing I only had rapid-rise yeast, which I’d always been a little scared of. But at 11 PM on a Tuesday-that-felt-like-a-Thursday, fear didn’t really have a place. I just went for it. Maybe you’ve been there—that moment when you decide to trust your gut instead of the recipe card.
The dough came together in about fifteen minutes, and I let it rise while I paced around the kitchen, stealing glances at it like it might run away. When I shaped those little rolls and brushed them with honey butter, something clicked. The smell alone—warm, sweet, buttery—made me feel like I’d stumbled onto something special. By midnight, I was pulling a tray of golden-brown rolls out of the oven, and let me tell you, that first bite was worth every second of lost sleep. This recipe stayed with me because it proved that you don’t need fancy ingredients or perfect conditions to make something genuinely good. You just need a craving and a little bit of late-night courage.
Why You’ll Love This Recipe
After testing these rolls at least a dozen times (and burning a few batches in the process), I can confidently say this is the version worth keeping. I’ve tweaked the ratios, tested different rising times, and even convinced my neighbor—a former pastry chef—to give them a try. Her response? “These are dangerously good.” That’s the kind of feedback you want.
- Quick & Easy: From start to finish, these rolls come together in under 2 hours. Most of that time is hands-off rising, so you can do other things while the yeast works its magic.
- Simple Ingredients: You probably have everything in your pantry right now. Flour, butter, honey, milk, eggs, yeast, and salt. No weird specialty items or trips to three different stores.
- Perfect for Any Occasion: Thanksgiving dinner, Sunday brunch, or a random Tuesday when you need comfort food. These rolls don’t discriminate.
- Crowd-Pleaser: I’ve served them to kids who usually hate bread and adults who claim they’re “watching carbs.” Everyone reaches for seconds.
- Unbelievably Delicious: The honey butter glaze is what sets these apart. It seeps into the warm rolls and creates this sweet, glossy finish that makes you want to eat three in a row.
What makes this recipe different from the rest? It’s the technique of brushing the rolls with honey butter twice—once right when they come out of the oven and again after they’ve cooled for five minutes. That double glaze creates a caramelized crust that’s slightly crisp on the outside but impossibly soft on the inside. This isn’t just another dinner roll recipe. It’s the one you’ll text your friends about.
What Ingredients You Will Need
This recipe relies on simple, everyday ingredients to create something that tastes anything but ordinary. Each component plays a specific role in achieving that light, fluffy texture and sweet, buttery finish.
For the Dough
- 3 ½ cups (440g) all-purpose flour — Spoon and level for accuracy. I prefer King Arthur Flour for consistent results, but any brand works.
- ¼ cup (50g) granulated sugar — Feeds the yeast and adds subtle sweetness.
- 2 ¼ teaspoons (7g) instant yeast — One standard packet. No need to proof it in water first, which saves time.
- 1 teaspoon salt — Fine sea salt dissolves better than kosher in this recipe.
- ¾ cup (180ml) whole milk, warmed to 110°F — You can use 2% or even oat milk in a pinch, but whole milk gives the richest texture.
- ¼ cup (60ml) water, warm — Helps activate the yeast without making the dough too heavy.
- ¼ cup (½ stick or 57g) unsalted butter, melted and slightly cooled — Adds tenderness and flavor.
- 1 large egg, room temperature — Cold eggs can shock the yeast, so let yours sit out for 30 minutes first.
For the Honey Butter Glaze
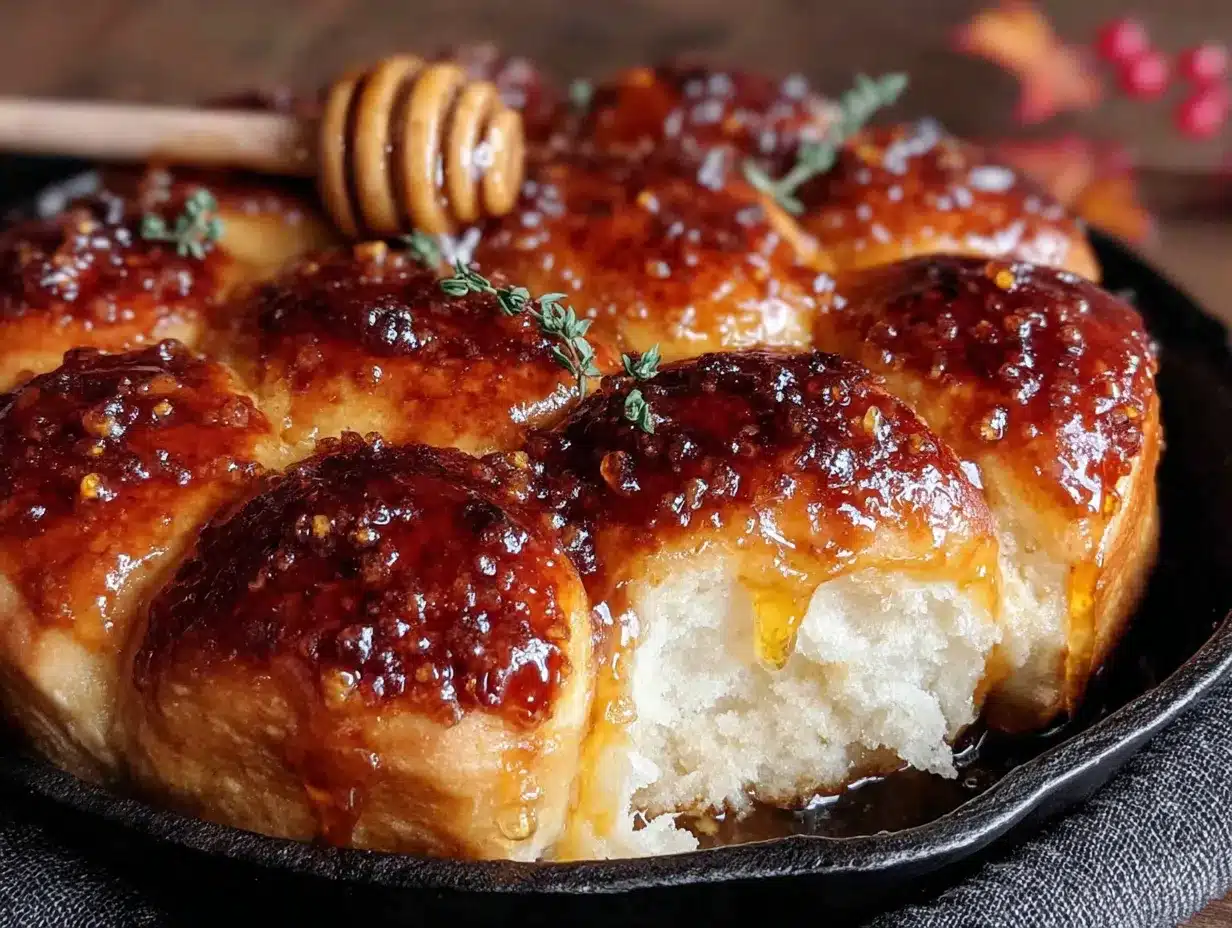
- ¼ cup (½ stick or 57g) unsalted butter, melted — Use good-quality butter here; it matters.
- 3 tablespoons honey — Local honey adds a lovely floral note, but any honey works.
- Pinch of flaky sea salt — Optional but highly recommended. It balances the sweetness beautifully.
Ingredient Selection Tips: Look for butter with at least 80% fat content for the richest flavor. If your honey has crystallized, warm the jar in a bowl of hot water for a few minutes to liquefy it. For the best texture, avoid bread flour here—all-purpose flour keeps these rolls tender rather than chewy.
Substitution Guidance: Need a dairy-free version? Use melted coconut oil instead of butter and unsweetened almond milk instead of whole milk. The texture will be slightly different—a bit more crumbly—but still delicious. For a vegan option, replace the egg with a flax egg (1 tablespoon ground flaxseed mixed with 3 tablespoons water, let sit for 5 minutes).
Equipment Needed
You don’t need a professional bakery setup for these rolls. Here’s what you’ll actually use:
- Large mixing bowl — Glass or ceramic works best. Avoid metal if you can, as it can react with the yeast.
- Stand mixer with dough hook attachment — This makes kneading effortless, but you can absolutely do it by hand. I actually prefer hand-kneading for the first few minutes—it helps me feel when the dough is ready.
- 9×13-inch baking dish — Glass or ceramic gives the most even browning. My favorite is a vintage Pyrex dish I found at a thrift store for $3.
- Pastry brush — For applying that glorious honey butter glaze. A silicone brush works better than natural bristles for melted butter.
- Kitchen scale — Not essential, but measuring flour by weight gives consistent results. If you don’t have one, fluff your flour with a spoon before scooping.
- Clean kitchen towel — For covering the dough while it rises. A damp paper towel works in a pinch.
- Instant-read thermometer — Helpful for checking milk temperature, but you can test it with your wrist (should feel like warm bathwater).
Budget-Friendly Options: No stand mixer? No problem. Knead the dough by hand for 8-10 minutes. It’s actually a great arm workout. No pastry brush? Use the back of a spoon to spread the glaze. No 9×13 dish? A round cake pan or even a cast-iron skillet works beautifully.
Preparation Method
Let’s walk through this step by step. I’ve included all the little details I wish someone had told me the first time.
Step 1: Activate the Yeast (5 minutes)
In your large mixing bowl, combine the warm milk (110°F), warm water, and 1 tablespoon of the sugar. Sprinkle the instant yeast on top and let it sit for 5 minutes. You should see bubbles and foam forming—this means your yeast is alive and happy. If nothing happens after 10 minutes, your yeast might be dead. Don’t panic; just start over with fresh yeast.
Step 2: Mix the Dough (5-7 minutes)
Add the remaining sugar, melted butter, egg, and salt to the yeast mixture. Stir with a wooden spoon until combined. Gradually add the flour, one cup at a time, mixing until a shaggy dough forms. Switch to kneading—either in your stand mixer with the dough hook on medium speed for 5 minutes, or by hand on a lightly floured surface for 8 minutes. The dough should be smooth, elastic, and slightly tacky but not sticky. If it’s sticking to your fingers like crazy, add another tablespoon of flour.
Step 3: First Rise (45-60 minutes)
Lightly grease the same mixing bowl with butter or oil. Place the dough ball in the bowl, turning it once to coat. Cover with a clean kitchen towel and let it rise in a warm, draft-free spot. I like to put mine in the microwave (turned off) with a cup of hot water next to it. The dough should double in size. You’ll know it’s ready when you poke it gently with a finger and the indentation stays.
Step 4: Shape the Rolls (10 minutes)
Punch the dough down to release the air. Turn it out onto a lightly floured surface. Divide the dough into 12 equal pieces—I use a bench scraper for clean cuts. Shape each piece into a smooth ball by tucking the edges underneath and rolling it between your palms. Place the rolls in your greased 9×13 baking dish, spacing them evenly. They should be touching but not squished.
Step 5: Second Rise (30-40 minutes)
Cover the dish with the towel again and let the rolls rise until they’re puffy and doubled in size, about 30-40 minutes. They should be touching each other now. This is a good time to preheat your oven to 375°F (190°C).
Step 6: Bake (18-22 minutes)
Place the dish in the preheated oven and bake for 18-22 minutes, until the tops are golden brown and the rolls sound hollow when tapped. Halfway through, rotate the dish for even browning. Your kitchen will smell like a bakery—enjoy it.
Step 7: Glaze (5 minutes)
While the rolls bake, make the honey butter glaze: melt the butter and stir in the honey until smooth. As soon as the rolls come out of the oven, brush them generously with half the glaze. Let them cool for 5 minutes, then brush with the remaining glaze. Sprinkle with flaky sea salt if you’re using it. Serve warm.
Sensory Cue: When the rolls are done, the tops should be a deep golden brown, and you’ll see little cracks where the steam has escaped. The honey butter will sizzle slightly when it hits the hot rolls—that’s the sound of success.
Cooking Tips & Techniques
I’ve made every mistake you can imagine with these rolls, so you don’t have to. Here’s what I’ve learned:
Temperature Matters More Than You Think: The first time I made these, my milk was too hot—around 130°F—and it killed the yeast. The rolls came out dense and sad. Now I always use a thermometer, or I test the milk on my wrist like I’m checking a baby bottle. It should feel warm but not hot.
Don’t Skip the Second Rise: I know it’s tempting to rush, but that second rise is where the magic happens. It creates those air pockets that make the rolls light and fluffy. If you skip it, you’ll get hockey pucks. Trust me, I’ve been there.
The Flour Addition Trick: When kneading, add flour one tablespoon at a time. It’s easy to add too much and end up with dry rolls. The dough should feel soft and slightly tacky, like a marshmallow that’s been sitting out for a minute.
Multitasking Strategy: While the dough does its first rise, prep your baking dish and make the honey butter glaze. During the second rise, preheat the oven and clean up your workspace. This way, when the rolls are ready to bake, you’re ready too.
Consistency Tip: If you want perfectly uniform rolls, weigh each piece of dough. I aim for about 65 grams per roll. It sounds obsessive, but it makes a difference in baking time.
Variations & Adaptations
One of the best things about this recipe is how adaptable it is. Here are some variations I’ve tried and loved:
Garlic Herb Rolls
Add 2 minced garlic cloves and 1 tablespoon of mixed dried herbs (rosemary, thyme, oregano) to the dough. Use garlic-infused butter for the glaze instead of honey. These are incredible with pasta dishes or soups.
Whole Wheat Version
Replace half the all-purpose flour with whole wheat flour. You’ll need to add an extra 2 tablespoons of milk since whole wheat absorbs more liquid. The rolls will be denser but have a lovely nutty flavor. My husband actually prefers these.
Cinnamon Sugar Rolls
After shaping the rolls, brush them with melted butter and sprinkle with a mixture of cinnamon and sugar before the second rise. Skip the honey butter glaze and use a simple powdered sugar icing instead. These make an amazing breakfast treat.
Gluten-Free Adaptation
Use a 1:1 gluten-free baking flour blend that contains xanthan gum. The dough will be stickier, so wet your hands when shaping the rolls. Bake for an additional 2-3 minutes since gluten-free dough takes longer to set.
Cheesy Pull-Apart Rolls
Tuck small cubes of cheddar or mozzarella cheese into the center of each dough ball before shaping. The cheese melts into gooey pockets as the rolls bake. Just be careful—they’re dangerously addictive.
Serving & Storage Suggestions
These rolls are best served warm, straight from the oven with the honey butter glaze still glistening. But here’s how to handle them at every stage:
Serving Temperature: If you’re not serving them immediately, keep them covered with foil in a warm oven (200°F) for up to 30 minutes. The residual heat keeps them soft and the glaze perfectly melty.
What to Serve With Them: These rolls are incredibly versatile. Pair them with roasted chicken, creamy soups, holiday roasts, or simply with a pat of butter and a drizzle of honey. For a complete meal, try them alongside a bowl of tomato basil soup or a hearty beef stew. I also love them with scrambled eggs and bacon for breakfast.
Storage Instructions: Store leftover rolls in an airtight container at room temperature for up to 3 days. The honey butter glaze will soften the tops slightly, which honestly makes them even better. Do not refrigerate them—the cold air dries them out and makes them stale faster.
Freezer Instructions: These rolls freeze beautifully. Let them cool completely, then wrap each roll individually in plastic wrap and place them in a freezer bag. They’ll keep for up to 3 months. To reheat, unwrap and microwave for 20-30 seconds, or warm in a 350°F oven for 5-7 minutes.
How Flavors Develop: The honey butter glaze actually gets better after a day. The honey sinks into the rolls and creates this subtle sweetness that’s even more pronounced. I’ve been known to make a batch just for leftovers the next day.
Nutritional Information & Benefits
While these rolls are definitely a treat, they’re made with simple, wholesome ingredients. Here’s the estimated nutritional breakdown per roll (based on 12 servings):
| Nutrient | Amount per Roll |
|---|---|
| Calories | 215 |
| Total Fat | 9g |
| Saturated Fat | 5g |
| Carbohydrates | 30g |
| Fiber | 1g |
| Sugar | 9g |
| Protein | 5g |
| Sodium | 210mg |
Health Benefits of Key Ingredients: Honey is a natural sweetener with antioxidant properties and may help soothe sore throats. Butter provides fat-soluble vitamins A, D, E, and K, which are essential for nutrient absorption. Whole milk offers calcium and vitamin D for bone health.
Dietary Considerations: This recipe contains gluten, dairy, and eggs. For a dairy-free version, use the substitutions mentioned earlier. For a lower-sugar option, reduce the honey in the glaze to 1 tablespoon—the rolls will still be delicious, just less sweet.
My Wellness Perspective: I believe in balance. These rolls aren’t an everyday food for me, but they’re absolutely worth making for special occasions or when you need a little comfort. The joy of pulling a tray of homemade rolls out of the oven is good for the soul, and that counts for something.
Conclusion
These light and fluffy honey butter dinner rolls have become a staple in my kitchen, and I think they deserve a spot in yours too. They’re proof that you don’t need a culinary degree or expensive equipment to make something genuinely special. Just a little patience, some basic ingredients, and the willingness to try something new.
I love this recipe because it reminds me of that late-night experiment that turned into something I couldn’t stop making. It’s the kind of recipe that feels like a secret—until you share it, and then everyone wants the details. I’ve already texted it to three friends this week alone.
Now it’s your turn. Make these rolls for your family, your friends, or just for yourself on a quiet evening. Adjust the honey to your taste, try the garlic herb variation, or keep it classic. However you make them, I’d love to hear about it. Drop a comment below and let me know how they turned out—or tag me in your photos on social media. Happy baking!
Frequently Asked Questions
Can I make these rolls ahead of time?
Yes! You can prepare the dough through the second rise, then cover the dish tightly with plastic wrap and refrigerate overnight. The next day, let the rolls sit at room temperature for 30 minutes while the oven preheats, then bake as directed. The cold fermentation actually adds more flavor.
Why didn’t my rolls rise properly?
Several things could go wrong. Your yeast might be expired, your milk might have been too hot (above 130°F kills yeast), or your kitchen might be too cold. Try placing the dough in a warm spot—on top of the fridge or near a sunny window works well. If all else fails, start over with fresh yeast and check your milk temperature.
Can I use active dry yeast instead of instant yeast?
Absolutely. If using active dry yeast, you’ll need to proof it first: dissolve the yeast in the warm milk and water with 1 teaspoon of sugar, let it sit for 5-10 minutes until foamy, then proceed with the recipe. The rising times may be slightly longer—add about 15-20 minutes to each rise.
How do I get perfectly round rolls?
The key is proper shaping. After dividing the dough, place each piece on an unfloured surface. Cup your hand over the dough and roll it in a circular motion, tucking the edges underneath as you go. The friction against the work surface creates surface tension, which helps the roll hold its shape during baking.
Can I freeze the unbaked rolls?
Yes, this is one of my favorite tricks. Shape the rolls and place them in the baking dish, then freeze until solid. Transfer the frozen rolls to a freezer bag. When you’re ready to bake, place them in the greased dish, cover, and let them thaw and rise in the refrigerator overnight, then bake as directed. They’ll taste just as fresh as the day you made them.
Pin This Recipe!
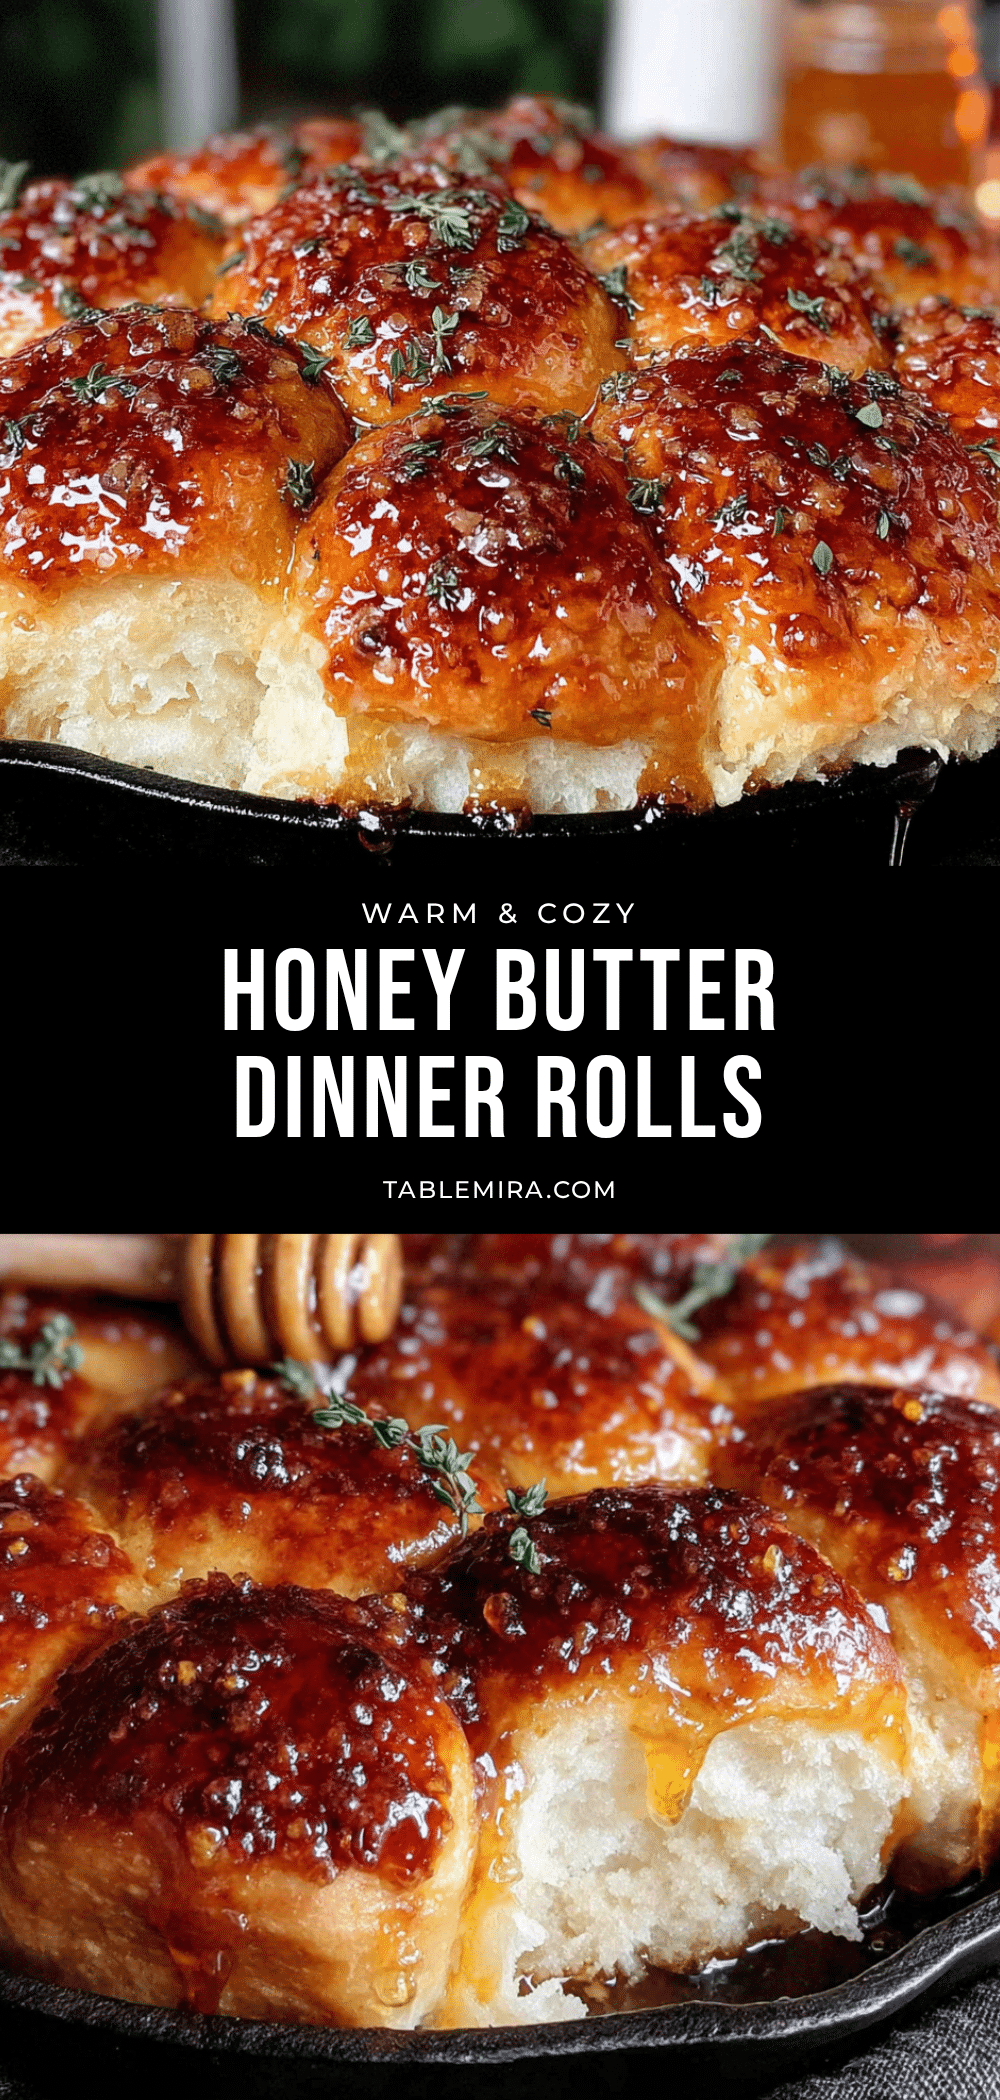
Light & Fluffy Honey Butter Dinner Rolls: Easy Homemade Recipe

These soft, pillowy honey butter dinner rolls are made with simple pantry ingredients and come together in under 2 hours. The double honey butter glaze creates a caramelized crust that’s slightly crisp on the outside and impossibly soft on the inside.
- Prep Time: 15 minutes
- Cook Time: 20 minutes
- Total Time: 1 hour 45 minutes
- Yield: 12 rolls 1x
- Category: Bread
- Cuisine: American
Ingredients
- 3 ½ cups (440g) all-purpose flour
- ¼ cup (50g) granulated sugar
- 2 ¼ teaspoons (7g) instant yeast
- 1 teaspoon fine sea salt
- ¾ cup (180ml) whole milk, warmed to 110°F
- ¼ cup (60ml) warm water
- ¼ cup (½ stick or 57g) unsalted butter, melted and slightly cooled
- 1 large egg, room temperature
- ¼ cup (½ stick or 57g) unsalted butter, melted (for glaze)
- 3 tablespoons honey
- Pinch of flaky sea salt (optional)
Instructions
- In a large mixing bowl, combine warm milk (110°F), warm water, and 1 tablespoon of sugar. Sprinkle instant yeast on top and let sit for 5 minutes until bubbly and foamy.
- Add remaining sugar, melted butter, egg, and salt to the yeast mixture. Stir with a wooden spoon until combined. Gradually add flour, one cup at a time, mixing until a shaggy dough forms.
- Knead the dough: in a stand mixer with dough hook on medium speed for 5 minutes, or by hand on a lightly floured surface for 8 minutes, until smooth, elastic, and slightly tacky.
- Lightly grease the mixing bowl with butter or oil. Place dough in bowl, turning to coat. Cover with a clean kitchen towel and let rise in a warm, draft-free spot for 45-60 minutes until doubled in size.
- Punch down the dough and turn onto a lightly floured surface. Divide into 12 equal pieces (about 65g each). Shape each piece into a smooth ball by tucking edges underneath and rolling between palms.
- Place rolls in a greased 9×13-inch baking dish, spacing evenly. Cover and let rise for 30-40 minutes until puffy and doubled in size. Preheat oven to 375°F (190°C).
- Bake for 18-22 minutes until golden brown and rolls sound hollow when tapped. Rotate dish halfway through for even browning.
- While rolls bake, make honey butter glaze: melt ¼ cup butter and stir in 3 tablespoons honey until smooth. As soon as rolls come out, brush with half the glaze. Let cool 5 minutes, then brush with remaining glaze. Sprinkle with flaky sea salt if desired. Serve warm.
Notes
For best results, use whole milk and unsalted butter with at least 80% fat content. If honey has crystallized, warm the jar in hot water. Avoid bread flour; all-purpose keeps rolls tender. For dairy-free, use melted coconut oil and unsweetened almond milk. For vegan, replace egg with flax egg (1 tbsp ground flaxseed + 3 tbsp water, let sit 5 minutes). Rolls can be made ahead: prepare through second rise, refrigerate overnight, then let sit at room temperature 30 minutes before baking. Freeze baked rolls for up to 3 months.
Nutrition
- Serving Size: 1 roll
- Calories: 215
- Sugar: 9
- Sodium: 210
- Fat: 9
- Saturated Fat: 5
- Carbohydrates: 30
- Fiber: 1
- Protein: 5
Keywords: dinner rolls, honey butter rolls, homemade rolls, soft rolls, easy bread recipe


