It was 11:47 PM on a random Tuesday, and I had a very specific, almost desperate craving for something chocolatey, creamy, and cold. The kind of craving that makes you open the fridge door and just stare, hoping a solution will magically appear. I didn’t have the ingredients for a proper chocolate mousse or a layered parfait. What I *did* have was a box of instant chocolate pudding, a sleeve of Oreos I was saving for a rainy day, and a sudden, slightly unhinged idea.
The power had flickered earlier during a storm, and the house was still and quiet. Everyone else was asleep. It was just me, the hum of the refrigerator, and this weird culinary challenge I’d given myself. I started crushing the cookies in a zip-top bag with a rolling pin—honestly, it was a great way to work out some leftover stress from the day. The rhythm was surprisingly satisfying. I mixed the pudding with cold milk, and in about four minutes flat, I had the makings of something that looked suspiciously like a little pot of dirt, complete with gummy worms I’d found shoved in the back of the pantry. It was ridiculous. It was perfect.
I sat there on the kitchen floor, leaning against the cabinets, eating my makeshift dessert straight from the cup. That first spoonful was a revelation. The creamy pudding, the crunchy cookie “dirt,” the chewy gummy worm—it was a textural party. And the best part? No oven, no mixer, no fuss. It was a dessert born from a late-night whim and a fridge full of possibilities. That’s the thing about the best recipes, isn’t it? They don’t come from a perfectly planned menu. They come from a moment. This is the story of how the Easy No-Bake Chocolate Dirt Cups became my go-to for that very reason—they’re a 10-minute miracle you can make any night of the week, and you probably already have everything you need.
Why You’ll Love This Recipe
Let’s be real for a second. You’re busy. You’re tired. The last thing you want to do after a long day is pull out a mixer, preheat an oven, and wash a mountain of dishes. These Easy No-Bake Chocolate Dirt Cups are the answer to that exact problem. They are the ultimate weeknight dessert—a little bit of childhood nostalgia that comes together with almost no effort. I’ve made these for potlucks, birthday parties, and, you know, just a random Tuesday night. They never disappoint.
- Quick & Easy: This dessert comes together in just 10 minutes. Yes, you read that right. From start to finish, you are 10 minutes away from a cold, creamy, chocolatey treat. It’s faster than ordering takeout.
- Simple Ingredients: You likely have everything in your pantry and fridge right now. Instant chocolate pudding, milk, Oreos, and some gummy worms. No fancy grocery trips required.
- Perfect for Any Occasion: Are you hosting a kids’ party? Need a fun treat for a school bake sale? Just want a silly, satisfying dessert for yourself on a Wednesday? This is it. It’s a crowd-pleaser for all ages.
- Crowd-Pleaser: I’ve seen grown adults get genuinely excited when I pull these out. There’s something about the combination of textures and the playful presentation that brings out the kid in everyone.
- Unbelievably Delicious: This isn’t just “kids’ food.” The combination of a silky, rich chocolate pudding with the deep, dark crunch of the cookie “soil” is genuinely delicious. It’s comfort food in a cup.
What makes this recipe different from the rest? It’s the attention to the little details. I’ll show you the trick to getting that pudding perfectly smooth every time (it’s all in the whisking technique), and the best way to crush the cookies so you get that perfect “dirt” texture—not too fine, not too chunky. This isn’t just another version of a dirt cup; it’s the best, most foolproof version you’ll ever make. It’s the kind of dessert that makes you smile, and honestly, we could all use a little more of that.
What Ingredients You Will Need
This recipe uses incredibly simple, humble ingredients to create something that feels way more special than the sum of its parts. It’s all about pantry staples and a little bit of fun. Here’s what you’ll need to gather:
For the Pudding Base
- 1 (3.9-ounce) box instant chocolate pudding mix: I recommend using Jell-O brand for the most consistent and reliable texture. Make sure you get the instant variety, not the cook-and-serve kind. The instant kind sets up in the fridge without any heat, which is the whole point of a no-bake dessert.
- 2 cups cold whole milk: Whole milk gives the pudding the richest, creamiest texture. You can use 2% or even oat milk in a pinch, but the pudding won’t be quite as luxuriously thick. The cold milk is key—it helps the pudding set up faster.
For the “Dirt” Topping
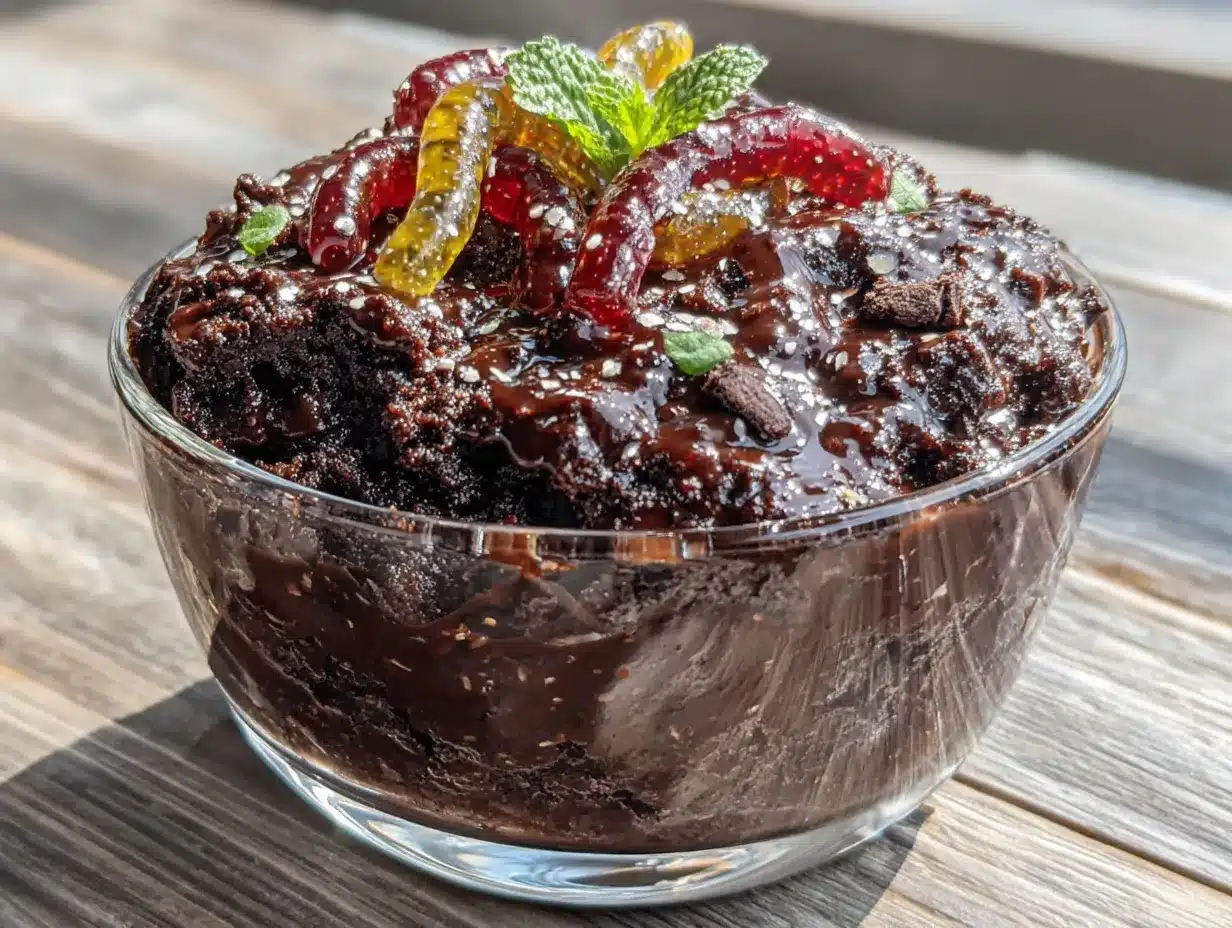
- 1 (14.3-ounce) package Oreo cookies: This is about 20-24 cookies. You don’t need to remove the cream filling—it all goes into the food processor or bag! The filling actually helps the “dirt” stick together slightly, which is perfect for that clumpy, realistic soil texture. I’ve tried it with generic chocolate sandwich cookies, and while they work, Oreos just have that superior dark, chocolatey flavor.
For the Garnish (The Fun Part)
- Gummy worms: The classic choice! You can use sour or regular gummy worms. I personally like the sour ones because they add a nice tangy contrast to the sweet, creamy pudding.
- Optional garnishes: A few mint leaves for a “garden” look, or a few extra crushed Oreos sprinkled on top. You can even add a few chocolate shavings for a more “adult” version.
Substitution Guidance:
- For a gluten-free version, use gluten-free chocolate sandwich cookies and ensure your pudding mix is certified gluten-free (most are, but always check the label).
- For a dairy-free version, use a dairy-free milk alternative like oat milk or unsweetened almond milk, and a dairy-free/vegan chocolate pudding mix. The texture will be slightly less firm, but still delicious.
- You can swap the gummy worms for any gummy candy you like. Gummy bears, frogs, or even sour cherries work wonderfully.
Equipment Needed
You really don’t need a lot of fancy gear for this recipe, which is part of its charm. Here’s what you’ll need:
- Large mixing bowl: For whisking the pudding. A standard glass or stainless steel bowl works perfectly.
- Whisk: A good, sturdy whisk is your best friend here. It helps you get the pudding smooth without any lumps. A fork can work in a pinch, but a whisk is much better.
- Measuring cups: To measure the milk accurately.
- Food processor or zip-top bag and rolling pin: To crush the Oreos. I’ve used both methods many times. The food processor gives you a very fine, even crumb in about 10 seconds. The bag-and-rolling-pin method is more therapeutic and great for getting out some aggression—plus, you don’t have to wash a food processor bowl! Just make sure your bag is well-sealed so you don’t end up with cookie dust all over your kitchen.
- Six (6-8 ounce) serving cups or glasses: Clear cups are best so you can see the beautiful layers. Small mason jars, juice glasses, or even plastic party cups work great.
- Spoon or small spatula: For layering the pudding and the “dirt.”
Preparation Method
Alright, let’s get to the fun part. This is so simple, you’ll practically have it memorized after the first time. Follow these steps, and you’ll have perfect dirt cups every single time.
- Crush the Oreos (5 minutes): First, take your package of Oreos and place them in a food processor. Pulse them about 10-12 times until you have a mixture that looks like dark, crumbly soil. You want some small chunks for texture, but no large pieces of cookie. If you’re using the bag method, place the cookies in a sturdy zip-top bag, seal it, and go to town with a rolling pin. This is a great step to let the kids help with—or to do yourself after a stressful day. Set the crushed cookies aside.
- Make the Pudding (5 minutes): In your large mixing bowl, pour the 2 cups of cold milk. Add the entire box of instant chocolate pudding mix. Whisk vigorously for about 2 minutes. You’ll feel the mixture start to thicken almost immediately. It should be smooth and silky with no lumps. Pro tip: Don’t over-whisk! Once it’s combined and starting to thicken, stop. Over-whisking can make the pudding grainy.
- Assemble the Cups (2 minutes): Now for the layering. Take your serving cups and start with a layer of the crushed Oreo “dirt.” Use about 1-2 tablespoons per cup. This creates a nice base. Next, spoon or pour the chocolate pudding evenly into each cup, filling them about halfway. Tap the cups gently on the counter to settle the pudding and remove any air bubbles.
- Add the Middle Layer (1 minute): Add another layer of the Oreo crumb mixture on top of the pudding. This gives you that classic “dirt” look when you dig in. You want to leave some crumbs for the top layer.
- Finish with the Topping (1 minute): Fill the cups the rest of the way with the remaining chocolate pudding. Top each cup with a generous final layer of the crushed Oreo “dirt.” You want to completely cover the pudding so it looks like a little pot of soil.
- Chill and Decorate (2 hours): Place the cups in the refrigerator for at least 2 hours. This allows the pudding to fully set and the flavors to meld together. The longer they chill, the better they get. When you’re ready to serve, simply stick a gummy worm or two into the “dirt” of each cup. For a fun touch, add a small mint leaf next to the worm to look like a little plant sprouting.
My Personal Efficiency Tip: I like to make the pudding and crush the Oreos while the pudding is setting. It saves time and keeps the workflow smooth. Also, if you’re in a huge rush, you can serve these immediately after assembling, but the texture is much better after a good chill in the fridge.
Cooking Tips & Techniques
I’ve made these dirt cups more times than I can count, and I’ve learned a few things along the way. Here are my best tips to ensure your success:
- The Cold Milk is Non-Negotiable: I tried this once with room-temperature milk because I was in a hurry. Big mistake. The pudding didn’t set properly and was runny. The instant pudding needs the cold temperature to activate the thickening agents. Use milk straight from the fridge.
- Don’t Over-Whisk the Pudding: This is the most common mistake. Once the pudding mix is fully incorporated and it starts to thicken, stop whisking. Over-whisking can break down the starches and make the pudding thin and watery. You want a smooth, thick consistency.
- Get the Right “Dirt” Texture: You don’t want your Oreo crumbs to be a fine powder, nor do you want big chunks of cookie. The sweet spot is a coarse crumb with some slightly larger pieces. It mimics real soil beautifully and gives you that satisfying crunch.
- Let Them Rest: I know it’s hard to wait, but the 2-hour chill time is crucial. It allows the pudding to fully set and the Oreo crumbs to soften just slightly, which makes the whole thing taste like a cohesive dessert rather than separate components.
- Make Ahead for a Party: These are perfect for making a day in advance. Just assemble the cups, cover them with plastic wrap, and keep them in the fridge. Add the gummy worms right before serving so they don’t get too soft.
Variations & Adaptations
One of the best things about this recipe is how endlessly customizable it is. Here are a few of my favorite variations:
- The Peanut Butter Cup: Before adding the Oreo “dirt,” swirl a tablespoon of creamy peanut butter into each cup of pudding. The salty-sweet combination is absolutely incredible.
- The Mint Chocolate Chip: Use mint chocolate pudding mix instead of chocolate. Add a few drops of green food coloring to the milk before whisking for a fun, vibrant color. Top with a few mini chocolate chips along with the Oreo “dirt.”
- The Berry Patch: Layer in some fresh or thawed frozen berries between the pudding and the “dirt.” Raspberries, strawberries, or blueberries add a bright, tart pop that cuts through the richness of the chocolate.
- Vegan & Dairy-Free: Use a vegan chocolate pudding mix and your favorite plant-based milk (oat milk is my top choice for creaminess). Use gluten-free and vegan chocolate sandwich cookies. It works beautifully.
- The “Adult” Dirt Cup: Add a tablespoon of your favorite coffee liqueur or a dash of espresso powder to the milk before whisking the pudding. The coffee flavor deepens the chocolate and makes it feel a bit more sophisticated.
Serving & Storage Suggestions
These dirt cups are best served cold, straight from the fridge. The contrast between the cold, creamy pudding and the crunchy cookie “dirt” is the whole point.
Serving: I love serving these in clear glasses or mason jars so everyone can see the beautiful layers. For a kids’ party, you can use small plastic cups with lids. They’re perfect for individual servings and make for easy cleanup. They pair wonderfully with a tall glass of cold milk or a hot cup of coffee for the grown-ups.
Storage: Any leftover dirt cups can be stored in the refrigerator, covered, for up to 3 days. The texture will change slightly as the Oreo “dirt” absorbs moisture from the pudding and softens, but many people actually prefer them this way—it becomes more like a cake-like texture. If you want to keep the “dirt” crunchy, store the crushed Oreos separately and add them just before serving.
Freezing: I don’t recommend freezing these. The pudding will become icy and the texture will be ruined upon thawing. They’re so quick to make that freezing isn’t necessary anyway!
Nutritional Information & Benefits
Let’s be honest—these are a treat, not a health food. But here’s a rough estimate of what you’re looking at per serving (one dirt cup):
Estimated Nutritional Values (per serving):
- Calories: 320-380
- Fat: 12-15g
- Carbohydrates: 50-55g
- Protein: 5-7g
- Sugar: 35-40g
Health Benefits: While this is an indulgent dessert, there are a few small silver linings. The milk provides a good dose of calcium and vitamin D for bone health. The cocoa in the pudding and the cookies contains antioxidants called flavonoids, which can help with heart health. And honestly? The biggest benefit is the joy it brings. A little bit of chocolate and a playful presentation can do wonders for your mood after a long day.
Dietary Considerations: This recipe contains dairy (milk) and gluten (wheat in the cookies). It can easily be adapted to be dairy-free and gluten-free, as noted in the variations section. It is not suitable for a vegan diet unless you use specific substitutions.
Conclusion
So there you have it. The Easy No-Bake Chocolate Dirt Cups—a dessert that’s equal parts nostalgia, practicality, and pure, unadulterated deliciousness. It’s the recipe I turn to when I need a guaranteed win with zero stress. Whether you’re making it for a classroom party, a backyard barbecue, or just a quiet night in when that 11 PM craving hits, it never fails to deliver a smile.
I honestly love how this recipe proves you don’t need fancy ingredients or complicated techniques to create something truly special. It’s a reminder that the best food is often the most fun food. So go ahead—raid your pantry, crush some cookies, and make yourself a little pot of joy. I promise you won’t regret it.
Have you made these dirt cups before? What’s your favorite way to customize them? I’d love to hear your creative twists in the comments below! And if you make this recipe, please share a photo and tag me—it absolutely makes my day to see your creations. Happy no-baking, friends!
Frequently Asked Questions
Can I use sugar-free pudding mix?
Absolutely! Sugar-free instant chocolate pudding works perfectly in this recipe. It will have a slightly different sweetness level and texture, but it’s a great option for cutting down on sugar. Just follow the same instructions on the box.
How far in advance can I make these?
You can make these dirt cups up to 2 days in advance. Just keep them covered in the refrigerator. I recommend adding the gummy worms and any fresh garnishes right before serving so they stay firm and look their best.
Can I use homemade chocolate pudding instead of instant?
Yes, you can! If you have a favorite homemade chocolate pudding recipe, feel free to use it. Just make sure it’s fully cooled and chilled before you layer it with the Oreo “dirt.” The texture will be even richer and more luxurious.
My pudding didn’t set. What went wrong?
This usually happens for one of two reasons: either the milk wasn’t cold enough, or you used the wrong type of pudding mix. Make sure you’re using instant pudding, not cook-and-serve, and that your milk is very cold. Also, ensure you whisked it for the full 2 minutes.
Can I double this recipe for a crowd?
Definitely! This recipe scales up beautifully. Just double all the ingredients. You can assemble them in a large trifle dish for a party-sized version, or keep them in individual cups. The instructions remain exactly the same.
Pin This Recipe!
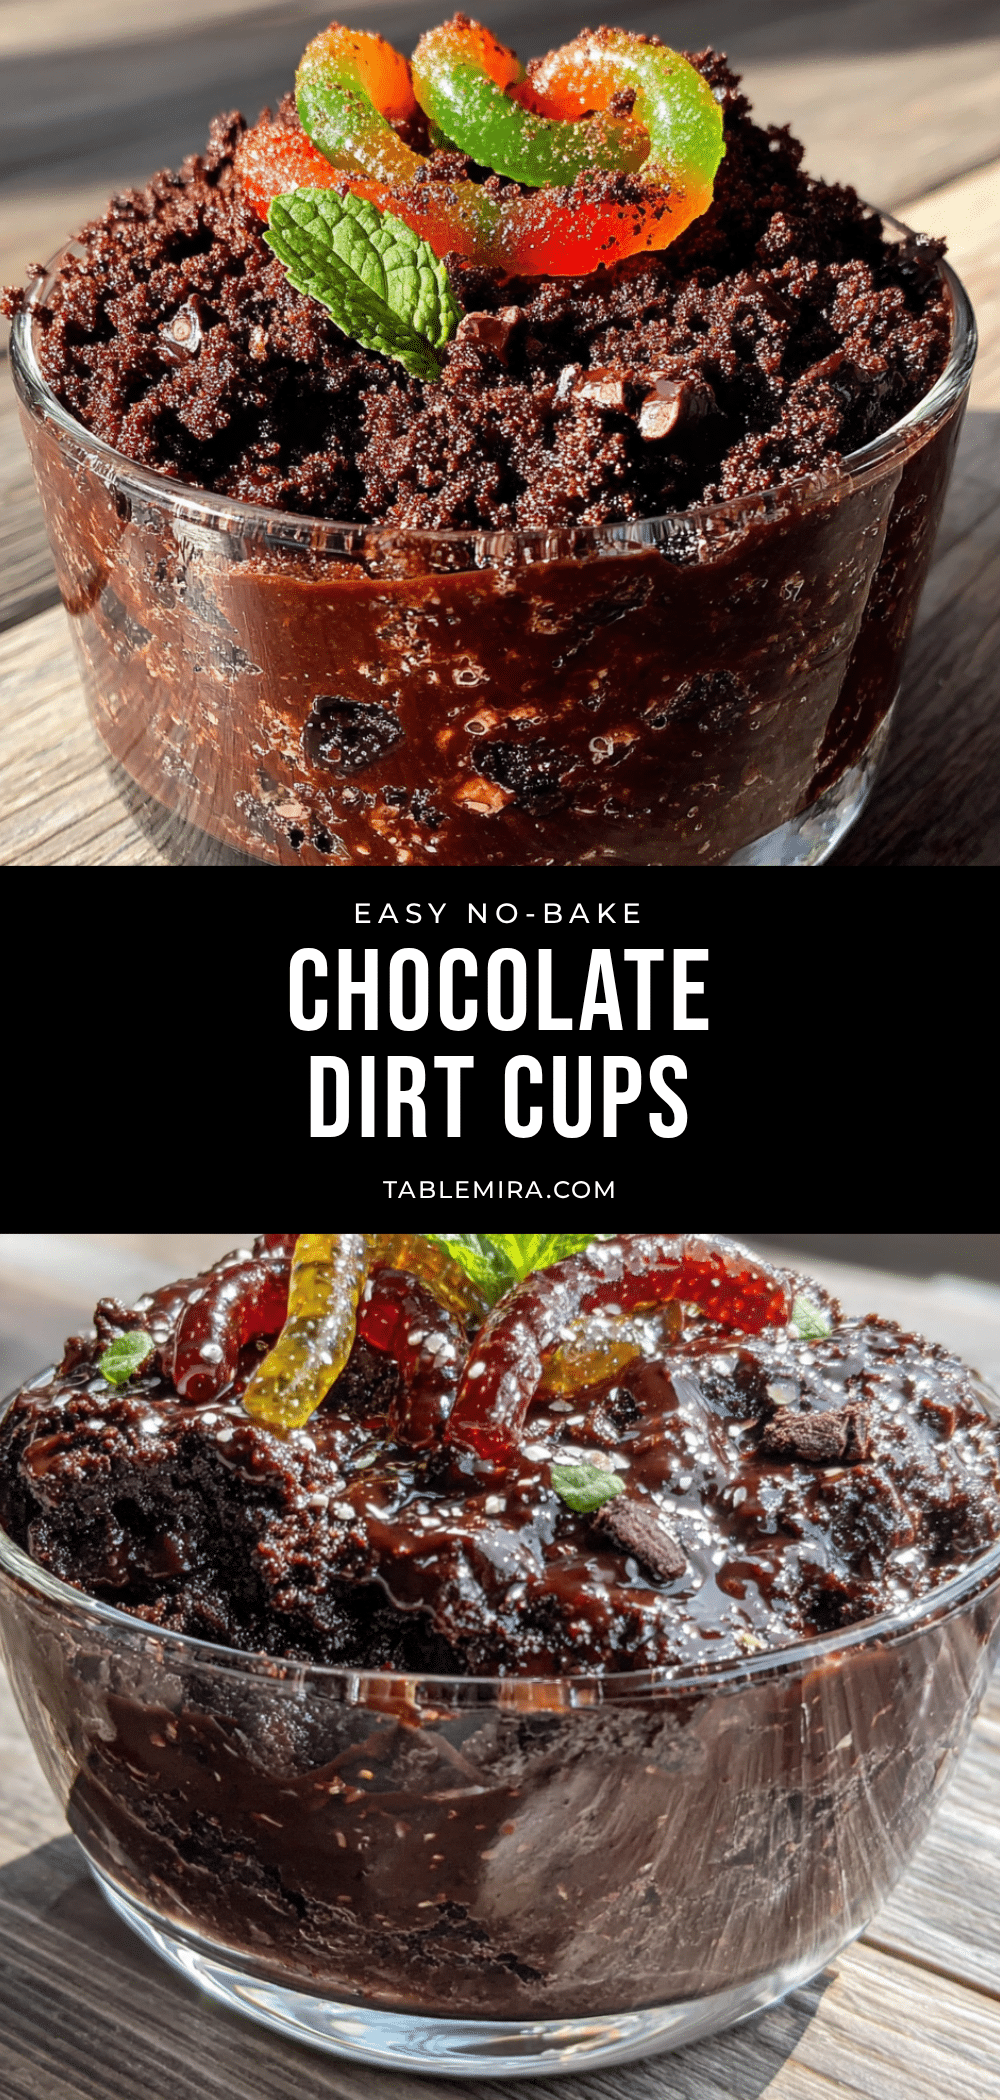
Easy No-Bake Chocolate Dirt Cups (Best 10-Minute Dessert)
These Easy No-Bake Chocolate Dirt Cups are a 10-minute miracle dessert made with instant chocolate pudding, crushed Oreos, and gummy worms. Perfect for a quick weeknight treat or a fun party dessert that brings out the kid in everyone.
- Prep Time: 10 minutes
- Cook Time: 0 minutes
- Total Time: 2 hours 10 minutes (includes 2 hours chilling)
- Yield: 6 servings 1x
- Category: Dessert
- Cuisine: American
Ingredients
- 1 (3.9-ounce) box instant chocolate pudding mix (Jell-O brand recommended)
- 2 cups cold whole milk
- 1 (14.3-ounce) package Oreo cookies (about 20–24 cookies)
- Gummy worms for garnish
- Optional: mint leaves for garnish
Instructions
- Crush the Oreos: Place the Oreos in a food processor and pulse 10-12 times until you have a mixture that looks like dark, crumbly soil with some small chunks. Alternatively, place the cookies in a sturdy zip-top bag and crush with a rolling pin. Set aside.
- Make the pudding: In a large mixing bowl, pour the 2 cups of cold milk. Add the entire box of instant chocolate pudding mix. Whisk vigorously for about 2 minutes until the mixture is smooth, silky, and starting to thicken. Do not over-whisk.
- Assemble the cups: Take six (6-8 ounce) serving cups or glasses. Start with a layer of crushed Oreo ‘dirt’ (about 1-2 tablespoons per cup) to create a base. Spoon or pour the chocolate pudding evenly into each cup, filling them about halfway. Tap the cups gently on the counter to settle the pudding and remove air bubbles.
- Add the middle layer: Add another layer of the Oreo crumb mixture on top of the pudding, reserving some for the top layer.
- Finish with the topping: Fill the cups the rest of the way with the remaining chocolate pudding. Top each cup with a generous final layer of the crushed Oreo ‘dirt’ to completely cover the pudding.
- Chill and decorate: Place the cups in the refrigerator for at least 2 hours to allow the pudding to fully set. When ready to serve, stick a gummy worm or two into the ‘dirt’ of each cup. Optionally, add a small mint leaf next to the worm for a garden look.
Notes
For best results, use cold milk straight from the fridge to help the pudding set properly. Do not over-whisk the pudding as it can become grainy. The 2-hour chill time is crucial for the pudding to fully set and the flavors to meld. For a make-ahead option, assemble the cups up to 2 days in advance and add gummy worms just before serving. To keep the ‘dirt’ crunchy, store crushed Oreos separately and add before serving.
Nutrition
- Serving Size: 1 dirt cup
- Calories: 320380
- Sugar: 3540
- Sodium: 400500
- Fat: 1215
- Saturated Fat: 57
- Carbohydrates: 5055
- Fiber: 23
- Protein: 57
Keywords: no-bake dessert, chocolate dirt cups, easy dessert, 10-minute dessert, Oreo dessert, pudding cups, kids dessert, party dessert


