Third time in as many days I pulled that orange-scented dough from the bowl, and this time the flour dust on my knuckles felt more like a promise than a mess. The first batch had been too dry—cracked right along the seams where the bone shapes met the crown. The second was better, softer, but the anise flavor I’d added? Let’s just say it was a little too enthusiastic. But this third go-round, with the kitchen window cracked to let in the cool October air and the scent of marigolds drifting in from the neighbor’s garden, I finally felt it click. The dough gave under my palms like a living thing, warm and yielding, and I knew—this was the one.
I’d been chasing this particular loaf for a while, honestly. Not because it’s complicated—it’s not, once you understand the rhythm. But because Pan de Muerto isn’t just bread. It’s the kind of thing you make when you want to feel connected to something older than yourself, something that doesn’t care about your Instagram aesthetic or your sourdough starter’s name. It’s a bread that asks for patience and gives back memory. And I couldn’t stop trying to get it right because every time I shaped those little bone knobs and placed them on the round dome, I was practicing a ritual I didn’t even know I needed.
This classic Pan de Muerto recipe is the one that finally stuck. Soft, pillowy, kissed with orange blossom water and rolled in sugar that sparkles like cemetery frost. It’s the bread you leave on the ofrenda for the ones who came before, but honestly? You’re going to want to eat half of it before it even cools. That’s the thing about traditions—they taste better when you actually enjoy them.
Why You’ll Love This Recipe
This isn’t just another bread recipe you’ll try once and forget. This is the one that makes you understand why Mexican bakeries sell out of these rounds every November 1st and 2nd. I’ve tested this version more times than I care to admit (see above), and what I landed on is a loaf that’s forgiving enough for a first-timer but authentic enough to earn a spot on your family’s ofrenda.
- Surprisingly Simple Dough : No complicated lamination or folding here. This is a straightforward enriched dough that comes together in one bowl. If you’ve made dinner rolls before, you can make this.
- Pantry-Friendly Ingredients : Flour, sugar, eggs, butter, yeast—the usual suspects. The only “special” ingredient is orange blossom water, and you can find it online or at any Latin grocery. Or skip it and use orange zest. I won’t tell.
- Perfect for Day of the Dead : Whether you’re building your first ofrenda or continuing a family tradition, this bread is the centerpiece. It’s symbolic without being fussy, meaningful without being pretentious.
- Crowd-Pleasing Texture : Think of the softest brioche you’ve ever had, but with a tighter crumb that holds up to being dunked in hot chocolate or café de olla. It’s not too sweet, which means you can eat it for breakfast the next day without feeling weird about it.
- Deeply Satisfying to Make : There’s something about shaping those little bone pieces and arranging them on top that feels meditative. It’s repetitive in the best way, like prayer beads or knitting. You’ll see what I mean.
What makes this recipe different from the dozens of others I tried? The hydration ratio, honestly. I kept ending up with dough that was either too stiff (crack city) or too slack (flat bread that looked more like a deflated soccer ball). This version uses a specific amount of whole milk and eggs that gives you a dough that’s soft but structured—easy to shape, holds its form, and bakes up with that signature golden dome. It’s the kind of recipe that makes you look like you know what you’re doing, even if it’s your first time.
What Ingredients You Will Need
This recipe uses simple, wholesome ingredients to deliver that signature soft, aromatic bread. Nothing weird, nothing hard to find. Just the good stuff.
- All-purpose flour (4 cups / 500g) — I use Gold Medal or King Arthur for consistent results. Don’t use bread flour here; it’ll make the bread too chewy. We want tender, not tough.
- Active dry yeast (2 ¼ teaspoons / one ¼-ounce packet) — Make sure it’s fresh. If you’re not sure, proof it in warm milk with a pinch of sugar first. If it gets foamy, you’re golden. If not, start over.
- Whole milk (½ cup / 120ml), warmed to about 110°F — Not skim, not 2%. The fat matters here for tenderness and flavor. Warm it gently; if it’s too hot, it’ll kill the yeast.
- Granulated sugar (½ cup / 100g) — This bread is sweet but not dessert-sweet. The sugar also helps with browning and tenderness.
- Unsalted butter (½ cup / 113g), softened — Let it sit out for at least an hour. Cold butter won’t incorporate properly and you’ll end up with greasy dough.
- Large eggs (3, plus 1 for egg wash) — Room temperature. If you forgot to take them out, put them in a bowl of warm water for 5 minutes. Cold eggs will seize up your dough.
- Orange blossom water (1 tablespoon) — This is what gives Pan de Muerto its signature floral aroma. You can find it in the international aisle or at a Middle Eastern grocery. If you absolutely can’t find it, use 1 tablespoon of orange zest and 1 teaspoon of vanilla extract instead.
- Orange zest (from 1 large orange) — Fresh is non-negotiable. Don’t use the dried stuff. You want the bright, citrusy oils that come from grating a real orange.
- Salt (1 teaspoon) — Don’t skip this. Salt controls yeast activity and strengthens the gluten structure. Without it, your bread will be flat and flavorless.
- For the topping: Additional melted butter (2 tablespoons) and granulated sugar (about ½ cup / 100g) for rolling. Some people use colored sugar for festive occasions, but plain white sugar is traditional.
A note on the orange blossom water: I know it sounds fancy, but it’s actually quite affordable and a bottle will last you forever. I keep mine in the fridge door and use it in apple cider cake during fall, too. It’s one of those ingredients that makes everything smell like a garden in bloom.
Equipment Needed
You don’t need a fancy kitchen to make this bread. Here’s what you’ll actually use:
- Large mixing bowl — Glass or ceramic works best. Metal can sometimes react with the yeast.
- Stand mixer with dough hook (optional but helpful) — You can absolutely knead by hand, but the mixer saves your arms. If you’re using a mixer, don’t walk away; check the dough frequently.
- Baking sheet — A half-sheet pan lined with parchment paper. No need to grease it.
- Plastic wrap or a clean kitchen towel — For covering the dough while it rises. I prefer a damp towel in dry climates; it prevents a skin from forming on the dough.
- Bench scraper — Not essential, but super helpful for dividing and shaping the dough. A sharp knife works too.
- Pastry brush — For the egg wash and melted butter. If you don’t have one, use a paper towel gently.
- Cooling rack — So the bottom doesn’t get soggy. If you don’t have one, prop the bread up on the edge of a cutting board.
I’ve made this bread with a $20 hand mixer and a wooden spoon, and it turned out just fine. Don’t let the equipment list intimidate you. The only thing that really matters is your hands and your patience.
Preparation Method
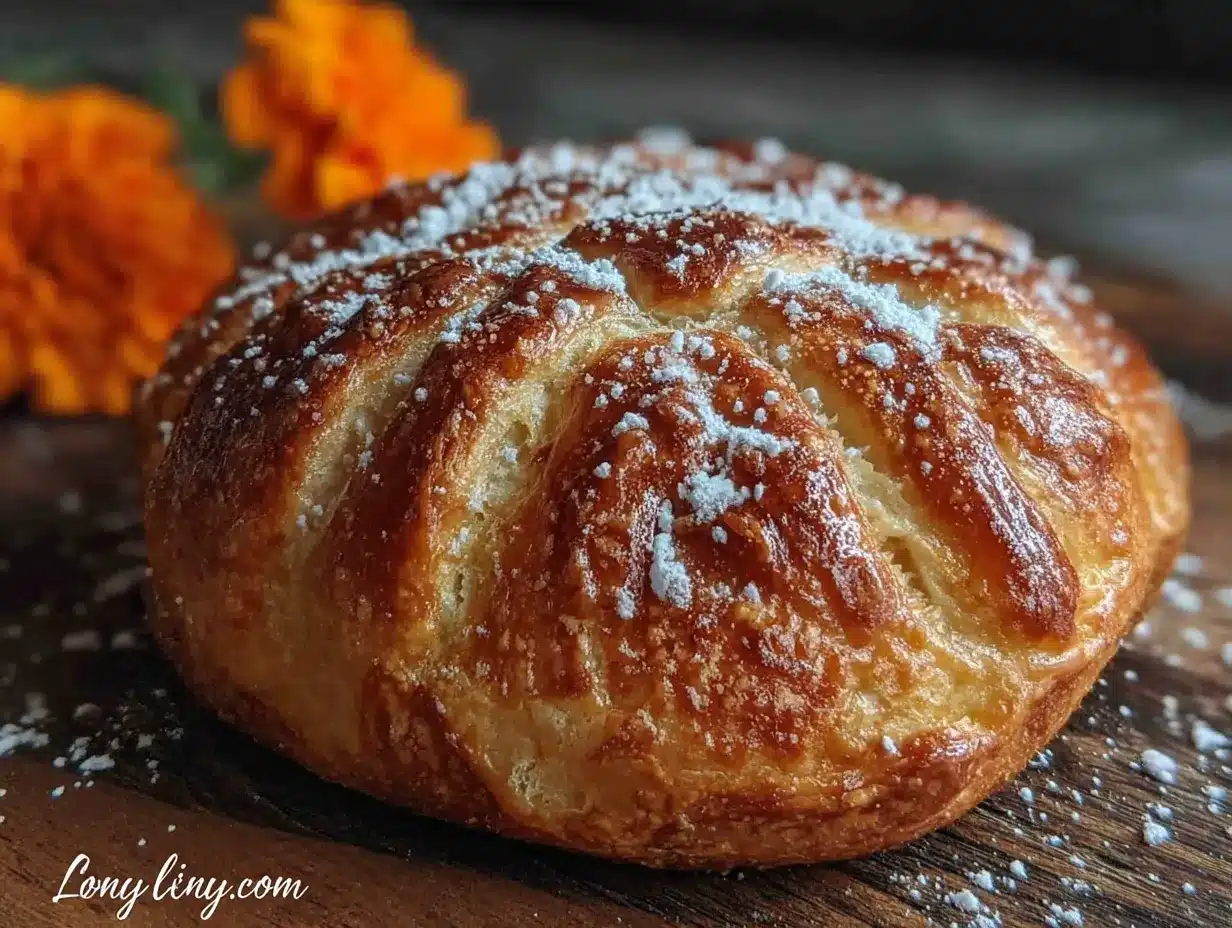
Let’s get to it. This recipe takes about 3 hours total, but most of that is rising time. Actual hands-on work is maybe 30 minutes.
- Proof the yeast. In a small bowl, combine the warm milk (110°F), 1 tablespoon of the sugar, and the yeast. Stir gently and let it sit for 5-10 minutes until it’s foamy and smells like bread. If nothing happens, your yeast is dead. Toss it and start over with fresh yeast.
- Mix the dry ingredients. In a large bowl, whisk together the flour, remaining sugar, salt, and orange zest. Make a well in the center.
- Combine wet ingredients. In a separate bowl, whisk together the proofed yeast mixture, 3 eggs (room temperature), and the orange blossom water. Pour this into the well of dry ingredients.
- Mix the dough. Stir with a wooden spoon until a shaggy dough forms. It’ll look messy and dry in spots — that’s okay. Turn it out onto a lightly floured surface.
- Knead in the butter. This is the part that feels weird. Take your softened butter and start kneading it into the dough, a little at a time. It’ll feel like the dough is falling apart at first. Keep going. It’ll come back together after about 8-10 minutes of kneading. The dough should be smooth, soft, and slightly tacky but not sticky.
- First rise. Place the dough in a lightly greased bowl, cover with plastic wrap or a damp towel, and let it rise in a warm spot for 1.5 to 2 hours, until doubled in size. I put mine in the oven with the light on. Don’t turn the oven on — just the light.
- Punch down and divide. Gently punch the dough down to release the gas. Turn it out onto a clean surface. Cut off about ⅓ of the dough and set it aside. This will become the bone decorations. Divide the remaining ⅔ into two equal pieces for the loaves.
- Shape the loaves. Roll each large piece into a smooth ball. Place them on the prepared baking sheet, spaced about 4 inches apart. Flatten them slightly into domes about 1 inch thick.
- Shape the decorations. Take the reserved ⅓ of dough. Roll it into a long rope about ½ inch thick. Cut into 4-inch lengths. For each piece, roll the ends slightly thinner to create the “bone” shape. You should have 4 bone pieces per loaf (8 total). Also roll 2 small balls per loaf (4 total) for the top knot.
- Assemble the bread. Brush the tops of the domes lightly with water. Place the bone pieces on top in an X pattern — two crossing each other. Press gently to adhere. Place the small ball in the center where the bones meet. This represents the skull.
- Second rise. Cover loosely with plastic wrap and let rise for another 45 minutes to 1 hour, until puffy and almost doubled.
- Preheat and egg wash. About 15 minutes before baking, preheat your oven to 350°F (175°C). Beat the remaining egg with 1 tablespoon of water and brush it gently over the entire surface of each loaf, including the decorations. Be careful not to deflate the dough.
- Bake. Bake for 20-25 minutes, until deep golden brown. The internal temperature should read 190°F if you have a thermometer. If the tops are browning too fast, tent loosely with foil after 15 minutes.
- Finish with butter and sugar. Let the bread cool on the pan for 5 minutes, then transfer to a cooling rack. While still warm, brush with melted butter and roll in granulated sugar. Yes, roll it. Get it all over. This is the best part.
A little sensory check for you: when you’re kneading the butter in, the dough will feel greasy and almost slippery for the first few minutes. That’s normal. Keep going until it feels smooth and elastic, like a baby’s cheek. If it still feels greasy after 10 minutes, you added the butter too fast next time. But this batch will still be delicious.
Cooking Tips & Techniques
I’ve made every mistake in the book with this bread, so you don’t have to. Here’s what I learned the hard way:
- Temperature matters more than you think. If your kitchen is cold (below 70°F), your dough will take forever to rise. I’ve had batches take 3+ hours in winter. Be patient, or use the oven-with-the-light-on trick. If your kitchen is hot and humid, your dough might overproof faster. Check it at the 45-minute mark.
- Don’t skip the second rise. I know you’re hungry. I know the house smells amazing. But if you bake this bread before the second rise is complete, you’ll get a dense, heavy loaf that looks more like a hockey puck than a festive bread. Wait until it’s puffy and soft to the touch.
- Egg wash carefully. Use a light hand. If you slather it on, it’ll pool around the decorations and create a weird, shiny crust that doesn’t absorb the sugar well. A thin, even layer is all you need.
- Roll in sugar while warm. This is crucial. If you wait until the bread is completely cool, the sugar won’t stick. If it’s too hot, the sugar will melt into a sticky mess. Aim for “warm enough that you can hold it without burning yourself.” That sweet spot is about 5 minutes out of the oven.
- Use a kitchen scale if you have one. Flour measurement by volume is notoriously inconsistent. One cup of flour can weigh anywhere from 120g to 150g depending on how you scoop it. Weighing gives you consistent results every time.
I once forgot the sugar on one loaf and served it to my family. They were too polite to say anything, but I knew. The bread was fine, but it wasn’t right. That sugar coating isn’t just decoration—it adds texture and a tiny bit of sweetness that balances the floral orange notes. Don’t skip it.
Variations & Adaptations
This recipe is flexible. Here are some ways to make it your own:
- Chocolate Pan de Muerto: Replace ¼ cup of the flour with unsweetened cocoa powder. Add ½ cup of dark chocolate chips to the dough during the last minute of mixing. It’s not traditional, but it’s incredible.
- Vegan version: Use plant-based milk (oat or soy works best), vegan butter, and a flax egg (1 tablespoon ground flaxseed + 3 tablespoons water per egg). The texture will be slightly denser, but the flavor is still spot-on.
- Gluten-free adaptation: This one’s tricky because gluten provides structure. I’ve had success using a 1:1 gluten-free flour blend with xanthan gum, but you’ll need to add an extra tablespoon of milk because gluten-free flours absorb more liquid. The bread won’t be as fluffy, but it’ll still taste wonderful.
- Flavor variations: Swap the orange blossom water for rose water (use 1 teaspoon, not 1 tablespoon—it’s stronger). Add a teaspoon of anise seed or fennel seed to the dough for a licorice note. Or mix in ½ cup of dried currants or chopped candied orange peel.
- Colored sugar topping: For a festive look, mix the granulated sugar with a few drops of food coloring before rolling. Pink, orange, or purple are popular for Day of the Dead celebrations.
My personal favorite variation? I add a tablespoon of tequila to the dough. Don’t tell anyone. It adds a subtle warmth that plays beautifully with the orange blossom water. Plus, it feels right for the occasion.
Serving & Storage Suggestions
Pan de Muerto is best served the day it’s made, but let’s be real—it’s also amazing the next morning with coffee.
- Serving temperature: Room temperature is ideal. If you’ve refrigerated it, let it sit out for 30 minutes before serving. The texture softens as it warms up.
- How to serve: Slice it like you would a cake—wedges, not slices. Serve alongside a mug of cozy chicken tortilla soup for a full meal, or with hot chocolate, café de olla, or even a scoop of salted caramel ice cream for dessert.
- Storage: Keep in an airtight container at room temperature for up to 3 days. Do NOT refrigerate—it’ll dry out the bread and make it stale faster.
- Freezing: Wrap the unsugared bread tightly in plastic wrap, then foil, and freeze for up to 2 months. When you’re ready to serve, thaw at room temperature, then warm in a 300°F oven for 5 minutes. Brush with butter and roll in sugar after warming.
- Reheating: A quick 10-second zap in the microwave will soften it, but for the best texture, reheat in a 350°F oven for 5-7 minutes. The sugar will crisp up slightly, which is lovely.
One thing I love about this bread: the flavors actually develop overnight. The orange blossom water settles down, the sugar absorbs into the crust, and the whole thing becomes more cohesive. If you can resist eating it all on Day 1, Day 2 is even better.
Nutritional Information & Benefits
Let’s be honest—this is a celebratory bread, not a health food. But here’s what you’re working with per serving (1/8 of a loaf):
- Calories: Approximately 320
- Carbohydrates: 48g
- Protein: 7g
- Fat: 11g
- Fiber: 1g
- Sugar: 18g
Health highlights: The eggs provide high-quality protein and choline, which supports brain health. The butter contains fat-soluble vitamins A, D, E, and K. Orange zest is packed with antioxidants and vitamin C. And honestly? There’s a mental health benefit to making bread that no nutrition label can capture. Kneading dough is meditative. The smell of baking bread is therapeutic. Sharing it with loved ones—living or remembered—is good for the soul.
Dietary considerations: This recipe contains gluten, dairy, and eggs. For allergen-friendly options, see the variations section above. It’s not low-carb or keto-friendly, but it’s meant to be a once-a-year treat. Enjoy it without guilt.
Conclusion
This Pan de Muerto is more than a recipe—it’s a way to connect with tradition, with your hands, and with the people who matter. Whether you’re building an ofrenda for the first time or continuing a family ritual that’s generations old, this bread belongs on your table. It’s forgiving enough for beginners, authentic enough for purists, and delicious enough that you’ll make it even when it’s not Day of the Dead.
I’d love to hear how yours turns out. Did you stick with the classic orange blossom flavor, or did you try one of the variations? Did you share it with someone special? Drop a comment below—I read every single one, and honestly, your stories are my favorite part of this job. If you post a photo on social media, tag me so I can see your beautiful loaves.
Go on, get your hands in some dough. The ancestors are waiting.
Frequently Asked Questions
Can I make Pan de Muerto without a stand mixer?
Absolutely. Knead by hand for about 10-12 minutes. It’s a great arm workout, and honestly, I find hand-kneading more satisfying. The dough is forgiving, so don’t stress about getting it perfect.
Why did my bread turn out dense and heavy?
Most likely underproofed (didn’t rise long enough) or overkneaded. Check your yeast first—if it didn’t foam during proofing, it’s dead. Next time, let the dough rise until it’s doubled in size, not just “a little bigger.” Patience is key.
Can I use all-purpose flour instead of bread flour?
This recipe uses all-purpose flour, not bread flour. Bread flour will make the texture too chewy. Stick with all-purpose for that soft, tender crumb that Pan de Muerto is known for.
How do I know when the bread is fully baked?
Use a thermometer if you have one—190°F internal temperature is perfect. If you don’t, tap the bottom of the loaf; it should sound hollow. The top should be deep golden brown, and the edges should pull slightly away from the pan.
Can I make this bread ahead of time for Day of the Dead?
Yes! Bake it the day before, but don’t add the butter and sugar coating until the day you’re serving it. Store the plain baked loaves in an airtight container at room temperature. On the day, warm them in a 350°F oven for 5 minutes, then brush with butter and roll in sugar. They’ll taste fresh-baked.
Pin This Recipe!
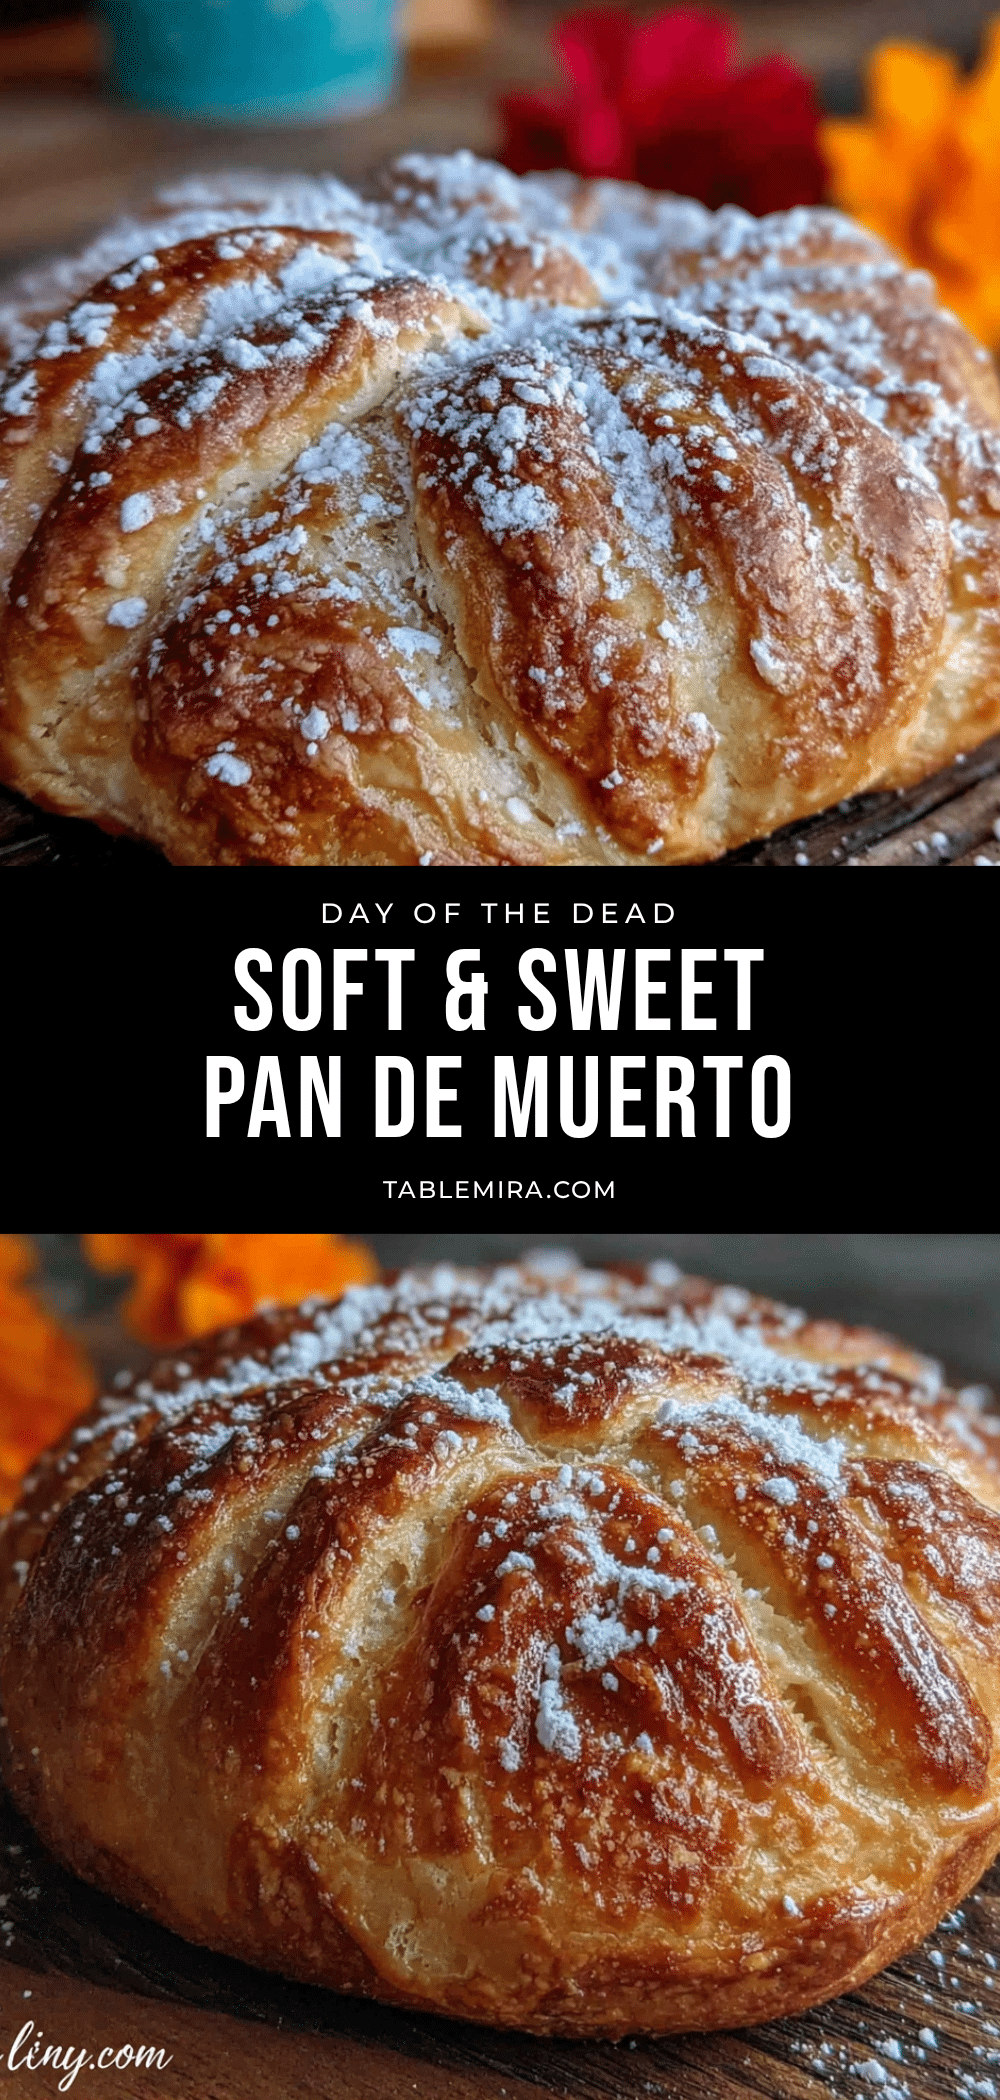
Easy Classic Pan de Muerto: Best Day of the Dead Bread

A soft, pillowy, orange-scented bread traditionally made for Day of the Dead, topped with a sparkling sugar coating. This forgiving recipe yields a tender, brioche-like loaf that’s perfect for ofrendas or enjoying with hot chocolate.
- Prep Time: 30 minutes
- Cook Time: 25 minutes
- Total Time: 3 hours (including rising)
- Yield: 8 servings 1x
- Category: Bread
- Cuisine: Mexican
Ingredients
- 4 cups (500g) all-purpose flour
- 2 ¼ teaspoons (1 packet) active dry yeast
- ½ cup (120ml) whole milk, warmed to 110°F
- ½ cup (100g) granulated sugar
- ½ cup (113g) unsalted butter, softened
- 3 large eggs, room temperature, plus 1 for egg wash
- 1 tablespoon orange blossom water
- Zest of 1 large orange
- 1 teaspoon salt
- For topping: 2 tablespoons melted butter, ½ cup (100g) granulated sugar
Instructions
- Proof the yeast: In a small bowl, combine warm milk, 1 tablespoon sugar, and yeast. Let sit 5-10 minutes until foamy.
- Mix dry ingredients: In a large bowl, whisk together flour, remaining sugar, salt, and orange zest. Make a well in the center.
- Combine wet ingredients: In a separate bowl, whisk together proofed yeast mixture, 3 eggs, and orange blossom water. Pour into the well of dry ingredients.
- Mix the dough: Stir with a wooden spoon until a shaggy dough forms. Turn out onto a lightly floured surface.
- Knead in the butter: Gradually knead softened butter into the dough, a little at a time, for 8-10 minutes until smooth, soft, and slightly tacky.
- First rise: Place dough in a lightly greased bowl, cover, and let rise in a warm spot for 1.5 to 2 hours until doubled in size.
- Punch down and divide: Gently punch down dough. Cut off about ⅓ and set aside for decorations. Divide remaining ⅔ into two equal pieces for loaves.
- Shape the loaves: Roll each large piece into a smooth ball. Place on a parchment-lined baking sheet, 4 inches apart. Flatten slightly into 1-inch thick domes.
- Shape decorations: Roll reserved dough into a ½-inch thick rope. Cut into 4-inch lengths. Roll ends slightly thinner to form bone shapes (8 total). Also roll 2 small balls for top knots.
- Assemble the bread: Brush domes lightly with water. Place bone pieces in an X pattern on each loaf. Press small ball in center where bones meet.
- Second rise: Cover loosely and let rise 45 minutes to 1 hour until puffy and almost doubled.
- Preheat and egg wash: Preheat oven to 350°F (175°C). Beat remaining egg with 1 tablespoon water and brush gently over each loaf.
- Bake: Bake for 20-25 minutes until deep golden brown (internal temp 190°F). Tent with foil after 15 minutes if browning too fast.
- Finish: Let cool on pan 5 minutes, then transfer to a cooling rack. While still warm, brush with melted butter and roll in granulated sugar.
Notes
Temperature matters: if kitchen is cold, dough may take longer to rise. Don’t skip the second rise. Use a light hand with egg wash. Roll in sugar while bread is warm but not hot. For best results, use a kitchen scale for flour.
Nutrition
- Serving Size: 1/8 of a loaf
- Calories: 320
- Sugar: 18
- Sodium: 290
- Fat: 11
- Saturated Fat: 6
- Carbohydrates: 48
- Fiber: 1
- Protein: 7
Keywords: Pan de Muerto, Day of the Dead bread, Mexican sweet bread, orange blossom bread, traditional bread