This was supposed to be a pumpkin loaf. A perfectly respectable, totally predictable pumpkin loaf that I’d made a hundred times before. But somewhere between the chaos of a Tuesday night—my dog barking at a squirrel, the timer on my phone going off for a completely different recipe, and me grabbing what I thought was melted butter from the microwave—everything went sideways.
That butter? It was brown. Deep, nutty, golden-brown butter that I’d made earlier for a pasta dish and totally forgotten about. I’d already mixed it into the pumpkin batter before I realized what I’d done. Honestly, my first thought was to dump it and start over. But I was tired, the kitchen was a mess, and honestly? I just didn’t have the energy. So I poured the batter into the pan, slid it into the oven, and braced myself for disappointment.
What came out of that oven thirty minutes later was nothing like the plan. It was better. The smell alone stopped me in my tracks—toasty, warm, almost caramel-like, wrapped around that familiar pumpkin spice aroma. I cut myself a slice while it was still warm (burned my tongue, no regrets) and that first bite was genuinely confusing. In the best way. The brown butter had done something to the pumpkin—made it deeper, richer, more complex. Like the pumpkin had finally found its soulmate.
Maybe you’ve been there. That moment when a kitchen mistake turns into a happy little discovery that you can’t stop thinking about. This bread is that discovery for me. I’ve made it at least a dozen times since that night, and every single time, I’m reminded that sometimes the best recipes come from the moments when you just roll with it.
Why You’ll Love This Recipe
Let me tell you why this Easy Brown Butter Pumpkin Chocolate Chip Bread is about to become your new weeknight hero. I’ve tested this recipe more times than I care to admit—tweaking the brown butter timing, adjusting the chocolate-to-pumpkin ratio, even trying it with different flours. This version? It’s the one. The one that works every single time, even on those nights when you’re running on fumes.
- Quick & Easy : Comes together in under an hour, with only about 10 minutes of active prep. Perfect for those evenings when you need something sweet without the fuss.
- Simple Ingredients : No fancy grocery trips needed. You likely already have canned pumpkin, flour, sugar, and eggs in your kitchen. The brown butter is the only “extra step,” and I promise it’s worth it.
- Perfect for Weeknights : This isn’t a weekend project. It’s a Tuesday-night-I-deserve-something-warm kind of recipe. Minimal cleanup, maximum payoff.
- Crowd-Pleaser : My neighbor Karen—who is notoriously picky about baked goods—asked for the recipe after one bite. That’s when I knew I had something special.
- Unbelievably Delicious : The brown butter adds this nutty, toasty depth that regular butter just can’t touch. Paired with sweet pumpkin and melty chocolate chips? It’s next-level comfort food.
What makes this recipe different from every other pumpkin bread out there is that brown butter. It’s not just another version of the same old thing. It’s the version where every bite makes you pause and think, “Wait, what is that amazing flavor?” The chocolate chips add little pockets of sweetness that balance the earthy pumpkin perfectly. And the texture? Moist, tender, with that slightly crisp edge that only brown butter can deliver.
This bread is the kind that makes you close your eyes after the first bite. It’s comfort food reimagined—faster, easier, but with the same soul-soothing satisfaction. Perfect for impressing yourself on a busy weeknight without any stress at all.
What Ingredients You Will Need
This recipe uses simple, wholesome ingredients to deliver that incredible brown butter flavor and moist, tender texture. Most of these are pantry staples, which makes this bread perfect for those last-minute baking cravings.
- Unsalted butter – ½ cup (1 stick). You’ll brown this yourself, which takes about 5 minutes. I recommend using a good-quality butter like Kerrygold for the richest flavor, but any unsalted butter works fine.
- Canned pumpkin puree – 1 cup (not pumpkin pie filling). Make sure you grab 100% pure pumpkin. Libby’s is my go-to brand because it’s consistently thick and not watery.
- Granulated sugar – ¾ cup. Adds sweetness and helps create that tender crumb.
- Light brown sugar – ¼ cup, packed. Adds moisture and a hint of molasses flavor that pairs beautifully with the brown butter.
- Large eggs – 2, at room temperature. Room temperature eggs mix more evenly into the batter. If you forgot to take them out ahead of time, just place them in a bowl of warm water for 5 minutes.
- Vanilla extract – 1 teaspoon. Pure vanilla extract makes a difference here, but imitation works in a pinch.
- All-purpose flour – 1 ½ cups. Spoon and level your flour for the most accurate measurement. Scooping directly from the bag can pack in too much flour and make the bread dry.
- Baking soda – 1 teaspoon. Helps the bread rise and gives it that light texture.
- Baking powder – ½ teaspoon. Extra lift for a tender crumb.
- Salt – ½ teaspoon. Balances the sweetness and enhances all the flavors.
- Pumpkin pie spice – 1 ½ teaspoons. You can use store-bought or make your own with cinnamon, nutmeg, ginger, and cloves.
- Cinnamon – ½ teaspoon. Adds warmth and depth.
- Semi-sweet chocolate chips – ¾ cup. I prefer Ghirardelli for their rich flavor and ability to hold their shape during baking. You can also use dark chocolate or milk chocolate chips depending on your preference.
Substitution Guidance: If you’re out of pumpkin pie spice, mix 1 teaspoon cinnamon, ¼ teaspoon nutmeg, ¼ teaspoon ginger, and a pinch of cloves. For a dairy-free version, use vegan butter—just note that browning vegan butter can be tricky, so watch it carefully. You can swap the all-purpose flour with a 1:1 gluten-free baking flour blend if needed.
Equipment Needed
You don’t need a fancy kitchen to make this bread. Here’s what you’ll need:
- 9×5-inch loaf pan – The standard size for this recipe. If you only have an 8×4-inch pan, your bread will take a few minutes longer to bake and will be taller.
- Light-colored saucepan – For browning the butter. A light-colored pan makes it easier to see the butter change color. I learned this the hard way after burning two batches in a dark non-stick pan.
- Large mixing bowl – For combining the wet ingredients and dry ingredients.
- Medium mixing bowl – For whisking the dry ingredients together.
- Whisk – For mixing the batter smoothly.
- Rubber spatula – For folding in the chocolate chips and scraping every last bit of batter into the pan.
- Parchment paper – Line your loaf pan for easy removal. Trust me, this saves so much cleanup time.
- Cooling rack – Allows air to circulate around the bread so it cools evenly.
If you don’t have a cooling rack, you can use a wire oven rack (just make sure it’s clean). And if you’re really in a pinch, you can cool the bread on a cutting board, just flip it out of the pan after 10 minutes.
Preparation Method
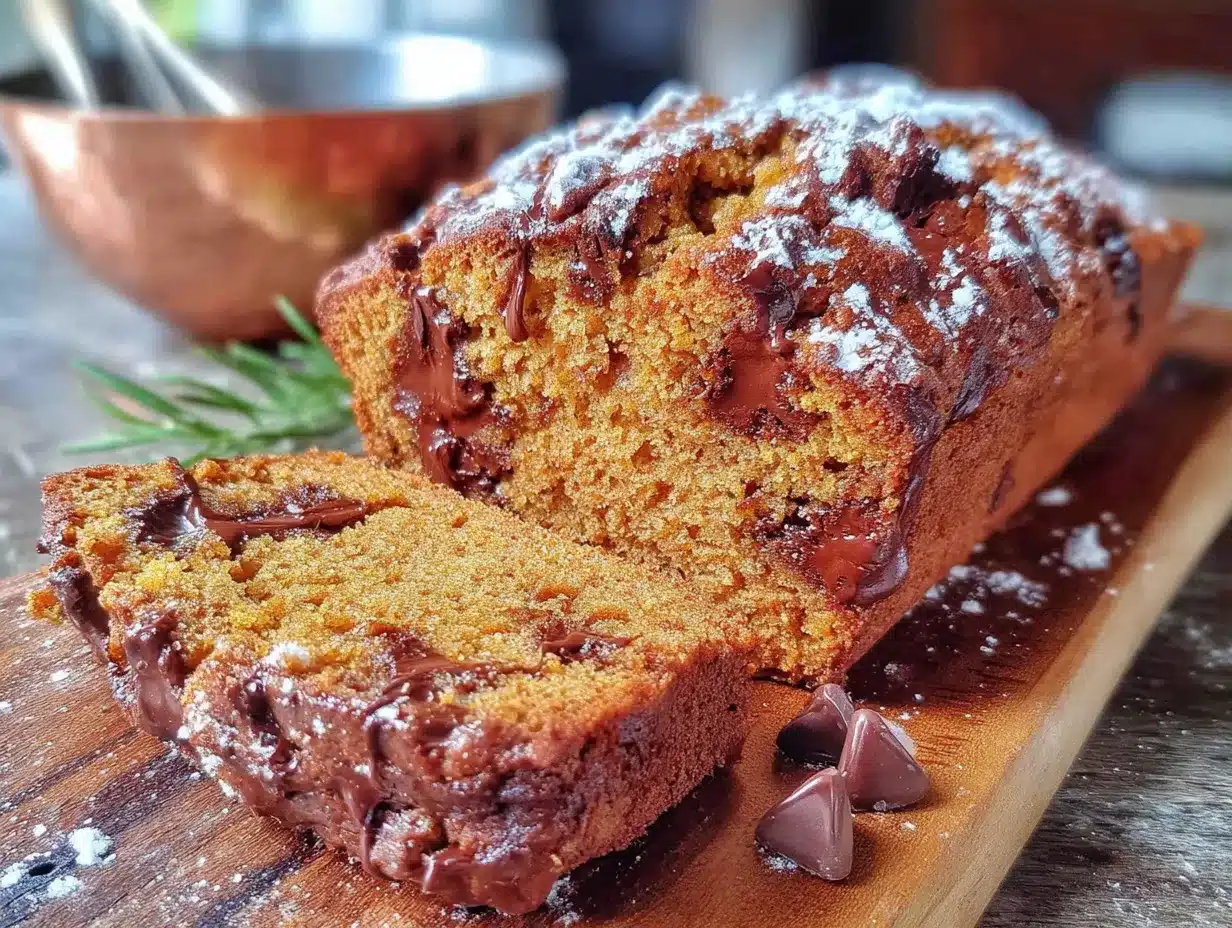
Let’s walk through this step by step. I’ve included all the little details I wish someone had told me the first time I made this.
- Preheat your oven to 350°F (175°C). Position the rack in the center of the oven. Line your 9×5-inch loaf pan with parchment paper, leaving some overhang on the long sides—this makes lifting the bread out so much easier. Lightly grease the parchment with cooking spray or butter.
- Brown the butter. Place the ½ cup of butter in your light-colored saucepan over medium heat. Let it melt completely, then continue cooking, swirling the pan occasionally. You’ll see it start to foam and bubble. After about 4-5 minutes, the foam will subside and you’ll notice little brown specks forming at the bottom of the pan. The butter will smell nutty and toasty. As soon as it turns a golden-amber color, remove it from the heat immediately. Pour it into a heat-safe bowl to stop the cooking process. Let it cool for about 5 minutes. Don’t skip this—if you add it to the other ingredients while it’s too hot, you’ll scramble the eggs.
- Combine the wet ingredients. In your large mixing bowl, whisk together the cooled brown butter, 1 cup pumpkin puree, ¾ cup granulated sugar, and ¼ cup packed light brown sugar until smooth. Add the 2 room-temperature eggs and 1 teaspoon vanilla extract. Whisk until everything is well combined and glossy. The mixture should look smooth and slightly thick.
- Mix the dry ingredients. In your medium mixing bowl, whisk together 1 ½ cups all-purpose flour, 1 teaspoon baking soda, ½ teaspoon baking powder, ½ teaspoon salt, 1 ½ teaspoons pumpkin pie spice, and ½ teaspoon cinnamon. Make sure there are no lumps—the spices can clump up, so really whisk them in well.
- Combine wet and dry ingredients. Pour the dry ingredients into the wet ingredients. Use your rubber spatula to fold everything together gently. Stir just until you see no more streaks of flour. Overmixing will make the bread tough—a few lumps are totally fine. The batter will be thick and slightly sticky.
- Fold in the chocolate chips. Add ¾ cup semi-sweet chocolate chips to the batter. Fold them in with your spatula until they’re evenly distributed. Don’t overmix here either—just a few turns.
- Transfer to the pan. Pour the batter into your prepared loaf pan. Use your spatula to spread it evenly into the corners. Tap the pan gently on the counter a couple of times to release any air bubbles.
- Bake. Place the pan in the preheated oven and bake for 45-55 minutes. Start checking at 45 minutes—insert a toothpick into the center of the bread. If it comes out clean or with just a few moist crumbs (not wet batter), it’s done. If there’s still batter on the toothpick, bake for another 3-5 minutes and check again. The top should be golden brown and spring back lightly when touched.
- Cool. Let the bread cool in the pan on a cooling rack for 10 minutes. Then, using the parchment paper overhang, lift the bread out of the pan and transfer it to the cooling rack. Let it cool completely before slicing—about 1 hour. I know it’s hard to wait, but slicing too early will give you a crumbly mess.
Cooking Tips & Techniques
Here are the things I’ve learned the hard way so you don’t have to.
Watch that butter like a hawk. The first time I tried browning butter, I walked away for “just a second” to answer a text. Big mistake. Burnt butter smells awful and tastes even worse. Stay at the stove, swirl the pan often, and the moment you see those brown specks and smell that nutty aroma, pull it off the heat. It happens fast.
Room temperature eggs matter. I used to think this was just a fussy baker thing. Then I made this bread with cold eggs straight from the fridge, and the batter looked curdled and weird. It still baked up okay, but the texture wasn’t as smooth. If you forget to set your eggs out, place them in a bowl of warm water for 5 minutes before using them.
Don’t overmix the batter. This is probably the most common mistake people make with quick breads. Stir just until the flour disappears. A few lumps are your friend. Overmixing develops the gluten and gives you a dense, tough bread instead of that tender, moist crumb we’re after.
Use the toothpick test wisely. If you hit a melted chocolate chip with your toothpick, it’ll look wet even if the bread is done. Test in a few different spots to be sure. I usually test near the center but slightly off to the side where there’s less chocolate.
Let it cool completely. I know, I know. The smell is intoxicating. But if you slice into this bread while it’s still warm, it will fall apart. The structure needs time to set. Trust me on this—I’ve ruined more slices than I care to admit because I couldn’t wait.
Variations & Adaptations
One of the best things about this recipe is how easy it is to adapt. Here are some variations I’ve tried and loved.
Gluten-Free Version: Swap the all-purpose flour with a 1:1 gluten-free baking blend. I’ve had good results with Bob’s Red Mill. The texture will be slightly more crumbly, but the flavor is still fantastic.
Dairy-Free Version: Use vegan butter for browning. Just keep in mind that vegan butter browns differently—it can go from perfect to burnt very quickly. Watch it closely. Use dairy-free chocolate chips as well.
Add Nuts: Fold in ½ cup of chopped pecans or walnuts along with the chocolate chips. Toast them first in a dry pan for 3-4 minutes for extra flavor. The crunch is a lovely contrast to the soft bread.
Spice It Up: Add ¼ teaspoon of cardamom or a pinch of cayenne pepper to the dry ingredients for a warm, unexpected kick. I tried this on a whim one fall and it was surprisingly good.
Make It Muffins: Spoon the batter into a lined muffin tin and bake at 350°F for 18-22 minutes. Perfect for grab-and-go breakfasts. This is my go-to when I need something quick for the week ahead.
Swap the Chocolate: White chocolate chips or butterscotch chips both work beautifully here. White chocolate with pumpkin is a classic combo, and butterscotch adds a caramel-like sweetness that plays nicely with the brown butter.
Serving & Storage Suggestions
This bread is wonderful served warm or at room temperature. For an extra treat, spread a slice with a little salted butter or cream cheese—the saltiness balances the sweetness perfectly.
Storage: Keep the bread wrapped tightly in plastic wrap or in an airtight container at room temperature for up to 3 days. The moisture from the pumpkin actually helps it stay soft longer than most quick breads.
Freezer Instructions: This bread freezes beautifully. Let it cool completely, then wrap it tightly in plastic wrap, followed by a layer of aluminum foil. Freeze for up to 3 months. When you’re ready to enjoy it, thaw it overnight in the refrigerator or at room temperature for a few hours.
Reheating: Pop a slice in the microwave for 15-20 seconds for that just-baked warmth. Or, for a slightly crisper edge, toast it in a toaster oven for 2-3 minutes. The chocolate chips get all melty again—heavenly.
Flavor Development: Honestly, this bread tastes even better the next day. The flavors have time to meld and deepen. So if you can resist eating it all on day one, you’re in for a treat on day two.
Nutritional Information & Benefits
Here’s an approximate nutritional breakdown per slice (based on 10 slices):
| Nutrient | Amount per slice |
|---|---|
| Calories | 290 |
| Total Fat | 14g |
| Saturated Fat | 8g |
| Cholesterol | 55mg |
| Sodium | 260mg |
| Total Carbohydrates | 38g |
| Dietary Fiber | 2g |
| Sugars | 23g |
| Protein | 4g |
Pumpkin is packed with vitamin A and fiber, which supports eye health and digestion. The brown butter adds healthy fats that help your body absorb those fat-soluble vitamins. And the dark chocolate? It contains antioxidants that are good for heart health. So really, this bread is practically a health food. (Okay, maybe not, but it’s certainly a feel-good treat.)
This recipe is vegetarian and can easily be made gluten-free or dairy-free with the substitutions mentioned above. It contains dairy, eggs, and gluten in its standard form.
Conclusion
This Easy Brown Butter Pumpkin Chocolate Chip Bread is proof that sometimes the best things in life come from happy accidents. That night I grabbed the wrong butter? It turned into a recipe I now make on repeat every fall—and honestly, all year round. The brown butter adds a depth of flavor that makes this bread feel special, but the simple ingredients and quick prep keep it totally doable on a busy weeknight.
I really hope you give this recipe a try. Don’t be afraid to make it your own—add more chocolate, throw in some nuts, or double the pumpkin spice if that’s your thing. Baking should be fun, not stressful. And this bread? It’s pure comfort, made easy.
If you make it, I’d love to hear how it turned out. Drop a comment below and let me know if you had any happy accidents of your own in the kitchen. And hey, if you loved it, share it with a friend who needs a little pumpkin-spiced joy in their life. Happy baking!
Frequently Asked Questions
Can I use fresh pumpkin instead of canned?
Yes, you can! Just make sure to roast or steam the pumpkin first, then puree it until smooth. You’ll want to drain off any excess liquid—fresh pumpkin can be more watery than canned. Spread the puree on a paper towel-lined plate for a few minutes to absorb some of that moisture.
Why did my bread sink in the middle?
This usually happens if the bread is underbaked or if you opened the oven door too often during baking. The sudden temperature change can cause the center to collapse. Make sure your oven is fully preheated and resist the urge to peek until at least the 40-minute mark.
Can I reduce the sugar in this recipe?
You can reduce the granulated sugar to ½ cup without major issues, but keep in mind that sugar does more than just sweeten—it also adds moisture and helps with browning. If you cut it too much, the bread might be drier and less tender.
How do I know when the brown butter is done?
Look for three signs: the butter will turn a golden-amber color, you’ll see brown specks forming at the bottom of the pan, and it will smell nutty and toasty. As soon as you notice all three, remove it from the heat. It happens fast, so don’t walk away!
Can I make this recipe without chocolate chips?
Absolutely! The bread is delicious on its own, with just the brown butter and pumpkin. You can also swap the chocolate chips for dried cranberries, chopped nuts, or leave it plain. The chocolate is optional, but it does add a lovely sweetness that balances the earthy pumpkin.
Pin This Recipe!
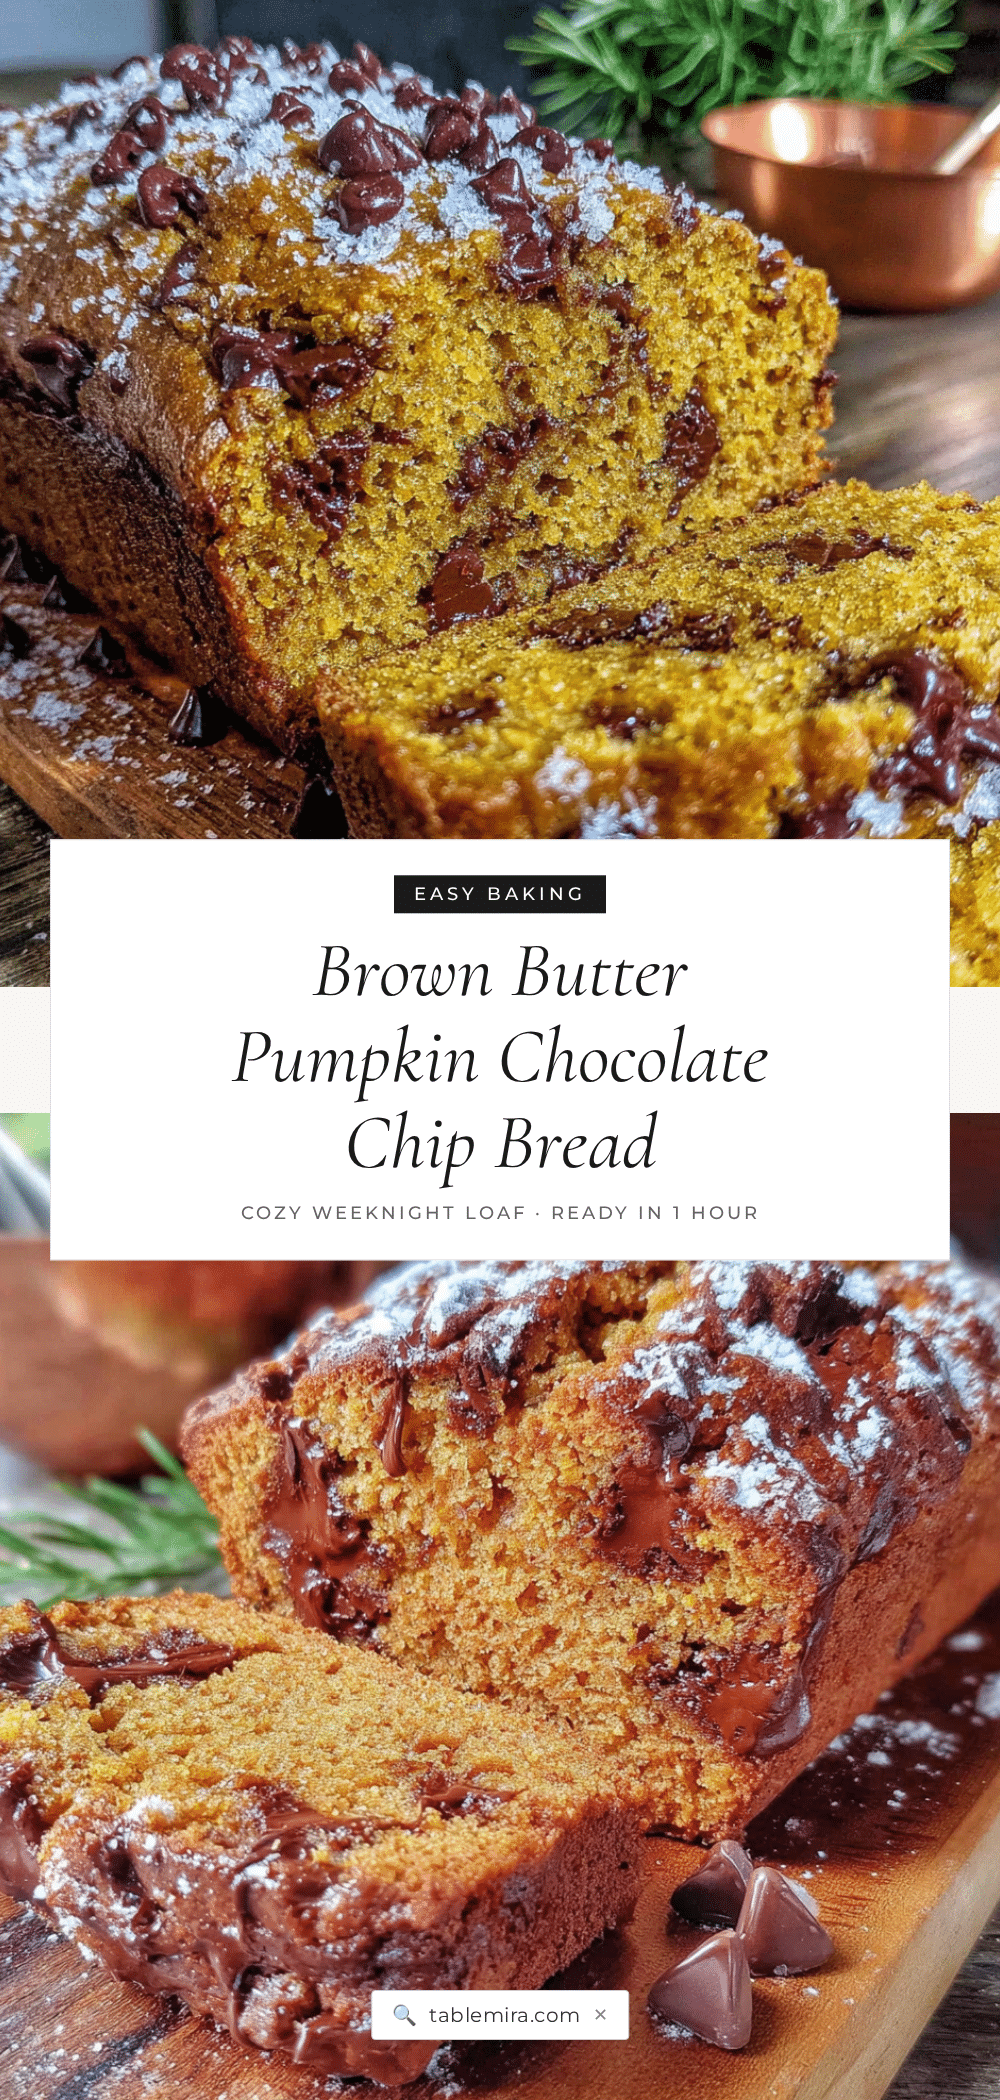
Easy Brown Butter Pumpkin Chocolate Chip Bread
A moist, tender pumpkin bread with nutty brown butter and melty chocolate chips. This quick and easy recipe comes together in under an hour and is perfect for weeknight baking.
- Prep Time: 10 minutes
- Cook Time: 45-55 minutes
- Total Time: 1 hour 5 minutes
- Yield: 10 servings 1x
- Category: Dessert
- Cuisine: American
Ingredients
- ½ cup (1 stick) unsalted butter
- 1 cup canned pumpkin puree (not pumpkin pie filling)
- ¾ cup granulated sugar
- ¼ cup packed light brown sugar
- 2 large eggs, at room temperature
- 1 teaspoon vanilla extract
- 1 ½ cups all-purpose flour
- 1 teaspoon baking soda
- ½ teaspoon baking powder
- ½ teaspoon salt
- 1 ½ teaspoons pumpkin pie spice
- ½ teaspoon cinnamon
- ¾ cup semi-sweet chocolate chips
Instructions
- Preheat your oven to 350°F (175°C). Position the rack in the center of the oven. Line a 9×5-inch loaf pan with parchment paper, leaving some overhang on the long sides. Lightly grease the parchment with cooking spray or butter.
- Brown the butter: Place ½ cup butter in a light-colored saucepan over medium heat. Let it melt completely, then continue cooking, swirling the pan occasionally. After about 4-5 minutes, the foam will subside and brown specks will form at the bottom. The butter will smell nutty and toasty. As soon as it turns golden-amber, remove from heat and pour into a heat-safe bowl. Let cool for about 5 minutes.
- Combine the wet ingredients: In a large mixing bowl, whisk together the cooled brown butter, 1 cup pumpkin puree, ¾ cup granulated sugar, and ¼ cup packed light brown sugar until smooth. Add the 2 room-temperature eggs and 1 teaspoon vanilla extract. Whisk until well combined and glossy.
- Mix the dry ingredients: In a medium mixing bowl, whisk together 1 ½ cups all-purpose flour, 1 teaspoon baking soda, ½ teaspoon baking powder, ½ teaspoon salt, 1 ½ teaspoons pumpkin pie spice, and ½ teaspoon cinnamon until no lumps remain.
- Combine wet and dry ingredients: Pour the dry ingredients into the wet ingredients. Use a rubber spatula to fold together gently until just combined (a few lumps are fine). Do not overmix.
- Fold in the chocolate chips: Add ¾ cup semi-sweet chocolate chips and fold until evenly distributed.
- Transfer to the pan: Pour the batter into the prepared loaf pan and spread evenly. Tap the pan gently on the counter a couple of times to release air bubbles.
- Bake: Place the pan in the preheated oven and bake for 45-55 minutes. Start checking at 45 minutes—insert a toothpick into the center. If it comes out clean or with a few moist crumbs, it’s done. If there’s wet batter, bake for another 3-5 minutes and check again.
- Cool: Let the bread cool in the pan on a cooling rack for 10 minutes. Then, using the parchment paper overhang, lift the bread out and transfer to the cooling rack. Let cool completely before slicing (about 1 hour).
Notes
Watch the butter closely while browning—it can go from perfect to burnt quickly. Use room temperature eggs for best texture. Do not overmix the batter. Let the bread cool completely before slicing to avoid crumbling. The bread tastes even better the next day as flavors meld.
Nutrition
- Serving Size: 1 slice
- Calories: 290
- Sugar: 23
- Sodium: 260
- Fat: 14
- Saturated Fat: 8
- Carbohydrates: 38
- Fiber: 2
- Protein: 4
Keywords: pumpkin bread, brown butter, chocolate chip, quick bread, fall recipe, easy dessert


