Hearing the fridge door slam shut when I realized the usual jar of store-bought pickles was nowhere to be found—panic hit. It was late afternoon, and dinner guests were due any minute. The clock was ticking, and I needed something tangy, crunchy, and homemade to save the day. I grabbed the cucumbers, garlic, and dill from the counter and, honestly, just hoped for the best with this quick refrigerator pickle recipe. Little did I know, those crisp garlicky refrigerator dill pickles would turn out even better than expected, ready in just 24 hours and stealing the show at the table. The sharp scent of fresh garlic mingled with the dill and vinegar filled the kitchen, calming the chaos just a bit.
I’ve made plenty of pickles before, but this one sticks with me because it’s the kind of recipe that feels like a secret weapon. It’s fast enough for last-minute cravings but still gives you that satisfying crunch and bold flavor you expect from a good dill pickle. No canning fuss, no waiting weeks—just fresh, tangy goodness in a day. Plus, it’s one of those recipes that invites a little improvisation, which is exactly what I needed in that moment of culinary scramble. Now, whenever I’m in a hurry or feeling lazy (which, let’s face it, is often), I turn to this recipe. It’s become a reliable, tasty staple that feels like a little homemade magic in a jar.
For those who appreciate a pickle that snaps back with crispness and packs a garlicky punch, this recipe is a keeper. It’s also a reminder that sometimes, the best dishes come out of a pinch and a dash of creativity. So, whether you’re new to pickling or a seasoned pro, these refrigerator dill pickles will quickly become a favorite in your repertoire—just like they did in mine.
Why You’ll Love This Recipe
Honestly, these crisp garlicky refrigerator dill pickles hit the mark in so many ways. From my kitchen trials and family feedback, here’s why this recipe earns a permanent spot on my list:
- Quick & Easy: You’ll have pickles ready in under 24 hours—perfect for those times when you crave something tangy but don’t have days to wait.
- Simple Ingredients: No specialty items needed—just cucumbers, garlic, dill, vinegar, and a few pantry staples. You likely have everything on hand.
- Perfect for Any Occasion: Whether it’s a last-minute side for barbecue night or a crunchy snack to jazz up sandwiches, these pickles fit right in.
- Crowd-Pleaser: Family, friends, even picky eaters love the garlicky kick and satisfying crunch. They always ask for more.
- Unbelievably Delicious: The balance of garlic, dill, and vinegar is spot on, giving you that classic pickle flavor with a fresh homemade twist.
This recipe stands out because the garlic isn’t just an afterthought—it’s front and center, giving the pickles a bold, savory depth. Plus, the refrigerator method means no heat canning, so the cucumbers stay crisp and bright. I’ve tried versions with different vinegars and spices, but this combination has the best snap and flavor harmony. It’s comfort food with a little zip, and honestly, it’s the kind of recipe that makes you pause and savor that first perfectly crunchy bite. If you want to impress guests or simply treat yourself, these pickles deliver without the stress.
What Ingredients You Will Need
This crisp garlicky refrigerator dill pickles recipe sticks to straightforward, fresh ingredients that work together to give you that irresistible crunch and flavor. The beauty is in the simplicity—no complicated spices or hard-to-find items here.
- Fresh cucumbers: About 2 pounds (900 g) of small to medium-sized pickling cucumbers, firm and unblemished (I prefer Kirby cucumbers for their crunch).
- Fresh dill: 3-4 sprigs of fresh dill (or 1 tablespoon dried dill if fresh isn’t available).
- Garlic cloves: 4-5 large cloves, peeled and slightly crushed to release flavor (don’t skimp here—the garlic is key for that garlicky punch).
- White vinegar: 1 cup (240 ml) for that classic tangy tang (you can also swap half for apple cider vinegar for a mellow sweetness).
- Water: 1 cup (240 ml) to balance the vinegar’s acidity.
- Salt: 1 tablespoon kosher salt or pickling salt (regular table salt may cloud the brine).
- Sugar (optional): 1 teaspoon to cut some acidity if you prefer a slightly milder pickle.
- Black peppercorns: 1 teaspoon whole for a subtle spice note.
- Red pepper flakes (optional): ¼ teaspoon for a little heat, if you like things spicy.
I usually recommend Diamond Crystal kosher salt for best results. If you want to try a variation, you can swap cucumbers with summer squash or add a bay leaf for a slightly different aroma. When fresh dill is in season, it really makes a difference, but dried dill works in a pinch. This recipe is flexible but stays true to the crisp, garlicky dill pickle vibe that makes it special.
Equipment Needed
- Quart-sized glass mason jar or any large airtight container: For marinating the pickles in the fridge. Glass is best to avoid flavor transfer.
- Measuring cups and spoons: For precise brine ratios—important for consistent flavor.
- Sharp knife and cutting board: For slicing cucumbers evenly (I prefer spears, but chips or whole small cucumbers work too).
- Small saucepan: To gently warm and dissolve the salt and sugar into the vinegar and water.
- Kitchen tongs or fork: Handy for packing cucumbers tightly and removing pickles without making a mess.
If you don’t have a mason jar, any clean, food-safe container with a tight lid will do. I’ve used old pickle jars or even BPA-free plastic containers in a pinch. Just make sure it seals well to keep the brine from leaking. And a tip I learned the hard way: avoid metal lids that aren’t designed for pickling, or you might get off flavors or rust spots. For best results, keep your tools clean and dry before starting to preserve crispness and avoid cloudiness in the brine.
Preparation Method
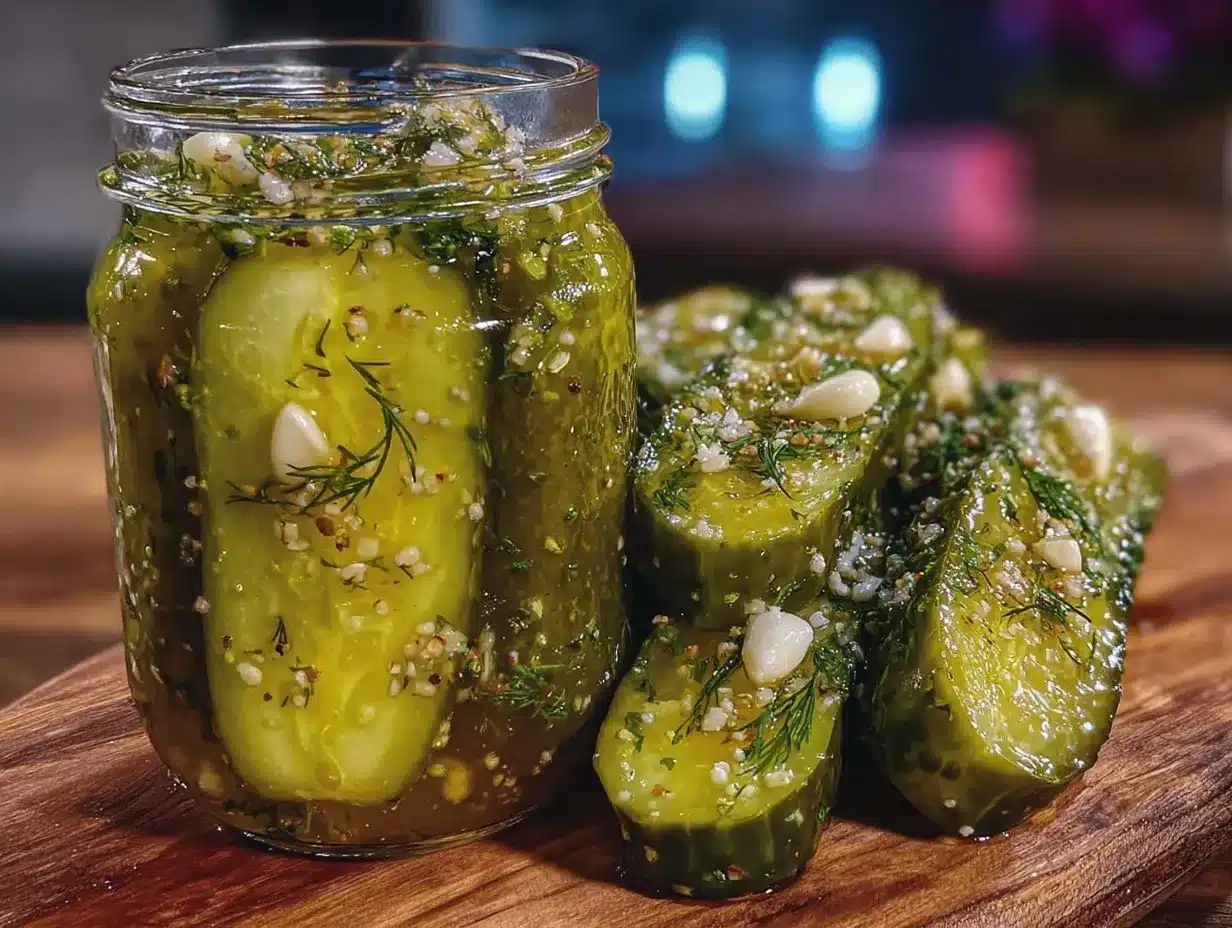
- Wash and prepare cucumbers: Rinse 2 pounds (900 g) of pickling cucumbers thoroughly. Trim the blossom ends (where enzymes can cause softening) and cut into spears about 3-4 inches long or slice into chips about ¼-inch thick, depending on your preference. Dry the cucumbers well with a clean towel. This helps keep them crisp.
- Prepare the brine: In a small saucepan, combine 1 cup (240 ml) white vinegar, 1 cup (240 ml) water, 1 tablespoon kosher salt, and 1 teaspoon sugar (optional). Warm gently over medium heat, stirring until salt and sugar dissolve completely. Remove from heat and let cool slightly.
- Pack the jar: Place 3-4 sprigs of fresh dill, 4-5 crushed garlic cloves, 1 teaspoon black peppercorns, and optional ¼ teaspoon red pepper flakes at the bottom of your quart-sized jar. Pack the cucumber spears or slices tightly on top but don’t crush them.
- Add the brine: Pour the warm (not hot) brine over the cucumbers, making sure they’re fully submerged. If needed, use a small clean weight (like a glass or ceramic piece) to keep cucumbers beneath the brine’s surface. Seal the jar with its lid.
- Refrigerate: Place the jar in the refrigerator for at least 24 hours before tasting. The pickles will develop flavor quickly, but for best crispness and tang, wait a full day. They’ll keep well for up to 2 weeks refrigerated.
- Taste and adjust: After 24 hours, open the jar and taste a pickle. If you want it tangier or stronger, let it sit another day or two. If you prefer a milder flavor, enjoy them right away!
Pro tip: When packing your jar, keep those garlic cloves whole or just slightly crushed so the flavor infuses slowly without overpowering at once. Also, never use hot brine directly on cucumbers as it can soften them prematurely. I’ve learned through trial and error that room temperature brine keeps that hallmark crunch intact. If you want to speed things up, slicing thinner helps, but don’t rush the cool down step or you’ll lose texture.
Cooking Tips & Techniques
Getting perfectly crisp garlicky refrigerator dill pickles is part science, part patience, and a little bit of luck. Here’s what I’ve learned over multiple batches:
- Choose the right cucumber: Pick firm, fresh cucumbers, preferably Kirby or pickling varieties. Avoid ones that look soft or have yellow spots. The fresher they are, the crisper your pickles will be.
- Trim the blossom ends: Those ends contain enzymes that can soften pickles quickly. Snip them off before slicing.
- Cold brine is key: Adding warm brine directly to cucumbers can make them mushy. Warm your brine just enough to dissolve salt and sugar, then cool before pouring over cucumbers.
- Use kosher or pickling salt: Regular table salt can cloud your brine and affect flavor negatively.
- Don’t rush the resting time: The flavor intensifies over 24 hours, but if you can wait 48, the pickles really sing.
- Keep pickles submerged: Use a weight, or tightly pack cucumbers to prevent spoilage and maintain crispness.
- Store in the fridge: These are not shelf-stable pickles—they need refrigeration to stay fresh and crisp.
I once tried doubling the garlic and ended up with pickles so pungent even my kids protested. Lesson learned: balance is everything. Also, if you want a little fizz, add a pinch of baking soda to the brine—just be cautious with this trick as it alters acidity and texture. For best results, multi-task by prepping your pickles while you’re making dinner (maybe alongside a creamy BLT pasta salad) so everything comes together smoothly.
Variations & Adaptations
This refrigerator dill pickle recipe is a great canvas for customization. Here are some variations I’ve tried and loved:
- Spicy Pickles: Add extra red pepper flakes or a sliced jalapeño to the brine for a fiery kick. I once paired these with a fresh jalapeño lime cowboy caviar for a zesty spread.
- Garlic Dill Bread and Butter Style: Add sliced onions and a touch of sugar to balance the garlic and vinegar, mimicking a sweeter pickle. For inspiration, check out this bread and butter pickle recipe on the site.
- Low-Sodium Option: Reduce salt by half and increase refrigeration time slightly. Using low-sodium vinegar can also mellow the bite.
- Herb Boost: Experiment with adding fresh thyme, oregano, or even bay leaves for an herbal twist.
- Quick Pickled Vegetables: Swap cucumbers for carrots, green beans, or radishes for a different crunch and color.
When I made a batch using apple cider vinegar instead of white, the flavor was softer and fruitier—great for those who want a milder pickle. One of my favorite personal tweaks is adding a pinch of fennel seeds or mustard seeds for an extra layer of aroma. Just be mindful not to overload with spices, or the garlic can get lost in the mix.
Serving & Storage Suggestions
These crisp garlicky refrigerator dill pickles shine best when served cold and fresh from the fridge. They’re excellent as a snack straight from the jar or paired with sandwiches, burgers, and charcuterie boards. I love them alongside a plate of smoky pulled pork sliders or as a crunchy contrast in a creamy cucumber salad.
To store, keep pickles fully submerged in their brine in a sealed jar in the refrigerator. They’ll stay crisp and delicious for up to 2 weeks. Over time, the flavors deepen, so if you like a stronger vinegar bite, let them rest a bit longer before eating.
When reheating isn’t really a thing for pickles, but if you want to change things up, try chopping them finely to add crunch to potato salad or mix into creamy dips. They also pair surprisingly well with the fresh and sweet notes in desserts, like the snickerdoodle zucchini bars I recently baked—something about that sharp pickle contrast balances a rich dessert.
Nutritional Information & Benefits
These refrigerator dill pickles are low in calories—about 10-15 calories per spear—making them a guilt-free snack. Cucumbers provide hydration and small amounts of fiber, while garlic adds antioxidants and immune-boosting properties.
Because this recipe uses vinegar and salt for preservation without added sugars (unless you choose to add a bit), it fits well into low-carb and keto diets. The probiotics from fermentation aren’t present here since it’s a quick pickle, but the vinegar still supports digestion.
Just a heads-up: those with sodium restrictions should monitor intake due to the salt content in the brine. Overall, these pickles are a refreshing, flavorful addition to a balanced diet and a delicious way to enjoy fresh cucumbers with an immune-boosting garlic twist.
Conclusion
These crisp garlicky refrigerator dill pickles are the kind of recipe that saves the day when you need a fresh, crunchy bite fast. They’re simple, reliable, and pack a punch of flavor that feels both classic and homemade. I love how flexible this recipe is—I’ve customized it for different tastes and occasions, but it always turns out great.
Whether you’re a pickle newbie or have been making pickles for years, this easy recipe invites you to get hands-on without fuss. It’s a quick fix that rewards your patience with bright, tangy, garlicky goodness—ready in just 24 hours. Plus, they store well and keep on giving in flavor and crunch.
If you give them a try, I’d love to hear how you customize your batch or what dishes you serve them with. It’s always fun swapping tips and tricks, especially for a recipe that brings so much joy to the table. Here’s to more crunchy moments in your kitchen!
Frequently Asked Questions
How long do refrigerator dill pickles last in the fridge?
They stay fresh and crisp for about 2 weeks when kept submerged in brine in a sealed jar.
Can I use regular cucumbers instead of pickling cucumbers?
Yes, but pickling cucumbers like Kirby cucumbers are preferred because they stay crisper and have fewer seeds.
Is it necessary to use fresh dill?
Fresh dill provides the best flavor and aroma, but dried dill can be used if fresh isn’t available—just reduce the amount by half.
Can I make these pickles without garlic?
You can omit garlic, but it’s a key flavor component in this recipe. Consider adding other aromatics like mustard seeds or bay leaves instead.
Why are my pickles not crisp?
Soft pickles can result from using old cucumbers, not trimming the blossom ends, or pouring hot brine directly over cucumbers. Using fresh cucumbers and cool brine helps keep them crisp.
Pin This Recipe!
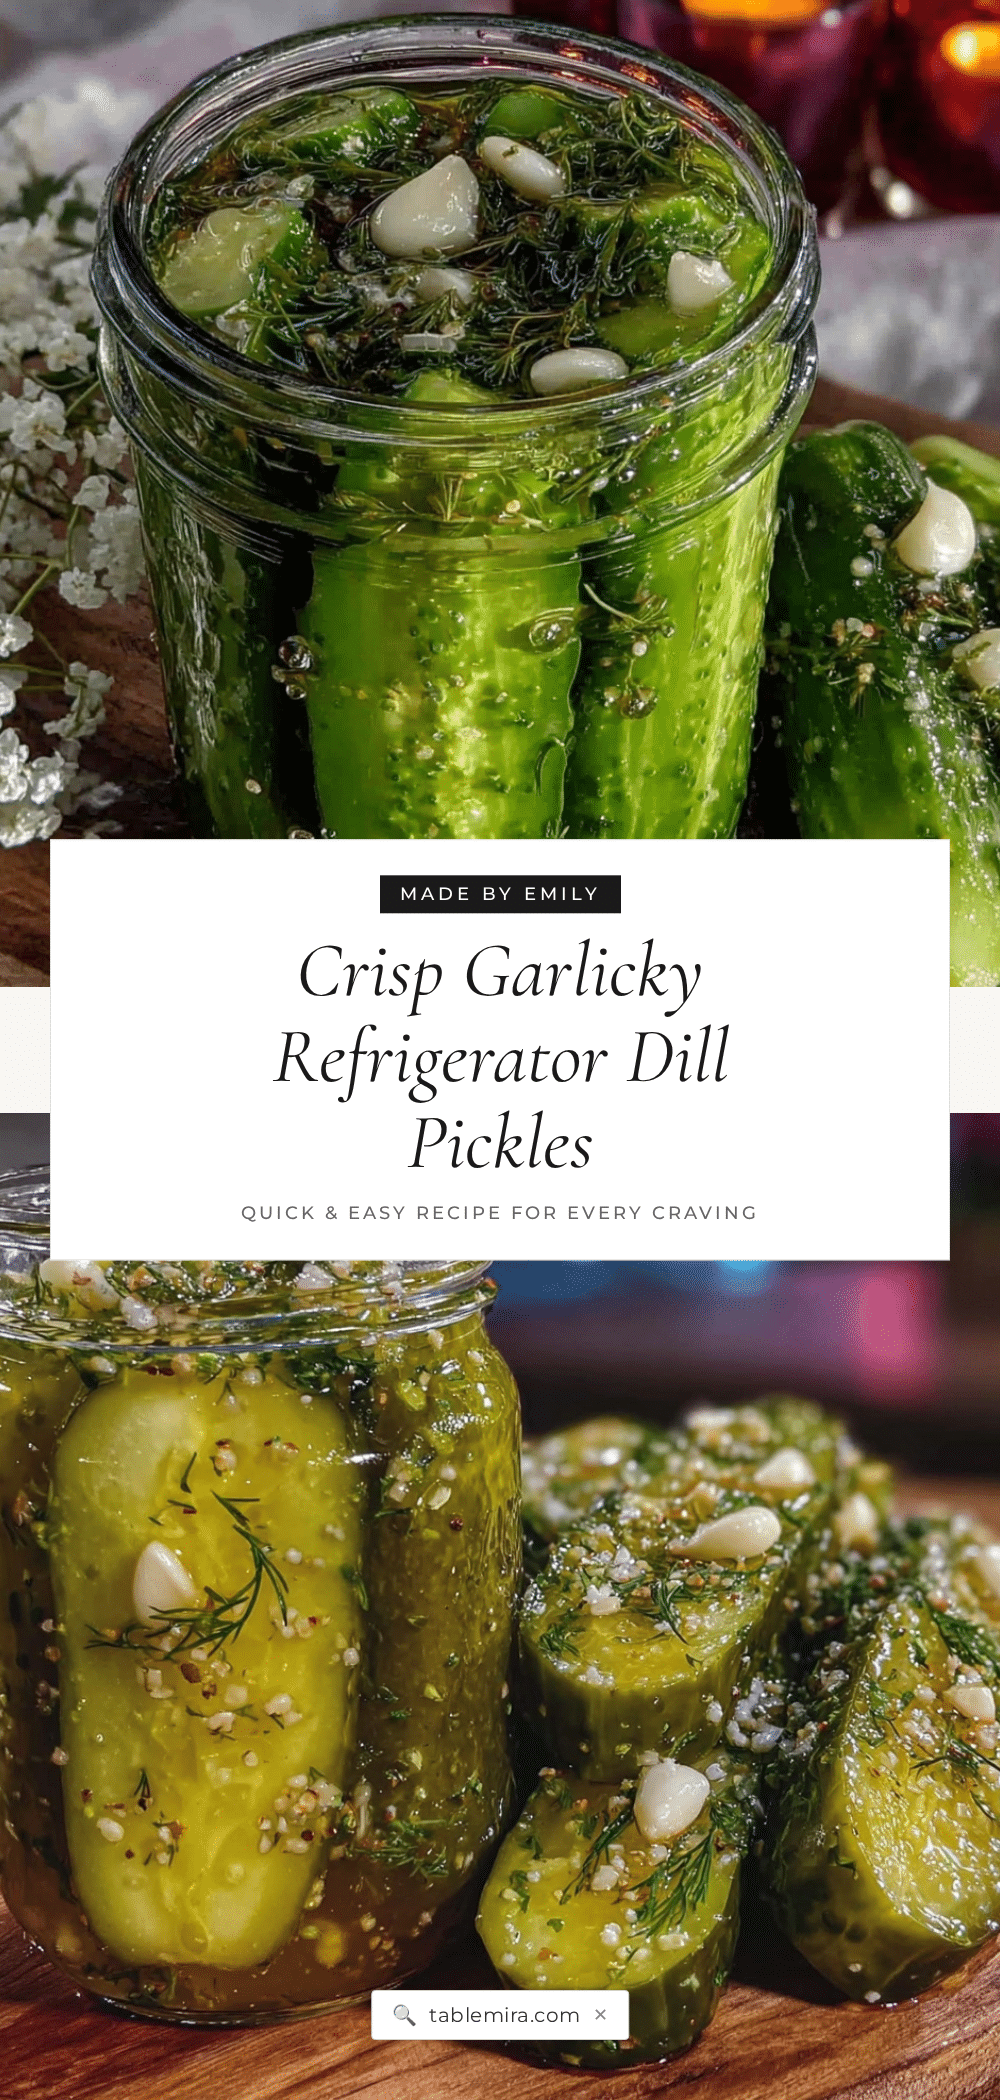
Crisp Garlicky Refrigerator Dill Pickles
A quick and easy refrigerator pickle recipe that delivers crisp, tangy, and garlicky dill pickles ready in just 24 hours without any canning fuss.
- Prep Time: 15 minutes
- Cook Time: 10 minutes
- Total Time: 24 hours 25 minutes
- Yield: About 1 quart (4 servings) 1x
- Category: Condiment
- Cuisine: American
Ingredients
- 2 pounds (900 g) small to medium-sized pickling cucumbers (preferably Kirby cucumbers)
- 3–4 sprigs fresh dill or 1 tablespoon dried dill
- 4–5 large garlic cloves, peeled and slightly crushed
- 1 cup (240 ml) white vinegar
- 1 cup (240 ml) water
- 1 tablespoon kosher salt or pickling salt
- 1 teaspoon sugar (optional)
- 1 teaspoon whole black peppercorns
- ¼ teaspoon red pepper flakes (optional)
Instructions
- Wash and prepare cucumbers: Rinse cucumbers thoroughly, trim blossom ends, and cut into spears about 3-4 inches long or slice into ¼-inch thick chips. Dry well with a clean towel.
- Prepare the brine: In a small saucepan, combine white vinegar, water, kosher salt, and sugar (if using). Warm gently over medium heat, stirring until salt and sugar dissolve. Remove from heat and let cool slightly.
- Pack the jar: Place fresh dill sprigs, crushed garlic cloves, black peppercorns, and optional red pepper flakes at the bottom of a quart-sized glass jar. Pack cucumber spears or slices tightly on top without crushing.
- Add the brine: Pour the warm (not hot) brine over the cucumbers, ensuring they are fully submerged. Use a small clean weight if needed to keep cucumbers beneath the brine surface. Seal the jar.
- Refrigerate: Place the jar in the refrigerator for at least 24 hours before tasting. For best flavor and crispness, wait a full day. Pickles keep well for up to 2 weeks refrigerated.
- Taste and adjust: After 24 hours, taste a pickle. If desired, let sit another day or two for stronger flavor or enjoy immediately for milder taste.
Notes
Use fresh, firm cucumbers preferably Kirby variety for best crispness. Trim blossom ends to prevent softening. Warm brine just enough to dissolve salt and sugar, then cool before pouring over cucumbers to maintain crunch. Keep cucumbers fully submerged in brine using a weight. Store pickles refrigerated and consume within 2 weeks. Optional ingredients like red pepper flakes add heat; sugar can balance acidity. Avoid metal lids not designed for pickling to prevent off flavors or rust.
Nutrition
- Serving Size: 1 pickle spear
- Calories: 1015
- Sugar: 1
- Sodium: 600
- Carbohydrates: 2
- Fiber: 0.5
- Protein: 0.3
Keywords: refrigerator pickles, dill pickles, quick pickles, garlicky pickles, easy pickles, homemade pickles, crisp pickles


