I was at the pumpkin patch last October, completely focused on picking out the perfect gourd for my front porch, when the farmer’s wife came out with a tray of something that stopped me in my tracks. She was just setting it down on a hay bale for her family’s lunch, and the smell—warm, savory, with a hint of smokiness—drifted right over to where I stood. I honestly thought it was some kind of fancy casserole until she laughed and said, “Oh honey, those are just stuffed peppers. I cut the tops to look like little jack-o-lanterns for the grandkids.”
I mean, I’d made stuffed peppers a hundred times before. But that moment? That was the first time I realized dinner could double as a centerpiece. I ended up buying three buckets of apples from her stand just so I could keep asking her questions about the recipe. She scribbled it on the back of a feed receipt, and I stuffed it in my pocket next to a handful of hay. Let me tell you, I’ve lost that receipt, found it again in the laundry, and now I’ve memorized every detail.
These Cozy Jack-O-Lantern Stuffed Peppers are my fall dinner secret weapon now. They’re fun enough for a Halloween party but cozy enough for a Tuesday night when you just need something warm and filling. Maybe you’ve been there—standing in the kitchen, staring at a pile of bell peppers, wondering how to make dinner feel a little more special without spending hours on it. This is that recipe. It stayed with me because it proves that a simple twist on an old classic can turn a regular meal into a memory.
Why You’ll Love This Recipe
Let me tell you why these Cozy Jack-O-Lantern Stuffed Peppers have become my most-requested fall dish. I’ve tested this recipe more times than I can count, tweaking the filling, adjusting the roasting time, and even carving different faces to see which ones hold up best. Trust me when I say this version is the winner.
- Quick & Easy: From cutting board to table in about 45 minutes. Perfect for those busy October weeknights when you’ve got soccer practice and homework to juggle.
- Simple Ingredients: Ground beef, rice, tomatoes, cheese, and spices—all stuff you probably already have in your pantry or can grab in one quick aisle at the store.
- Perfect for Fall Gatherings: These little guys are a hit at Halloween parties, harvest dinners, or even Thanksgiving leftovers night. Kids especially go nuts for the jack-o-lantern faces.
- Crowd-Pleaser: I’ve served these to picky eaters, vegetarian friends (with a swap), and my dad who “doesn’t do vegetables.” They all asked for seconds.
- Unbelievably Delicious: The combination of seasoned meat, tender rice, melted cheese, and roasted bell pepper is comfort food at its finest. The faces get slightly caramelized on the edges, adding this little bit of smokiness that takes it over the top.
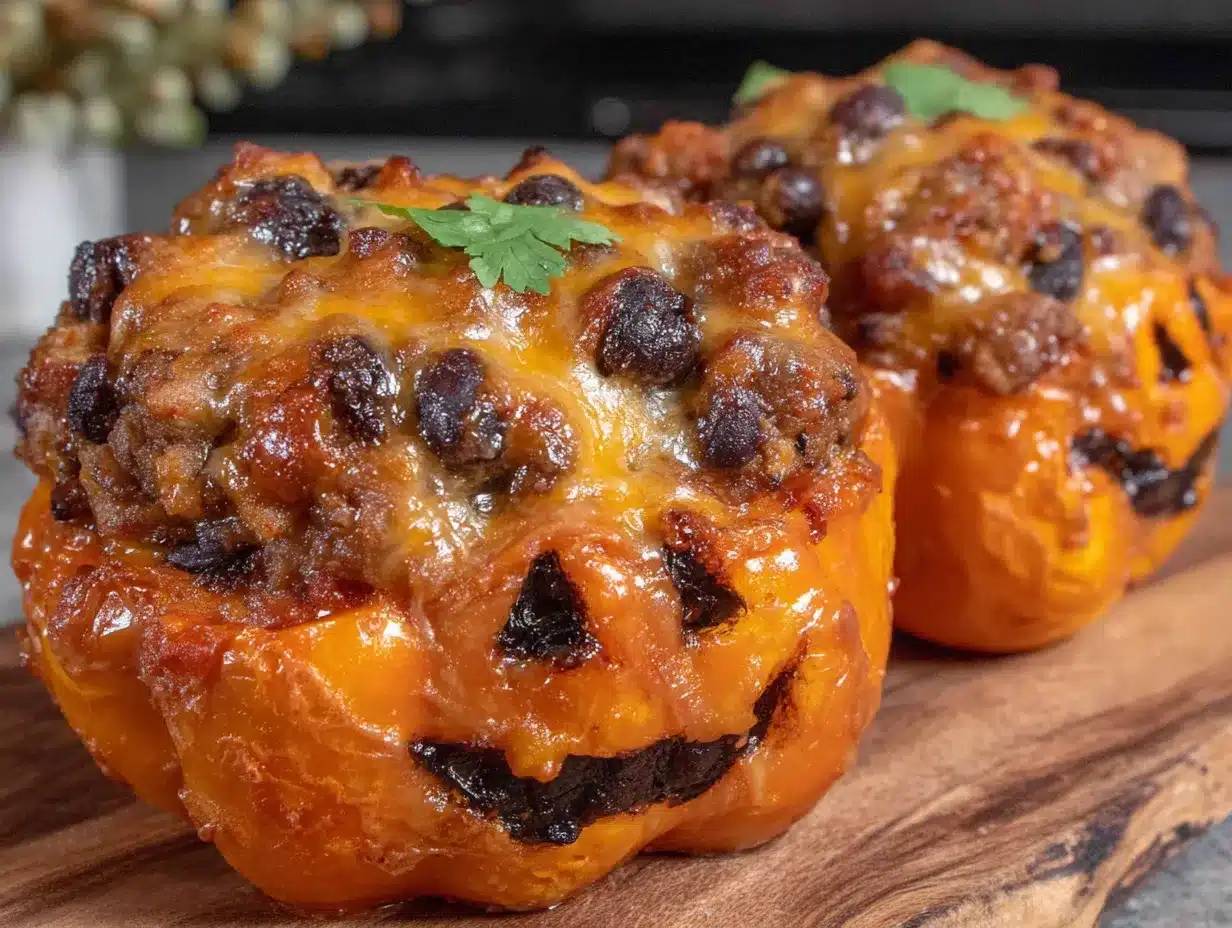
What makes these different from every other stuffed pepper recipe out there? It’s the carving technique and the way the cheese melts through the little face holes. Seriously, it creates these tiny pockets of gooey goodness that make every bite exciting. Plus, you get to eat a smiling (or grumpy!) face staring back at you from your plate. I mean, how can you not love that?
This recipe is the kind that makes you close your eyes after the first bite. It’s comfort food reimagined—a little playful, totally satisfying, and guaranteed to make everyone at the table smile.
What Ingredients You Will Need
This recipe uses simple, wholesome ingredients that come together to deliver big flavor without the fuss. Most of these are pantry staples, and I’ve included some substitution notes so you can make it work with what you have.
For the Stuffed Peppers
- 4 large bell peppers (orange and red work best for the jack-o-lantern look, but yellow works too. Look for peppers that are squat and wide so they stand up nicely in the baking dish.)
- 1 lb ground beef (85/15 is ideal—lean enough to not be greasy, but with enough fat for flavor. Ground turkey or chicken works great too.)
- 1 cup cooked white rice (leftover rice is perfect here. Brown rice or cauliflower rice are good swaps.)
- 1 small yellow onion, finely diced (about 1 cup)
- 3 cloves garlic, minced
- 1 can (15 oz) diced tomatoes, drained (fire-roasted adds a nice smoky depth)
- 1 can (8 oz) tomato sauce
- 1 tsp dried oregano
- 1 tsp smoked paprika (this is the secret to that cozy, slightly smoky flavor)
- 1/2 tsp ground cumin
- 1/2 tsp salt
- 1/4 tsp black pepper
- 1 cup shredded cheddar cheese (plus extra for topping. I recommend sharp cheddar for more punch, but Monterey Jack or a Mexican blend works beautifully too.)
- 2 tbsp olive oil
For the Jack-O-Lantern Faces
- Small sharp knife (like a paring knife)
- Small spoon (a melon baller is even better)
- Toothpicks (to hold the tops in place if needed)
I personally prefer using Muir Glen fire-roasted tomatoes for the best depth of flavor, but any brand works. If you’re using fresh tomatoes, you’ll need about 2 medium ones, finely chopped. For a vegetarian version, swap the ground beef with 1.5 cups of cooked lentils or a plant-based ground meat substitute. Just make sure to drain any excess liquid from the lentils so the filling isn’t soggy.
Equipment Needed
You don’t need anything fancy to make these Cozy Jack-O-Lantern Stuffed Peppers, but having the right tools makes the process smoother and more fun.
- Large baking dish (9×13 works perfectly. A cast iron skillet is also great—it holds heat beautifully and looks nice for serving.)
- Large skillet (for cooking the filling. Non-stick or stainless steel both work fine.)
- Sharp paring knife (this is crucial for carving those cute faces. A dull knife will just squish the pepper.)
- Small spoon or melon baller (for scooping out the seeds and membranes cleanly)
- Cutting board
- Mixing bowl
- Aluminum foil (for covering the dish while baking)
If you don’t have a melon baller, a teaspoon works just fine. I actually used a grapefruit spoon for years before I got a proper one. As for the baking dish, any oven-safe dish that fits all four peppers snugly will do. You want them to be cozy in there—hence the name—so they support each other and don’t tip over.
Preparation Method
Alright, let’s get cooking! I’ve broken this down into clear steps with all the little details I’ve learned from making these dozens of times.
- Preheat your oven to 375°F (190°C). While it’s heating up, bring a large pot of water to a boil. You’ll blanch the peppers briefly to soften them slightly—this makes carving easier and ensures they’re perfectly tender after baking.
- Prepare the peppers. Wash your bell peppers and pat them dry. Using your sharp paring knife, cut a circle around the top of each pepper, about 1 inch down from the stem. Lift off the top and set it aside. This will become the “lid” of your jack-o-lantern. Scoop out all the seeds and white membranes from inside each pepper. Rinse them out if needed and pat dry again.
- Blanch the peppers. Carefully lower the hollowed peppers and their tops into the boiling water. Let them cook for 3 minutes only—you just want them slightly softened, not mushy. Use tongs to remove them and place them upside down on a paper towel to drain.
- Carve the faces. Once the peppers are cool enough to handle (about 5 minutes), it’s time for the fun part! Cut small triangles for eyes, a little nose, and a mouth. You can make them smile, frown, or go full scary jack-o-lantern. Pro tip: Make the mouth a bit wider than you think you need—it’ll shrink slightly during baking. Also, don’t cut the holes too close to the bottom or the filling might leak out.
- Cook the filling. Heat 2 tablespoons of olive oil in your large skillet over medium heat. Add the diced onion and cook for 4-5 minutes until it’s soft and translucent. Add the minced garlic and cook for another 30 seconds until fragrant. Add the ground beef, breaking it up with a wooden spoon. Cook until browned, about 6-8 minutes. Drain off any excess fat if needed.
- Season the filling. Stir in the drained diced tomatoes, tomato sauce, cooked rice, oregano, smoked paprika, cumin, salt, and pepper. Let it simmer for 5 minutes, stirring occasionally, until the mixture thickens slightly. Taste it and adjust the seasoning if needed. I always add a little extra smoked paprika here—it really is the heart of the flavor.
- Assemble the peppers. Place the blanched peppers upright in your baking dish. If they wobble, you can trim a tiny sliver off the bottom to make them flat—just don’t cut through the pepper wall. Spoon the filling evenly into each pepper, packing it gently. Don’t overstuff or the faces will bulge out. Sprinkle the shredded cheddar cheese on top of each pepper, then place the pepper “lids” back on top at a slight angle so the faces are visible.
- Bake. Cover the baking dish with aluminum foil and bake for 25 minutes. Then remove the foil and bake for another 10-15 minutes, until the cheese is melted and bubbly and the peppers are tender. If you want the lids to get a little crispy on the edges, leave them uncovered the whole time.
- Rest and serve. Let the peppers sit for 5 minutes before serving. This helps the filling set and makes them easier to handle. Use a spatula to transfer them to plates, being careful not to disturb the faces.
Sensory cue: When they come out of the oven, the cheese should be golden and slightly crisp around the edges of the face holes. The peppers will be glossy and tender, and the smell of smoked paprika and roasted bell pepper will fill your kitchen. Honestly, it’s the coziest scent in the world.
Cooking Tips & Techniques
I’ve made plenty of mistakes with these peppers over the years, and I’m sharing them so you don’t have to learn the hard way.
Don’t skip the blanching step. The first time I made these, I carved the raw peppers and stuffed them directly. The faces turned out all wonky because the peppers softened unevenly in the oven. Blanching for just 3 minutes gives you a consistent canvas to work with.
Cut the faces after blanching, not before. I know it seems logical to carve first, but the peppers are firmer when raw and you might cut them too deep. After blanching, the skin is slightly looser and easier to cut cleanly. Plus, you can see exactly where the pepper’s natural ridges are and plan your face around them.
Use a toothpick to test your carving depth. If you’re nervous about cutting through the pepper wall, poke a toothpick through your cut to check. You want to go through the flesh but not so deep that you hit the other side. A little practice and you’ll be a pro.
Don’t overfill. I once stuffed a pepper so full that the filling pushed through the mouth hole and made a mess in the baking dish. Leave about 1/4 inch of space at the top of the pepper so the cheese has room to melt without overflowing.
Multitasking tip: While the peppers are blanching, you can start cooking the filling. While the filled peppers bake, you can make a quick side salad or set the table. The total active time is only about 20 minutes—the rest is just oven time.
Variations & Adaptations
One of the best things about this recipe is how easy it is to adapt. Here are some of my favorite twists.
Vegetarian Version: Swap the ground beef for 1.5 cups of cooked brown lentils or a plant-based ground meat. Add an extra 1/4 cup of rice to help bulk it up. I’ve made this for my vegetarian sister-in-law, and she said it’s better than the meat version. (Don’t tell my husband I said that.)
Spicy Jack-O-Lanterns: Add 1/2 teaspoon of cayenne pepper or a diced jalapeño to the filling. Use pepper jack cheese instead of cheddar. The heat pairs beautifully with the sweetness of the roasted bell peppers.
Mexican-Inspired Filling: Swap the oregano and smoked paprika for 1 tablespoon of taco seasoning. Add a can of drained black beans and some corn kernels. Top with crumbled queso fresco instead of cheddar. Serve with sour cream and salsa on the side.
Low-Carb Option: Replace the rice with 1 cup of riced cauliflower. Cook it in the skillet with the beef for 2-3 minutes before adding the tomatoes. It absorbs the flavors beautifully and keeps the filling from getting watery.
Different Pepper Colors: While orange and red peppers look most like pumpkins, you can use green or yellow peppers too. Green peppers have a slightly more bitter flavor, so I recommend roasting them a little longer (add 5 minutes to the covered baking time).
Serving & Storage Suggestions
These Cozy Jack-O-Lantern Stuffed Peppers are best served warm, right out of the oven. I like to place them on a bed of simple greens or serve them with a side of crusty bread to soak up any extra tomato sauce in the dish. A dollop of sour cream or Greek yogurt on top adds a nice cool contrast to the warm, savory filling.
For a complete fall dinner, pair them with roasted Brussels sprouts or a simple arugula salad with apple slices and a maple vinaigrette. The sweetness of the apples echoes the sweetness of the peppers. And honestly, a glass of red wine or a warm apple cider is the perfect drink companion.
Storage: Leftover stuffed peppers keep beautifully in the refrigerator for up to 4 days. Store them in an airtight container, preferably with the lids on to keep them moist. The flavors actually meld together even more overnight—I love them cold straight from the fridge the next day, but that might just be me.
Reheating: The best way to reheat is in the oven at 350°F (175°C) for 15-20 minutes, covered with foil. The microwave works in a pinch (2 minutes on high), but the peppers will be softer. If you’re meal prepping, I recommend undercooking the peppers slightly on the first bake so they don’t get mushy when reheated.
Freezing: You can freeze the assembled but unbaked peppers for up to 3 months. Place them in a freezer-safe dish, cover tightly with foil, and freeze. To bake, thaw overnight in the refrigerator, then follow the baking instructions. You may need to add 10 minutes to the covered baking time.
Nutritional Information & Benefits
Here’s an approximate nutritional breakdown for one stuffed pepper (using 85/15 ground beef and cheddar cheese):
| Nutrient | Amount per Serving |
|---|---|
| Calories | 420 |
| Protein | 28g |
| Carbohydrates | 28g |
| Fiber | 5g |
| Fat | 22g |
| Saturated Fat | 9g |
| Sodium | 680mg |
Bell peppers are packed with vitamin C—actually, one red bell pepper has more vitamin C than an orange! They’re also a great source of vitamin A and antioxidants. The combination of protein from the beef and fiber from the rice and peppers makes this a well-balanced meal that keeps you full and satisfied.
For those with dietary concerns, this recipe is naturally gluten-free (just make sure your rice and spices are certified gluten-free). It’s also nut-free and egg-free. If you’re watching your sodium, use low-sodium tomato products and reduce the added salt.
Conclusion
These Cozy Jack-O-Lantern Stuffed Peppers are more than just a fun Halloween dinner—they’re a reminder that cooking can be playful and comforting at the same time. I love how they bring a smile to everyone’s face, from the kids who get to eat a “monster” to the adults who appreciate a classic dish with a creative twist.
Don’t be afraid to make them your own. Carve different faces, swap the filling, or serve them with your favorite fall sides. The recipe is just a starting point—the magic happens when you put your own spin on it.
I’d love to hear how yours turn out! Drop a comment below and tell me what faces you carved, or tag me in your photos on social media. Did your kids help carve the faces? Did you try a spicy version? Let’s share the cozy vibes. Until next time, happy cooking—and happy haunting!
Frequently Asked Questions
Can I make these ahead of time?
Absolutely! You can assemble the peppers up to 24 hours in advance. Just prepare the filling, blanch and carve the peppers, stuff them, and refrigerate them covered. When you’re ready to bake, add about 10 minutes to the covered baking time since they’ll be cold from the fridge.
What if my peppers tip over in the baking dish?
This happens to me all the time! If your peppers are wobbly, trim a tiny slice off the bottom—just enough to create a flat surface. You can also nestle them close together in the dish so they support each other. If all else fails, use crumpled aluminum foil balls around them to keep them upright.
Can I use a different type of meat?
Yes! Ground turkey, chicken, pork, or even Italian sausage (casings removed) all work beautifully. If using sausage, you might want to reduce the added salt since sausage is already seasoned. For a lighter option, ground chicken or turkey is great—just add an extra tablespoon of olive oil to keep it moist.
How do I keep the cheese from burning on the faces?
The key is covering the dish with foil for the first 25 minutes of baking. This traps steam and melts the cheese gently without burning. When you remove the foil for the last 10-15 minutes, keep an eye on the cheese. If it starts to brown too quickly, you can tent a small piece of foil over the tops.
Can I make these in an air fryer?
You bet! Preheat your air fryer to 350°F (175°C). Place the stuffed peppers in the basket, making sure they’re not touching. Cook for 15-18 minutes, then check for doneness. The air fryer gives the peppers a slightly crispier exterior, which I actually prefer. Just note that you might need to work in batches depending on the size of your air fryer.
Pin This Recipe!
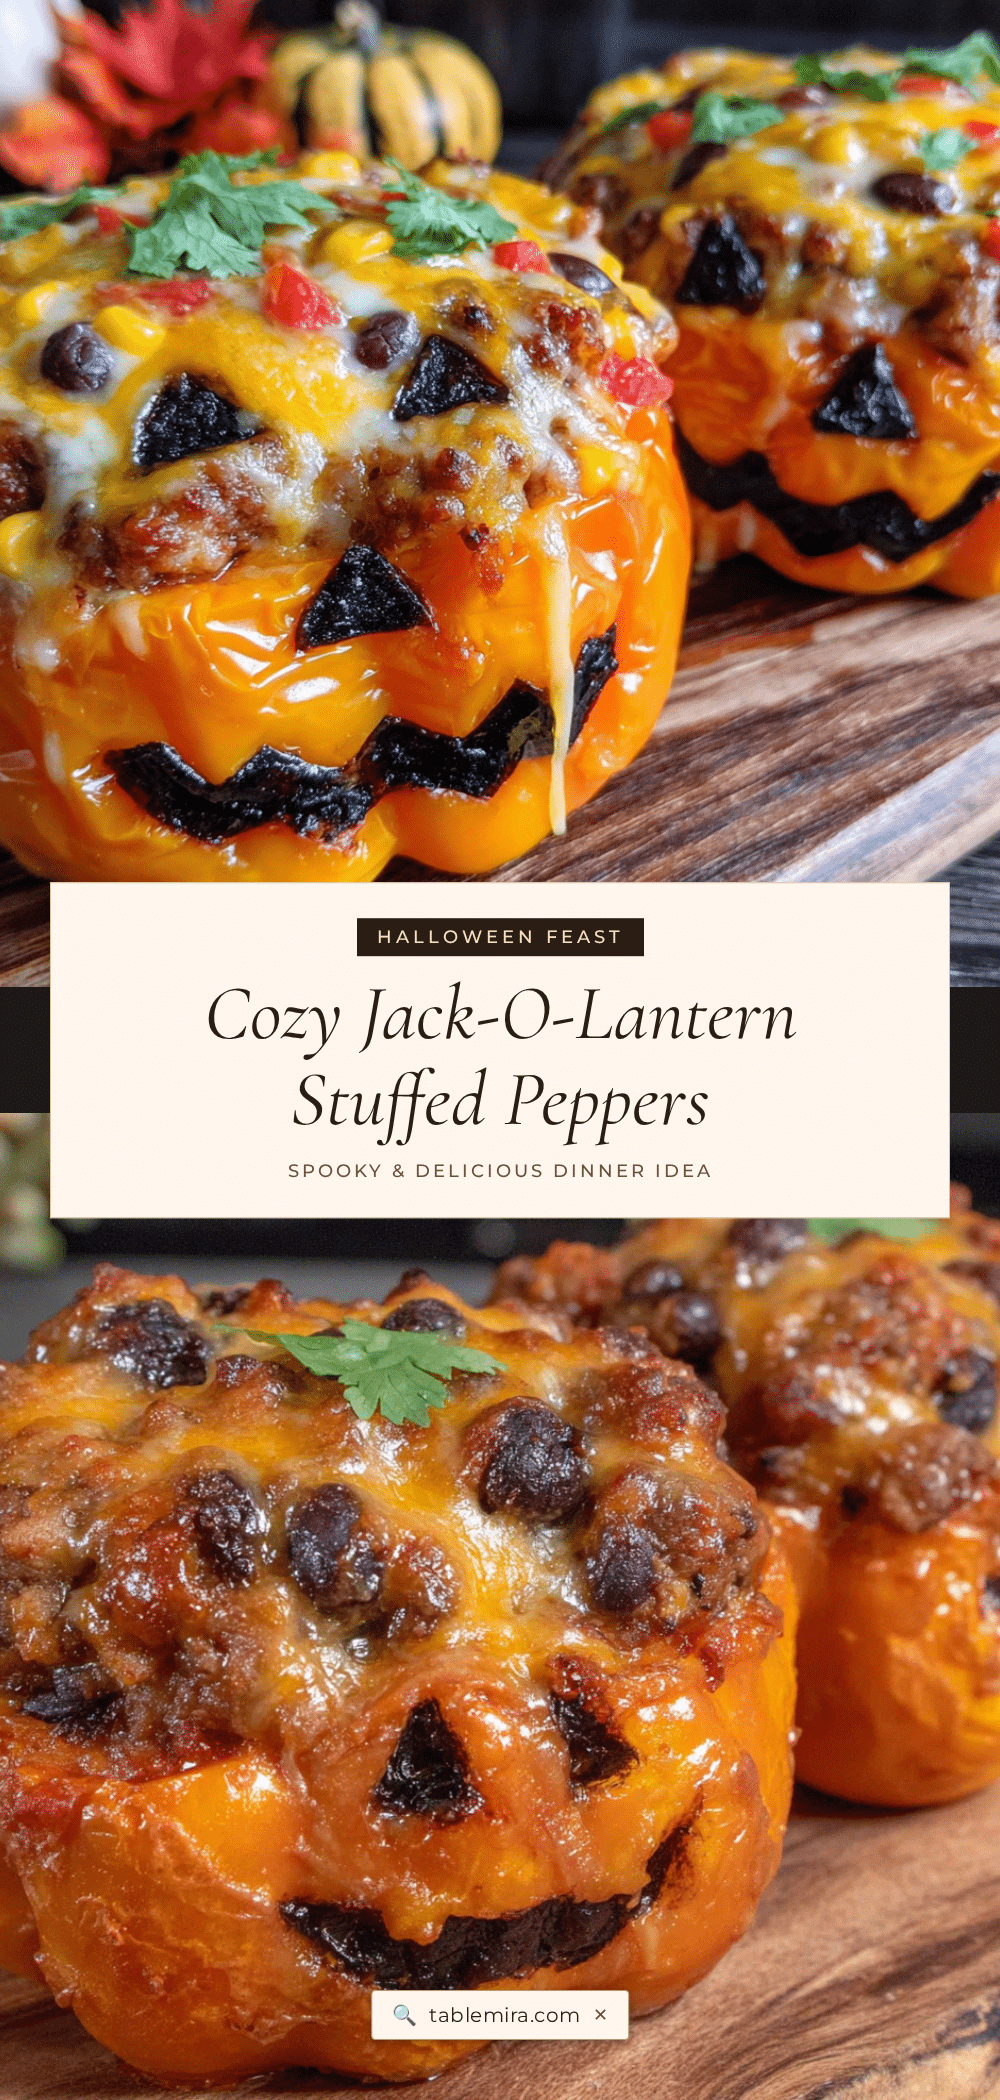
Cozy Jack-O-Lantern Stuffed Peppers: Easy Fall Dinner

These fun and festive stuffed peppers are carved to look like little jack-o-lanterns, filled with a savory mixture of ground beef, rice, tomatoes, and cheese. Perfect for Halloween parties or cozy fall weeknights, they’re a playful twist on a classic comfort food.
- Prep Time: 20 minutes
- Cook Time: 40 minutes
- Total Time: 1 hour
- Yield: 4 servings 1x
- Category: Main Course
- Cuisine: American
Ingredients
- 4 large bell peppers (orange and red work best)
- 1 lb ground beef (85/15)
- 1 cup cooked white rice
- 1 small yellow onion, finely diced (about 1 cup)
- 3 cloves garlic, minced
- 1 can (15 oz) diced tomatoes, drained
- 1 can (8 oz) tomato sauce
- 1 tsp dried oregano
- 1 tsp smoked paprika
- 1/2 tsp ground cumin
- 1/2 tsp salt
- 1/4 tsp black pepper
- 1 cup shredded cheddar cheese (plus extra for topping)
- 2 tbsp olive oil
Instructions
- Preheat oven to 375°F (190°C). Bring a large pot of water to a boil.
- Wash bell peppers and pat dry. Cut a circle around the top of each pepper, about 1 inch down from the stem. Lift off the top and set aside. Scoop out seeds and membranes. Rinse and pat dry.
- Blanch the hollowed peppers and tops in boiling water for 3 minutes. Remove with tongs and drain upside down on paper towels.
- Once cool enough to handle (about 5 minutes), carve small triangles for eyes, a nose, and a mouth. Make the mouth slightly wider than desired as it will shrink during baking.
- Heat olive oil in a large skillet over medium heat. Add onion and cook 4-5 minutes until soft. Add garlic and cook 30 seconds until fragrant.
- Add ground beef, breaking it up with a wooden spoon. Cook until browned, about 6-8 minutes. Drain excess fat if needed.
- Stir in diced tomatoes, tomato sauce, cooked rice, oregano, smoked paprika, cumin, salt, and pepper. Simmer for 5 minutes, stirring occasionally, until thickened. Adjust seasoning to taste.
- Place blanched peppers upright in a 9×13 baking dish. Spoon filling evenly into each pepper, packing gently. Sprinkle cheddar cheese on top, then place pepper lids back on at a slight angle so faces are visible.
- Cover dish with aluminum foil and bake for 25 minutes. Remove foil and bake another 10-15 minutes until cheese is melted and bubbly and peppers are tender.
- Let peppers rest for 5 minutes before serving. Use a spatula to transfer to plates.
Notes
Don’t skip blanching the peppers—it ensures even cooking and easier carving. Cut faces after blanching for best results. Use a toothpick to test carving depth. Leave about 1/4 inch space at the top of the pepper to prevent filling from overflowing. For a vegetarian version, swap ground beef with 1.5 cups cooked lentils or plant-based meat. For a spicy version, add 1/2 tsp cayenne or diced jalapeño and use pepper jack cheese. Leftovers keep in the refrigerator for up to 4 days. Reheat in oven at 350°F for 15-20 minutes covered with foil. Freeze unbaked assembled peppers for up to 3 months.
Nutrition
- Serving Size: 1 stuffed pepper
- Calories: 420
- Sugar: 8
- Sodium: 680
- Fat: 22
- Saturated Fat: 9
- Carbohydrates: 28
- Fiber: 5
- Protein: 28
Keywords: stuffed peppers, jack-o-lantern, Halloween dinner, fall recipe, ground beef, bell peppers, easy dinner, comfort food


