The neighborhood cookie exchange was in six hours and I’d completely forgotten. Everyone else would be bringing those elaborate, three-day projects—you know, the kind with homemade caramel and imported chocolate and a chilling time that requires a spreadsheet. I had a pumpkin I’d just carved with my nephew the night before, a jar of honey that was about to crystallize, and a frankly embarrassing amount of cinnamon. I mean, I was standing in my kitchen, staring at a pile of pumpkin guts, thinking, “Well, this is either going to be a disaster or the weirdest thing on the dessert table.” Let me tell you, it was not the disaster.
I scraped those seeds clean, tossed them with honey and cinnamon, and threw them in the oven while I frantically wrapped the few store-bought cookies I’d stashed in the freezer for emergencies. The smell that filled my kitchen was something else—warm, sweet, a little bit spicy, like autumn had decided to move in permanently. I honestly didn’t think much of it until I walked into that party and set my little tin of seeds next to the elaborate cakes and artisanal tarts. People looked at me funny, I’m not gonna lie. But then someone tried one. Then another person. Then there was a small crowd around my tin, and someone asked for the recipe before they even asked who brought the triple-chocolate torte. Maybe you’ve been there—the thing you almost didn’t bring ends up being the thing everyone remembers.
That’s how these cozy honey roasted pumpkin seeds with cinnamon became my go-to. Not because I planned it, but because I was too tired and too late to overthink it. And honestly, that’s the best kind of recipe to have in your back pocket.
Why You’ll Love This Recipe
Let me be real with you—I’ve made a lot of pumpkin seed recipes over the years. I’ve tried the savory ones with smoked paprika, the spicy ones with cayenne, the ones that require soaking overnight and then drying for hours. And they’re all fine. But this one? This one is different. It’s the one I keep coming back to, and here’s why:
- Quick & Easy: From pumpkin to snack in under 30 minutes. No soaking, no complicated steps, just mix and bake. Perfect for when you’re carving pumpkins with the kids and need something warm to munch on right after.
- Simple Ingredients: You probably have everything in your pantry right now. Honey, cinnamon, butter, salt. That’s it. No fancy grocery store trips required.
- Perfect for Cozy Evenings: This is the snack you want on a cold night with a cup of tea or a glass of red wine. It’s warm, comforting, and that cinnamon-honey combo just hits different when the weather turns.
- Crowd-Pleaser: I’ve brought these to parties, movie nights, and even work potlucks. They disappear faster than almost anything else. Kids love them, adults love them, people who say they don’t like pumpkin seeds love them.
- Unbelievably Delicious: The texture is what gets me—crunchy on the outside with a slight chewiness from the honey, and that cinnamon coating that makes your whole kitchen smell like a bakery.
What makes this recipe different from all those other pumpkin seed recipes out there? It’s the balance. Most honey roasted seeds end up either too sticky or not sweet enough. I’ve tested this ratio more times than I care to admit—too much honey and they burn, too little and they’re just sad. This version hits that sweet spot where the honey caramelizes just enough to create a crunchy coating without turning into a sticky mess. Plus, the cinnamon isn’t just an afterthought—it’s front and center, giving every bite that warm, cozy feeling.
This recipe isn’t just good—it’s the kind that makes you close your eyes after the first bite. It’s comfort food at its simplest, and honestly, that’s what we all need sometimes.
What Ingredients You Will Need
This recipe uses simple, wholesome ingredients that come together to create something truly special. You don’t need anything fancy here—just a few pantry staples and some fresh pumpkin seeds.
- Fresh pumpkin seeds, 1 cup (about 120g), rinsed and patted dry (from one medium pumpkin; look for seeds that are plump and not shriveled)
- Honey, 2 tablespoons (30ml) (use a good quality honey—I prefer local raw honey for the best flavor, but any honey works)
- Unsalted butter, 1 tablespoon (14g), melted (adds richness and helps the honey coat the seeds evenly)
- Ground cinnamon, 1 teaspoon (use a fresh jar for the best flavor—old cinnamon loses its punch)
- Kosher salt, ½ teaspoon (plus more for sprinkling at the end; I like Diamond Crystal for its clean taste)
- Vanilla extract, ½ teaspoon (optional, but I highly recommend it—it rounds out the sweetness beautifully)
- Pinch of nutmeg (optional, for extra warmth)
Ingredient Tips & Sourcing:
- For the pumpkin seeds: You can use seeds from any pumpkin variety. Sugar pumpkins tend to have smaller, more tender seeds, while carving pumpkins have larger, crunchier seeds. Both work great—just adjust your baking time slightly if the seeds are very large.
- For the honey: If your honey is thick and crystallized, warm it up slightly in the microwave (about 10 seconds) so it mixes easily with the butter. Don’t boil it—just warm enough to make it runny.
- For the cinnamon: I recommend Saigon cinnamon or Ceylon cinnamon for a more complex flavor. Regular grocery store cinnamon works fine, but if you can find the good stuff, it makes a difference.
Substitution Guidance:
- Use maple syrup instead of honey for a slightly different flavor profile (it will be a bit less sweet and more earthy).
- Use coconut oil instead of butter for a dairy-free version.
- Add a pinch of cayenne pepper if you want a sweet-heat combo—trust me, it’s amazing.
- Swap cinnamon with pumpkin pie spice for a more complex spice blend.
Equipment Needed
You don’t need much for this recipe, which is part of the beauty of it. Here’s what you’ll need:
- Baking sheet (a rimmed baking sheet works best to keep the honey from dripping off)
- Parchment paper or a silicone baking mat (trust me on this—cleaning honey off a bare baking sheet is not fun)
- Mixing bowl (medium-sized)
- Spatula or wooden spoon for stirring
- Measuring spoons (for accuracy—honey is sticky and eyeballing it can lead to burnt seeds)
- Knife and cutting board (if you need to scrape seeds from the pumpkin)
- Colander for rinsing the seeds
- Paper towels or clean kitchen towel for drying the seeds
Personal Tip: I’ve made these on a regular baking sheet without parchment, and let me tell you, the scrubbing was not worth it. The honey caramelizes and sticks like glue. A silicone mat is my preferred tool—everything slides right off, and clean-up takes about 10 seconds. If you don’t have one, parchment paper works great too. Just don’t skip the lining.
Budget-Friendly Options: If you don’t have a silicone mat, use parchment paper—it’s cheap and works almost as well. If you don’t have a rimmed baking sheet, a regular cookie sheet will work, just be careful when stirring so the seeds don’t slide off.
Preparation Method
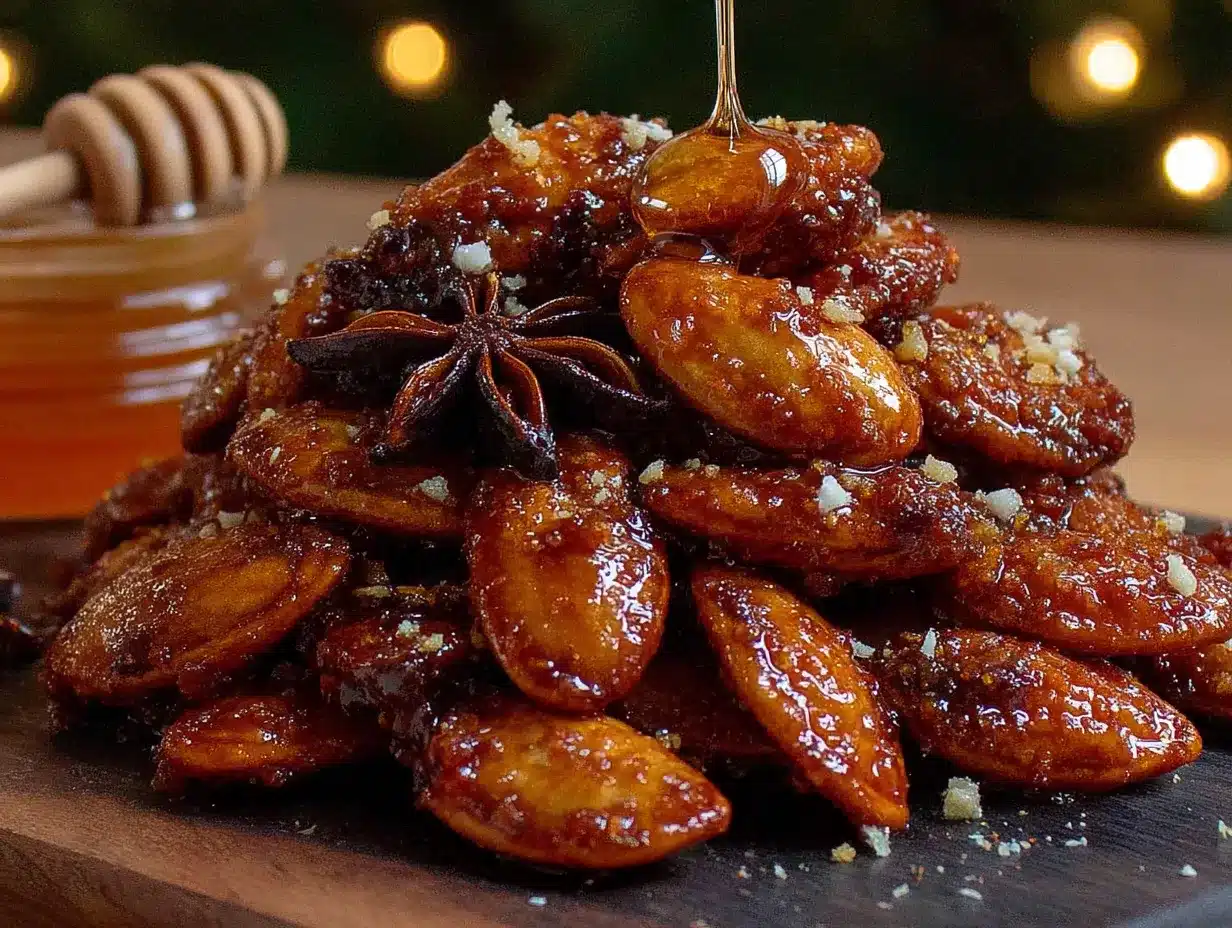
Let’s get to the good part. Here’s how to make these cozy honey roasted pumpkin seeds with cinnamon, step by step.
- Preheat your oven to 300°F (150°C). Yes, 300°F, not 350°F. Honey burns at higher temperatures, so we’re going low and slow. Line your baking sheet with parchment paper or a silicone mat.
- Clean your pumpkin seeds. Separate the seeds from the pumpkin guts. Rinse them in a colander under cool water, removing any stringy bits that cling to them. This is the most tedious part, I won’t lie. But it’s important—those stringy bits burn in the oven and taste bitter. Take your time here.
- Dry the seeds thoroughly. Spread them out on a paper towel or clean kitchen towel and pat them dry. This step is crucial—if the seeds are wet, the honey mixture won’t stick properly, and you’ll end up with soggy seeds instead of crunchy ones. Let them sit for about 5 minutes to air dry a bit more.
- Make the honey mixture. In your mixing bowl, combine the melted butter, honey, cinnamon, salt, vanilla extract (if using), and nutmeg (if using). Stir until everything is well combined. It should smell amazing already.
- Coat the seeds. Add the dried pumpkin seeds to the bowl and stir until every seed is coated in that honey-cinnamon goodness. Don’t rush this step—make sure there are no dry spots. Use a spatula to scrape the sides of the bowl.
- Spread the seeds on the baking sheet. Pour the coated seeds onto your prepared baking sheet and spread them into a single layer. Try to get them as even as possible—clumps will cook unevenly. Some seeds will stick together, and that’s okay, but do your best to separate them.
- Bake for 20-25 minutes, stirring halfway through. After 10 minutes, take the baking sheet out and give the seeds a good stir with your spatula. This ensures even cooking and prevents the honey from burning on the edges. Return to the oven and bake for another 10-15 minutes. The seeds should be golden brown and smell deeply toasted. Keep an eye on them in the last 5 minutes—honey can go from golden to burnt very quickly.
- Cool completely before eating. This is the hardest part, I know. But trust me—the seeds continue to crisp up as they cool. If you eat them hot, they’ll be soft and chewy. Let them cool on the baking sheet for about 15-20 minutes. They’ll become perfectly crunchy as they cool.
- Sprinkle with a pinch of salt while still warm. That little bit of finishing salt on top makes a huge difference—it balances the sweetness and makes the flavors pop.
Sensory Cues: When the seeds are done, your kitchen should smell like a cinnamon-scented autumn dream. The seeds should be a deep golden brown, and you should hear a slight sizzle when you pull them out of the oven. When you stir them, they should feel slightly firm, not soft or rubbery.
Troubleshooting Tip: If your seeds are chewy instead of crunchy after cooling, they might not have been dry enough before baking, or they needed a few more minutes in the oven. Pop them back in at 300°F for 5 more minutes next time.
Cooking Tips & Techniques
I’ve made this recipe probably two dozen times, and I’ve learned a few things the hard way. Here are my best tips for perfect results every time.
Don’t skip the drying step. I know it’s tempting to just rinse and throw them in the bowl, but wet seeds steam instead of roast. You’ll end up with soft, sad seeds instead of crunchy, golden ones. Pat them dry like you mean it.
Low and slow is the way to go. I tried making these at 350°F once because I was in a hurry. The honey burned before the seeds were even close to done. 300°F is the sweet spot—it gives the honey time to caramelize without burning, and the seeds get perfectly crunchy all the way through.
Stir halfway through, and don’t forget. That first batch I made, I got distracted by a phone call and forgot to stir. The edges were burnt and the middle was still soft. Set a timer if you need to—it’s worth it.
Let them cool completely. I cannot stress this enough. The seeds are soft when they come out of the oven. They need that cooling time to become crunchy. I once served them warm because I couldn’t wait, and people were polite but not impressed. The next day, the leftovers were perfect. Patience pays off.
Make a double batch. Trust me on this one. These disappear fast, and you’ll wish you had more. They also make great gifts—put them in a cute jar with a ribbon, and you have an instant homemade present.
Watch for hot spots in your oven. Every oven is different. If you notice that one side of your baking sheet is browning faster than the other, rotate the sheet halfway through. I have a hot spot in the back left of my oven, so I always rotate.
Variations & Adaptations
One of the best things about this recipe is how easy it is to customize. Here are some of my favorite variations:
Spicy Honey Pumpkin Seeds: Add ¼ teaspoon of cayenne pepper and ¼ teaspoon of black pepper to the honey mixture. The heat builds slowly and pairs beautifully with the sweet honey and warm cinnamon. I made these for a football party, and they were gone in minutes.
Maple Pecan Pumpkin Seeds: Swap the honey for maple syrup, add ¼ cup of chopped pecans to the baking sheet, and use a pinch of nutmeg instead of cinnamon. This version tastes like fall in a bowl. Perfect for Thanksgiving snacking.
Dairy-Free Version: Use coconut oil instead of butter. The coconut oil adds a subtle tropical note that works surprisingly well with the cinnamon and honey. I’ve made this for friends with dairy allergies, and no one noticed the difference.
Savory-Sweet Combo: Reduce the honey to 1 tablespoon and add ½ teaspoon of smoked paprika and ¼ teaspoon of garlic powder. It’s like a sweet and smoky snack that works great on salads or just eaten by the handful.
Air Fryer Method: If you’re short on time, you can make these in an air fryer. Cook at 300°F for 10-12 minutes, shaking the basket halfway through. Keep a close eye on them—air fryers run hot, and honey burns fast.
Personal Variation I Love: I once added a tablespoon of brown sugar to the honey mixture, and it created this amazing crunchy coating that reminded me of those cinnamon sugar pretzels from the mall. It’s a little extra, but sometimes you need a little extra.
Serving & Storage Suggestions
These cozy honey roasted pumpkin seeds with cinnamon are incredibly versatile. Here’s how to serve and store them:
Serving Temperature: Room temperature is best. The seeds are at their crunchiest when completely cooled. Serve them in a bowl for snacking, or sprinkle them over yogurt, oatmeal, or even ice cream for a crunchy topping.
Perfect Pairings: These seeds are amazing with a hot cup of chai tea or a mug of spiced apple cider. For a cozy movie night, pair them with dark chocolate and a glass of red wine. They also make a great topping for butternut squash soup—trust me, the sweet crunch is incredible against the creamy soup.
Gift Giving: Put these in a mason jar with a piece of twine and a handwritten tag. They make fantastic hostess gifts, holiday presents, or just-because treats for neighbors and coworkers.
Storage Instructions: Store the cooled seeds in an airtight container at room temperature. They’ll stay fresh and crunchy for up to 2 weeks. Do not refrigerate them—the moisture in the fridge will make them soft. If they do get soft, you can re-crisp them in a 300°F oven for 5 minutes.
Freezer Instructions: You can freeze these seeds in a freezer-safe bag for up to 3 months. Thaw at room temperature, and they’ll be just as crunchy as the day you made them. I like to make a big batch after Halloween and freeze them for holiday snacking.
Flavor Development: Here’s a little secret—these seeds actually get better after a day or two. The flavors meld together, and the honey coating sets completely. So if you can wait, make them a day ahead. Your future self will thank you.
Nutritional Information & Benefits
Let’s talk about what’s actually in these little crunchy bites of goodness. Per serving (about ¼ cup of seeds):
- Calories: Approximately 180-200
- Protein: 7-8 grams
- Healthy Fats: 12-14 grams (mostly unsaturated)
- Carbohydrates: 14-16 grams (with natural sugars from honey)
- Fiber: 2-3 grams
- Iron: 15% of daily value
- Magnesium: 20% of daily value
- Zinc: 10% of daily value
Health Benefits: Pumpkin seeds are little nutritional powerhouses. They’re packed with magnesium, which helps with sleep and muscle relaxation—perfect for a cozy evening snack. The zinc supports immune health, and the healthy fats keep you feeling satisfied. Plus, cinnamon has anti-inflammatory properties and can help regulate blood sugar. So while these are definitely a treat, they’re a treat with some serious nutritional perks.
Dietary Considerations: This recipe is naturally gluten-free and can be made dairy-free with a simple swap. It’s also vegetarian and can be made vegan by using maple syrup and coconut oil. Just be aware of the honey if you’re strictly vegan.
Allergen Note: Pumpkin seeds are tree nut-free, but if you have seed allergies, obviously skip this one. The recipe contains dairy if using butter.
Personal Wellness Perspective: I love that this snack feels indulgent but isn’t loaded with processed ingredients. It’s real food—pumpkin seeds, honey, butter, cinnamon. Simple, wholesome, and satisfying. That’s the kind of snack I feel good about eating and sharing with my family.
Conclusion
These cozy honey roasted pumpkin seeds with cinnamon are proof that the simplest recipes are often the best. They came from a moment of panic—forgotten cookie exchange, no time, nothing fancy in the pantry—and turned into something I genuinely look forward to making every fall. There’s something about that cinnamon-honey aroma filling the kitchen that just feels like comfort.
I hope you give these a try, whether you’re carving pumpkins with your kids, looking for a last-minute snack for a party, or just want something warm and cozy to munch on while you curl up with a good book. Don’t be afraid to tweak the spices or try one of the variations—that’s the beauty of a simple recipe like this. It’s forgiving, it’s flexible, and it always delivers.
If you make these, I’d love to hear about it. Leave a comment below and let me know how they turned out, or share your own twist on the recipe. Did you add cayenne? Use maple syrup? Make them for a holiday gathering? Tell me all about it. And if you’re looking for more cozy fall recipes, check out my cozy pumpkin soup or these maple cinnamon roasted almonds for another warm, spiced snack.
Happy snacking, friends. Stay warm out there.
Frequently Asked Questions
Can I use pre-packaged pumpkin seeds instead of fresh ones?
Absolutely! Just make sure you’re using raw, unsalted pumpkin seeds (sometimes called pepitas). Don’t use roasted or salted ones, or they’ll end up over-salted and overcooked. If using pre-packaged seeds, you can skip the rinsing and drying step, but still check that they’re dry before adding the honey mixture.
Why did my honey roasted pumpkin seeds turn out chewy instead of crunchy?
This usually happens for one of two reasons: either the seeds weren’t dried thoroughly before baking, or they weren’t baked long enough. Make sure to pat them really dry with a towel, and don’t be afraid to let them go the full 25 minutes if needed. Also, remember that they crisp up as they cool—so if they’re slightly soft when they come out of the oven, that’s normal. Give them time.
Can I make these without honey?
Yes! Maple syrup is the best substitute—it has a similar consistency and sweetness level. You can also use agave nectar, though it’s a bit thinner. If you’re looking for a sugar-free option, you can try using a sugar-free maple syrup, but the texture might be slightly different. Just note that any liquid sweetener will work similarly, but the flavor will change.
How do I prevent the honey from burning?
The key is that low oven temperature—300°F is non-negotiable here. Also, make sure to stir the seeds halfway through baking to ensure even cooking. If your oven runs hot, check the seeds at the 15-minute mark. And if you notice the edges browning faster than the middle, rotate the baking sheet. Honey burns quickly once it starts, so keep a close eye on things in the last 5 minutes.
Can I double this recipe?
Absolutely! Just make sure to use a larger baking sheet or split the seeds between two sheets so they’re still in a single layer. If you crowd them, they’ll steam instead of roast, and you’ll lose that crunchy texture. If using two sheets, rotate them between the top and bottom racks halfway through baking for even cooking.
Pin This Recipe!
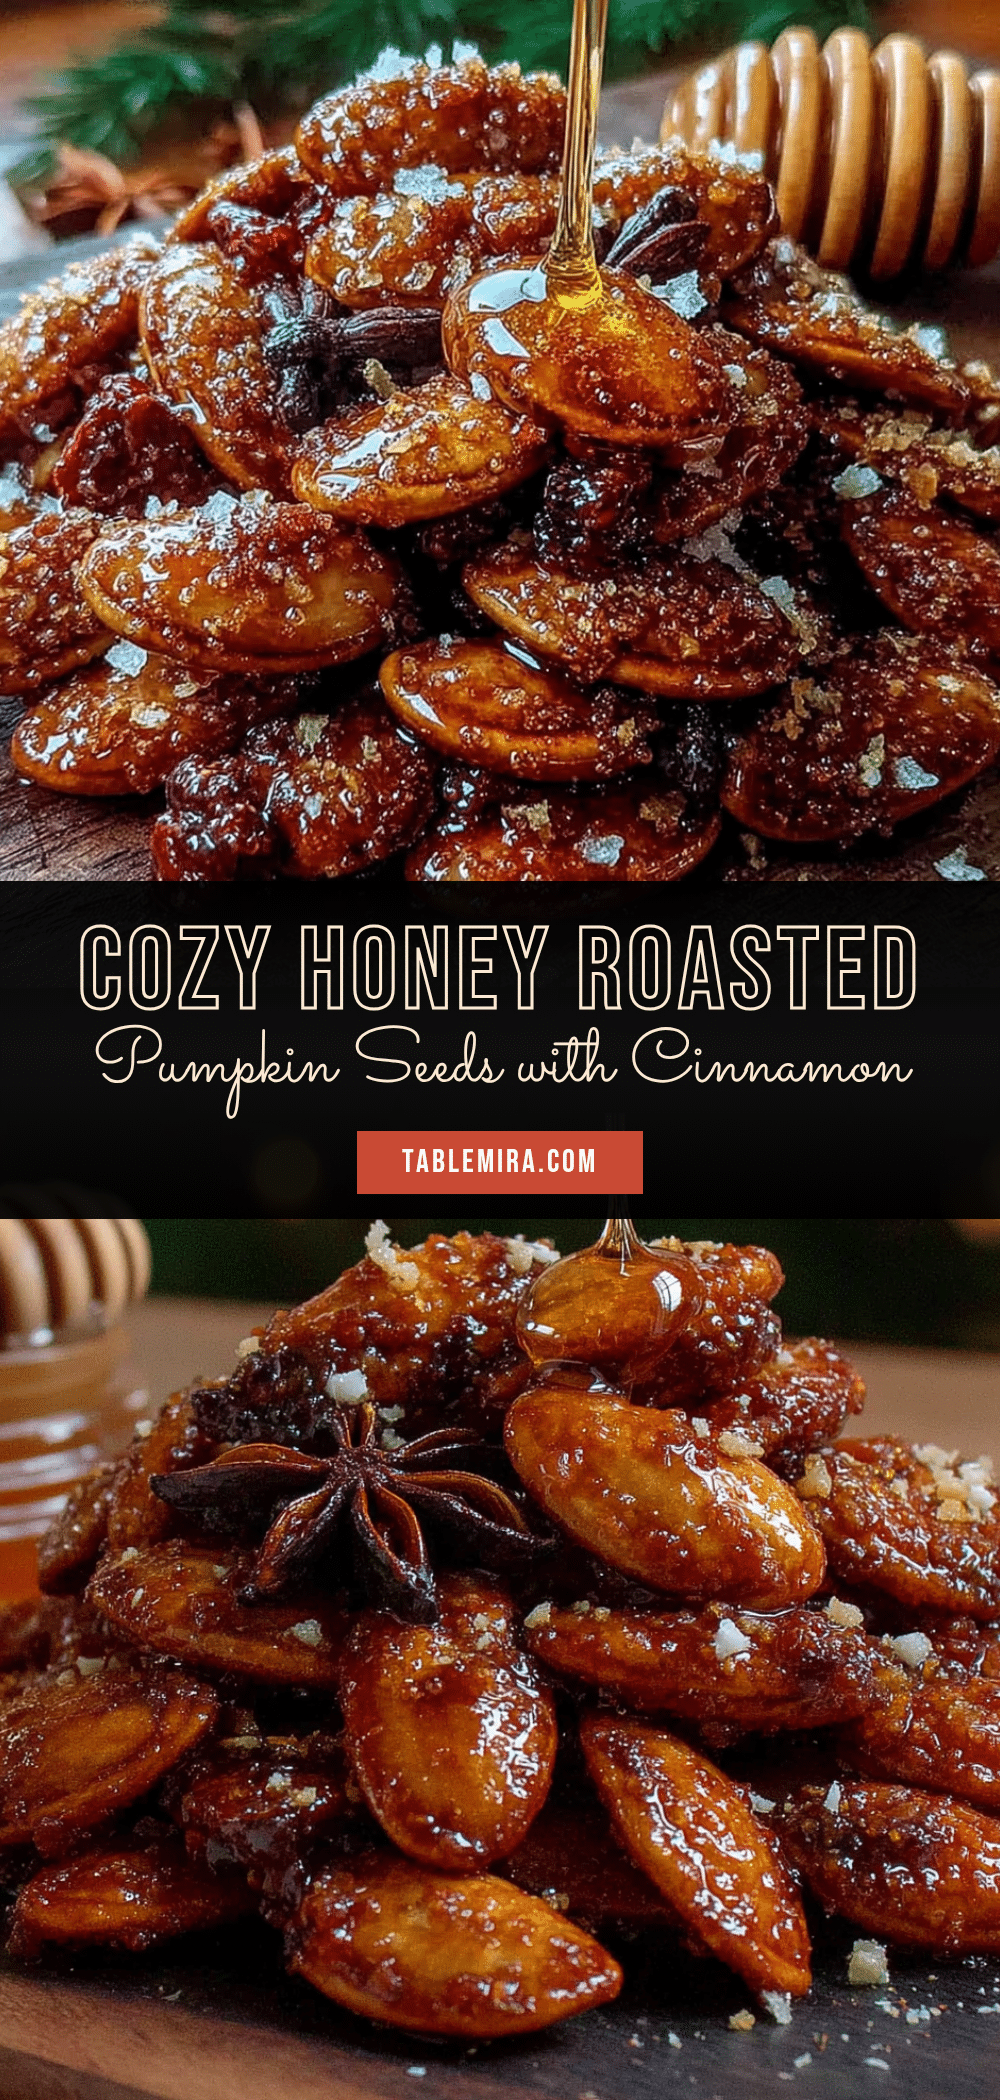
Cozy Honey Roasted Pumpkin Seeds with Cinnamon

These honey roasted pumpkin seeds with cinnamon are a quick, easy, and delicious snack made with simple pantry ingredients. Perfect for cozy evenings, parties, or last-minute gifts, they offer a crunchy, sweet, and spiced treat that everyone loves.
- Prep Time: 15 minutes
- Cook Time: 25 minutes
- Total Time: 40 minutes
- Yield: 4 servings 1x
- Category: Snack
- Cuisine: American
Ingredients
- 1 cup fresh pumpkin seeds (about 120g), rinsed and patted dry
- 2 tablespoons honey (30ml)
- 1 tablespoon unsalted butter (14g), melted
- 1 teaspoon ground cinnamon
- ½ teaspoon kosher salt, plus more for sprinkling
- ½ teaspoon vanilla extract (optional)
- Pinch of nutmeg (optional)
Instructions
- Preheat your oven to 300°F (150°C). Line a baking sheet with parchment paper or a silicone mat.
- Clean the pumpkin seeds: Separate seeds from pumpkin guts, rinse in a colander under cool water, and remove any stringy bits.
- Dry the seeds thoroughly: Spread them on a paper towel or clean kitchen towel and pat dry. Let them air dry for about 5 minutes.
- Make the honey mixture: In a mixing bowl, combine melted butter, honey, cinnamon, salt, vanilla extract (if using), and nutmeg (if using). Stir until well combined.
- Coat the seeds: Add the dried pumpkin seeds to the bowl and stir until every seed is coated.
- Spread the seeds on the baking sheet in a single layer, as evenly as possible.
- Bake for 20-25 minutes, stirring halfway through. After 10 minutes, stir the seeds, then return to the oven for another 10-15 minutes until golden brown and fragrant.
- Cool completely on the baking sheet for 15-20 minutes. The seeds will become crunchy as they cool.
- Sprinkle with a pinch of salt while still warm.
Notes
For best results, dry seeds thoroughly before coating. Bake at 300°F to prevent honey from burning. Stir halfway through. Cool completely for crunchiness. Seeds can be stored in an airtight container at room temperature for up to 2 weeks. They also freeze well for up to 3 months.
Nutrition
- Serving Size: ¼ cup
- Calories: 190
- Sugar: 9
- Sodium: 150
- Fat: 13
- Saturated Fat: 3
- Carbohydrates: 15
- Fiber: 2.5
- Protein: 7.5
Keywords: pumpkin seeds, honey roasted, cinnamon, fall snack, easy recipe, gluten-free, vegetarian


