I was halfway through replacing a broken shelf in my hall closet—screwdriver in hand, dust bunnies everywhere—when my accountant, Mr. Henderson, called to confirm my tax appointment. We got to chatting, and somehow, between discussing deductions and depreciation, he started describing his wife’s banana bread. “She never uses a mixer,” he said, his voice dropping to a conspiratorial whisper. “Just a fork and a bowl. And she always throws in a handful of walnuts. It’s the only thing I look forward to during tax season.” I laughed, but honestly, I was intrigued. Here was a man who spent his days buried in spreadsheets, and his most vivid memory was of a quick bread made with simple, humble ingredients. I scribbled the notes down on the back of a receipt—no mixer, ripe bananas, walnuts, a little vanilla—and promptly forgot about it for three weeks.
Then, a dinner party snuck up on me. I needed something foolproof, something I could whip up without dragging out the stand mixer and making a huge mess. I remembered that crumpled receipt. I gave it a shot, and let me tell you, the loaf came out of the oven so golden and fragrant that my guests started hovering around the kitchen island before it had even cooled. The texture was incredibly moist, the walnuts added this perfect little crunch, and the whole thing came together in one bowl with a single fork. It was a hit. Now, it’s my go-to for every gathering, from casual potlucks to more formal holiday brunches. It’s the recipe that proves you don’t need fancy gadgets to impress a crowd—you just need good ingredients and a story worth telling. Maybe you’ve been in that spot, needing a dessert that looks like you spent hours on it but actually came together in minutes. This is that bread. It’s the guest-favorite no-mixer banana walnut bread that never, ever fails.
Why You’ll Love This Recipe
After testing this recipe for a solid month (my neighbors were very happy, trust me), I can confidently say this is the best banana walnut bread you’ll ever make. It’s not just another recipe floating around the internet—it’s the one I’ve tweaked, tested, and perfected for the home cook who wants to impress without the stress.
- No Mixer Required: You don’t need a stand mixer or hand beaters. Just a fork, a bowl, and a little elbow grease. This is perfect for when you’re prepping for guests and don’t want to wash extra dishes.
- Simple, Pantry-Friendly Ingredients: You probably have everything already—flour, sugar, eggs, butter, and those sad, spotty bananas sitting on your counter. No fancy trips to the store needed.
- Perfect for Hosting: This bread is a showstopper on a dessert board, a brunch table, or even as a late-night snack for guests. It scales beautifully for a crowd, and you can make it a day ahead (it actually gets better!).
- Always a Crowd-Pleaser: The combination of sweet, tender banana bread and crunchy walnuts is universally loved. Kids, adults, even picky eaters go back for seconds.
- Unbelievably Moist and Flavorful: The secret is using really ripe bananas and a touch of sour cream or yogurt. It keeps the crumb incredibly tender for days.
What makes this recipe different from the rest? It’s the technique. By mashing the bananas by hand and folding the batter gently, you avoid overmixing, which is the number one cause of tough, dense quick breads. This method gives you a loaf that’s light, tender, and absolutely bursting with banana flavor. It’s comfort food reimagined—simpler, faster, but with the same soul-soothing satisfaction you crave. Perfect for impressing guests without breaking a sweat.
What Ingredients You Will Need
This recipe uses simple, wholesome ingredients to deliver bold flavor and satisfying texture without the fuss. Everything is likely already in your kitchen, which makes it a lifesaver when you’re hosting and need something quick.
- Ripe Bananas (3 large, about 1 ½ cups mashed): The riper, the better. You want them heavily spotted with brown or even black. They are sweeter and easier to mash. If you don’t have ripe ones, you can roast them in their skins at 300°F for 15 minutes.
- All-Purpose Flour (2 cups / 240g): This gives the bread its structure. Spoon and level your flour into the measuring cup—don’t scoop directly, or you’ll pack it down and get a dry loaf.
- Granulated Sugar (¾ cup / 150g): Adds sweetness and helps with browning. You can reduce it to ½ cup if your bananas are super sweet.
- Unsalted Butter (½ cup / 113g, melted and cooled): Melted butter gives a richer flavor than oil and keeps the bread tender. You can substitute with coconut oil for a dairy-free option.
- Large Eggs (2, room temperature): They bind everything together. If you forget to take them out of the fridge, place them in a bowl of warm water for 5 minutes.
- Sour Cream or Plain Yogurt (¼ cup / 60g): This is my secret ingredient. It adds moisture and a slight tang that balances the sweetness. Greek yogurt works perfectly.
- Vanilla Extract (1 teaspoon): Enhances the flavor of the bananas and walnuts. Use pure vanilla extract if you have it.
- Baking Soda (1 teaspoon): This is the leavening agent. Make sure it’s fresh (less than 6 months old) for the best rise.
- Salt (½ teaspoon): Balances the sweetness and brings out the nutty flavor of the walnuts.
- Walnuts (1 cup / 120g, chopped): Toasted walnuts add a wonderful crunch and earthy flavor. Toast them in a dry skillet over medium heat for 3-4 minutes until fragrant—this makes a huge difference.
Equipment Needed
You don’t need a lot of fancy gear for this one, which is part of the beauty. Here’s what you’ll need:
- Large Mixing Bowl: Any bowl will do. I prefer a wide, shallow one because it makes mashing the bananas easier.
- A Fork or Potato Masher: For mashing the bananas. A fork works great, but a potato masher is even faster.
- Wooden Spoon or Rubber Spatula: For folding the dry ingredients into the wet. Don’t use an electric mixer—we want to avoid overmixing.
- 9×5-inch Loaf Pan: A standard loaf pan. If you use a glass or ceramic pan, you may need to add 5-10 minutes to the baking time.
- Parchment Paper: Lining the pan makes lifting the bread out so much easier. You can also just grease the pan well with butter.
- Cooling Rack: Essential for letting the bread cool evenly so the bottom doesn’t get soggy.
If you don’t have a loaf pan, you can bake this in a 9-inch square pan or even as muffins (bake for 18-22 minutes). I’ve done it all, and it works every time.
Preparation Method
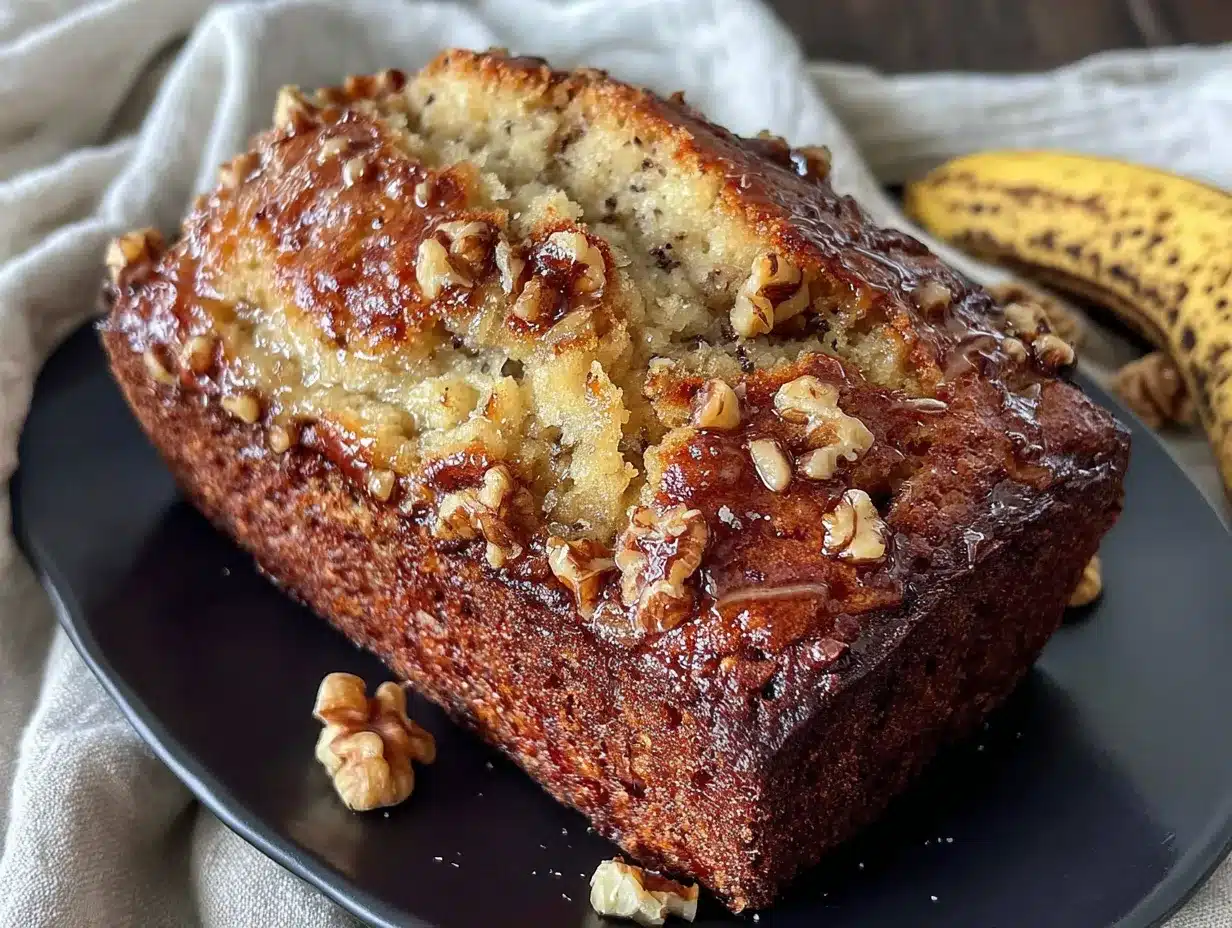
This is where the magic happens. Follow these steps, and you’ll have a perfect loaf every single time. No mixer, no stress.
- Preheat and Prep (5 minutes): Preheat your oven to 350°F (175°C). Grease your 9×5-inch loaf pan with butter or line it with parchment paper, leaving a little overhang on the sides. This makes lifting the bread out a breeze.
- Mash the Bananas (5 minutes): In your large mixing bowl, mash the three ripe bananas with a fork until they are mostly smooth with a few small lumps. You want some texture—don’t turn them into baby food. You should have about 1 ½ cups.
- Mix the Wet Ingredients (3 minutes): Add the melted butter, granulated sugar, eggs, sour cream (or yogurt), and vanilla extract to the mashed bananas. Whisk everything together with your fork until it’s well combined and smooth. It will look a little lumpy—that’s okay.
- Combine the Dry Ingredients (2 minutes): In a separate small bowl, whisk together the flour, baking soda, and salt. This ensures the baking soda is evenly distributed so your bread rises evenly.
- Fold It All Together (3 minutes): Pour the dry ingredients into the wet ingredients. Using a rubber spatula or wooden spoon, gently fold the mixture together. Stop as soon as you no longer see streaks of flour. Overmixing at this stage will make your bread tough and dense. A few lumps are totally fine.
- Add the Walnuts (1 minute): Gently fold in the chopped walnuts until they are evenly distributed. Reserve a handful to sprinkle on top of the batter for a pretty presentation.
- Bake (55-65 minutes): Pour the batter into your prepared loaf pan and spread it evenly. Sprinkle the reserved walnuts on top. Bake for 55-65 minutes, or until a toothpick inserted into the center comes out clean or with a few moist crumbs. If the top is browning too quickly (after about 40 minutes), tent the pan loosely with aluminum foil.
- Cool (15 minutes + 1 hour): Let the bread cool in the pan on a wire rack for 15 minutes. Then, use the parchment paper to lift it out and let it cool completely on the rack. This step is crucial—if you slice it while it’s warm, it will crumble.
Sensory Cue: Your kitchen will smell like a bakery. The bread should be deeply golden brown on top, and when you tap it, it should feel firm and spring back slightly.
Cooking Tips & Techniques
Over the years, I’ve made a few mistakes so you don’t have to. Here are my best tips for nailing this recipe every time.
- The Ripeness Rule: Don’t even think about using yellow bananas. They lack the sweetness and moisture you need. If your bananas aren’t spotty, you can speed-ripen them by placing them on a baking sheet in a 300°F oven for 15-20 minutes until the skins turn black.
- Don’t Overmix: This is the golden rule of quick breads. Mix until the flour just disappears. Overmixing develops gluten, which makes the bread tough and rubbery instead of tender. It’s okay if there are a few streaks of flour—they’ll disappear as the batter sits.
- Check Your Oven Temperature: Ovens can be off by 25-50 degrees. I learned this the hard way after baking a few dry loaves. An oven thermometer is a cheap investment that pays off.
- Toasting the Walnuts: This is a game-changer. Toasting brings out the natural oils and makes the nuts incredibly crunchy and flavorful. Just keep an eye on them—they burn quickly.
- Multitasking Strategy: While the bananas are mashing, measure out your dry ingredients. While the bread bakes, clean up your dishes—there are only a few, so it’s quick. This way, when the bread comes out, you have a clean kitchen and a warm loaf.
Variations & Adaptations
This recipe is a fantastic base for customization. Here are a few ways I’ve played with it over the years.
- Chocolate Chip Banana Walnut Bread: Fold in ½ cup of semi-sweet chocolate chips along with the walnuts. The combination of chocolate and banana is a classic crowd-pleaser, especially for kids.
- Spiced Banana Bread: Add 1 teaspoon of cinnamon, ½ teaspoon of nutmeg, and ¼ teaspoon of ground ginger to the flour mixture. It gives the bread a warm, cozy flavor that’s perfect for fall gatherings.
- Dairy-Free Version: Substitute the butter with melted coconut oil or a neutral vegetable oil. Replace the sour cream with full-fat coconut yogurt or a dairy-free yogurt alternative. It’s just as moist and delicious.
- Gluten-Free Option: Use a 1:1 gluten-free baking flour blend (I like Bob’s Red Mill). Add 1 teaspoon of xanthan gum if your blend doesn’t already include it. The texture will be slightly more crumbly but still fantastic.
- Nut-Free Version: Skip the walnuts entirely, or replace them with toasted sunflower seeds or pumpkin seeds for a similar crunch without the allergens.
My personal favorite variation is the spiced version with a handful of dried cranberries added. It feels a little more festive and is always a hit at holiday brunches.
Serving & Storage Suggestions
This bread is incredibly versatile. Here’s how to serve it and keep it fresh.
- Serving: Serve it slightly warm or at room temperature. For a decadent touch, slice it and toast the slices in a skillet with a little butter until golden. It’s incredible with a pat of salted butter or a drizzle of honey.
- For a Brunch Board: Slice the bread and arrange it on a platter with fresh berries, a bowl of whipped cream cheese, and a little dish of honey. It’s a beautiful, low-effort centerpiece.
- Storage: Store the bread tightly wrapped in plastic wrap or in an airtight container at room temperature for up to 4 days. The flavors actually meld together and get better on day two.
- Freezing: This bread freezes beautifully. Wrap the cooled loaf tightly in plastic wrap, then in a layer of aluminum foil, and freeze for up to 3 months. Thaw overnight in the refrigerator or on the counter for a few hours.
- Reheating: To revive a frozen or day-old slice, pop it in the toaster or microwave it for 15-20 seconds. It will taste freshly baked.
Nutritional Information & Benefits
While this is a treat, it does have some redeeming qualities. Here’s a rough estimate per slice (based on 12 slices).
- Calories: Approximately 280 kcal
- Fat: 14g (mostly from walnuts and butter)
- Carbohydrates: 36g
- Fiber: 2g
- Sugar: 18g
- Protein: 5g
Health Benefits: Bananas are packed with potassium and vitamin B6, which support heart health and energy levels. Walnuts are a great source of omega-3 fatty acids, which are good for brain health. Using yogurt instead of extra butter adds a bit of protein and calcium.
Dietary Considerations: This recipe contains gluten, dairy, eggs, and tree nuts (walnuts). See the variations section for substitutions to make it gluten-free, dairy-free, or nut-free.
Conclusion
This guest-favorite no-mixer banana walnut bread is more than just a recipe—it’s a little piece of kitchen magic. It’s the kind of thing that makes you look like a hero with almost zero effort. Whether you’re hosting a big holiday dinner or just having a few friends over for coffee, this loaf delivers every single time. It’s forgiving, adaptable, and absolutely delicious.
I’d love to hear how yours turns out. Did you add chocolate chips? Did you try the spiced version? Drop a comment below and let me know—I read every single one. And if you loved it, please share this post with a friend who needs a foolproof dessert in their back pocket. Happy baking, friends!
Frequently Asked Questions
Can I use frozen bananas for this recipe?
Absolutely! Frozen bananas are actually perfect for banana bread. Thaw them completely, then drain off any excess liquid before mashing. They will be very soft and extra sweet.
Why did my banana bread sink in the middle?
This usually happens if the bread is underbaked or if you opened the oven door too early. Make sure to test with a toothpick before removing it from the oven. Also, avoid opening the door for the first 40 minutes of baking.
Can I make this into muffins instead of a loaf?
Yes! This batter makes about 12-14 standard muffins. Bake them at 350°F for 18-22 minutes, or until a toothpick inserted into the center comes out clean. They are perfect for grab-and-go breakfasts.
How do I know when my bananas are ripe enough?
Look for bananas that are heavily speckled with brown spots or have turned mostly black. They should be soft to the touch and smell very sweet. If they are still firm and yellow, they are not ready.
Can I skip the walnuts?
Of course! You can leave them out entirely for a classic banana bread, or substitute them with chocolate chips, pecans, or even dried fruit like raisins or cranberries.
Pin This Recipe!
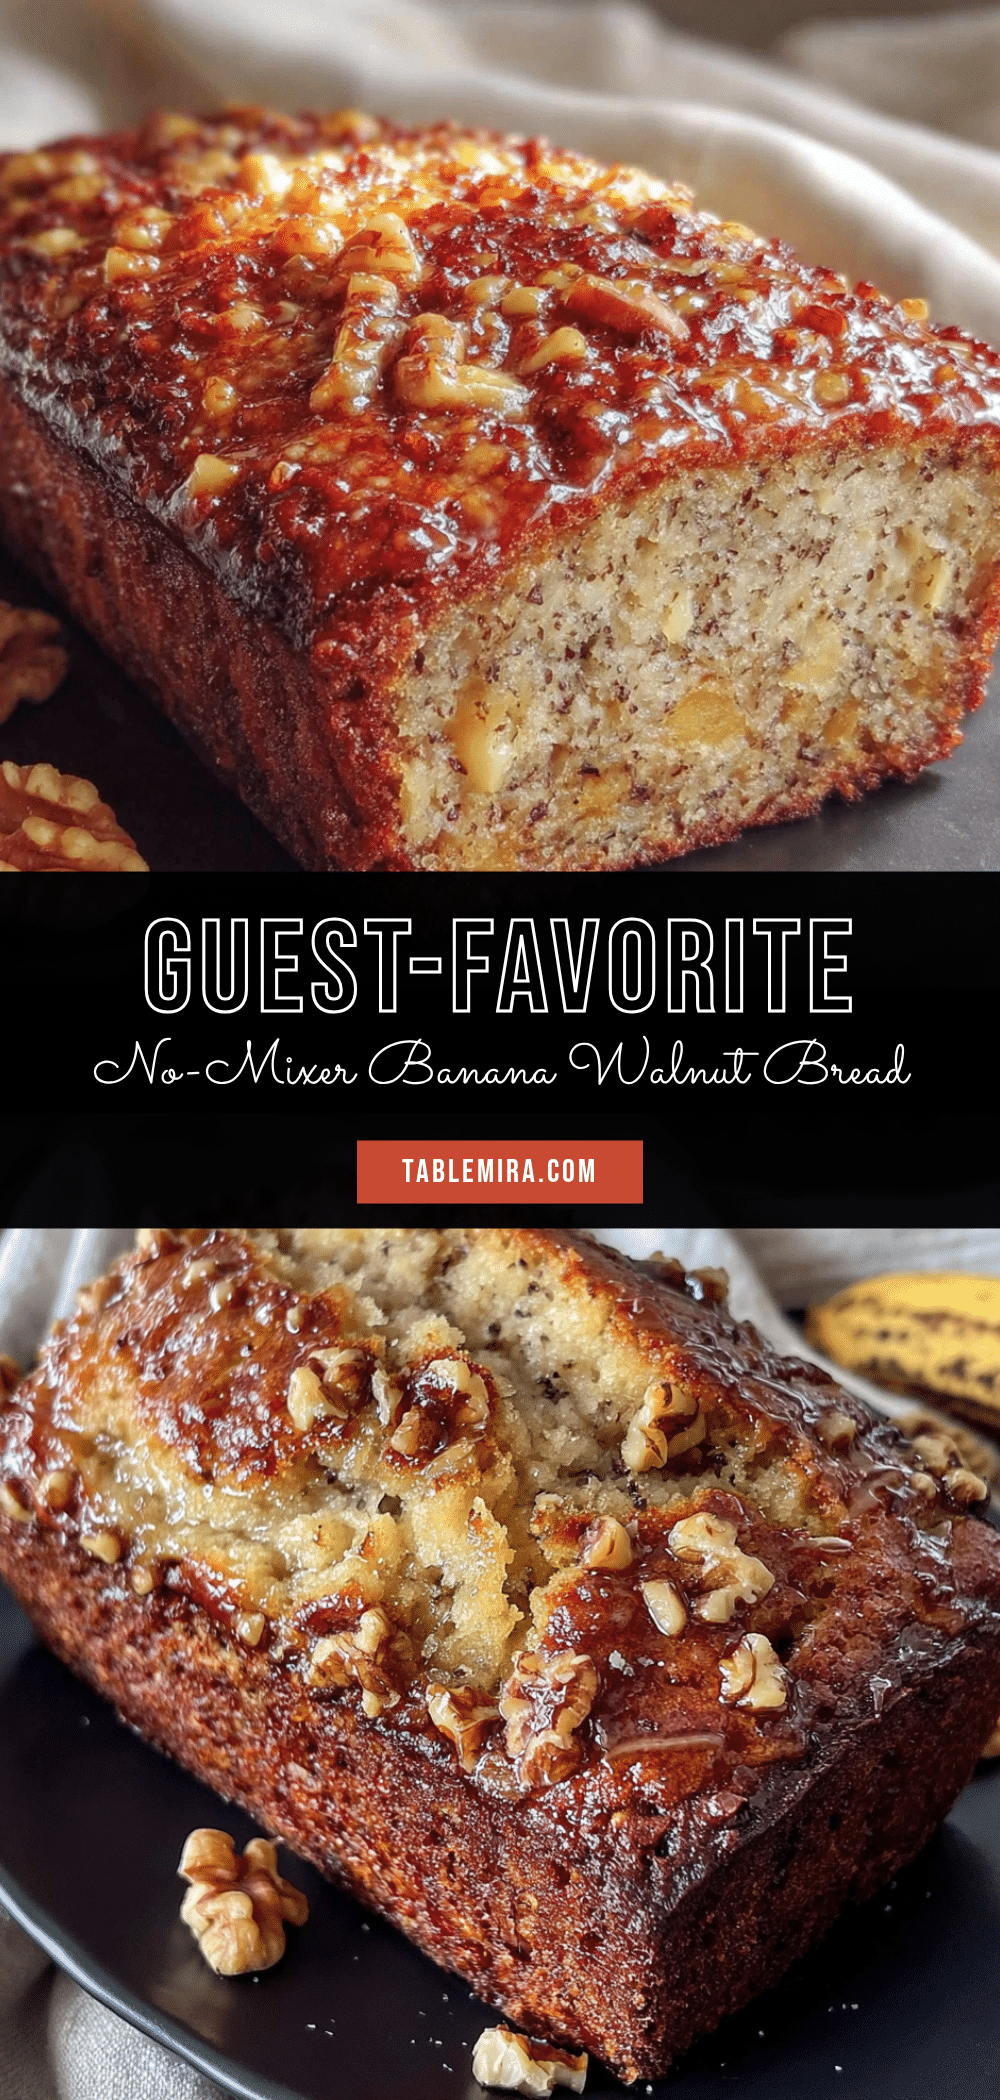
Best Easy Banana Walnut Bread Recipe (No Mixer Needed)
This guest-favorite no-mixer banana walnut bread is incredibly moist, packed with crunchy walnuts, and comes together in one bowl with a fork. Perfect for impressing a crowd without any fancy gadgets.
- Prep Time: 15 minutes
- Cook Time: 55-65 minutes
- Total Time: 1 hour 20 minutes
- Yield: 12 servings 1x
- Category: Dessert
- Cuisine: American
Ingredients
- 3 large ripe bananas (about 1 ½ cups mashed)
- 2 cups all-purpose flour (240g)
- ¾ cup granulated sugar (150g)
- ½ cup unsalted butter, melted and cooled (113g)
- 2 large eggs, room temperature
- ¼ cup sour cream or plain yogurt (60g)
- 1 teaspoon vanilla extract
- 1 teaspoon baking soda
- ½ teaspoon salt
- 1 cup walnuts, chopped (120g)
Instructions
- Preheat oven to 350°F (175°C). Grease a 9×5-inch loaf pan with butter or line with parchment paper, leaving overhang on sides.
- In a large mixing bowl, mash the ripe bananas with a fork until mostly smooth with a few small lumps (about 1 ½ cups).
- Add melted butter, granulated sugar, eggs, sour cream (or yogurt), and vanilla extract to the mashed bananas. Whisk together until well combined and smooth.
- In a separate small bowl, whisk together flour, baking soda, and salt.
- Pour dry ingredients into wet ingredients. Using a rubber spatula or wooden spoon, gently fold together until just combined (do not overmix; a few lumps are fine).
- Gently fold in chopped walnuts until evenly distributed. Reserve a handful for topping.
- Pour batter into prepared loaf pan and spread evenly. Sprinkle reserved walnuts on top.
- Bake for 55-65 minutes, until a toothpick inserted into the center comes out clean or with a few moist crumbs. If top browns too quickly, tent loosely with foil after 40 minutes.
- Cool in pan on a wire rack for 15 minutes, then lift out using parchment paper and cool completely on rack before slicing.
Notes
Use very ripe bananas (heavily spotted or black) for best sweetness and moisture. Do not overmix the batter to avoid tough bread. Toasting walnuts before adding enhances flavor. Bread can be stored at room temperature for up to 4 days or frozen for up to 3 months.
Nutrition
- Serving Size: 1 slice
- Calories: 280
- Sugar: 18
- Sodium: 220
- Fat: 14
- Saturated Fat: 5
- Carbohydrates: 36
- Fiber: 2
- Protein: 5
Keywords: banana walnut bread, easy banana bread, no mixer banana bread, quick bread, banana bread recipe, walnut banana bread, moist banana bread


