I figured a Halloween dessert had to be either scary-looking or delicious, but never both. It took about one batch of these witch fingers to realize I was completely wrong about that. The first time I made them, I was trying to impress my niece’s Halloween party crowd, and honestly, I expected them to be more of a novelty—fun to look at, maybe a little dry, the kind of thing kids pick at and then abandon for candy. But then I pulled the baking sheet out of the oven, and the kitchen smelled like butter and vanilla, and the tips of the “fingers” had cracked open just enough to show a little almond sliver “nail.” My husband walked in, grabbed one while it was still warm, and said, “These are actually really good.” Not “These are creepy.” Good. That’s when I knew I had something.
These aren’t just cookies. They’re a buttery, soft sugar cookie cake shaped into something delightfully gruesome, with a slight crisp on the edges and a tender center that practically melts. The almond sliver “fingernails” give them that perfect Halloween creep factor, but the flavor is all comfort. They’re the kind of treat that makes people do a double-take—first at how real they look, then at how fast they disappear. I’ve brought them to Halloween parties, trunk-or-treat events, and even left a batch on my neighbor’s porch just for fun. Every single time, the reaction is the same: laughter, then a bite, then silence, then reaching for another.
So if you’re looking for a Halloween dessert that actually delivers on both looks and taste, you’ve found it. No dry, flavorless sugar cookies here. Just a spooky, buttery, foolproof recipe that’ll steal the show without stealing your whole afternoon. Let’s make some witch fingers.
Why You’ll Love This Recipe
I’ve tested this recipe more times than I care to admit, tweaking the butter-to-flour ratio, the chilling time, and even the size of the almond slivers. What I landed on is the perfect balance of creepy and craveable. Here’s why this one works:
- Quick & Easy: From start to finish, you’re looking at about 45 minutes, including chilling time. That’s faster than carving a pumpkin and way more rewarding.
- Simple Ingredients: Butter, sugar, flour, eggs, vanilla, and slivered almonds. That’s it. No weird extracts, no specialty cake mixes, no food coloring that stains your fingers for days.
- Perfect for Halloween: Whether it’s a school party, a neighborhood gathering, or just a spooky movie night at home, these witch fingers fit right in. They’re creepy without being gory, which means even the little kids love them.
- Crowd-Pleaser: I’ve watched adults hesitate for half a second before grabbing one, then immediately go back for three more. Kids think they’re hilarious. Everyone wins.
- Unbelievably Delicious: This isn’t a gimmick cookie. The texture is soft and buttery with just a hint of almond from the “nails.” It’s a really good sugar cookie that happens to look like a witch’s hand.
What sets this recipe apart from the other spooky cookies out there is the shaping technique. I spent a full afternoon figuring out how to get the knuckles to look right without the dough cracking or spreading too much. The secret? A quick chill before baking and a tiny slit at each joint to mimic real finger creases. It sounds fussy, but I promise it takes about 10 extra seconds per cookie, and the result is genuinely startling. People will ask if you bought them from a bakery. You just smile and say, “Nope, made ‘em myself.”
Honestly, this is the kind of recipe that makes you feel like a kitchen witch in the best way. It’s fun to make, fun to serve, and even more fun to watch people’s faces when they realize the “finger” they just bit into is actually a delicious, buttery cookie. That’s the whole point of Halloween, right? A little scare, a lot of sugar, and a story to tell.
What Ingredients You Will Need
This recipe uses simple, pantry-friendly ingredients to create cookies that look disturbingly realistic but taste like pure comfort. No fancy baking supplies required, just a few basics and a little imagination.
- Unsalted butter, softened (1 cup / 226g) – The foundation of the cookie. I always use unsalted so I can control the salt level. Let it sit out for about 30 minutes before you start, not melted, just soft enough to leave a dent when you press it.
- Granulated sugar (1 cup / 200g) – Regular white sugar gives these cookies their structure and that slight crisp edge. No need for anything fancy.
- Large egg (1, at room temperature) – Binds everything together. If you forgot to take it out of the fridge, place it in a bowl of warm water for 5 minutes. Works every time.
- Vanilla extract (1 teaspoon) – Pure vanilla makes a difference here. I’ve used imitation in a pinch, and it’s fine, but pure gives a warmer, rounder flavor that complements the almond.
- Almond extract (½ teaspoon) – This is optional but highly recommended. It adds a subtle nuttiness that ties the whole witch finger theme together. Plus, it makes your kitchen smell amazing.
- All-purpose flour (2 ½ cups / 312g) – Spoon and level it, don’t scoop straight from the bag. Packed flour will give you dense, tough cookies, and nobody wants that.
- Baking powder (1 teaspoon) – Just enough lift to keep the cookies tender without puffing up and losing their finger shape.
- Salt (½ teaspoon) – Balances the sweetness. Sounds small, but don’t skip it.
- Slivered almonds (about 24-30 pieces) – These become the fingernails. Look for slivered almonds that are relatively flat and even. If they’re too curved, they’ll look like claws instead of nails. I learned that the hard way.
- Red food coloring or strawberry jam (optional, for “blood” effect) – If you want to go full creepy, a tiny dab of red gel coloring or jam at the base of the nail adds a gory touch. Totally optional, but kids love it.
Ingredient Tips: For the best texture, use a good-quality butter like Kerrygold or Plugrà. It has a higher fat content, which makes the cookies richer. And for the almond slivers, I’ve tried both toasted and raw, and honestly, raw works better because they bake gently with the cookie and stay pale, just like real nails. Toasted almonds get too dark and look like you’ve been baking with dirty fingernails. Not the look we’re going for.
Substitution Guidance: Need a dairy-free version? Swap the butter for a high-quality vegan butter stick, not the spreadable kind in a tub. For a gluten-free option, use a 1:1 gluten-free baking flour blend that contains xanthan gum. I’ve tested this with King Arthur’s Measure for Measure, and it worked beautifully. Just note that the dough might be slightly softer, so chill it a little longer before shaping.
Equipment Needed
You don’t need a professional bakery setup for these. Here’s what you’ll need:
- Mixing bowls – One large, one medium. Glass or stainless steel works great.
- Electric hand mixer or stand mixer – A hand mixer is perfectly fine. I actually prefer it for this recipe because it gives me more control over the dough.
- Baking sheets – Two standard half-sheet pans. Line them with parchment paper or silicone baking mats. No greasing needed.
- Plastic wrap – For chilling the dough. Don’t skip this step, it’s crucial for shaping.
- Sharp knife or bench scraper – For cutting the dough into finger-sized pieces. A bench scraper is my go-to because it’s easy to clean and doesn’t stick.
- Small offset spatula or butter knife – For making the knuckle creases. A butter knife works fine, but an offset spatula gives you a cleaner line.
- Cooling rack – Lets the cookies cool evenly so they stay crisp on the outside and soft inside.
If you don’t have an offset spatula, don’t worry. I’ve used the back of a chopstick to make knuckle lines before, and it worked surprisingly well. Get creative with what you have. The goal is creepy, not perfect.
Preparation Method
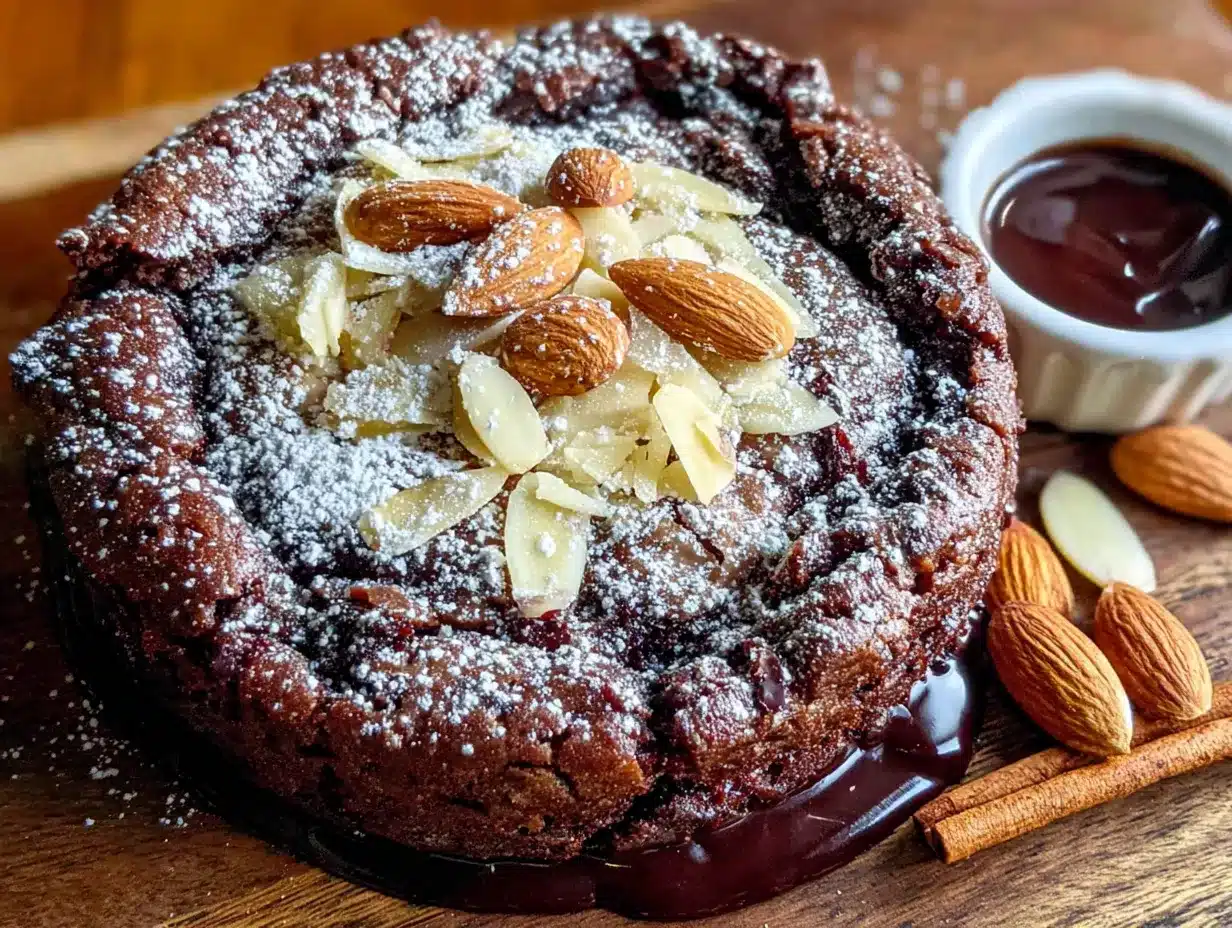
This is where the magic happens. Follow these steps closely, and you’ll have a batch of witch fingers that look like they crawled out of a cauldron.
- Cream the butter and sugar. In a large mixing bowl, beat the softened butter and granulated sugar together on medium speed until light and fluffy, about 3 minutes. You’re looking for a pale, airy texture. Scrape down the sides of the bowl halfway through. Don’t rush this step; proper creaming is what gives the cookies their tender crumb.
- Add the wet ingredients. Beat in the egg, vanilla extract, and almond extract (if using) until fully combined. The mixture might look slightly curdled at this point, that’s okay, it’ll come together when you add the flour.
- Mix the dry ingredients. In a separate bowl, whisk together the all-purpose flour, baking powder, and salt. This ensures the baking powder is evenly distributed so you don’t get one cookie that puffs up like a balloon while the others stay flat.
- Combine wet and dry. Gradually add the dry ingredients to the wet mixture, mixing on low speed just until no streaks of flour remain. Do not overmix. Overworking the dough develops gluten, which makes cookies tough. Stop as soon as it comes together. The dough will be soft but not sticky.
- Chill the dough. Divide the dough in half, flatten each half into a disk, wrap tightly in plastic wrap, and refrigerate for at least 30 minutes. This is non-negotiable. Chilled dough is much easier to shape into fingers without it sticking to your hands or losing its form in the oven. I’ve skipped this step before, and my “fingers” turned into blobs. Learn from my mistake.
- Preheat the oven. While the dough chills, preheat your oven to 350°F (175°C). Line two baking sheets with parchment paper.
- Shape the fingers. Take one disk of dough out of the fridge. Pinch off a piece about the size of a walnut (roughly 1.5 tablespoons). Roll it between your palms into a log shape, about 3 inches long and ¾ inch thick. It doesn’t have to be perfectly uniform; real fingers aren’t either. Slightly taper one end to mimic the fingertip. Place it on the prepared baking sheet. Repeat with the remaining dough, spacing the fingers about 2 inches apart.
- Create the knuckles. Using a small offset spatula or the back of a butter knife, gently press 2-3 horizontal lines across each finger to create knuckle creases. Press firmly enough to leave an indent, but not so hard that you cut through the dough. Also press a small indent at the tip of the finger where the nail will go.
- Add the fingernails. Gently press a slivered almond into the indent at the tip of each finger. The pointed end of the almond should face outward, away from the “hand.” Press it in just enough so it stays put during baking. If you’re using red food coloring or jam, dab a tiny amount at the base of the almond now.
- Bake. Bake for 10-12 minutes, or until the edges are just barely golden. The centers will still look soft and slightly pale. That’s exactly what you want. Overbaking will make them dry and ruin the tender texture. Let them cool on the baking sheet for 5 minutes, then transfer to a cooling rack.
- Repeat. Let the baking sheets cool completely before placing the next batch of raw fingers on them. A hot sheet will start melting the dough before it even hits the oven, and you’ll lose those nice knuckle lines.
- Serve. Arrange the witch fingers on a platter, maybe with a few scattered around like someone lost a hand. For extra creepiness, place a few fingers sticking out of a bowl of popcorn or dip. The visual is fantastic.
Cooking Tips & Techniques
I’ve made about six batches of these over the last two Halloweens, and I’ve collected a few hard-won lessons. Here’s what I wish I’d known from the start.
Chill the dough longer than you think you need to. The first time I made these, I was impatient and only chilled the dough for 15 minutes. The fingers spread in the oven and lost all their definition. They still tasted good, but they looked more like sad potato wedges than witch fingers. A full 30 minutes in the fridge makes a world of difference. If your kitchen is warm, go for 45 minutes.
Don’t overwork the dough when shaping. If you roll the dough too much, the warmth from your hands will soften the butter and make the dough sticky. Work quickly and lightly. If the dough starts sticking to your palms, pop it back in the fridge for 5 minutes.
Make the knuckle lines deep enough. I was too gentle on my first batch, and the creases baked right out. You want to press firmly enough that the indent stays visible after baking. Think of it like drawing a line in sand, it needs to be clear.
Watch the almond nails. Almonds can burn quickly, especially if your oven runs hot. If you notice the almonds browning too fast, loosely tent the baking sheet with foil for the last 2-3 minutes of baking. I’ve had to do this with a particularly aggressive oven, and it saved the batch.
Bake in batches, not all at once. Even if you have a big oven, baking two sheets at once can lead to uneven cooking. The bottom sheet will be closer to the heating element and may brown too fast. I bake one sheet at a time on the middle rack. It takes a little longer, but the results are consistent.
Timing strategy: Make the dough the night before and let it chill overnight. Then all you have to do the next day is shape, bake, and assemble. I do this for every Halloween party now, and it takes the stress out of last-minute prep.
Variations & Adaptations
Once you’ve mastered the basic witch finger, the possibilities are endless. Here are a few variations I’ve tried and loved.
Chocolate Witch Fingers: Replace ¼ cup of the flour with ¼ cup of unsweetened cocoa powder. The chocolate version looks even more ghoulish, like dirt-caked fingers straight from the grave. The flavor is rich and fudgy, and kids go crazy for them. I made these for a Halloween potluck last year, and they were gone in 20 minutes.
Vegan Witch Fingers: Use a flax egg (1 tablespoon ground flaxseed mixed with 3 tablespoons water, let sit for 5 minutes) and a high-quality vegan butter. The texture is slightly more delicate, so be extra gentle when shaping, and chill the dough for a full 45 minutes. They’re not quite as sturdy as the original, but they’re still delicious and creepy.
Gluten-Free Witch Fingers: As I mentioned earlier, a 1:1 gluten-free baking flour blend works beautifully. I’ve tested this with Bob’s Red Mill and King Arthur, and both produced tender cookies that held their shape well. Just note that gluten-free dough tends to be a bit softer, so don’t skip the chilling step.
Spooky Spider Web Presentation: Instead of serving the fingers on a plain platter, arrange them on a bed of black cocoa powder or crushed chocolate cookies to look like dirt. You can even drizzle a little white chocolate “spider web” over the top for a dramatic effect. I did this for a Halloween dinner party, and my guests actually gasped when I brought the platter out.
Color Variations: Add a few drops of green or purple food coloring to the dough for zombie or alien fingers. My niece requested green fingers last year, and they turned out surprisingly realistic. Just be careful not to add too much liquid, it can throw off the dough consistency. Gel food coloring is best because it’s concentrated and doesn’t add extra moisture.
Serving & Storage Suggestions
These witch fingers are best served at room temperature, about 30 minutes after they come out of the oven. The edges are still slightly crisp, and the centers are soft and buttery. If you serve them too warm, they might fall apart; too cold, and they lose that tender texture.
Presentation ideas: Arrange the fingers on a black platter or a wooden cutting board for a rustic, creepy look. Scatter a few loose almond slivers around to look like broken nails. For extra drama, place a small bowl of red jam or chocolate sauce in the center for “dipping.” I’ve also stuck a few fingers into a bowl of popcorn, pointing upward, like a hand reaching out. It’s a guaranteed conversation starter.
Complementary dishes: These cookies pair wonderfully with a warm cup of spiced apple cider or a creamy hot chocolate. For a full Halloween spread, serve them alongside our Easy Crockpot Halloween Chili Bar for a savory-sweet balance that pleases both kids and adults. If you’re hosting a party, our Easy Halloween Charcuterie Board makes a perfect companion for grazing.
Storage: Store leftover witch fingers in an airtight container at room temperature for up to 5 days. Place a sheet of wax paper between layers to prevent them from sticking together. Do not refrigerate them, the fridge dries them out and makes them hard.
Freezing: You can freeze the baked cookies for up to 3 months. Let them cool completely, then place them in a single layer in a freezer-safe container with wax paper between layers. To thaw, let them sit at room temperature for about 20 minutes. They’ll taste almost as fresh as the day you baked them.
Reheating: If you want to revive that just-baked texture, pop them in a 300°F (150°C) oven for 3-4 minutes. Let them cool slightly before serving. The edges will crisp up again, and the centers will soften beautifully.
Flavor development: Honestly, these cookies taste even better the day after baking. The flavors meld together, and the texture becomes perfectly tender. So don’t stress about making them the morning of your party. Bake them a day ahead, store them properly, and they’ll be even more delicious.
Nutritional Information & Benefits
Let’s be real, these are cookies, not health food. But here’s the breakdown per witch finger (based on 24 cookies):
- Calories: Approximately 145
- Total Fat: 8g
- Saturated Fat: 5g
- Carbohydrates: 17g
- Sugar: 9g
- Protein: 2g
- Fiber: 0.5g
Health highlights: The almonds provide a small amount of vitamin E and healthy monounsaturated fats. Butter contains fat-soluble vitamins like A and D. And honestly, the biggest benefit here is the joy of sharing something handmade and fun with the people you love. That counts for something.
Dietary considerations: This recipe contains gluten, dairy, eggs, and tree nuts (almonds). For a nut-free version, skip the almond extract and use a small piece of dried apricot or a sliver of white chocolate for the nails. For a dairy-free version, use vegan butter as mentioned above. For an egg-free version, a flax egg works, but the texture will be slightly more cakey.
Personal wellness perspective: I believe in balance. Halloween comes once a year, and these cookies are part of the fun. I don’t stress about the sugar content because I know we’re making memories, not just desserts. Serve them with a side of fresh fruit or veggie sticks if you want to round out the snack table. But honestly, just enjoy the witch fingers. They’re worth every single calorie.
Conclusion
These Spooky Witch Finger Halloween Cookie Cakes are everything I want in a holiday treat: easy to make, genuinely creepy to look at, and delicious enough that people forget they’re supposed to be gross. They’ve become a staple in my Halloween rotation, right up there with pumpkin carving and scary movie marathons.
I love that this recipe lets you get creative. You can go full gore with red jam, keep it classy with just the almond nails, or experiment with different colors and flavors. There’s no wrong way to make a witch finger, as long as it tastes good and makes people smile (or scream, depending on your audience).
If you make these, I’d love to hear about it. Leave a comment below and tell me how your witch fingers turned out, or share a photo of your spooky spread. Did you add a variation I haven’t tried? Did your kids freak out? Did your coworkers devour them at the office party? I want to know all of it. And if you’re looking for more Halloween inspiration, check out our Spooky No-Bake Spider Web Cheesecake Bars or our Best Easy Halloween Mummy Sugar Cookies for even more festive fun.
Happy Halloween, and happy baking! May your witch fingers be creepy, your kitchen smell like butter, and your candy bowl stay full.
Frequently Asked Questions
Can I make the dough ahead of time?
Absolutely. You can prepare the dough up to 3 days in advance and keep it wrapped tightly in the refrigerator. When you’re ready to bake, let it sit at room temperature for about 10 minutes to soften slightly, then shape and bake as directed. You can also freeze the dough logs for up to 3 months.
Why did my witch fingers spread in the oven?
This usually happens when the dough isn’t chilled enough. Make sure you chill it for at least 30 minutes before shaping, and if your kitchen is warm, go for 45 minutes. Also, make sure your baking sheets are completely cool before placing raw dough on them. A hot sheet will start melting the butter immediately.
Can I use almond flour instead of all-purpose flour?
I wouldn’t recommend a straight swap. Almond flour has a different fat content and lacks gluten, so the cookies would spread and likely fall apart. If you need a gluten-free option, use a 1:1 gluten-free baking flour blend as mentioned in the variations section.
How do I get the almond nails to stay on?
Press the almond sliver firmly into the indent at the tip of the finger before baking. The dough will bake around it and hold it in place. If an almond falls off after baking, just press it back on while the cookie is still warm, it’ll stick as it cools.
Can I make these without almond extract?
Yes, absolutely. The almond extract adds a subtle nutty flavor that complements the theme, but the cookies are still delicious with just vanilla. If you skip the almond extract, increase the vanilla to 1 ½ teaspoons to keep the flavor balanced.
Pin This Recipe!
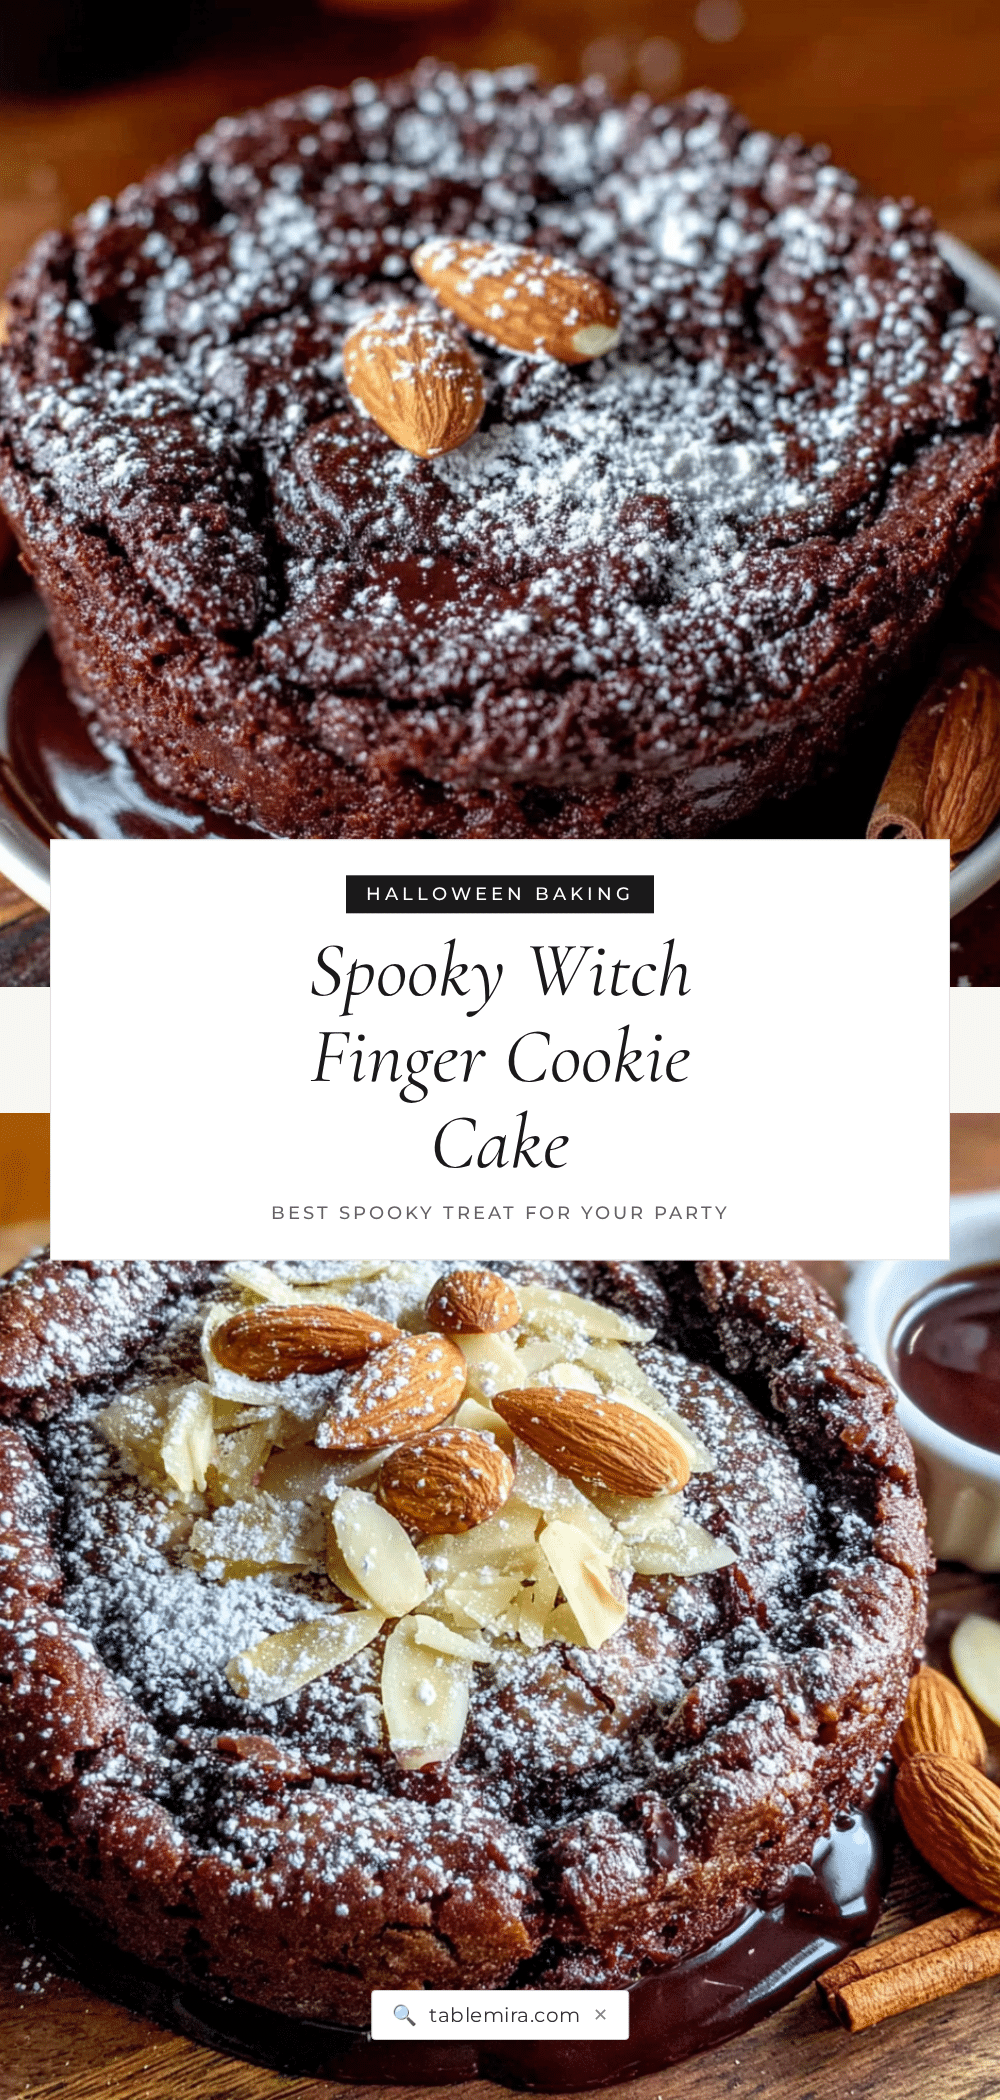
Spooky Witch Finger Halloween Cookie Cake: Easy & Creepy Dessert
These buttery, soft sugar cookie cakes are shaped into delightfully gruesome witch fingers with almond sliver ‘fingernails.’ They’re easy to make, creepy to look at, and delicious enough that people forget they’re supposed to be gross.
- Prep Time: 15 minutes
- Cook Time: 12 minutes
- Total Time: 45 minutes
- Yield: 24 servings 1x
- Category: Dessert
- Cuisine: American
Ingredients
- 1 cup (226g) unsalted butter, softened
- 1 cup (200g) granulated sugar
- 1 large egg, at room temperature
- 1 teaspoon vanilla extract
- ½ teaspoon almond extract (optional)
- 2 ½ cups (312g) all-purpose flour
- 1 teaspoon baking powder
- ½ teaspoon salt
- 24–30 slivered almonds
- Red food coloring or strawberry jam (optional, for ‘blood’ effect)
Instructions
- Cream the butter and sugar. In a large mixing bowl, beat the softened butter and granulated sugar together on medium speed until light and fluffy, about 3 minutes. Scrape down the sides of the bowl halfway through.
- Add the wet ingredients. Beat in the egg, vanilla extract, and almond extract (if using) until fully combined.
- Mix the dry ingredients. In a separate bowl, whisk together the all-purpose flour, baking powder, and salt.
- Combine wet and dry. Gradually add the dry ingredients to the wet mixture, mixing on low speed just until no streaks of flour remain. Do not overmix.
- Chill the dough. Divide the dough in half, flatten each half into a disk, wrap tightly in plastic wrap, and refrigerate for at least 30 minutes.
- Preheat the oven. While the dough chills, preheat your oven to 350°F (175°C). Line two baking sheets with parchment paper.
- Shape the fingers. Take one disk of dough out of the fridge. Pinch off a piece about the size of a walnut (roughly 1.5 tablespoons). Roll it between your palms into a log shape, about 3 inches long and ¾ inch thick. Slightly taper one end to mimic the fingertip. Place it on the prepared baking sheet. Repeat with the remaining dough, spacing the fingers about 2 inches apart.
- Create the knuckles. Using a small offset spatula or the back of a butter knife, gently press 2-3 horizontal lines across each finger to create knuckle creases. Also press a small indent at the tip of the finger where the nail will go.
- Add the fingernails. Gently press a slivered almond into the indent at the tip of each finger. The pointed end of the almond should face outward. Press it in just enough so it stays put during baking. If using red food coloring or jam, dab a tiny amount at the base of the almond now.
- Bake. Bake for 10-12 minutes, or until the edges are just barely golden. Let them cool on the baking sheet for 5 minutes, then transfer to a cooling rack.
- Repeat. Let the baking sheets cool completely before placing the next batch of raw fingers on them.
- Serve. Arrange the witch fingers on a platter. For extra creepiness, place a few fingers sticking out of a bowl of popcorn or dip.
Notes
Chill the dough for at least 30 minutes to prevent spreading. Make knuckle lines deep enough to remain visible after baking. Watch the almond nails to prevent burning; tent with foil if needed. Bake one sheet at a time on the middle rack for even results. The cookies taste even better the day after baking.
Nutrition
- Serving Size: 1 witch finger cooki
- Calories: 145
- Sugar: 9
- Sodium: 75
- Fat: 8
- Saturated Fat: 5
- Carbohydrates: 17
- Fiber: 0.5
- Protein: 2
Keywords: Halloween cookies, witch fingers, sugar cookies, spooky dessert, easy Halloween recipe, creepy cookies, almond cookies