The summer I turned thirty, my apartment’s air conditioner gave out during a record-breaking heatwave. I was sprawled on the coolest patch of kitchen linoleum I could find, fanning myself with a takeout menu, when my phone buzzed. It was my friend Leo, the quietest guy in our book club—the one who never speaks unless it’s about Russian literature. “I’m bringing cookies to book club tonight,” his text read. “Only making six, though. It’s a new thing.” I almost laughed. Six cookies? Who makes six cookies? But the heat had melted my ambition, so I didn’t argue.
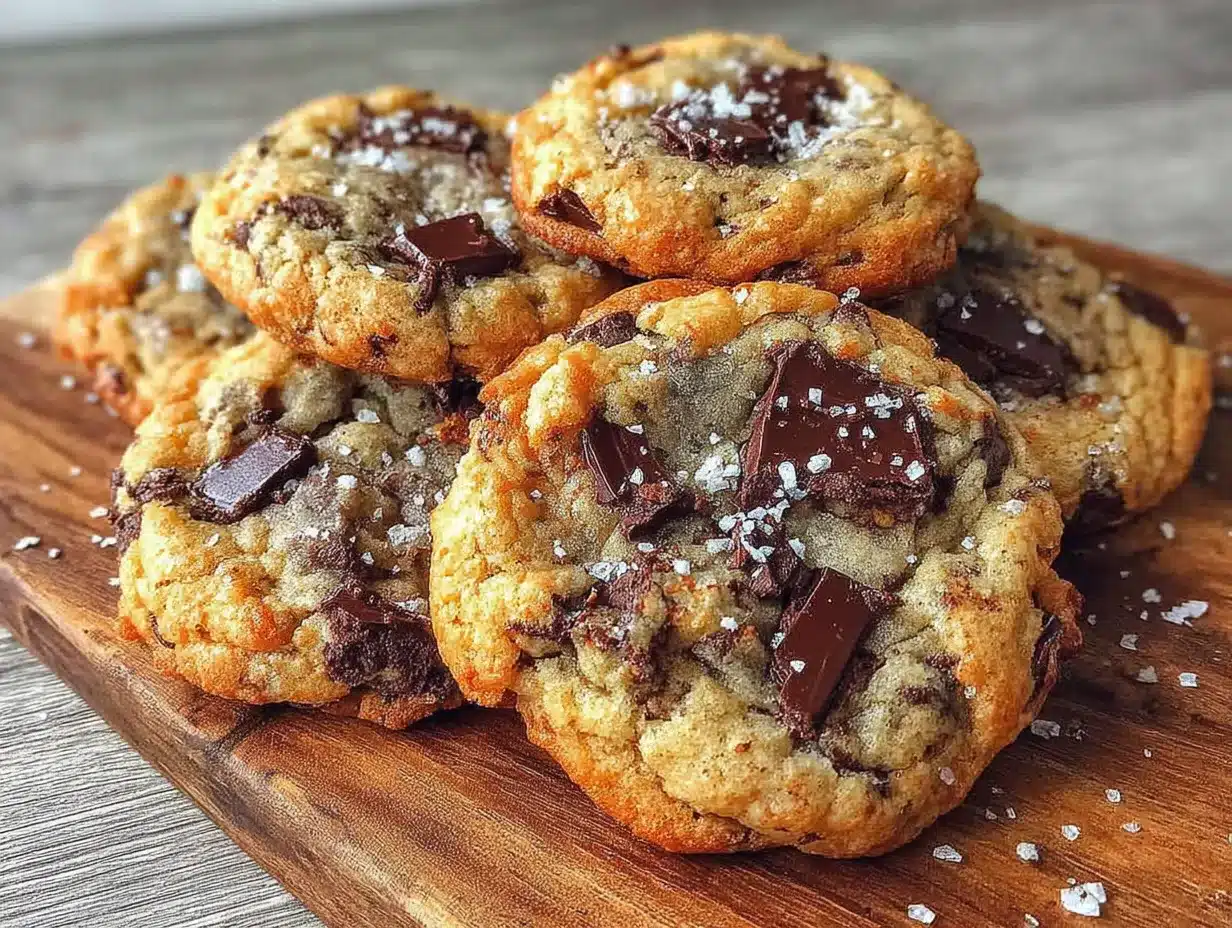
Three hours later, Leo showed up at my sweltering apartment with a small tin. Inside were six perfect, golden-brown chocolate chip cookies, still faintly warm. I took one bite, and honestly? I forgot about the heat. The edges were crisp and caramelized, the center was soft and packed with melty chocolate, and the whole thing tasted like the platonic ideal of a cookie. I asked him where he got the recipe, and he just shrugged. “It’s from my grandma’s old recipe box. She used to make them just for my grandpa and herself. No leftovers.”
That was it. A quiet accountant in a book club, handing me the secret to the best small batch chocolate chip cookies I had ever eaten. I begged him for the recipe, and he scribbled it on a napkin—which I still have, stained with butter and chocolate. Now, every time I make these cookies, I think of that ridiculous, sweltering day. Maybe you’ve been there—desperate for something sweet but not wanting a giant batch that’ll go stale before you finish it. These cookies are the answer. They’re small, they’re perfect, and they’re all yours.
Why You’ll Love This Recipe
Let me tell you, after testing dozens of cookie recipes over the years, this one is the keeper. It’s not just good—it’s the kind of cookie that makes you close your eyes after the first bite. I mean it. Here is why this recipe stands out from the crowd:
- Perfectly Sized Batch: Makes exactly six cookies. No more, no less. Perfect for a single serving, a date night treat, or when you just need a little something sweet without the temptation of a full dozen.
- Simple Ingredients: You probably have everything in your pantry right now. No weird flours, no fancy extracts, no trip to the specialty grocery store. Just butter, sugar, flour, egg, vanilla, and chocolate chips.
- Quick & Easy: From start to finish, these cookies are ready in under 30 minutes. The dough comes together in one bowl, and there is no chilling time required. Yes, you read that right—no chilling!
- Perfect for Hosting: When you are having friends over for dinner, a small batch is ideal. You can serve warm cookies right out of the oven without being stuck with a mountain of leftovers. Plus, they look adorable on a little plate.
- Crowd-Pleaser: I have served these to everyone from my picky nephew to my food-snob neighbor, and they always disappear in minutes. The texture is pure magic—crispy edges, soft centers, and gooey chocolate in every bite.
- No Waste: This is my favorite part. No leftover dough in the fridge that you’ll forget about. No stale cookies a week later. Just six perfect cookies, eaten at their absolute peak.
What makes this recipe different from every other chocolate chip cookie out there? It’s the ratio. After testing, I found that using a slightly higher proportion of brown sugar to white sugar gives these cookies their signature chewiness. And the technique of resting the dough for just five minutes before baking? That was a happy accident from the first time I made them and got distracted. It allows the flour to fully hydrate, resulting in a more tender cookie. This isn’t just another version—it’s my best version, tested and perfected over many batches.
What Ingredients You Will Need
This recipe uses simple, humble ingredients to create something truly special. Each one plays a crucial role in building that perfect cookie texture and flavor. Here is what you will need:
For the Cookie Dough
- 4 tablespoons unsalted butter, melted and slightly cooled – I use Land O’Lakes butter for its consistent fat content. Melting the butter gives these cookies a chewier texture compared to creaming room-temperature butter. Make sure it is not hot, or it will cook the egg!
- 3 tablespoons granulated sugar – This adds sweetness and helps create those crispy, caramelized edges. Regular white sugar is perfect.
- 3 tablespoons packed light brown sugar – This is the secret to the chewy, soft centers. The molasses in brown sugar adds moisture and a deeper flavor. I always pack it firmly into the measuring spoon.
- 1 large egg yolk – We only use the yolk here, not the whole egg. This gives the cookies richness and tenderness without making the dough too wet. Save the egg white for an omelet or add it to your scrambled eggs tomorrow morning.
- 1/2 teaspoon vanilla extract – Pure vanilla extract makes a difference here. I prefer Nielsen-Massey, but any good-quality vanilla works. Avoid imitation vanilla if you can—it has a chemical aftertaste.
- 1/2 cup all-purpose flour – Spoon and level your flour for the best results. Scooping directly from the bag can pack in too much flour, making your cookies dry and cakey.
- 1/4 teaspoon baking soda – This is our leavening agent. It helps the cookies spread just the right amount and gives them a slight lift.
- 1/4 teaspoon salt – I use fine sea salt. Salt balances the sweetness and enhances the chocolate flavor. Do not skip it!
- 1/3 cup chocolate chips or chopped chocolate – This is where you can get creative. I love using Guittard semisweet chocolate chips, but a chopped dark chocolate bar (60-70% cacao) gives you those beautiful puddles of melted chocolate. Use whatever you love.
Ingredient Selection Tips: For the best texture, make sure your butter is melted but not piping hot. Let it sit for a minute or two after melting. If you only have salted butter on hand, reduce the added salt to just a pinch. For a richer flavor, try browning the butter—just melt it in a small saucepan over medium heat, swirling until it turns golden brown and smells nutty, then let it cool slightly before using.
Substitution Guidance: Need these to be gluten-free? Swap the all-purpose flour for a good 1:1 gluten-free baking flour blend, like Bob’s Red Mill. For a dairy-free version, use vegan butter sticks (not margarine) and dairy-free chocolate chips. You can also swap the chocolate chips for white chocolate, butterscotch chips, or even chopped nuts if you prefer.
Equipment Needed
The beauty of this recipe is that you do not need any fancy equipment. Here is what you will need:
- Mixing bowl: Any medium-sized bowl works. I like using a glass or ceramic bowl because they are easy to clean.
- Whisk or fork: For mixing the wet ingredients together. A fork works in a pinch.
- Rubber spatula or wooden spoon: For folding in the dry ingredients and chocolate chips. A spatula helps you get every bit of dough.
- Measuring cups and spoons: Accurate measurements are key for such a small batch. Use standard measuring spoons for the best results.
- Baking sheet: A small baking sheet is ideal. I use a quarter-sheet pan (9×13 inches) for these cookies. If you only have a full-size sheet, it works perfectly fine.
- Parchment paper or silicone baking mat: This prevents sticking and ensures even browning. I prefer parchment paper because it is easy to clean up.
- Cookie scoop or tablespoon: For portioning the dough evenly. A 1.5-tablespoon cookie scoop is perfect for getting six uniform cookies.
- Cooling rack: Optional but helpful for cooling the cookies quickly. If you do not have one, just let them cool on the baking sheet.
Budget-Friendly Options: Do not have a cookie scoop? Use two spoons to portion the dough. No cooling rack? A wire rack from your toaster oven works, or just let the cookies cool on the baking sheet for a few extra minutes. I have made these cookies in a friend’s kitchen with just a fork and a cereal bowl, and they turned out beautifully.
Preparation Method
Alright, let’s get to the fun part. Follow these steps, and you will have six perfect cookies in no time.
- Preheat your oven to 350°F (175°C). Line a small baking sheet with parchment paper or a silicone baking mat. This is important—do not skip the parchment, or your cookies might stick.
- Melt the butter. In a microwave-safe bowl, melt the 4 tablespoons of butter in 15-second intervals until just melted. Let it sit for a minute to cool slightly. You want it warm, not hot. (I once used hot butter and ended up with flat, greasy cookies—learn from my mistake!)
- Mix the sugars and butter. Add the 3 tablespoons of granulated sugar and 3 tablespoons of packed brown sugar to the melted butter. Whisk vigorously for about 30 seconds until the mixture looks like wet sand and is slightly thickened. This is where the magic starts.
- Add the egg yolk and vanilla. Drop in the egg yolk and 1/2 teaspoon of vanilla extract. Whisk until everything is smooth and well combined. The mixture should look glossy and a little lighter in color. If it looks separated, keep whisking—it will come together.
- Add the dry ingredients. Sprinkle the 1/2 cup of flour, 1/4 teaspoon of baking soda, and 1/4 teaspoon of salt over the wet mixture. Use a rubber spatula to fold everything together gently. Stir just until you no longer see streaks of flour. Overmixing will make your cookies tough, so stop as soon as it comes together.
- Fold in the chocolate chips. Add the 1/3 cup of chocolate chips and fold them in with a few gentle strokes. Make sure they are evenly distributed throughout the dough. The dough will be thick and slightly sticky—that is perfect.
- Let the dough rest (optional but recommended). Let the dough sit in the bowl for 5 minutes. This allows the flour to absorb the moisture, resulting in a more tender cookie. Use this time to clean up a bit or preheat the oven if you haven’t already.
- Portion the dough. Using a cookie scoop or a tablespoon, scoop out 6 equal portions of dough. Roll each portion into a ball and place them on the prepared baking sheet, spacing them about 2 inches apart. They will spread, so give them room!
- Bake the cookies. Place the baking sheet in the preheated oven and bake for 9 to 11 minutes. The cookies are done when the edges are golden brown and the centers look slightly underdone and puffy. They will continue to bake on the hot sheet as they cool. I usually pull them out at the 10-minute mark for perfectly soft centers.
- Cool on the baking sheet. Let the cookies cool on the baking sheet for 5 minutes. This step is crucial—if you try to move them right away, they will fall apart. After 5 minutes, transfer them to a cooling rack to cool completely, or serve them warm. (Warm is always better, in my opinion.)
Sensory Cues: When you mix the butter and sugars, it should smell sweet and buttery. When you add the egg yolk, the mixture should look smooth and glossy. During baking, your kitchen will smell like a bakery—that nutty, caramelized aroma means the edges are getting perfectly golden. The centers should look puffy and slightly soft when you pull them out, not flat and spread out.
Cooking Tips & Techniques
After making these cookies dozens of times, I have learned a few tricks that make a real difference. Here are my top tips:
Use a kitchen scale for precision. For such a small batch, accurate measurements are everything. A small kitchen scale costs about $15 and will change your baking life. If you use one, the measurements are: 57g butter, 38g granulated sugar, 43g brown sugar, 60g flour, 60g chocolate chips.
Do not overmix the dough. This is the number one mistake I see. Once you add the flour, mix just until it disappears. Overworking the dough develops gluten, which leads to tough, cakey cookies instead of tender, chewy ones.
Chill the dough if you have time. While this recipe works without chilling, letting the dough rest in the fridge for 30 minutes to an hour will deepen the flavor and prevent the cookies from spreading too much. The butter solidifies, so the cookies hold their shape better. I have even chilled the dough overnight, and the cookies were incredible the next day.
Bang the pan for extra texture. When the cookies come out of the oven, lift the baking sheet a few inches and drop it on the counter. This “banging” technique deflates the cookies slightly, creating those beautiful, crinkly tops and a more chewy texture. It sounds weird, but it works.
Press extra chocolate chips on top. Right after baking, gently press a few extra chocolate chips onto the tops of the warm cookies. This makes them look bakery-perfect and ensures every bite has a visible piece of chocolate. I learned this trick from a professional baker, and it is a game-changer.
My biggest failure: The first time I made these, I used a whole egg instead of just the yolk. The cookies spread into thin, crispy discs that were more like lace cookies than chocolate chip cookies. They still tasted good, but they were not what I wanted. Learn from my mistake—use only the yolk!
Variations & Adaptations
Once you master the basic recipe, feel free to play around. Here are some of my favorite variations:
Double Chocolate Chip Cookies: Replace 1 tablespoon of the flour with 1 tablespoon of unsweetened cocoa powder. Use white chocolate chips or milk chocolate chips for a beautiful contrast. The cookies will be rich, fudgy, and deeply chocolatey.
Nutty Crunch Cookies: Reduce the chocolate chips to 1/4 cup and add 2 tablespoons of toasted, chopped pecans or walnuts. Toast the nuts in a dry pan over medium heat for 2-3 minutes until fragrant—this brings out their flavor. The crunch is a lovely contrast to the soft cookie.
Sea Salt Finish: Before baking, sprinkle a tiny pinch of flaky sea salt (like Maldon) on top of each dough ball. The salt crystals add a burst of salty flavor that perfectly balances the sweetness. This is my go-to for impressing guests—it looks and tastes fancy with zero extra effort.
Gluten-Free Adaptation: Swap the all-purpose flour for a 1:1 gluten-free baking flour blend. I have tested this with Bob’s Red Mill, and the cookies are slightly more delicate but still delicious. Add an extra tablespoon of flour if the dough feels too sticky.
Vegan Version: Use melted vegan butter (I like Miyoko’s) and replace the egg yolk with 1 tablespoon of aquafaba (the liquid from a can of chickpeas) mixed with 1/2 teaspoon of cornstarch. The cookies will be a bit less rich but still very tasty.
Flavor Twist: Add 1/4 teaspoon of cinnamon or espresso powder along with the dry ingredients. Cinnamon adds warmth, while espresso powder enhances the chocolate flavor without making the cookies taste like coffee. I love the espresso version with dark chocolate chips—it is dangerously good.
Serving & Storage Suggestions
These cookies are best served warm, right out of the oven. The chocolate is still melty, the edges are crisp, and the centers are soft. Here is how to serve and store them:
Serving Temperature: Serve the cookies warm for the ultimate experience. If they have cooled down, pop them in a 300°F (150°C) oven for 3-4 minutes to reheat. They will taste freshly baked again. I also love serving them with a glass of cold milk or a scoop of vanilla ice cream for an extra treat.
Presentation Tips for Hosting: Arrange the cookies on a small, pretty plate or a wooden board. Dust them lightly with powdered sugar for a bakery look. Pair them with a hot cup of coffee or a latte for a perfect after-dinner dessert. For a dinner party, place the warm cookies on a plate with a small bowl of whipped cream or ice cream on the side—your guests will feel spoiled.
Storage Instructions: Store leftover cookies in an airtight container at room temperature for up to 3 days. To keep them soft, add a slice of bread to the container—the cookies will absorb the moisture from the bread. (The bread will get stale, but the cookies will stay perfect!)
Freezing Instructions: You can freeze the baked cookies in a freezer-safe bag for up to 2 months. Thaw at room temperature for about 30 minutes, then reheat in the oven. Alternatively, freeze the raw dough balls on a baking sheet, then transfer them to a freezer bag. Bake from frozen, adding 2-3 minutes to the baking time. This is perfect for when a cookie craving strikes unexpectedly.
How Flavors Develop: Honestly, these cookies are best on the day they are made. The texture is at its peak—crispy edges, soft center. However, the flavor deepens slightly on day two as the ingredients meld together. If you can resist eating them all, try one the next day with your morning coffee. It is a different but still delightful experience.
Nutritional Information & Benefits
Here is the approximate nutritional breakdown for one cookie (based on six cookies total):
| Nutrient | Amount Per Cookie |
|---|---|
| Calories | 195 |
| Total Fat | 11g |
| Saturated Fat | 7g |
| Cholesterol | 45mg |
| Sodium | 145mg |
| Total Carbohydrates | 24g |
| Dietary Fiber | 1g |
| Sugars | 16g |
| Protein | 2g |
Health Benefits of Key Ingredients: Dark chocolate is rich in antioxidants and can help improve heart health. The butter provides fat-soluble vitamins A, D, E, and K. While these cookies are definitely a treat, using higher-quality ingredients means you are getting a little bit of goodness in every bite. The small batch size also helps with portion control—you are less likely to overindulge when there are only six cookies.
Dietary Considerations: This recipe contains gluten, dairy, and eggs. For gluten-free and dairy-free options, check the variations section above. The cookies are nut-free as written, making them safe for school lunches or parties. They are also low in fiber, so pair them with a piece of fruit or a handful of nuts for a more balanced snack.
Frequently Asked Questions
Can I double this recipe?
Absolutely! This recipe scales perfectly. Simply double all the ingredients. You will need one whole egg instead of two yolks (use one whole egg plus one yolk for the best texture). The baking time remains the same.
Why did my cookies spread too much?
This usually happens if the butter was too hot when you mixed it, or if you used too much sugar. Make sure your melted butter is slightly cooled before adding the sugars. Also, check that your baking sheet is not too warm—let it cool completely between batches if you are baking more than one.
Can I use margarine instead of butter?
I do not recommend it. Margarine has a higher water content than butter, which will make your cookies spread more and result in a less flavorful cookie. Stick with real butter for the best taste and texture. If you need a dairy-free option, use a high-quality vegan butter stick.
How do I make these cookies softer?
For softer cookies, reduce the baking time by 1-2 minutes and pull them out when the centers still look slightly underdone. You can also add an extra teaspoon of brown sugar, which adds moisture. Storing them with a slice of bread also helps keep them soft.
Can I use dark chocolate instead of semisweet?
Yes! Dark chocolate (60-70% cacao) works beautifully in this recipe. It adds a deeper, more complex flavor and is less sweet than semisweet chips. I actually prefer dark chocolate in these cookies—it balances the sweetness of the dough perfectly.
Conclusion
These small batch chocolate chip cookies are proof that you do not need a massive recipe to get a massive payoff. They are quick, simple, and absolutely delicious—the kind of cookies that make you feel like a baking pro even on a Tuesday night. Whether you are baking for yourself, a loved one, or a small gathering, these six cookies will hit the spot every single time.
I love this recipe because it reminds me that cooking does not have to be complicated to be special. It is just butter, sugar, flour, and chocolate—but when you get the ratios right, it becomes something magical. The best part? You can have warm, homemade cookies in under 30 minutes with zero leftovers to tempt you.
Now, I want to hear from you! Have you tried these cookies? Did you add any fun twists? Drop a comment below and let me know how they turned out. And if you loved this recipe, share it with a friend who needs a little cookie magic in their life. Happy baking!
Pin This Recipe!
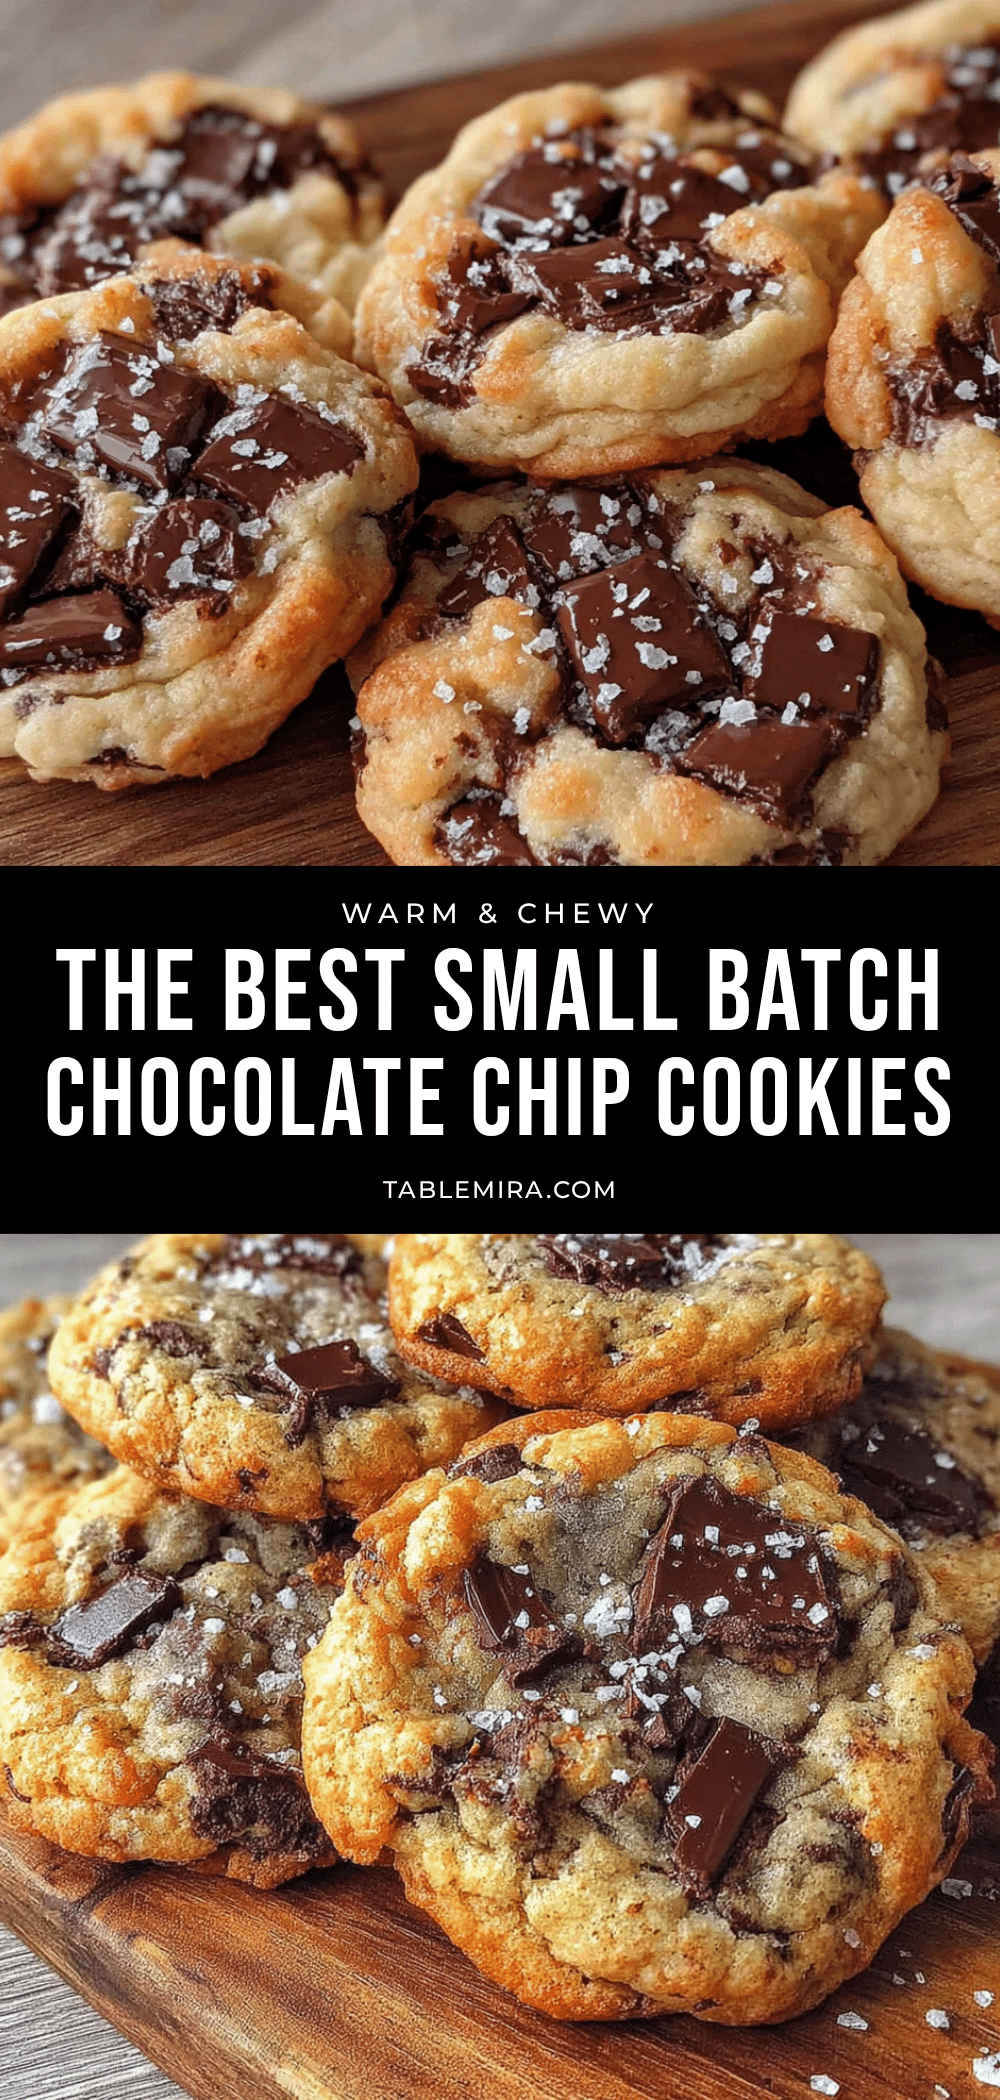
The Best Small Batch Chocolate Chip Cookies Recipe

These small batch chocolate chip cookies are quick, simple, and absolutely delicious—the kind of cookies that make you feel like a baking pro even on a Tuesday night. Perfect for a single serving, a date night treat, or when you just need a little something sweet without the temptation of a full dozen.
- Prep Time: 10 minutes
- Cook Time: 10 minutes
- Total Time: 20 minutes
- Yield: 6 cookies 1x
- Category: Dessert
- Cuisine: American
Ingredients
- 4 tablespoons unsalted butter, melted and slightly cooled
- 3 tablespoons granulated sugar
- 3 tablespoons packed light brown sugar
- 1 large egg yolk
- 1/2 teaspoon vanilla extract
- 1/2 cup all-purpose flour
- 1/4 teaspoon baking soda
- 1/4 teaspoon salt
- 1/3 cup chocolate chips or chopped chocolate
Instructions
- Preheat your oven to 350°F (175°C). Line a small baking sheet with parchment paper or a silicone baking mat.
- Melt the butter in a microwave-safe bowl in 15-second intervals until just melted. Let it sit for a minute to cool slightly.
- Add the granulated sugar and packed brown sugar to the melted butter. Whisk vigorously for about 30 seconds until the mixture looks like wet sand and is slightly thickened.
- Add the egg yolk and vanilla extract. Whisk until everything is smooth and well combined, glossy, and a little lighter in color.
- Sprinkle the flour, baking soda, and salt over the wet mixture. Use a rubber spatula to fold everything together gently just until no streaks of flour remain.
- Fold in the chocolate chips with a few gentle strokes until evenly distributed.
- Let the dough rest in the bowl for 5 minutes (optional but recommended).
- Using a cookie scoop or tablespoon, scoop out 6 equal portions of dough. Roll each into a ball and place on the prepared baking sheet, spacing them about 2 inches apart.
- Bake for 9 to 11 minutes, until the edges are golden brown and the centers look slightly underdone and puffy.
- Let the cookies cool on the baking sheet for 5 minutes, then transfer to a cooling rack to cool completely, or serve warm.
Notes
For best results, use a kitchen scale for precision (57g butter, 38g granulated sugar, 43g brown sugar, 60g flour, 60g chocolate chips). Do not overmix the dough. For extra texture, bang the pan when cookies come out of the oven. Press extra chocolate chips on top after baking for a bakery look. Cookies are best served warm; reheat in a 300°F oven for 3-4 minutes if needed.
Nutrition
- Serving Size: 1 cookie
- Calories: 195
- Sugar: 16
- Sodium: 145
- Fat: 11
- Saturated Fat: 7
- Carbohydrates: 24
- Fiber: 1
- Protein: 2
Keywords: small batch chocolate chip cookies, easy chocolate chip cookies, 6 cookies, no chill cookie recipe, quick cookies