Thanksgiving was in twelve hours and I’d completely forgotten that my sister-in-law, the one who brings the famous sourdough stuffing from the bakery downtown, had asked me to handle the gluten-free option this year. I had a bag of decent gluten-free bread that was going stale on the counter, a fridge full of herbs I’d impulsively bought at the farmers market on Tuesday, and absolutely no plan. Everyone else would be bringing their polished, practiced dishes — the green bean casserole with the crispy onions from scratch, the cranberry sauce with the star anise, the pies that looked like magazine covers. I had a loaf of bread that felt like sawdust and a prayer.
Honestly, I almost just brought a store-bought box mix. You know that feeling when you’re staring down a kitchen counter and every recipe you find online requires seventeen specialty flours and a science degree? I was there. But the thing is, my mother-in-law has celiac disease, and she’d been eating sad, dry stuffing from a box for years. The kind that crumbles into dust the second you look at it. Something about that just got to me. So I threw together what I had — stale bread, a mountain of fresh sage and thyme, some mushrooms I’d been saving, and a whole lot of butter — and I crossed my fingers.
The stuffing came out of the oven looking golden and smelling like the actual definition of Thanksgiving. It was a little crispy on top, soft and tender underneath, and the herbs had perfumed every single bite. My sister-in-law took one forkful, closed her eyes, and said, “Okay, you’re on stuffing duty forever.” And that’s the thing — I wasn’t trying to win. I was just trying to make something that didn’t taste like a compromise. Maybe you’ve been there, staring at a gluten-free loaf and wondering if it can ever really be good. Let me tell you, it can. This is the recipe that made me believe it.
Why You’ll Love This Recipe
I’ve tested this stuffing more times than I care to admit — through dry bread that turned into croutons, through too-wet bread that turned into a savory pudding, through one particularly tragic batch where I forgot the salt entirely. This version is the one that finally worked. Every single time. Here’s why it’s worth your Thanksgiving table:
- Quick & Easy : Comes together in under an hour once your bread is stale, perfect for the chaos of Thanksgiving morning when the turkey is taking forever and the oven is a battlefield.
- Simple Ingredients : No fancy grocery trips needed for obscure gluten-free flours or weird binders. You likely already have most of this in your kitchen — onions, celery, butter, eggs, and herbs.
- Perfect for Thanksgiving : This stuffing holds its own next to the turkey and gravy. It doesn’t crumble into a sad pile. It doesn’t taste like cardboard. It tastes like the real thing.
- Crowd-Pleaser : I’ve served this to gluten-free eaters and gluten-loving relatives alike, and the bowl is always empty. Nobody knows it’s gluten-free unless you tell them.
- Unbelievably Delicious : The combination of fresh sage, thyme, and rosemary with the savory sautéed vegetables creates that deep, herby flavor that makes Thanksgiving feel like Thanksgiving.
What makes this recipe different from the rest? It’s the technique. Instead of just tossing dry bread with broth and hoping for the best, I sauté the aromatics until they’re deeply golden and caramelized, then I toast the bread cubes in the oven before mixing. It sounds like an extra step, but it’s the difference between a stuffing that’s just okay and one that makes people ask for the recipe. I also use a mix of chicken broth and a little white wine for acidity — it cuts through the richness and keeps the stuffing from feeling heavy.
This recipe isn’t just good — it is the kind that makes you close your eyes after the first bite. It’s comfort food reimagined, healthier and gluten-free, but with the same soul-soothing satisfaction that makes you want to go back for seconds. Perfect for impressing guests without stress, or turning a simple meal into something memorable.
What Ingredients You Will Need
This recipe uses simple, wholesome ingredients to deliver bold flavor and satisfying texture without the fuss. Most of these are pantry staples, but the fresh herbs are non-negotiable — they’re what makes this stuffing sing.
- For the Bread Base
- 1 (16-ounce) loaf gluten-free bread, cut into 1-inch cubes (about 10 cups) — I recommend Schar or Canyon Bakehouse for the best texture; look for a sturdy loaf, not the soft sandwich kind
- 4 tablespoons unsalted butter, plus more for greasing the dish
- 2 tablespoons olive oil — use a good quality one for flavor
- For the Aromatics
- 1 large yellow onion, finely chopped (about 2 cups)
- 3 celery ribs, finely chopped (about 1.5 cups)
- 8 ounces cremini mushrooms, sliced (optional but highly recommended — they add umami depth)
- 3 cloves garlic, minced
- For the Fresh Herbs
- 2 tablespoons fresh sage, finely chopped — this is the star of the show, don’t skimp
- 1 tablespoon fresh thyme leaves
- 1 tablespoon fresh rosemary, finely chopped
- 1/4 cup fresh parsley, chopped (for brightness at the end)
- For the Liquid
- 1 1/2 cups low-sodium chicken or vegetable broth — I prefer chicken for richer flavor, but vegetable works beautifully
- 1/4 cup dry white wine (like Sauvignon Blanc) — adds acidity that balances the richness; you can skip this and use extra broth if needed
- For Binding
- 2 large eggs, lightly beaten — this is crucial for structure; gluten-free bread needs the eggs to hold together
- 1/2 teaspoon salt, plus more to taste
- 1/2 teaspoon black pepper
- 1/4 teaspoon poultry seasoning (optional, but adds that classic Thanksgiving flavor)
Equipment Needed
You don’t need a ton of fancy equipment for this recipe, which is part of why I love it. Here’s what you’ll need:
- Large baking sheet — for toasting the bread cubes; a rimmed sheet works best to prevent spills
- Large skillet or sauté pan — I use a 12-inch cast iron skillet for the best caramelization on the vegetables
- 9×13-inch baking dish — glass or ceramic works great; metal is fine too but watch the cooking time
- Large mixing bowl — big enough to toss everything together without spilling
- Sharp knife and cutting board — for chopping herbs and vegetables
- Wooden spoon or spatula — for stirring the vegetables
If you don’t have a 9×13 dish, you can use a 10-inch cast iron skillet for a more rustic look. Just adjust the cooking time by about 5 minutes. And if you’re short on baking sheets, you can toast the bread in batches — it takes a little longer, but it works just fine.
Preparation Method
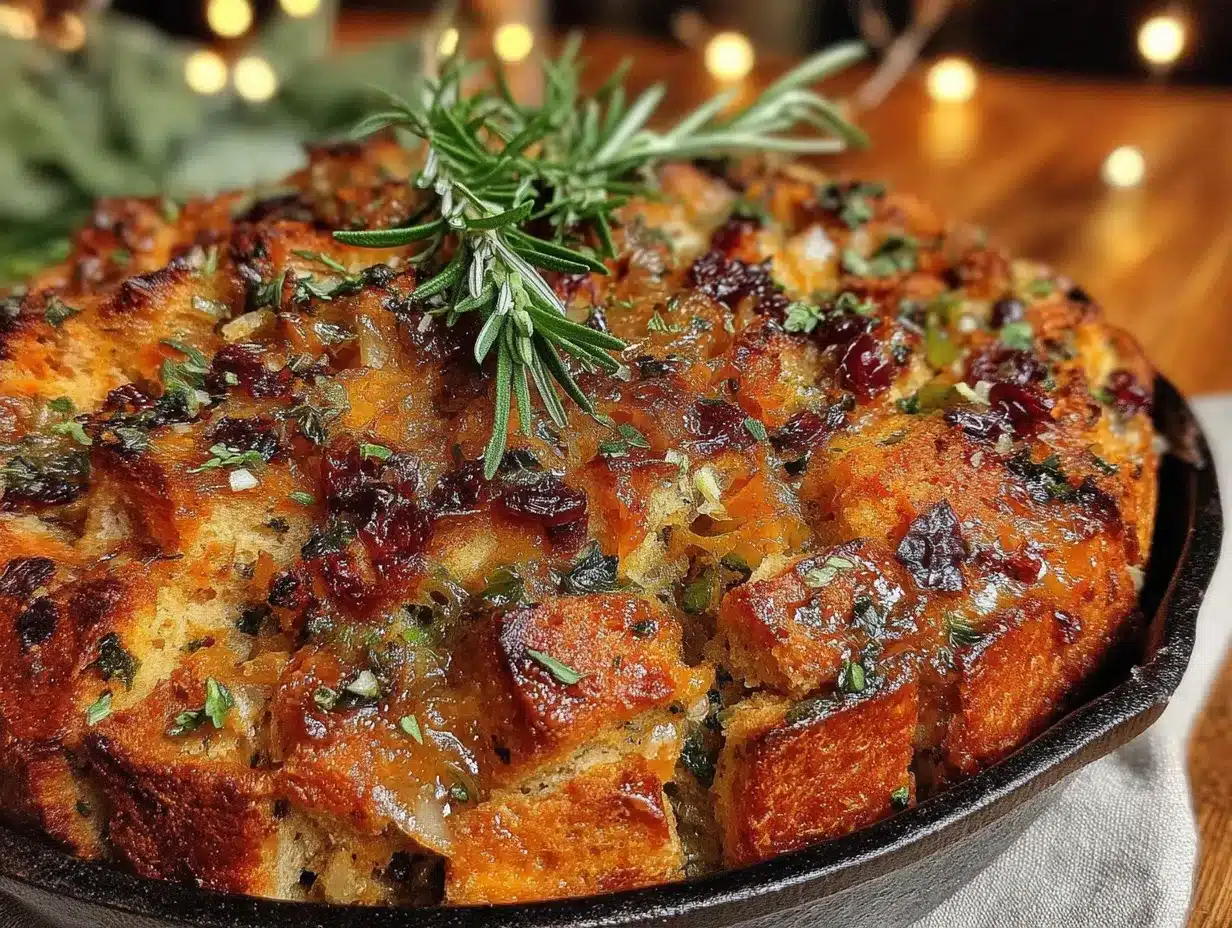
Let’s make this stuffing. I promise it’s easier than it looks. Just follow these steps and you’ll have a golden, herby, perfectly textured stuffing that will make your Thanksgiving table feel complete.
- Preheat and Prep : Preheat your oven to 375°F (190°C). Spread the gluten-free bread cubes on a large baking sheet in a single layer. Bake for 10-12 minutes, stirring halfway through, until the cubes are dry and lightly toasted. They should feel firm and crisp, not soft. Set aside to cool. This step is crucial — toasting the bread prevents it from turning into mush when you add the liquid.
- Sauté the Aromatics : While the bread is toasting, melt the butter and olive oil together in a large skillet over medium heat. Add the chopped onion and celery and cook, stirring occasionally, for about 8-10 minutes until they’re soft and starting to turn golden at the edges. Don’t rush this — the caramelization adds a sweetness that balances the herbs. If you’re using mushrooms, add them after 5 minutes and cook until they release their liquid and start to brown.
- Add Garlic and Herbs : Stir in the minced garlic, chopped sage, thyme, and rosemary. Cook for 1 minute until fragrant. The smell at this point is absolutely incredible — this is the moment when it starts to feel like Thanksgiving. Remove the skillet from the heat.
- Combine the Base : In a large mixing bowl, combine the toasted bread cubes and the sautéed vegetable mixture. Toss gently to distribute everything evenly. The bread should be coated in the buttery herb mixture.
- Prepare the Liquid Mixture : In a separate bowl or liquid measuring cup, whisk together the chicken broth, white wine (if using), beaten eggs, salt, pepper, and poultry seasoning. Whisk until the eggs are fully incorporated. This is your flavor-packed binding liquid.
- Assemble the Stuffing : Pour the liquid mixture over the bread and vegetable mixture. Use a spatula to gently fold everything together until the bread cubes are evenly moistened. Don’t overmix — you want some texture, not a paste. Let the mixture sit for 5-10 minutes to allow the bread to absorb the liquid. The bread should be moist but not soggy; if it looks dry, add a splash more broth.
- Transfer to Baking Dish : Grease a 9×13-inch baking dish with butter. Transfer the stuffing mixture to the dish and spread it into an even layer. Dot the top with a few small pats of butter — this helps create that golden, crispy top.
- Bake to Perfection : Bake the stuffing at 375°F (190°C) for 30-35 minutes, until the top is golden brown and crispy. If you like a softer stuffing, cover with foil for the first 20 minutes, then uncover for the last 10-15. For a crispier top, leave it uncovered the whole time. Let it cool for 5 minutes before serving.
Cooking Tips & Techniques
I’ve made every mistake in the book with gluten-free stuffing, so you don’t have to. Here are the things I’ve learned the hard way:
Don’t skip toasting the bread. I know it’s an extra step, but gluten-free bread is naturally more moist and dense than regular bread. If you don’t toast it first, it will absorb the liquid unevenly and turn into a gummy, sad mess. Toasting dries it out so it can soak up all that flavorful broth without falling apart.
Watch your liquid ratio. Gluten-free bread absorbs liquid differently than wheat bread. Start with the amount I’ve listed, but if your bread seems particularly dry, add an extra 1/4 cup of broth. The mixture should look moist but not swimming. If you add too much liquid, you’ll end up with stuffing that’s more like bread pudding — which isn’t the worst thing in the world, but it’s not what we’re going for here.
Let it rest before baking. That 5-10 minute rest after you add the liquid is non-negotiable. It gives the bread time to absorb everything evenly. I’ve rushed this step before and ended up with dry spots and soggy spots in the same dish. Patience pays off.
Use fresh herbs. I know dried herbs are easier, but this is Thanksgiving — splurge on the fresh stuff. Dried herbs are more concentrated and can taste dusty in a dish like this. Fresh sage, thyme, and rosemary bring a brightness that dried herbs just can’t match. If you absolutely must use dried, use 1 teaspoon of each instead of the tablespoon measurements.
Make it ahead of time. You can assemble the stuffing up to 24 hours in advance. Just prepare it through step 6, cover the dish with plastic wrap, and refrigerate. When you’re ready to bake, let it sit at room temperature for 30 minutes, then bake as directed. You may need to add 5-10 minutes to the baking time since it’s starting from cold.
Variations & Adaptations
This recipe is wonderfully flexible. Here are a few ways to make it your own:
- Vegetarian Version : Use vegetable broth instead of chicken broth, and add an extra 8 ounces of mushrooms for umami depth. I’ve also added roasted butternut squash cubes in the past — they add sweetness and a beautiful color.
- Dairy-Free Option : Substitute the butter with a high-quality vegan butter or olive oil. I like Miyoko’s for the best flavor. The texture will be slightly less rich, but it’s still delicious.
- Add Some Meat : Cook 8 ounces of mild Italian sausage (casings removed) in the skillet before adding the vegetables. Crumble it up and let it brown, then remove it and set it aside. Add it back when you mix everything together. It adds a savory, hearty element that makes this stuffing a meal on its own.
- Gluten-Free and Grain-Free : Use a grain-free bread made from almond or cassava flour. Just note that these breads are denser and may need a little extra liquid. I’ve had good luck with Base Culture bread for this purpose.
- Add Some Fruit : Diced dried apples or cranberries add a pop of sweetness that pairs beautifully with the herbs. Add about 1/2 cup when you mix everything together. It’s a classic combination for a reason.
Serving & Storage Suggestions
This stuffing is best served warm, straight from the oven. The top should be golden and crispy, while the inside is tender and moist. Spoon it onto plates alongside your turkey, gravy, cranberry sauce, and all the usual Thanksgiving suspects. It also pairs beautifully with roasted vegetables or a simple green salad if you’re serving it as a side for a non-Thanksgiving meal.
Storage : Leftover stuffing keeps well in an airtight container in the refrigerator for up to 4 days. The flavors actually meld together overnight and get even better — I often like it more the next day.
Reheating : The best way to reheat is in the oven at 350°F (175°C) for about 10-15 minutes, covered with foil to prevent drying out. You can also microwave individual portions, but the texture won’t be as good — the top loses its crispiness. If you’re in a hurry, a splash of broth before microwaving helps keep it moist.
Freezing : You can freeze the unbaked stuffing for up to 3 months. Assemble it in the baking dish, wrap tightly with plastic wrap and foil, and freeze. Thaw overnight in the refrigerator, then bake as directed, adding about 10 minutes to the cooking time.
Nutritional Information & Benefits
This stuffing is surprisingly well-balanced for a Thanksgiving side dish. Here’s the approximate nutritional breakdown per serving (based on 8 servings):
- Calories: 285
- Total Fat: 12g
- Saturated Fat: 5g
- Cholesterol: 55mg
- Sodium: 520mg
- Total Carbohydrates: 35g
- Dietary Fiber: 4g
- Sugars: 4g
- Protein: 7g
The fresh herbs in this recipe aren’t just for flavor — sage and thyme are known for their anti-inflammatory properties and are rich in antioxidants. Celery adds a good dose of vitamin K and fiber. And by using gluten-free bread, you’re making this dish accessible to those with celiac disease or gluten sensitivity without sacrificing taste. It’s comfort food that actually has some nutritional merit, which is rare on Thanksgiving.
This recipe is naturally nut-free and can be made dairy-free with simple substitutions. It does contain eggs, which help with structure, but I’ve tested it with a flax egg substitute (1 tablespoon ground flaxseed mixed with 3 tablespoons water per egg) and it works — the texture is just slightly more delicate.
Conclusion
This gluten-free Thanksgiving stuffing with fresh herbs is proof that you don’t have to compromise on flavor to accommodate dietary needs. It’s the kind of recipe that makes everyone at the table feel included — and more importantly, it makes them feel like they’re not missing a thing. The crispy top, the tender interior, the bright, herbal flavor that fills your kitchen with the unmistakable scent of Thanksgiving — it’s all there, without the gluten.
I love this recipe because it’s forgiving. You can make it ahead. You can tweak it to suit your family’s tastes. You can add sausage or mushrooms or dried fruit or leave them out. It’s a template for the perfect stuffing, and it’s yours to customize. So go ahead — give it a try this Thanksgiving. I promise you won’t miss the gluten, and neither will anyone else.
I’d love to hear how it turns out for you! Leave a comment below with your favorite additions or variations. Did you add sausage? Did your gluten-free skeptic relative go back for seconds? Share your stories — they make my day. And if you loved this recipe, don’t forget to pin it for later and share it with your friends. Happy Thanksgiving, friends!
Frequently Asked Questions
Can I make this stuffing with homemade gluten-free bread?
Absolutely! Homemade gluten-free bread works wonderfully in this recipe. Just make sure it’s a few days old and has a sturdy crumb — soft, fresh bread will turn into a paste. Toast it a little longer to compensate for the extra moisture.
What’s the best gluten-free bread for stuffing?
I’ve tested this with several brands, and my favorites are Schar’s Artisan Baker White Bread and Canyon Bakehouse’s Mountain White Bread. They have a sturdy texture that holds up well to the liquid and baking. Avoid soft, squishy gluten-free breads — they’ll fall apart.
Can I use dried herbs instead of fresh?
You can, but I really recommend fresh herbs for this recipe. Fresh sage, thyme, and rosemary have a brightness that dried herbs can’t replicate. If you must use dried, use 1 teaspoon of each instead of the tablespoon measurements, and add them with the garlic so they can bloom in the butter.
How do I prevent the stuffing from being too dry or too soggy?
The key is the liquid-to-bread ratio and the toasting step. Toast the bread cubes until they’re dry and crisp — this ensures they absorb the liquid evenly. Start with the amount of broth listed, and add more if needed. The mixture should look moist but not swimming. Let it rest for 5-10 minutes before baking to allow the bread to absorb the liquid fully.
Can I cook this stuffing inside the turkey?
I don’t recommend it for food safety reasons. The stuffing needs to reach 165°F (74°C) to be safe, and by the time the stuffing inside the turkey reaches that temperature, the turkey breast is often overcooked. Plus, gluten-free bread is more delicate and tends to turn into a paste when cooked inside the bird. Bake it separately for the best texture and safety.
Pin This Recipe!
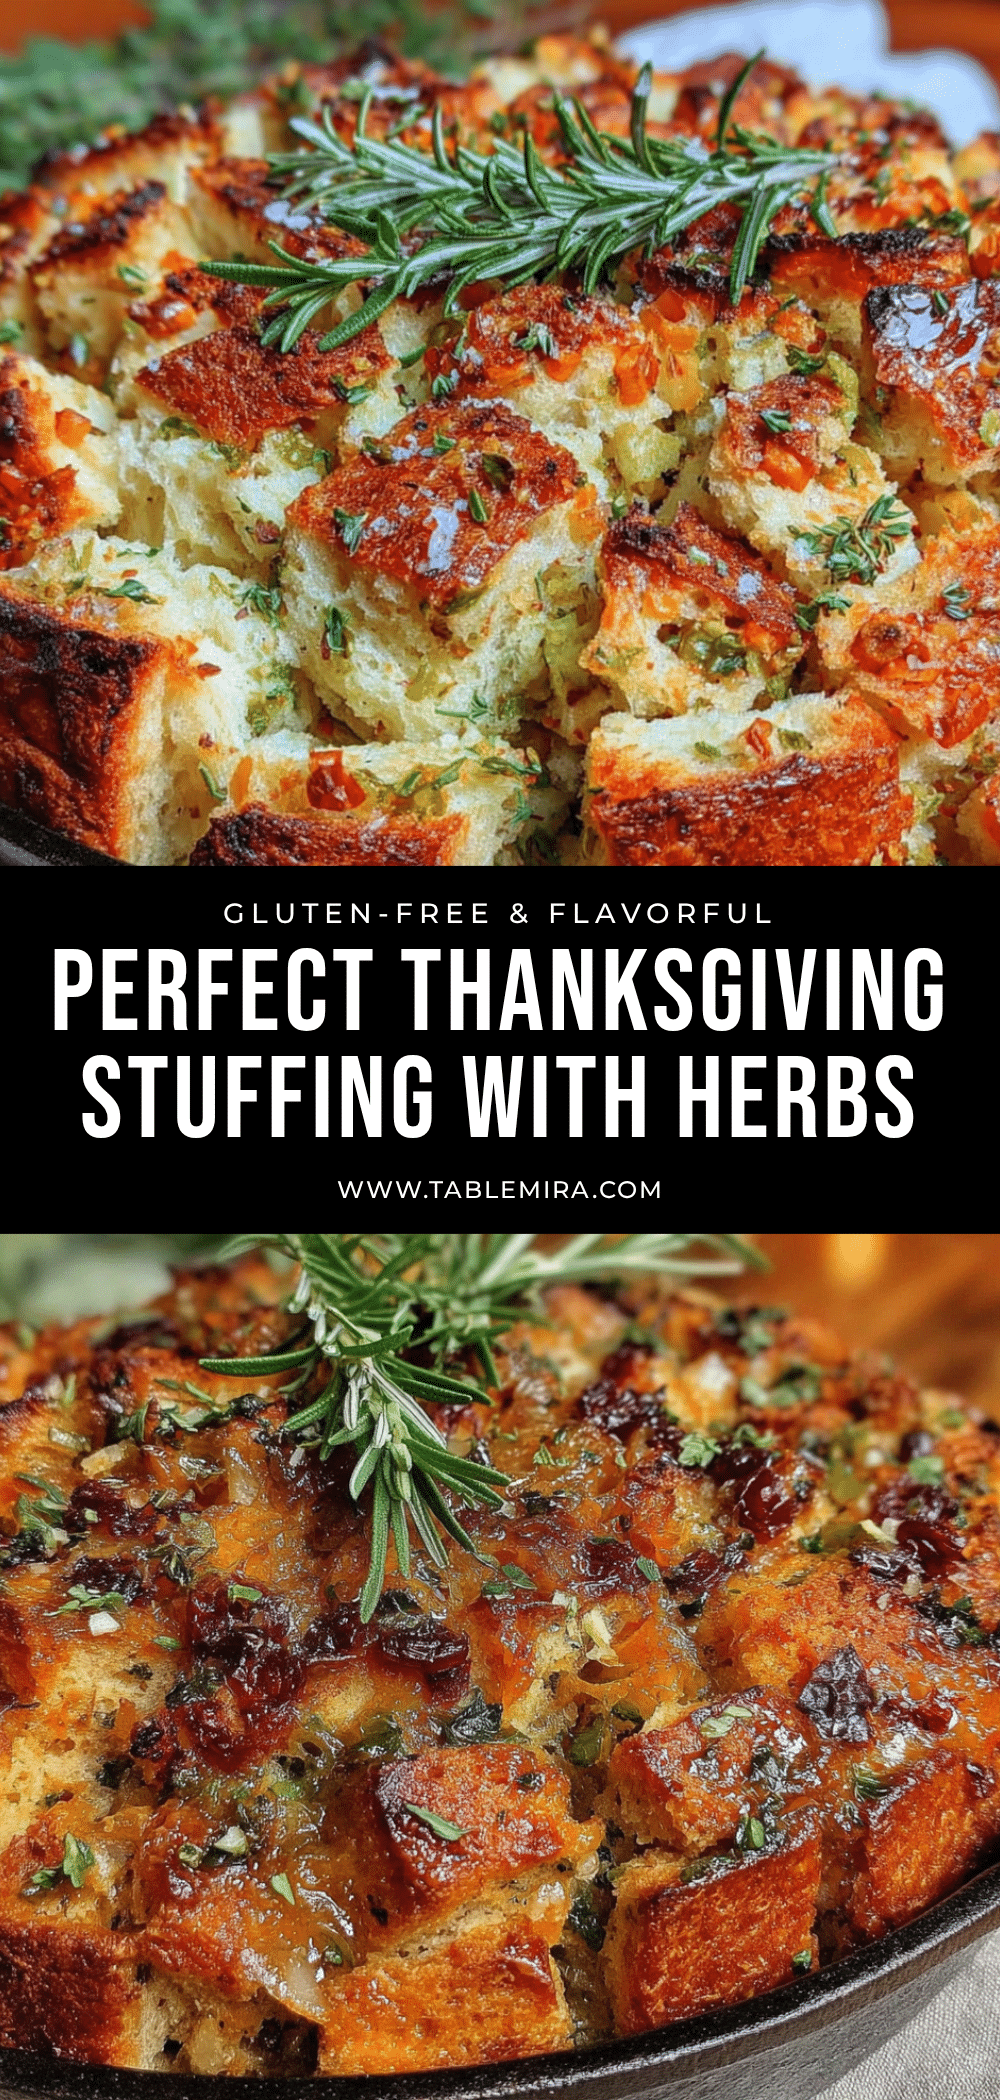
Best Gluten-Free Thanksgiving Stuffing with Fresh Herbs
This gluten-free Thanksgiving stuffing with fresh herbs is proof that you don’t have to compromise on flavor to accommodate dietary needs. It’s the kind of recipe that makes everyone at the table feel included — and more importantly, it makes them feel like they’re not missing a thing.
- Prep Time: 15 minutes
- Cook Time: 45 minutes
- Total Time: 1 hour
- Yield: 8 servings 1x
- Category: Side Dish
- Cuisine: American
Ingredients
- 1 (16-ounce) loaf gluten-free bread, cut into 1-inch cubes (about 10 cups)
- 4 tablespoons unsalted butter, plus more for greasing the dish
- 2 tablespoons olive oil
- 1 large yellow onion, finely chopped (about 2 cups)
- 3 celery ribs, finely chopped (about 1.5 cups)
- 8 ounces cremini mushrooms, sliced (optional)
- 3 cloves garlic, minced
- 2 tablespoons fresh sage, finely chopped
- 1 tablespoon fresh thyme leaves
- 1 tablespoon fresh rosemary, finely chopped
- 1/4 cup fresh parsley, chopped
- 1 1/2 cups low-sodium chicken or vegetable broth
- 1/4 cup dry white wine (like Sauvignon Blanc)
- 2 large eggs, lightly beaten
- 1/2 teaspoon salt, plus more to taste
- 1/2 teaspoon black pepper
- 1/4 teaspoon poultry seasoning (optional)
Instructions
- Preheat your oven to 375°F (190°C). Spread the gluten-free bread cubes on a large baking sheet in a single layer. Bake for 10-12 minutes, stirring halfway through, until the cubes are dry and lightly toasted. Set aside to cool.
- While the bread is toasting, melt the butter and olive oil together in a large skillet over medium heat. Add the chopped onion and celery and cook, stirring occasionally, for about 8-10 minutes until they’re soft and starting to turn golden at the edges. If using mushrooms, add them after 5 minutes and cook until they release their liquid and start to brown.
- Stir in the minced garlic, chopped sage, thyme, and rosemary. Cook for 1 minute until fragrant. Remove the skillet from the heat.
- In a large mixing bowl, combine the toasted bread cubes and the sautéed vegetable mixture. Toss gently to distribute everything evenly.
- In a separate bowl or liquid measuring cup, whisk together the chicken broth, white wine (if using), beaten eggs, salt, pepper, and poultry seasoning until the eggs are fully incorporated.
- Pour the liquid mixture over the bread and vegetable mixture. Use a spatula to gently fold everything together until the bread cubes are evenly moistened. Let the mixture sit for 5-10 minutes to allow the bread to absorb the liquid.
- Grease a 9×13-inch baking dish with butter. Transfer the stuffing mixture to the dish and spread it into an even layer. Dot the top with a few small pats of butter.
- Bake the stuffing at 375°F (190°C) for 30-35 minutes, until the top is golden brown and crispy. Let it cool for 5 minutes before serving.
Notes
Don’t skip toasting the bread. Gluten-free bread is naturally more moist and dense than regular bread. If you don’t toast it first, it will absorb the liquid unevenly and turn into a gummy mess. Watch your liquid ratio – gluten-free bread absorbs liquid differently than wheat bread. Start with the amount listed, but if your bread seems particularly dry, add an extra 1/4 cup of broth. Let it rest before baking for 5-10 minutes after adding the liquid. Use fresh herbs for best results. You can assemble the stuffing up to 24 hours in advance.
Nutrition
- Serving Size: 1 serving
- Calories: 285
- Sugar: 4
- Sodium: 520
- Fat: 12
- Saturated Fat: 5
- Carbohydrates: 35
- Fiber: 4
- Protein: 7
Keywords: gluten-free stuffing, Thanksgiving stuffing, gluten-free Thanksgiving, herb stuffing, gluten-free side dish


