I was standing in the frozen food aisle of our local grocery store last Tuesday, staring at a box of pre-made taco shells like they held the answers to the universe. My toddler was doing that thing where he pretends to be a limp noodle in the shopping cart, and I swear I could hear my own patience cracking. Then it hit me—not a solution, but a smell. The faint, dusty scent of cumin from somewhere in that aisle. And just like that, I was seven years old, standing at the counter in my Aunt Rosa’s tiny kitchen.
She wasn’t really my aunt, just a family friend who lived three doors down. But every Wednesday night, my mom would drop me off there while she worked late, and Aunt Rosa would make tacos. Not fancy tacos. Not authentic tacos, even. Just ground beef, a packet of seasoning, and those hard shells that always shattered in your hands. But the smell of that meat sizzling in her old cast iron pan—it was pure comfort. I can still see the way she’d hum along to the radio, shaking the seasoning packet with one hand and stirring with the other. She passed away a few years ago, and I haven’t thought about those Wednesdays in forever. But standing there in that cold aisle, I missed her. I missed that feeling of being small and safe and knowing a good meal was coming.
So I grabbed the ground beef, skipped the seasoning packet, and decided to make my own. Honestly, I didn’t even know if I could pull it off. The first batch was a little too salty, and I accidentally used smoked paprika instead of regular (which, let me tell you, is a whole different vibe). But I kept tweaking it until one night, my husband took a bite, paused, and said, “This tastes like a hug.” That’s when I knew I had something special. These cozy weeknight beef tacos with homemade seasoning are my little tribute to Aunt Rosa—and my gift to you for those nights when you need a warm, easy win.
Why You’ll Love This Recipe
Let me be real with you—I’ve tested this recipe more times than I can count. I’ve made it on busy Tuesday nights when I had fifteen minutes to get dinner on the table. I’ve made it for friends who showed up unannounced. I’ve even made it on a Sunday afternoon just because I wanted to smell cumin and chili powder filling up my kitchen. And every single time, it works.
- Quick & Easy: From start to finish, these tacos come together in about 25 minutes. That’s faster than ordering takeout in my neighborhood.
- Simple Ingredients: You probably have most of the spices in your pantry right now. No weird stuff, no expensive imports.
- Perfect for Weeknights: This is the definition of a low-stress meal. One pan, minimal cleanup, maximum flavor.
- Crowd-Pleaser: I’ve served these to picky kids, taco snobs, and my mother-in-law (who never compliments anything). Everyone goes back for seconds.
- Unbelievably Delicious: The homemade seasoning is the star here. It’s smoky, a little warm, and perfectly balanced. You’ll never go back to the packet stuff.
What makes this recipe different? It’s the blend of spices. I spent weeks tweaking the ratios—too much cumin and it tastes dusty, too much chili powder and it’s one-note. This version has a tiny hint of cocoa powder (trust me on this) that rounds out the heat and adds a depth you don’t expect. Plus, I use a splash of beef broth to deglaze the pan, which creates this silky, flavorful sauce that clings to the meat. It’s comfort food, but it’s also smarter. You’re in control of the salt, the spice, the whole deal.
Honestly, this recipe is the kind that makes you close your eyes after the first bite. It’s warm, it’s familiar, and it’s exactly what you need after a long day. Maybe you’ve been there—standing in your kitchen, tired and hungry, wondering what to make. This is your answer.
What Ingredients You Will Need
This recipe uses simple, wholesome ingredients to deliver bold flavor and satisfying texture without the fuss. Most of these are pantry staples, so you can whip up this dinner anytime the craving hits.
For the Homemade Taco Seasoning
- 1 tablespoon chili powder (I prefer McCormick for its consistent heat level)
- 1 teaspoon ground cumin
- 1 teaspoon smoked paprika (adds that cozy, campfire warmth)
- 1/2 teaspoon garlic powder
- 1/2 teaspoon onion powder
- 1/2 teaspoon dried oregano
- 1/4 teaspoon cayenne pepper (optional, for heat—adjust to your liking)
- 1 teaspoon cocoa powder (yes, really—it deepens the flavor without making it chocolatey)
- 1 teaspoon salt
- 1/2 teaspoon black pepper
For the Beef Tacos
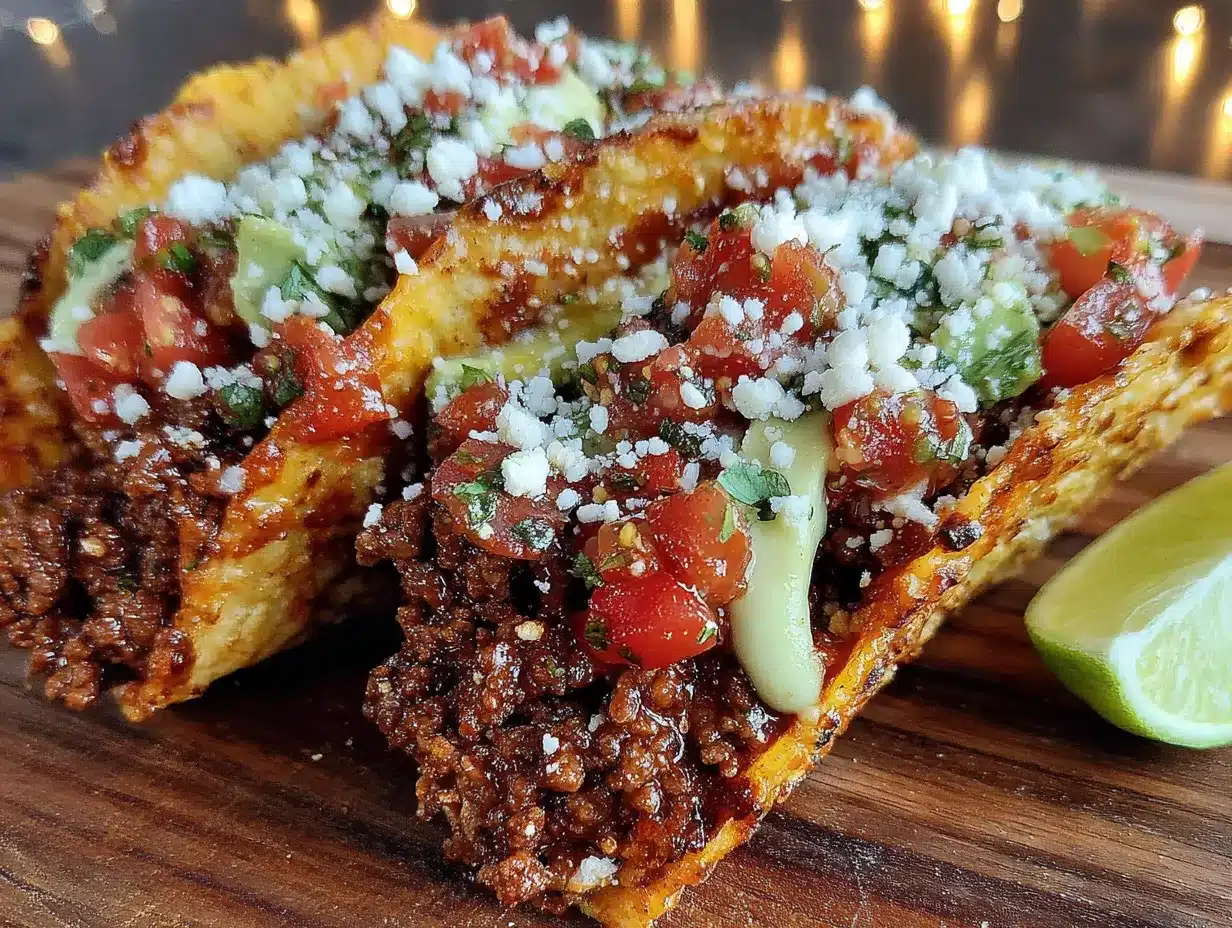
- 1 tablespoon olive oil or avocado oil
- 1 pound ground beef (80/20 works best for flavor; drain excess fat if needed)
- 1 small yellow onion, finely diced (about 1/2 cup)
- 3 cloves garlic, minced
- 1/2 cup beef broth (low-sodium preferred, so you control the salt)
- 1 tablespoon tomato paste (adds richness and color)
- 8-10 taco shells (hard, soft, or both—your call)
Optional Toppings
- Shredded lettuce
- Diced tomatoes
- Shredded cheddar or Mexican blend cheese
- Sour cream or Greek yogurt
- Sliced jalapeños
- Fresh cilantro, chopped
- Lime wedges
Ingredient Tips: For the best texture, use fresh garlic rather than jarred. And if you’re out of beef broth, chicken broth or even water works—just add an extra pinch of salt. I’ve used Better Than Bouillon beef base in a pinch, and it’s fantastic.
Equipment Needed
You don’t need a fancy kitchen to make these tacos. Here’s what you’ll need:
- A large skillet or frying pan: Cast iron is my go-to—it holds heat beautifully and gives the meat a nice sear. But any non-stick or stainless steel pan works fine.
- A wooden spoon or spatula: For breaking up the ground beef as it cooks.
- Measuring spoons: The seasoning blend is small but mighty, so accurate measurements matter.
- A small bowl: To mix the seasoning before you start cooking.
- A sharp knife and cutting board: For dicing the onion and mincing the garlic.
- Taco holders or a baking sheet: If you’re using hard shells, taco holders keep them upright. Otherwise, a lined baking sheet works for warming them in the oven.
If you don’t have a cast iron skillet, don’t sweat it. I’ve made this recipe in a beat-up non-stick pan from college, and it turned out just fine. The key is letting the meat brown properly, which any wide pan can do. For a budget-friendly option, I recommend Lodge cast iron—it’s affordable and lasts forever.
Preparation Method
Alright, let’s get cooking. This is straightforward, but I’ll walk you through every step so you feel confident.
- Make the seasoning blend. In a small bowl, combine the chili powder, cumin, smoked paprika, garlic powder, onion powder, oregano, cayenne (if using), cocoa powder, salt, and pepper. Whisk with a fork to break up any clumps. Set aside. Pro tip: Double this batch and store it in a jar for next time.
- Prep your ingredients. Dice the onion and mince the garlic. Measure out the beef broth and tomato paste. This makes the cooking process smooth and stress-free.
- Heat the oil. Place your skillet over medium-high heat and add the olive oil. Let it shimmer for about 30 seconds—you want it hot but not smoking.
- Cook the onion. Add the diced onion to the pan and cook for 3-4 minutes, stirring occasionally, until it’s soft and translucent. You should hear a gentle sizzle. If it starts browning too quickly, lower the heat.
- Add the garlic. Toss in the minced garlic and cook for 30 seconds, just until fragrant. Garlic burns fast, so keep stirring.
- Brown the beef. Add the ground beef to the pan. Break it apart with your wooden spoon into small crumbles. Let it cook undisturbed for 2-3 minutes to get a nice sear on one side, then stir and continue cooking until no pink remains—about 5-6 minutes total. Visual cue: The meat should look golden-brown, not grey.
- Drain excess fat (optional). If your beef is on the fattier side, carefully tilt the pan and spoon out most of the fat, leaving about 1 tablespoon for flavor.
- Add the seasoning and tomato paste. Sprinkle the seasoning blend over the beef and add the tomato paste. Stir everything together until the meat is evenly coated. Cook for 1 minute—this “blooms” the spices, making them more aromatic.
- Pour in the broth. Add the beef broth and stir, scraping up any browned bits from the bottom of the pan. This is where the magic happens—those bits are pure flavor. Let the mixture simmer for 3-4 minutes, stirring occasionally, until the liquid reduces slightly and the meat looks saucy, not soupy.
- Taste and adjust. Take a small bite (careful, it’s hot!). Need more salt? Add a pinch. Want more heat? A dash of cayenne. This is your taco—make it yours.
- Warm the taco shells. While the beef simmers, warm your taco shells. For hard shells, place them on a baking sheet in a 350°F oven for 5 minutes. For soft tortillas, warm them in a dry skillet for 30 seconds per side.
- Assemble and serve. Spoon the beef into the shells and top with your favorite fixings. Serve immediately while everything is warm and cozy.
Troubleshooting: If the meat seems dry, add a splash more broth. If it’s too wet, let it simmer a minute longer uncovered. I once forgot the tomato paste entirely and it was still delicious—just a little less rich. Don’t stress over perfection.
Cooking Tips & Techniques
I’ve made this recipe enough times to know where things can go sideways. Here’s what I’ve learned (sometimes the hard way).
- Don’t skip browning the meat. I know it’s tempting to just stir it constantly, but letting it sit for a couple minutes creates that deep, savory crust. That’s the flavor you’re after.
- Toast your spices. Adding the seasoning to the hot pan and cooking it for a minute before adding liquid wakes up the flavors. It’s a small step that makes a huge difference.
- Watch your heat. Medium-high is perfect for browning, but once you add the broth, lower it to a simmer. Boiling the liquid will make the meat tough.
- Season in layers. I add a little salt at the beginning (in the seasoning) and a little at the end if needed. This builds complexity without making it salty.
- Make extra seasoning. I cannot stress this enough. Store it in a small jar, and you’ll have homemade taco seasoning ready for weeks. It also works great in chili or on roasted veggies.
One of my biggest failures? I once used allspice instead of cumin. The tacos tasted like Christmas dinner—not terrible, but definitely not tacos. So double-check your spice jars before you start!
Variations & Adaptations
This recipe is flexible, so feel free to make it your own. Here are a few ways I’ve tried it:
- Vegetarian Version: Swap the ground beef for two cans of black beans (drained and rinsed) or a bag of crumbled tofu. Use vegetable broth instead of beef broth. The seasoning works beautifully with beans.
- Spicy Upgrade: Add an extra teaspoon of cayenne pepper and a diced chipotle pepper in adobo sauce. It brings serious heat and a smoky depth.
- Slow Cooker Method: Brown the beef and onions on the stovetop first, then transfer everything (including broth and seasoning) to a slow cooker. Cook on low for 4-6 hours. The meat becomes incredibly tender.
- Low-Carb Option: Skip the shells and serve the beef over a bed of lettuce with avocado, cheese, and salsa. It’s basically a taco salad, and it’s amazing.
- Breakfast Tacos: Use the leftover beef (if there’s any) as a filling for breakfast tacos with scrambled eggs and cheese. Trust me on this one.
I once made a version with ground turkey and added a splash of orange juice for brightness. It was weirdly good, though I still prefer beef for that cozy, hearty feel.
Serving & Storage Suggestions
These tacos are best served warm, right after assembling. But here’s how to handle leftovers and make-ahead situations.
- Serving Temperature: Keep the beef hot in the pan while you warm the shells. Serve everything family-style so everyone can build their own.
- What to Serve With: A simple side of Mexican street corn salad or quick black bean soup rounds out the meal beautifully. For drinks, a cold beer or a lime-spiked sparkling water is perfect.
- Storing Leftovers: Store the beef in an airtight container in the fridge for up to 4 days. Keep shells and toppings separate—otherwise, everything gets soggy.
- Reheating: Reheat the beef in a skillet over medium heat with a splash of water or broth to loosen it up. Microwave works in a pinch, but the stovetop keeps the texture better.
- Freezing: The cooked beef freezes beautifully for up to 3 months. Let it cool completely, then transfer to a freezer-safe bag. Thaw in the fridge overnight and reheat as usual. The flavor actually deepens after freezing!
I’ve found that the beef tastes even better the next day—the spices have had time to meld. So don’t hesitate to make a double batch.
Nutritional Information & Benefits
Here’s a rough estimate per serving (2 tacos with beef and shells, without toppings):
- Calories: 380
- Protein: 22g
- Fat: 18g
- Carbohydrates: 30g
- Fiber: 4g
- Sugar: 3g
- Sodium: 680mg
These tacos are a solid source of protein and iron from the beef. The homemade seasoning lets you control the sodium, which is a big win over store-bought packets. Plus, cumin and chili powder are known for their anti-inflammatory properties. Not bad for a weeknight comfort meal!
If you’re watching your carbs, use lettuce wraps or low-carb tortillas. For a dairy-free version, skip the cheese and sour cream—this recipe is naturally gluten-free if you use corn tortillas.
Conclusion
Look, I know life gets busy. Some nights, you just need a win—a meal that comes together fast, tastes amazing, and makes everyone at the table happy. These cozy weeknight beef tacos with homemade seasoning are that win. They’re simple enough for a Tuesday, but special enough to feel like a treat.
I hope you make them your own. Add extra heat, pile on the toppings, or serve them over rice for a taco bowl. The beauty of this recipe is that it’s a starting point, not a rulebook. And if you mess up? That’s okay. I’ve burned the garlic, forgotten the broth, and even used the wrong spice blend. It still worked out.
So go ahead—grab that skillet, mix up the seasoning, and let the smell of cumin and chili powder fill your kitchen. Aunt Rosa would approve. And if you try it, I’d love to hear how it goes. Drop a comment below or tag me in your photos. Happy cooking, friend!
Frequently Asked Questions
Can I use pre-made taco seasoning instead?
Absolutely, but you’ll miss out on the depth of flavor from the homemade blend. If you’re in a rush, use about 2 tablespoons of your favorite store-bought mix and adjust the salt accordingly.
How do I make this recipe spicier?
Add an extra 1/2 teaspoon of cayenne pepper to the seasoning, or toss in a diced jalapeño with the onions. For even more heat, serve with sliced habaneros or a spicy salsa.
Can I make this in an Instant Pot?
Yes! Use the sauté function to brown the beef and onions, then add the seasoning, broth, and tomato paste. Pressure cook on high for 10 minutes, then quick release. It’s not quite the same texture, but it’s still delicious.
What’s the best way to warm hard taco shells?
Place them on a baking sheet in a 350°F oven for 5-7 minutes. They’ll be warm and slightly crispy. Avoid microwaving—they’ll turn rubbery.
Can I double this recipe for a crowd?
Definitely. Just use a larger skillet or cook in batches. The seasoning blend doubles easily, and the beef freezes well if you have leftovers. Perfect for taco night with friends!
Pin This Recipe!
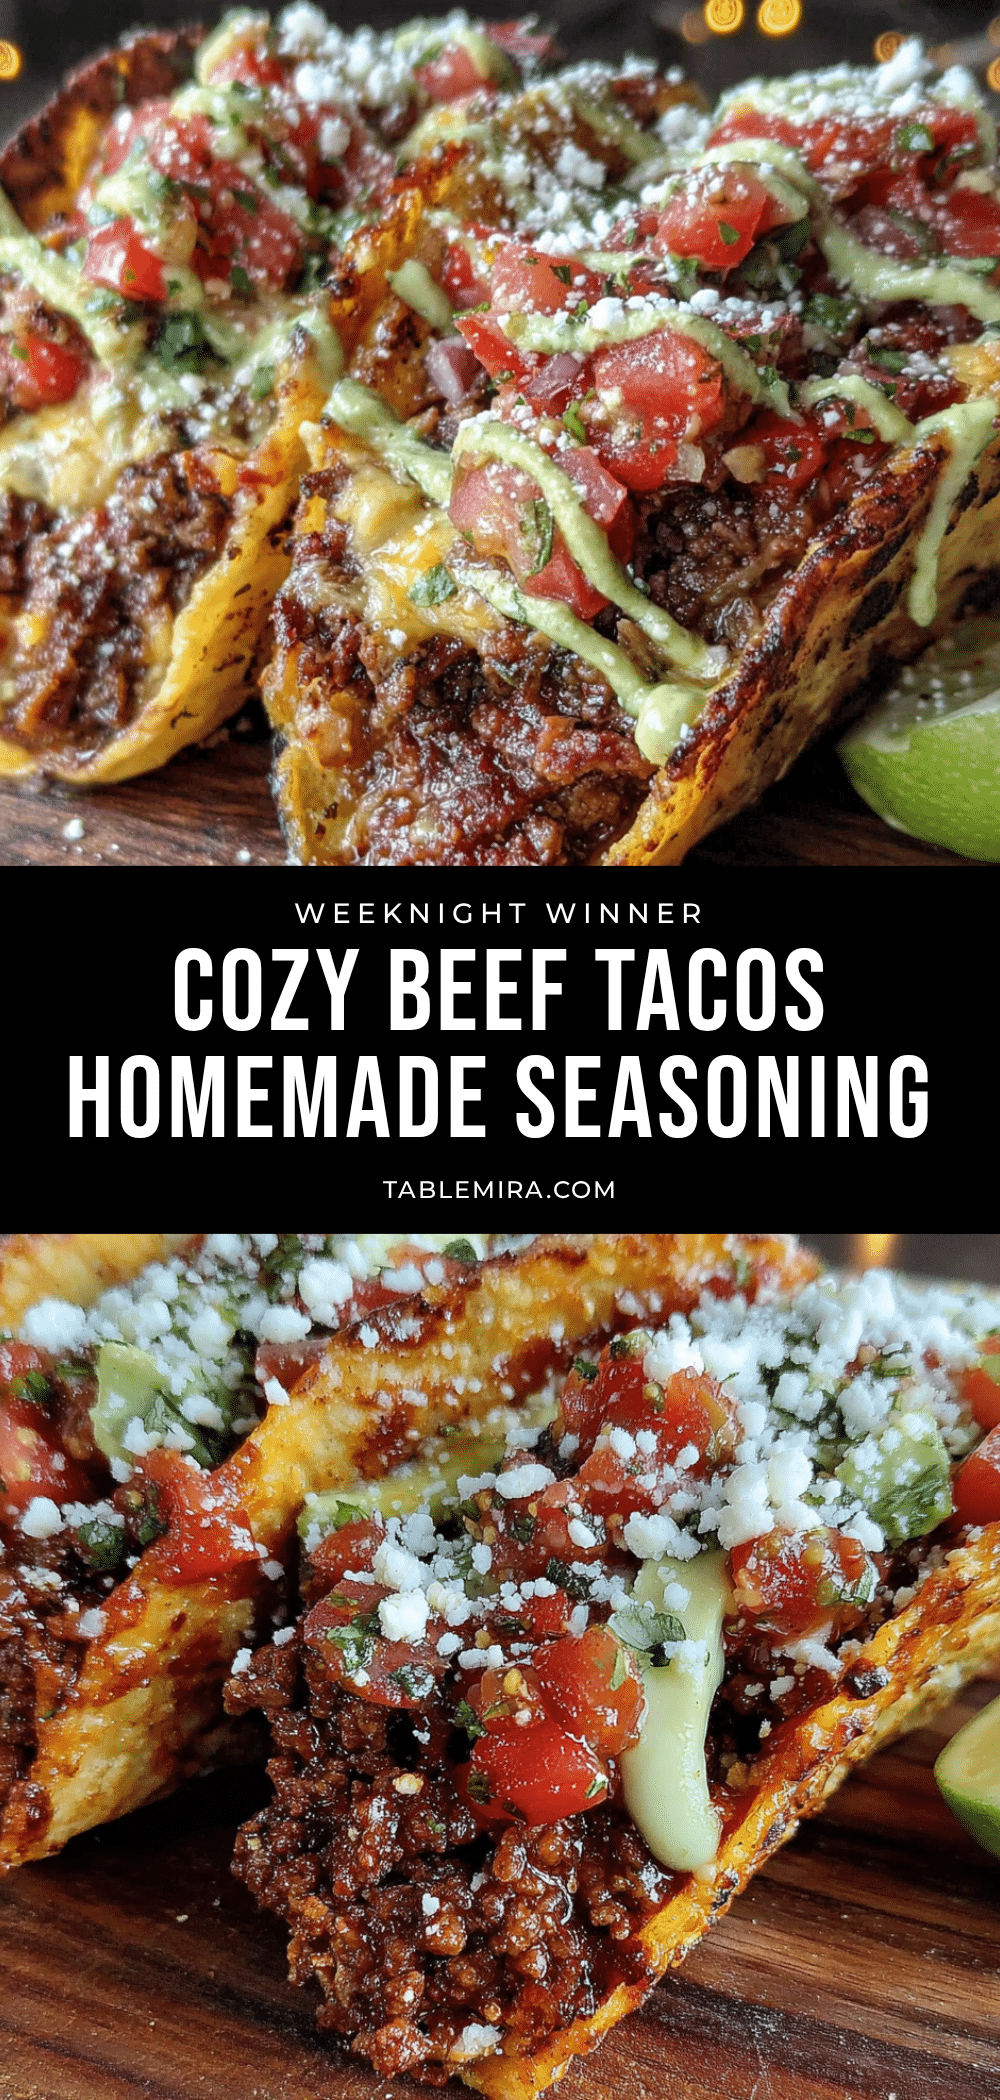
Cozy Weeknight Beef Tacos with Homemade Seasoning

Quick and easy beef tacos with a homemade seasoning blend that’s smoky, warm, and perfectly balanced. Ready in about 25 minutes, this one-pan meal is perfect for busy weeknights and guaranteed to please the whole family.
- Prep Time: 10 minutes
- Cook Time: 15 minutes
- Total Time: 25 minutes
- Yield: 4 servings 1x
- Category: Main Course
- Cuisine: Mexican
Ingredients
- 1 tablespoon chili powder
- 1 teaspoon ground cumin
- 1 teaspoon smoked paprika
- 1/2 teaspoon garlic powder
- 1/2 teaspoon onion powder
- 1/2 teaspoon dried oregano
- 1/4 teaspoon cayenne pepper (optional)
- 1 teaspoon cocoa powder
- 1 teaspoon salt
- 1/2 teaspoon black pepper
- 1 tablespoon olive oil or avocado oil
- 1 pound ground beef (80/20)
- 1 small yellow onion, finely diced (about 1/2 cup)
- 3 cloves garlic, minced
- 1/2 cup low-sodium beef broth
- 1 tablespoon tomato paste
- 8–10 taco shells (hard, soft, or both)
- Shredded lettuce (optional topping)
- Diced tomatoes (optional topping)
- Shredded cheddar or Mexican blend cheese (optional topping)
- Sour cream or Greek yogurt (optional topping)
- Sliced jalapeños (optional topping)
- Fresh cilantro, chopped (optional topping)
- Lime wedges (optional topping)
Instructions
- Make the seasoning blend: In a small bowl, combine chili powder, cumin, smoked paprika, garlic powder, onion powder, oregano, cayenne (if using), cocoa powder, salt, and pepper. Whisk with a fork to break up clumps. Set aside.
- Prep your ingredients: Dice the onion and mince the garlic. Measure out the beef broth and tomato paste.
- Heat the oil: Place a large skillet over medium-high heat and add the olive oil. Let it shimmer for about 30 seconds.
- Cook the onion: Add the diced onion to the pan and cook for 3-4 minutes, stirring occasionally, until soft and translucent.
- Add the garlic: Toss in the minced garlic and cook for 30 seconds, just until fragrant.
- Brown the beef: Add the ground beef to the pan. Break it apart with a wooden spoon into small crumbles. Let it cook undisturbed for 2-3 minutes to get a sear, then stir and continue cooking until no pink remains, about 5-6 minutes total.
- Drain excess fat (optional): If the beef is fatty, tilt the pan and spoon out most of the fat, leaving about 1 tablespoon for flavor.
- Add the seasoning and tomato paste: Sprinkle the seasoning blend over the beef and add the tomato paste. Stir until the meat is evenly coated. Cook for 1 minute to bloom the spices.
- Pour in the broth: Add the beef broth and stir, scraping up any browned bits from the bottom of the pan. Let the mixture simmer for 3-4 minutes, stirring occasionally, until the liquid reduces slightly and the meat looks saucy.
- Taste and adjust: Adjust salt or heat to your preference.
- Warm the taco shells: For hard shells, place on a baking sheet in a 350°F oven for 5 minutes. For soft tortillas, warm in a dry skillet for 30 seconds per side.
- Assemble and serve: Spoon the beef into the shells and top with your favorite fixings. Serve immediately.
Notes
Double the seasoning blend and store in a jar for future use. For best texture, let the meat brown properly without stirring too often. The beef tastes even better the next day as the spices meld. Freezes well for up to 3 months.
Nutrition
- Serving Size: 2 tacos
- Calories: 380
- Sugar: 3
- Sodium: 680
- Fat: 18
- Saturated Fat: 6
- Carbohydrates: 30
- Fiber: 4
- Protein: 22
Keywords: beef tacos, homemade taco seasoning, weeknight dinner, easy tacos, ground beef tacos, quick dinner, comfort food


