I had sworn off chicken thighs for dinner. For years. Let me tell you, I was pretty smug about it too—breasts were leaner, cleaner, more “grown-up.” Thighs felt like a shortcut, something you’d find in a sad cafeteria tray. Then last Tuesday, I found my seven-year-old standing on a stool at the stove, gnawing on a piece of chicken straight from the pan. The pan I had made “just for myself” as a quick lunch. He had snuck in, stolen one, and was now looking at me like I’d just handed him a winning lottery ticket. “Mom,” he said, grease dripping down his chin, “this is the best thing you’ve ever made.”
Honestly, I was a little embarrassed. I mean, I’d spent years perfecting complicated roasts and fancy fish dishes. And here was a simple pan of crispy garlic Parmesan chicken thighs winning the whole show. The thing is, once he went back for a third piece, I knew I couldn’t keep this one to myself. Maybe you’ve been there—you spend an hour on a fancy sauce and the kids just want the crunchy, cheesy thing. This recipe is that crunchy, cheesy thing. It’s the one that makes everyone at the table actually quiet for a few minutes. No complaints, no negotiations. Just the sound of happy eating.
What got me was how ridiculously easy it was. A handful of pantry ingredients, a hot pan, and about thirty minutes. That’s it. The chicken comes out with a crust so golden and crunchy you’d think it was fried, but it’s all done in the oven. The garlic and Parmesan melt together into this savory, nutty coating that sticks to every bite. It’s the kind of recipe that makes you wonder why you ever bothered with anything fussier. And now, I make it at least twice a month. It’s our go-to for busy nights, for picky eaters, for when I just need everyone to eat without a fight. This one’s a keeper.
Why You Will Love This Recipe
Let me break down exactly why this recipe works so well for real families. I’ve tested it about a dozen times, tweaking the temperature and the coating ratio until it was just right. This isn’t some random recipe from the internet—it’s been through the wringer in my own kitchen, with my own picky kids, and it passed every single time.
- Quick & Easy: From start to table in about 35 minutes. No marinating, no complicated steps. Just mix, coat, and bake. Perfect for those nights when you walk in the door at 5:30 and need dinner by 6.
- Simple Ingredients: You probably have everything in your kitchen right now. Chicken thighs, breadcrumbs, Parmesan cheese, garlic powder, oil. That’s it. No trips to a specialty store or weird ingredients you’ll never use again.
- Perfect for Family Dinners: This is the recipe that pleases everyone. The kids love the crunchy coating and the cheesy flavor. Adults love that it’s not dry or boring. It’s a crowd-pleaser in the truest sense.
- Crowd-Pleaser: I’ve served this to my kids, my neighbor’s kids, and even a few picky adult friends. Every single time, the plate comes back empty. It’s almost embarrassing how popular it is for something so simple.
- Unbelievably Delicious: The texture is the real star here. The coating gets shatteringly crisp on the outside while the chicken stays juicy and tender inside. The garlic and Parmesan combo is just pure comfort food magic.
What makes this recipe different from all the other crispy chicken recipes out there? It’s the technique. Instead of just tossing the chicken in breadcrumbs, we use a two-step coating process that locks in moisture and creates an extra-crunchy crust. Plus, we use a hot pan and a little oil to get that golden brown color without deep frying. It’s smarter, not harder. And honestly, it tastes better than any fried chicken I’ve ever had. This recipe isn’t just good—it’s the kind that makes you close your eyes after the first bite. It’s comfort food reimagined: faster, simpler, but with the same soul-soothing satisfaction.
What Ingredients You Will Need
This recipe uses simple, wholesome ingredients that work together to create something truly special. The beauty is that most of these are pantry staples, so you can make this anytime the craving hits. Here’s what you need and why each one matters.
- Bone-in, skin-on chicken thighs (6-8 thighs, about 2.5 lbs): This is the star of the show. The skin helps keep the meat incredibly moist during baking, and the bone adds so much flavor. I prefer thighs over breasts here because they’re more forgiving and stay juicy. If you can, look for thighs that are similar in size so they cook evenly. My go-to brand is Bell & Evans, but any good quality chicken works.
- Panko breadcrumbs (1 cup): These are the secret to that ultra-crispy crust. Regular breadcrumbs just don’t give you the same crunch. Panko is lighter and flakier, so it gets golden and shatteringly crisp in the oven. I’ve tried making my own by crushing stale bread, but honestly, the store-bought panko works best here.
- Grated Parmesan cheese (1/2 cup): Use the real stuff, not the green can. Freshly grated Parmesan from a block melts better and has a much richer, nuttier flavor. It adds that savory, umami kick that makes the coating so addictive. I recommend buying a small block of Parmigiano-Reggiano if your budget allows—it’s worth the extra couple of bucks.
- Garlic powder (1 tablespoon): This is non-negotiable. Fresh garlic can burn in the oven, but garlic powder infuses the coating with that sweet, savory garlic flavor without any bitterness. Don’t use garlic salt—you’ll end up with a way too salty crust.
- Onion powder (1 teaspoon): This adds a subtle depth of flavor that rounds out the garlic. It’s not overpowering, but you’ll miss it if you leave it out. A little goes a long way.
- Dried parsley (1 teaspoon): Mostly for color and a tiny bit of freshness. It makes the coating look prettier and adds a hint of herb flavor. You can skip it, but it’s a nice touch.
- Salt (1 teaspoon) and black pepper (1/2 teaspoon): Essential for seasoning the chicken and the coating. I use kosher salt because it’s less intense and distributes more evenly. Adjust to your taste, but don’t skimp—proper seasoning is what makes the chicken taste like something special.
- Olive oil (2-3 tablespoons): This helps the coating get golden and crispy. You don’t need a lot, just enough to lightly coat the chicken. I use extra-virgin olive oil for flavor, but any neutral oil like avocado or vegetable oil works fine.
- Optional: Fresh parsley and lemon wedges for serving: A sprinkle of fresh parsley and a squeeze of lemon right before serving brightens up the whole dish. It cuts through the richness and makes everything taste fresher. Highly recommended.
Equipment Needed
You don’t need a lot of fancy gear for this recipe, which is part of its charm. Here’s what you’ll need and a few tips from my own kitchen.
- Baking sheet (rimmed, 13×18 inch): A rimmed baking sheet is crucial—it catches any drips and keeps your oven clean. I prefer a heavy-duty aluminum sheet because it heats evenly and doesn’t warp. If you only have a non-stick sheet, that works too, just watch the cooking time as it might brown faster.
- Wire rack (fits inside the baking sheet): This is my secret weapon. Placing the chicken on a wire rack set inside the baking sheet allows hot air to circulate all around the chicken, making the bottom just as crispy as the top. No soggy bottoms here. If you don’t have one, just flip the chicken halfway through cooking—it still works, just not as perfectly.
- Mixing bowls (2 medium): One for the coating mixture and one for the oil. I use glass or stainless steel bowls because they don’t absorb odors. Any bowl will do, though.
- Tongs: For turning the chicken in the coating without making a huge mess. Silicone-tipped tongs are great because they won’t scratch your baking sheet.
- Chef’s knife and cutting board: For trimming any excess skin or fat from the chicken. A sharp knife makes this job much easier and safer.
- Measuring cups and spoons: For accurate ingredient amounts. I know some people eyeball it, but for the best results, measure until you’ve made this a few times.
If you don’t have a wire rack, don’t stress. Just place the chicken directly on the greased baking sheet and flip it halfway through. It’ll still be delicious, just maybe not quite as crispy on the bottom. I’ve done it both ways, and honestly, no one ever complained.
Preparation Method
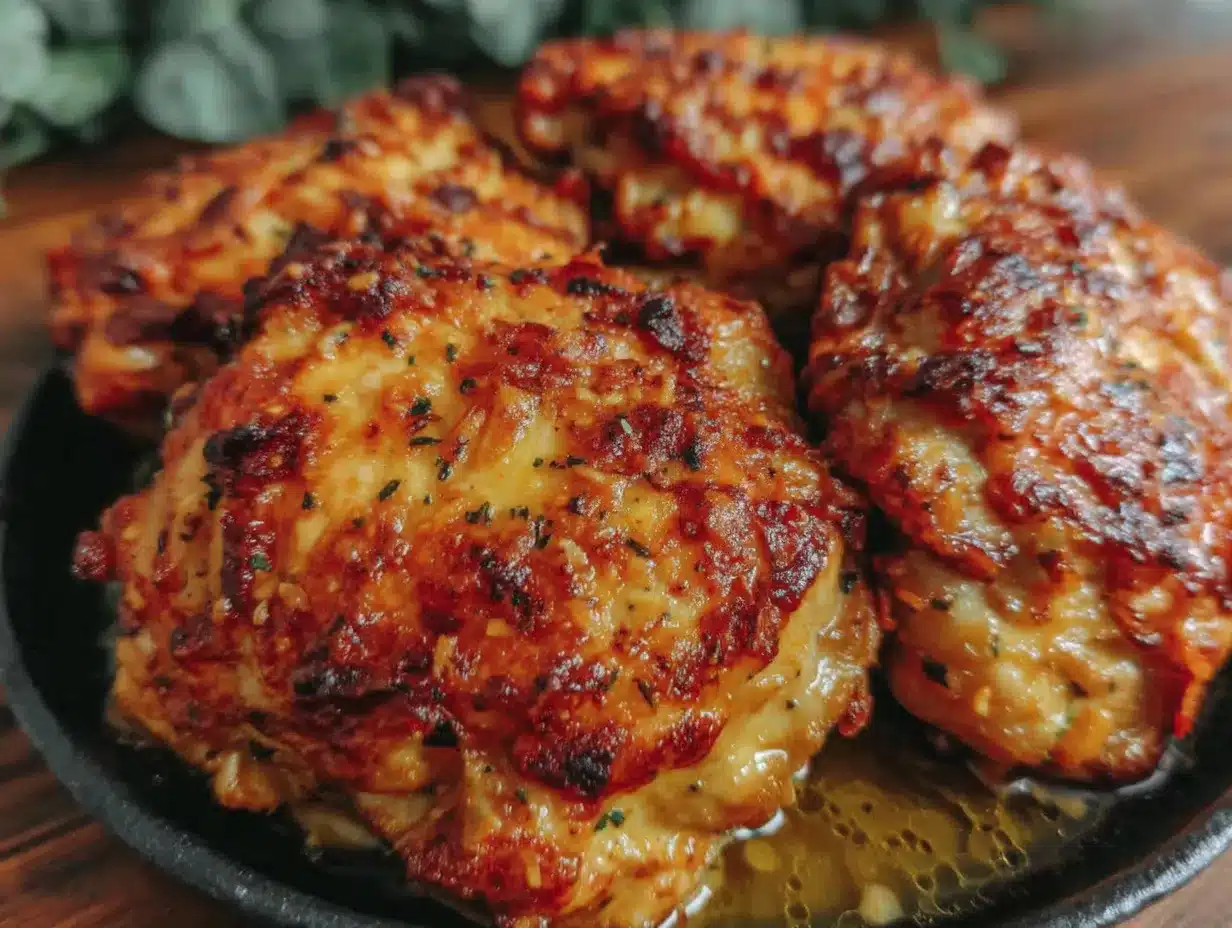
Alright, let’s get cooking. This recipe is straightforward, but a few key steps make all the difference. Follow along, and you’ll have the best crispy garlic Parmesan chicken thighs of your life.
- Preheat your oven to 400°F (200°C). This is important—getting the oven hot before the chicken goes in ensures the coating starts crisping immediately. Place your oven rack in the middle position. While the oven heats, prepare your baking sheet. If you have a wire rack, place it inside the rimmed baking sheet and give it a light spray of cooking oil. If not, line the baking sheet with parchment paper or foil for easy cleanup.
- Pat the chicken thighs dry. Take your chicken thighs out of the package and pat them completely dry with paper towels. This is a crucial step—moisture is the enemy of crispiness. Dry skin means the coating will stick better and get crunchier. Don’t skip this. I usually use about three paper towels per batch.
- Trim any excess skin or fat. Using a sharp chef’s knife, trim off any large flaps of skin or chunks of fat. You don’t need to go crazy—just remove anything that looks like it will burn or be unappetizing. Leave the skin intact over the meat; that’s where the flavor is.
- Season the chicken lightly. Sprinkle a little salt and pepper directly onto both sides of the chicken thighs. This seasons the meat itself, not just the coating. It’s a small step that makes a big difference.
- Make the coating mixture. In a medium mixing bowl, combine 1 cup of panko breadcrumbs, 1/2 cup of grated Parmesan cheese, 1 tablespoon of garlic powder, 1 teaspoon of onion powder, 1 teaspoon of dried parsley, 1 teaspoon of salt, and 1/2 teaspoon of black pepper. Whisk everything together until it’s evenly mixed. Take a second to smell it—that garlic and Parmesan combo is heavenly.
- Prepare the oil. In a separate small bowl, pour 2-3 tablespoons of olive oil. You’ll use this to help the coating stick and to get that golden brown color.
- Coat the chicken. Working with one thigh at a time, brush or rub a thin layer of olive oil all over the chicken (both sides). Then, place the oiled chicken into the bowl of coating mixture. Press the coating firmly onto the chicken, making sure it’s completely covered. Don’t be shy—really pack it on. The oil helps the breadcrumbs stick, so you shouldn’t have any bare spots. Place the coated chicken on the prepared wire rack or baking sheet. Repeat with all the thighs, leaving a little space between each one for air to circulate.
- Bake for 30-35 minutes. Place the baking sheet in the preheated oven and bake for 30-35 minutes, or until the chicken is golden brown and crispy, and the internal temperature reaches 165°F (74°C) when checked with a meat thermometer. The coating should be deeply golden and feel firm to the touch. If you’re not using a wire rack, flip the chicken halfway through at the 15-minute mark to ensure even crisping.
- Rest before serving. Once the chicken is done, remove it from the oven and let it rest on the wire rack for 5 minutes. This allows the juices to redistribute and the coating to set. Don’t skip this—cutting into it too soon will make the juices run out and the coating can get soggy.
- Garnish and serve. Transfer the chicken to a serving platter. Sprinkle with fresh chopped parsley and serve with lemon wedges on the side. The squeeze of lemon right before eating is a game-changer—it cuts through the richness and makes everything taste brighter.
A few troubleshooting notes: If your chicken is browning too quickly but isn’t cooked through, tent it loosely with foil for the last 10 minutes of baking. If it’s not browning enough, give it a couple more minutes under the broiler, but watch it carefully—it can burn fast. And if the coating falls off in spots, don’t panic. Just press it back on gently with a spatula. It happens to me sometimes too.
Cooking Tips & Techniques
Over the many times I’ve made this recipe, I’ve learned a few things the hard way. Let me save you some trouble with these tips.
Don’t overcrowd the pan. This is the number one mistake I see. If the chicken thighs are touching each other on the baking sheet, they’ll steam instead of roast, and you’ll lose that precious crispiness. Give them at least an inch of space all around. If you need to, use two baking sheets and rotate them halfway through. It’s worth the extra washing up.
Use a meat thermometer. I know, I know, it’s an extra step. But chicken thighs can be tricky because they’re dark meat and stay juicy even when slightly overcooked. The safe internal temperature is 165°F (74°C), but I actually pull mine out at 170°F (77°C) because the carryover cooking will take it up a few more degrees, and the extra heat helps render the fat under the skin. A good instant-read thermometer is one of the best investments you can make for your kitchen.
Let the coating set before baking. After you’ve coated the chicken, let it sit on the wire rack for about 5-10 minutes before putting it in the oven. This gives the breadcrumb mixture time to adhere to the oiled chicken, so less of it falls off during baking. I learned this after a particularly sad batch where half the coating ended up on the baking sheet. Now I always give it a little rest.
Flip carefully if not using a wire rack. If you’re baking the chicken directly on the sheet, flip it gently at the 15-minute mark. Use a thin metal spatula to get underneath the chicken without disturbing the coating too much. If some coating sticks to the pan, just scrape it up and press it back onto the chicken. It’ll still taste great.
Save the drippings. After the chicken is done, there will be some delicious browned bits and rendered fat on the baking sheet. Don’t throw them away! Pour a little bit of chicken broth or white wine into the hot pan, scrape up all those bits, and you have an instant pan sauce. It’s incredible drizzled over the chicken or some mashed potatoes. Waste not, want not.
Variations & Adaptations
One of the best things about this recipe is how flexible it is. Here are a few ways I’ve changed it up depending on what I have in the pantry or who I’m feeding.
Spicy version: Add 1/2 teaspoon of cayenne pepper or red pepper flakes to the coating mixture. It gives the chicken a nice kick without being overwhelming. My husband loves this version—he says it reminds him of spicy fried chicken but without the guilt of deep frying. I’ve also tried adding a teaspoon of smoked paprika for a deeper, smokier heat. That’s a winner too.
Herb and lemon version: Add the zest of one lemon and 2 tablespoons of fresh chopped herbs (like thyme, rosemary, or oregano) to the coating mixture. The lemon zest brightens everything up, and the herbs add a lovely aromatic quality. This is my go-to version in the spring and summer when I have fresh herbs growing in the garden. Serve it with a big green salad and some crusty bread, and you have a perfect meal.
Gluten-free version: Substitute the panko breadcrumbs with gluten-free panko or crushed pork rinds. I’ve used both, and honestly, the pork rind version is almost better—it’s incredibly crispy and has a rich, savory flavor. Just make sure to crush them into fine crumbs before mixing with the Parmesan. The gluten-free panko works perfectly too, though it might need an extra minute or two in the oven to get fully golden.
Cheese variations: Don’t have Parmesan? Try using Pecorino Romano for a saltier, sharper flavor, or Asiago for a milder, nuttier taste. I’ve even used a mix of Parmesan and cheddar in a pinch, and it was delicious—though the cheddar can burn more easily, so watch the cooking time. For a dairy-free version, use nutritional yeast instead of Parmesan. It’s not exactly the same, but it gives a cheesy, umami flavor that’s surprisingly good.
Bone-in vs. boneless: This recipe works with boneless, skinless chicken thighs too, but the cooking time will be shorter—about 20-25 minutes. The texture will be different (less crispy skin, obviously), but it’s still very tasty. I’ve made it both ways, and I prefer bone-in for the flavor and juiciness, but boneless is great for a quicker weeknight dinner.
Serving & Storage Suggestions
These chicken thighs are incredibly versatile when it comes to serving. Here’s how I like to enjoy them and how to keep them for later.
Serving temperature and presentation: Serve the chicken hot from the oven, right after the 5-minute rest. Arrange them on a large platter, sprinkle with fresh parsley, and add a few lemon wedges around the edges. The bright yellow and green against the golden chicken makes for a beautiful presentation that looks like you put in way more effort than you actually did. For a family dinner, I sometimes serve them straight from the baking sheet—it’s casual and keeps the chicken crispy.
Complementary dishes: These chicken thighs pair beautifully with so many sides. My favorite is a simple mashed potato or roasted potatoes to soak up any juices. A crisp green salad with a lemon vinaigrette cuts through the richness perfectly. Steamed broccoli or green beans are also great—they add color and a healthy element. For a more complete meal, try serving them with rice pilaf or buttered noodles. Honestly, they go with just about anything.
Storage instructions: Leftover chicken can be stored in an airtight container in the refrigerator for up to 4 days. The key to keeping the coating crispy is to let the chicken cool completely before storing it. If you put it away while it’s still warm, the steam will make the coating soggy. I learned this the hard way after a particularly sad batch of leftovers.
Reheating methods: To bring back that crispy texture, reheat the chicken in the oven or an air fryer. Preheat your oven to 375°F (190°C), place the chicken on a wire rack over a baking sheet, and heat for 10-12 minutes, or until hot and crispy. In an air fryer, 5-7 minutes at 375°F (190°C) does the trick. Avoid the microwave at all costs—it turns the coating into a sad, rubbery mess. Trust me on this one.
Freezing instructions: You can freeze the cooked chicken for up to 3 months. Let it cool completely, then wrap each thigh individually in plastic wrap and place them in a freezer-safe bag. To reheat, thaw in the refrigerator overnight, then reheat in the oven as described above. The coating won’t be quite as crispy as fresh, but it’s still very good. I’ve also frozen the uncooked, coated chicken with great results. Just arrange them on a baking sheet and freeze until solid, then transfer to a freezer bag. Bake from frozen, adding about 10 minutes to the cooking time.
How flavors develop over time: Interestingly, the garlic and Parmesan flavors actually meld together and deepen after a day in the fridge. The next day, the chicken tastes even more savory and rich. It’s perfect for meal prep—make a double batch on Sunday and enjoy it for lunches or quick dinners throughout the week.
Nutritional Information & Benefits
Let’s talk about what’s actually in this dish. While it’s definitely a comfort food, it’s not as indulgent as you might think.
Estimated nutritional values per serving (2 thighs with coating): Calories: 420, Total Fat: 28g, Saturated Fat: 8g, Cholesterol: 180mg, Sodium: 680mg, Total Carbohydrates: 12g, Dietary Fiber: 1g, Sugars: 1g, Protein: 32g. These are estimates and will vary based on the exact ingredients and portion sizes you use.
Health benefits of key ingredients: Chicken thighs are an excellent source of high-quality protein, which is essential for muscle repair and growth. They also contain important B vitamins like niacin and B6, which support energy metabolism. The olive oil provides heart-healthy monounsaturated fats. Parmesan cheese adds calcium and protein, though it’s also high in sodium, so keep that in mind if you’re watching your salt intake. Garlic powder has been linked to immune-boosting properties, though the amount here is small.
Dietary considerations: This recipe is naturally low-carb and keto-friendly if you use the pork rind variation (about 3g net carbs per serving). It’s not gluten-free as written, but the gluten-free panko option works beautifully. It’s also nut-free and egg-free, making it a good option for many common allergies. The main allergens to note are dairy (Parmesan cheese) and gluten (breadcrumbs).
My personal wellness perspective: I believe in balance. This recipe isn’t health food, but it’s made with real, recognizable ingredients and cooked in a way that’s lighter than traditional fried chicken. It’s the kind of meal that nourishes your family both physically and emotionally—because eating something delicious together at the dinner table is good for the soul too. I serve it with a big vegetable side and call it a win.
Conclusion
So there you have it—the recipe that turned me from a chicken thigh skeptic into a full-blown convert. These crispy garlic Parmesan chicken thighs are everything you want in a family dinner: easy, affordable, and absolutely delicious. They come together with minimal fuss, use ingredients you probably already have, and deliver that golden, crunchy, cheesy goodness that makes everyone at the table happy.
What I love most about this recipe is how forgiving it is. You don’t need to be a professional chef to nail it. You just need a hot oven, a little patience, and the willingness to let the chicken do its thing. And honestly, that’s the kind of cooking I’m all about these days—simple, reliable, and full of flavor. It’s the recipe you’ll turn to again and again, whether it’s a busy Tuesday night or a lazy Sunday dinner.
Now I want to hear from you. Have you tried this recipe? Did your kids go back for seconds? Did you add your own twist? Drop a comment below and let me know how it turned out. And if you loved it as much as we do, share it with a friend who needs a new weeknight hero. Happy cooking, friends—I’m off to make another batch myself.
Frequently Asked Questions
Can I use chicken breasts instead of thighs?
Yes, you can, but the cooking time and texture will be different. Chicken breasts are leaner and can dry out more easily, so I recommend using boneless, skinless breasts and reducing the cooking time to about 20-25 minutes at 400°F. Check the internal temperature and pull them at 160°F (71°C) to avoid dryness. The coating will still be crispy and delicious, but the meat won’t be as juicy as thighs.
Why did my coating fall off?
This usually happens for one of two reasons: the chicken wasn’t dry enough before coating, or the coating wasn’t pressed on firmly enough. Make sure to pat the chicken completely dry with paper towels. Also, press the breadcrumb mixture into the chicken with your hands—don’t just toss it in the bowl. Letting the coated chicken rest for 5-10 minutes before baking also helps the coating adhere better.
Can I make this recipe dairy-free?
Absolutely! Substitute the Parmesan cheese with nutritional yeast for a dairy-free option. Use about 1/4 cup of nutritional yeast mixed with the panko breadcrumbs. It won’t have the exact same flavor, but it gives a cheesy, umami taste that’s surprisingly good. You can also use a dairy-free Parmesan alternative if you can find one. The rest of the ingredients are naturally dairy-free.
How do I get the chicken extra crispy?
For the crispiest results, use a wire rack on your baking sheet so air can circulate all around the chicken. Also, don’t overcrowd the pan—give each thigh space to breathe. If you want even more crunch, try adding a tablespoon of cornstarch to the coating mixture. And finally, let the chicken rest on the wire rack after baking instead of on a plate, which can trap steam and make the bottom soggy.
Can I meal prep this recipe?
Yes, this recipe is great for meal prep. You can coat the chicken up to 24 hours in advance and store it covered in the refrigerator. When you’re ready to cook, just pop it in the oven—you might need to add 5 minutes to the cooking time since the chicken will be cold. You can also bake the chicken fully and reheat it throughout the week. Store leftovers in the fridge for up to 4 days and reheat in the oven or air fryer to restore crispiness.
Pin This Recipe!
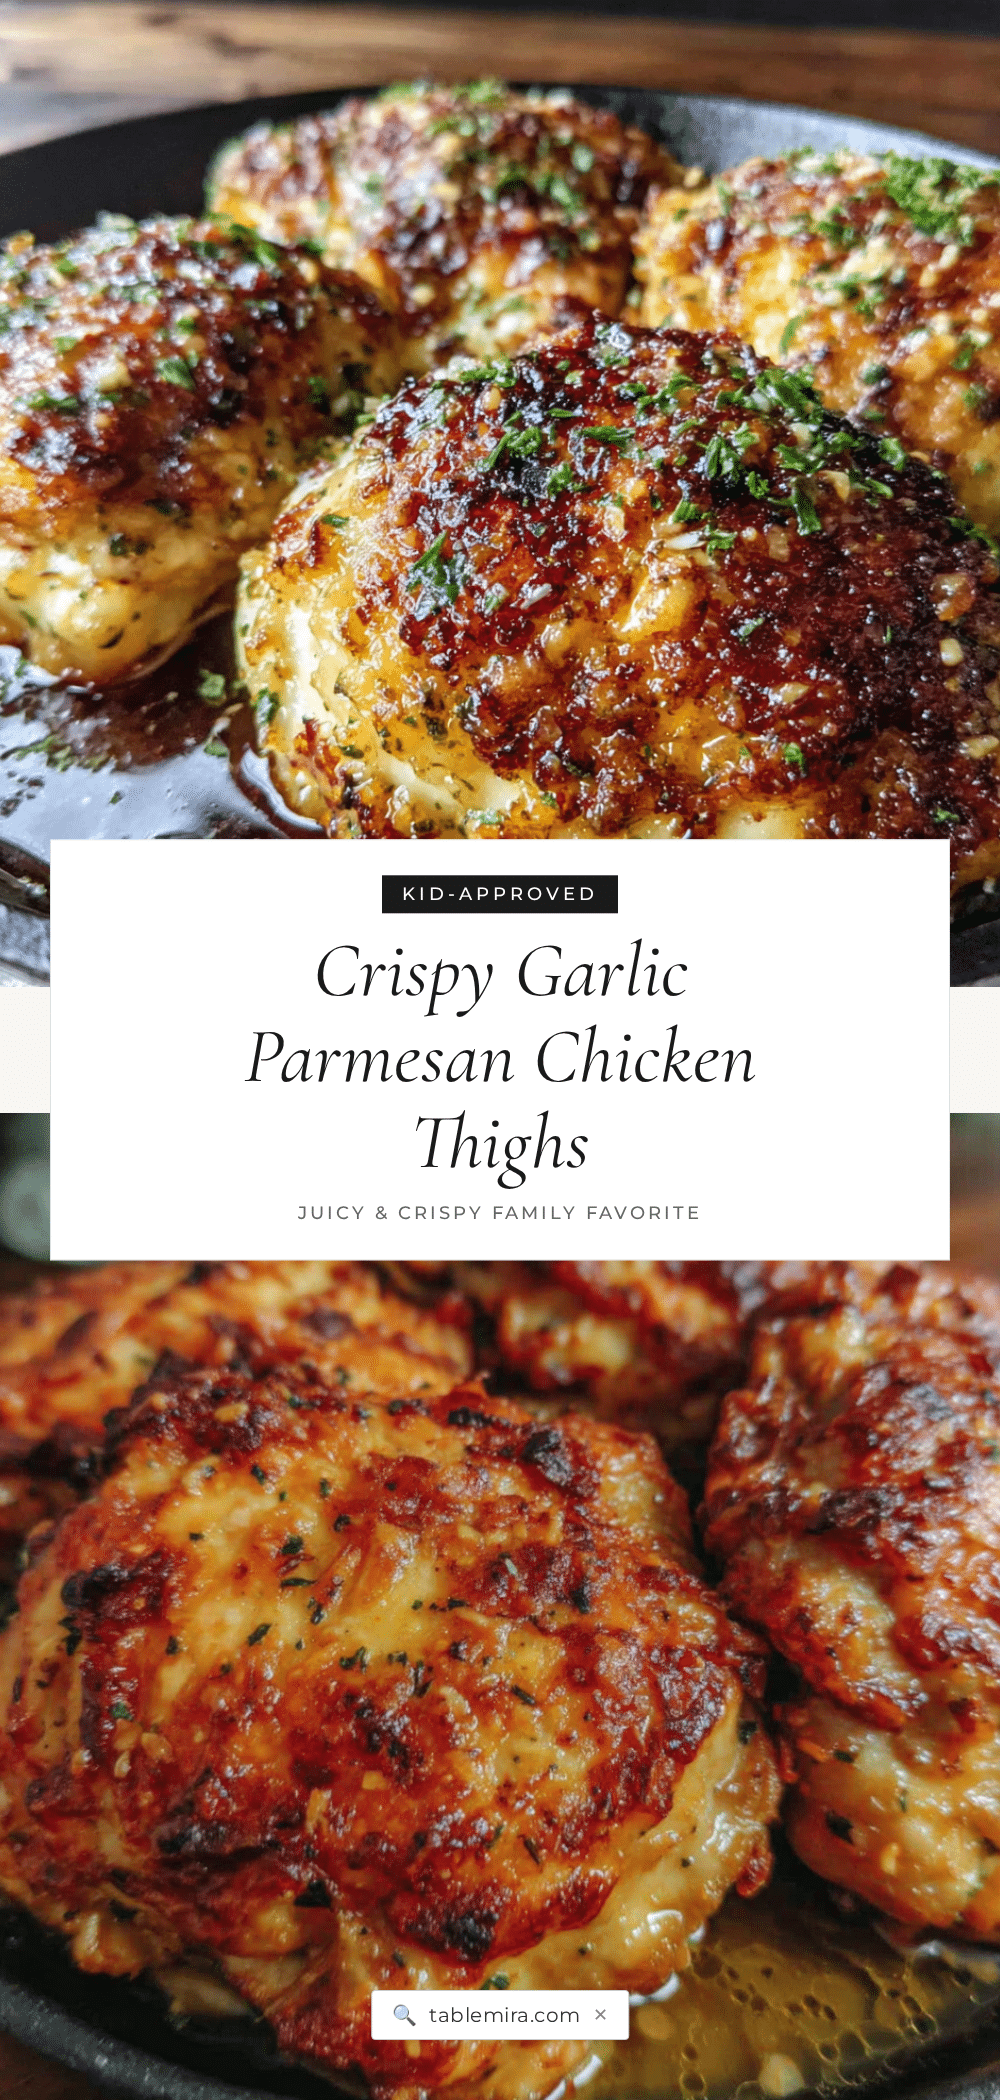
Best Crispy Garlic Parmesan Chicken Thighs: Kid-Approved

These crispy garlic Parmesan chicken thighs are a family favorite, featuring a golden, crunchy crust and juicy, tender meat. Ready in about 35 minutes with simple pantry ingredients, this easy oven-baked recipe is perfect for busy weeknights and picky eaters.
- Prep Time: 10 minutes
- Cook Time: 30-35 minutes
- Total Time: 40-45 minutes
- Yield: 4 servings 1x
- Category: Main Course
- Cuisine: American
Ingredients
- 6–8 bone-in, skin-on chicken thighs (about 2.5 lbs)
- 1 cup panko breadcrumbs
- 1/2 cup grated Parmesan cheese
- 1 tablespoon garlic powder
- 1 teaspoon onion powder
- 1 teaspoon dried parsley
- 1 teaspoon salt
- 1/2 teaspoon black pepper
- 2–3 tablespoons olive oil
- Optional: fresh parsley and lemon wedges for serving
Instructions
- Preheat your oven to 400°F (200°C). Place a wire rack inside a rimmed baking sheet and lightly spray with cooking oil, or line the baking sheet with parchment paper or foil.
- Pat the chicken thighs completely dry with paper towels. Trim any excess skin or fat.
- Season the chicken lightly with salt and pepper on both sides.
- In a medium mixing bowl, combine panko breadcrumbs, Parmesan cheese, garlic powder, onion powder, dried parsley, salt, and black pepper. Whisk until evenly mixed.
- Pour olive oil into a separate small bowl.
- Working one thigh at a time, brush or rub a thin layer of olive oil all over the chicken. Then place the oiled chicken into the coating mixture, pressing firmly to coat completely. Place on the prepared wire rack or baking sheet. Repeat with remaining thighs, leaving space between each.
- Bake for 30-35 minutes, until golden brown and crispy and the internal temperature reaches 165°F (74°C). If not using a wire rack, flip halfway through at 15 minutes.
- Remove from oven and let rest on the wire rack for 5 minutes.
- Transfer to a serving platter, garnish with fresh parsley and lemon wedges if desired. Serve hot.
Notes
For extra crispiness, use a wire rack and don’t overcrowd the pan. Let the coated chicken rest for 5-10 minutes before baking to help the coating adhere. If browning too quickly, tent loosely with foil for the last 10 minutes. Save drippings to make a quick pan sauce.
Nutrition
- Serving Size: 2 thighs with coatin
- Calories: 420
- Sugar: 1
- Sodium: 680
- Fat: 28
- Saturated Fat: 8
- Carbohydrates: 12
- Fiber: 1
- Protein: 32
Keywords: crispy chicken thighs, garlic parmesan chicken, baked chicken thighs, easy chicken dinner, kid-friendly chicken, weeknight dinner


