The neighborhood Halloween potluck was in three hours and I’d completely forgotten. Everyone else would be bringing elaborate themed desserts—I’d seen the signup sheet last week with promises of “Witch’s Brew Cupcakes” and “Ghostly Cheesecake.” I had a bag of candy corn from last year and a block of white chocolate that had been sitting in my pantry since I bought it on a whim. Let me tell you, the panic was real. I mean, I actually stood in my kitchen with my hands on my head, staring at those two sad ingredients like they might magically transform into something impressive.
And then, honestly, I just started melting chocolate. It was a Wednesday afternoon and I had zero time for anything fancy. I spread the melted white chocolate on a baking sheet, tossed the candy corn on top in what I thought was a hopeless mess, and shoved it in the fridge. When I pulled it out twenty minutes later and broke it into jagged pieces, I remember thinking—okay, this actually looks kind of fun. It was colorful, it was festive, and it took almost no effort. I tossed it on a platter and ran out the door.
Here’s the part I still laugh about. That simple candy corn bark won the potluck. Not the elaborate cupcakes, not the fancy cheesecake. My last-minute, barely-trying bark got the most compliments and requests for the recipe. Someone’s aunt actually asked me if I’d spent all day on it. I just smiled and said it was a family secret. You know that feeling when you accidentally show up with the thing everyone loves? That was me, standing by the punch bowl, feeling like a baking genius when I’d really just been desperate. And that’s why I keep making this candy corn bark every single fall—it reminds me that sometimes the simplest things steal the show.
Why You’ll Love This Recipe
This candy corn bark is the kind of recipe that makes you look like a hero without breaking a sweat. I’ve tested it at four different gatherings now—a kids’ Halloween party, a work potluck, a family dinner, and a neighbor’s bonfire night—and it’s never failed to impress. Here’s why this one is different from every other bark recipe you’ll find:
- Ready in 10 Minutes : From start to finish, this comes together in under ten minutes. The hardest part is waiting for the chocolate to set in the fridge. Perfect for those days when you realize at 4 PM that you need something for tonight.
- Three Simple Ingredients : White chocolate, candy corn, and a pinch of salt. That’s it. No fancy baking tools, no specialty stores, no complicated steps. You probably have everything right now except maybe the candy corn.
- Perfect for Fall Gatherings : This is made for Halloween parties, Thanksgiving dessert tables, or any autumn get-together where you want something that looks festive without being fussy. It’s a total crowd-pleaser for kids and adults alike.
- Endlessly Customizable : Once you master the basic method, you can swap in different candies, add sprinkles, or even use dark chocolate. I’ll share my favorite variations later, but the possibilities are honestly endless.
- Unbelievably Delicious : The combination of creamy white chocolate and crunchy, chewy candy corn creates this amazing texture contrast. The salt balances the sweetness perfectly so it’s not cloying. I’ve seen people who claim to hate candy corn go back for seconds.
What makes this recipe different is the technique. Most bark recipes tell you to just melt chocolate and throw toppings on. But I’ve learned through trial and error—and a few melted messes—that the way you temper the chocolate and arrange the candy corn makes all the difference. This isn’t just another bark recipe. It’s the one you’ll come back to every fall because it actually works every single time.
What Ingredients You Will Need
This recipe uses simple, everyday ingredients to deliver big flavor and satisfying crunch without any fuss. Most of these are pantry staples during the fall season, and the substitutions are easy if you need them.
For the Bark Base
- 12 ounces white chocolate chips or bars , chopped (I prefer Ghirardelli or Guittard for the smoothest melt—they don’t seize up as easily as cheaper brands)
- 1 ½ cups candy corn (classic orange, yellow, and white—look for fresh candy corn that’s still soft, not hard and stale)
- Flaky sea salt , for sprinkling (Maldon is my go-to, but any flaky salt works—don’t skip this, it makes the sweetness taste balanced)
Optional Add-Ins for Extra Flavor
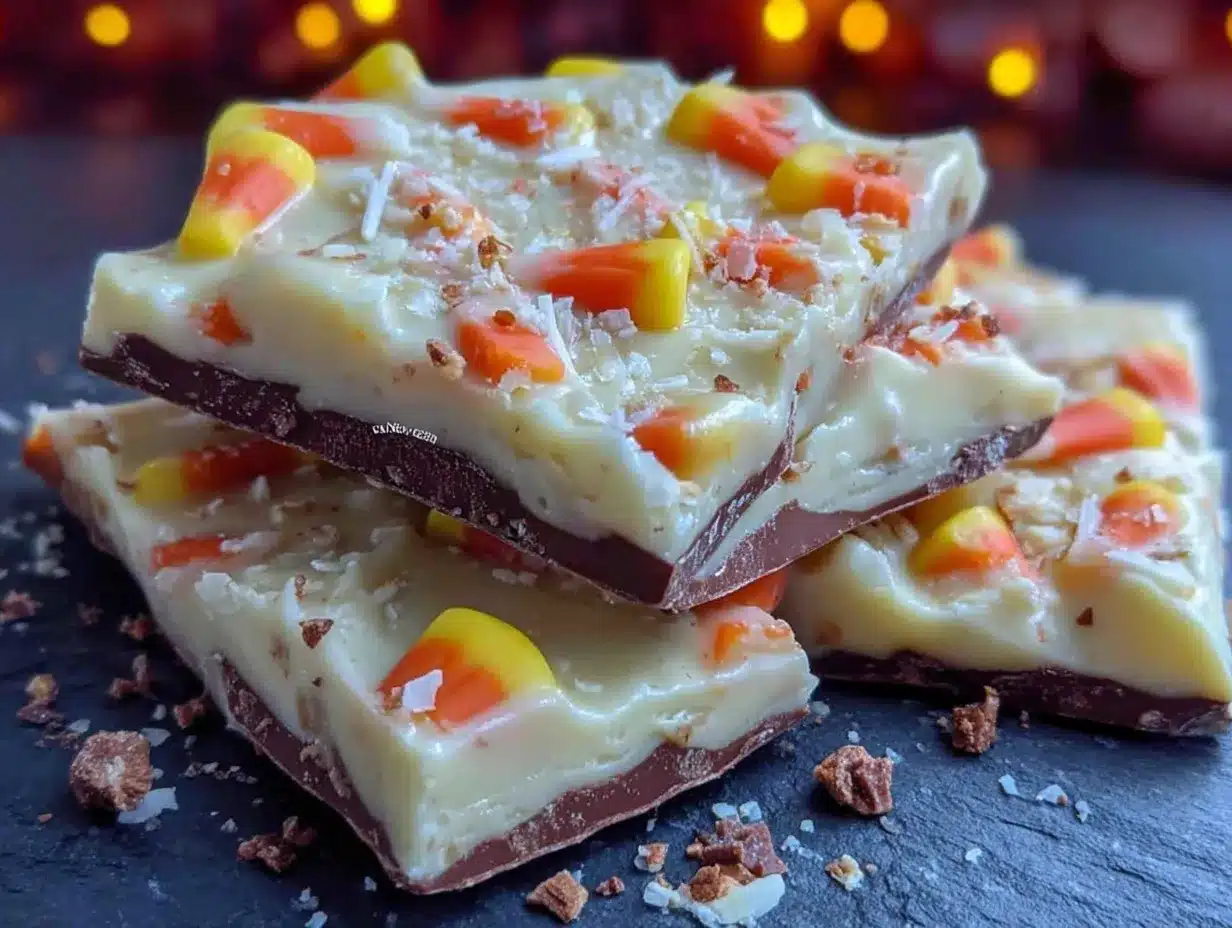
- ½ cup roasted salted peanuts , roughly chopped (adds a savory crunch that plays beautifully with the sweet candy corn)
- ¼ cup dried cranberries or dried cherries (for a tart pop that cuts through the richness)
- Orange or fall-colored sprinkles (for extra festive flair if you’re serving kids)
- ¼ teaspoon pumpkin pie spice or cinnamon (stirred into the melted chocolate for a warm autumn note)
Let me share a quick tip I learned the hard way. Not all white chocolate is created equal. Some cheap white chocolate chips contain additives that make them seize up when melted—they turn into a grainy, clumpy mess. I recommend using a good-quality white chocolate bar and chopping it yourself. It takes an extra minute but the texture is so much smoother. Look for white chocolate that lists cocoa butter as an ingredient, not just palm oil.
For the candy corn, freshness matters. Stale candy corn is hard and almost chalky. Give the bag a gentle squeeze at the store—if it feels soft and pliable, it’s fresh. If it’s rock hard, grab a different bag. Trust me on this one, I’ve made bark with stale candy corn and it just doesn’t have that same satisfying chew.
Equipment Needed
The beauty of this recipe is that you don’t need any fancy equipment. Here’s what you’ll need:
- Baking sheet (a standard half-sheet pan works perfectly—about 13×18 inches)
- Parchment paper or a silicone baking mat (absolutely necessary for easy removal—don’t skip this)
- Medium microwave-safe bowl (glass or ceramic works best)
- Rubber spatula for spreading the melted chocolate
- Chef’s knife for chopping the white chocolate (if using bars)
- Cutting board
If you don’t have a microwave, you can melt the white chocolate using a double boiler on the stovetop. Just place a heatproof bowl over a pot of simmering water, making sure the bowl doesn’t touch the water. Stir constantly until smooth. It takes about five minutes and works just as well.
For the baking sheet, any size will work—you’ll just get thicker or thinner bark depending on how much you spread it. I prefer a thinner bark for more crunch, so I spread it to about ¼-inch thickness. If you want a thicker, more substantial bark, use a smaller pan or don’t spread it as far.
One more thing—I keep a spare baking sheet handy for the fridge. You’ll need space to chill the bark, so make sure your refrigerator has room for a flat sheet pan. I learned this the hard way when I had to rearrange my entire fridge at the last minute!
Preparation Method
Let me walk you through this step by step. I’ve made this so many times that I’ve got it down to a science, and I’ll share every little detail so yours turns out perfect on the first try.
- Line your baking sheet with parchment paper or a silicone mat. Make sure the paper extends slightly over the edges—this gives you handles to lift the bark out later. Set the pan aside.
- Chop your white chocolate into small, uniform pieces. If you’re using a bar, cut it into ¼-inch chunks. If you’re using chips, you can skip this step. The smaller and more uniform the pieces, the more evenly they’ll melt.
- Melt the white chocolate in a microwave-safe bowl. Heat it in 30-second intervals at 50% power, stirring thoroughly between each interval. Do not use full power—white chocolate burns easily. It should take about 2 to 3 minutes total. The chocolate is ready when most of it is melted and only a few small lumps remain. Keep stirring gently—the residual heat will melt the rest. It should be smooth, glossy, and warm but not hot to the touch.
- Pour the melted chocolate onto the center of your prepared baking sheet. Use your rubber spatula to spread it into an even rectangle about ¼-inch thick. Don’t worry about making it perfect—rustic edges are part of the charm. Work quickly because white chocolate starts to set fast.
- Press the candy corn into the melted chocolate. Arrange them in a single layer, pressing down gently so they stick. You can place them in rows, scatter them randomly, or create a pattern—whatever feels right. I usually scatter them because it’s faster and looks more natural. Leave a little space between pieces so each bite has some plain chocolate too.
- Sprinkle with flaky sea salt while the chocolate is still wet. Just a light, even dusting across the entire surface. This is not optional—the salt transforms this from sweet candy into something sophisticated. Trust me on this.
- Add any optional toppings now while the chocolate is still tacky. If you’re using peanuts, cranberries, or sprinkles, sprinkle them over the top and press gently to adhere.
- Chill the bark in the refrigerator for at least 20 minutes, or until the chocolate is completely firm and set. It should be hard to the touch and lift easily from the parchment. If it’s still bendy, give it another 5 to 10 minutes.
- Break into pieces once set. Lift the entire slab of bark out of the pan using the parchment paper handles. Place it on a cutting board and break it into irregular pieces with your hands. You can also use a sharp knife to cut clean squares if you prefer a neater look. I like the rustic, broken-edge look—it feels more homemade and inviting.
- Serve immediately or store in an airtight container. The bark is best enjoyed within a few days, but I’ll share storage tips below.
A few sensory cues to watch for: The melted chocolate should look glossy and flow like thick honey when you spread it. When you press a candy corn into the chocolate, you should feel it sink slightly and stay put. The finished bark should snap cleanly when you break it—if it bends, it needs more chilling time.
Cooking Tips & Techniques
After making this candy corn bark more times than I can count, I’ve collected a few tricks that make all the difference. Let me share the ones I wish someone had told me.
Don’t overheat the white chocolate. This is the number one mistake I see people make. White chocolate is more delicate than dark or milk chocolate because it has a lower melting point. If you overheat it, it will seize up into a thick, grainy paste that’s impossible to spread. Always use 50% power in the microwave and stir frequently. If it starts to look thick or lumpy, stop immediately and stir vigorously—sometimes it just needs a good mix to smooth out.
Work quickly once the chocolate is melted. White chocolate sets faster than other chocolates, especially if your kitchen is cool. Have all your toppings measured and ready before you start melting. I lay out my candy corn, salt, and any extras on a small tray so I can grab them without fumbling. The first time I made this, I had to pause mid-way to open a bag of peanuts, and the chocolate started setting before I was done.
Use a light hand with the salt. Flaky sea salt is potent. A little goes a long way. I sprinkle it from about 12 inches above the bark so it disperses evenly. You want a few visible crystals on each piece, not a solid layer of salt. If you accidentally oversalt, don’t panic—just brush off the excess with a dry pastry brush before the chocolate sets.
Let the bark come to room temperature before serving. This is a pro tip I learned from a pastry chef friend. Chilled bark is very hard and can be tough on teeth. Let it sit at room temperature for about 5 minutes before serving. It softens slightly, making it easier to bite and allowing the flavors to bloom. The difference is subtle but noticeable.
If the weather is humid, skip the salt. Humidity can cause flaky salt to dissolve into the chocolate, leaving it with a weird texture. If it’s a rainy day, just use fine sea salt or skip the salt altogether. The bark will still be delicious.
Variations & Adaptations
One of the best things about this candy corn bark is how easy it is to adapt. I’ve tried several variations over the years, and here are my favorites:
Dark Chocolate Version: Swap the white chocolate for dark chocolate (60-70% cocoa). The bitter notes of dark chocolate balance the sweetness of the candy corn beautifully. This version feels more sophisticated and is great for adult gatherings. Use the same melting method, but dark chocolate can handle slightly higher heat—still use 50% power though, just to be safe.
Halloween Sprinkle Explosion: Add a generous handful of Halloween-themed sprinkles—orange bats, purple ghosts, green pumpkins—right after you press in the candy corn. Kids go absolutely wild for this version. I made it for my nephew’s Halloween party and the sprinkles disappeared before the candy corn did.
Salty-Sweet Peanut Crunch: Add ½ cup of roasted salted peanuts, roughly chopped, along with the candy corn. The savory crunch of peanuts combined with the sweet candy corn and creamy white chocolate is addictive. This is my personal favorite—I’ve made it three times this month alone.
Autumn Spice Bark: Stir ¼ teaspoon of pumpkin pie spice or cinnamon into the melted white chocolate before spreading. It adds a warm, cozy flavor that makes this feel like fall in every bite. Top with dried cranberries for a tart contrast. This version is perfect for Thanksgiving dessert tables.
Milk Chocolate Twist: Use milk chocolate instead of white chocolate for a milder, creamier flavor. Milk chocolate melts just as easily and pairs beautifully with candy corn. This version is less sweet than the white chocolate version, which some people prefer.
Vegan-Friendly Option: Use dairy-free white chocolate (many brands now make them) and skip the optional toppings that contain dairy. The method is exactly the same. I’ve tested this with Enjoy Life brand and it worked perfectly.
Feel free to mix and match these variations. One batch with dark chocolate and peanuts, another with milk chocolate and sprinkles—you can easily make multiple versions for a party platter. Just remember to label them so guests know what they’re grabbing!
Serving & Storage Suggestions
This candy corn bark is best served at room temperature, but it’s also delicious straight from the fridge on a warm day. Here’s how to make it shine at your next gathering:
Serving Temperature: Let the bark sit at room temperature for 5 to 10 minutes before serving. This softens the chocolate slightly and makes it easier to bite. If you’re serving it at a party, arrange the pieces on a platter about 15 minutes before guests arrive. The bark will be perfectly tempered by the time everyone starts snacking.
Presentation Tips: Arrange the broken pieces on a festive platter or in a glass jar. I like to layer them with a few whole candy corn scattered around for visual interest. For Halloween parties, serve it alongside other treats like popcorn balls or caramel apples. The colors pop beautifully against a dark tablecloth or a wooden board.
What to Serve With It: This bark pairs wonderfully with hot apple cider, pumpkin spice lattes, or even a glass of cold milk. For adult gatherings, try it with a dessert wine like Moscato or a dark stout beer. The sweetness of the bark balances the bitterness of coffee beautifully too.
Storage Instructions: Store the bark in an airtight container at room temperature for up to 5 days. If your kitchen is warm, keep it in the refrigerator—it will last up to 2 weeks chilled. Layer the pieces between sheets of parchment paper to prevent them from sticking together. Do not freeze this bark—the texture changes and the candy corn can become hard and unpleasant.
Flavor Development: Here’s something interesting I’ve noticed. The bark actually tastes better on the second day. The flavors meld together and the salt integrates more evenly. If you’re making this for a party, I recommend making it a day ahead. Just keep it in an airtight container and let it come to room temperature before serving.
Nutritional Information & Benefits
Let’s be honest—this candy corn bark is a treat, not a health food. But here’s what you should know if you’re watching what you eat:
Estimated Nutrition Per Serving (about 2 ounces):
- Calories: 220
- Fat: 12g
- Carbohydrates: 28g
- Sugar: 24g
- Protein: 2g
- Sodium: 85mg (with flaky salt)
Dietary Considerations: This recipe contains dairy (white chocolate) and may contain traces of nuts depending on the brand you use. It is not vegan, gluten-free, or low-carb in its standard form. However, the variations I shared above can address some of these needs—use dairy-free white chocolate for a vegan version, and skip the optional toppings that contain gluten.
Health Perspective: I believe in balance. This bark is a special occasion treat, perfect for Halloween parties, Thanksgiving gatherings, or any fall celebration. It’s meant to be enjoyed in moderation alongside a healthy diet. The white chocolate does contain calcium and a small amount of antioxidants, but honestly, eat this because it makes you happy, not because it’s good for you. Life is too short to skip dessert.
Allergen Note: Always check the labels on your white chocolate and candy corn if you’re serving guests with allergies. Some white chocolate brands process nuts in the same facility, and some candy corn contains corn syrup (obviously) and artificial colors. If you’re concerned, look for organic or allergy-friendly brands.
Conclusion
This candy corn bark is the recipe I keep coming back to year after year. It’s the one I make when I need something for a party but have zero time. It’s the one I teach to friends who say they can’t bake. It’s the one that always, without fail, gets the most compliments. And honestly, that’s what I love most about it—it proves that you don’t need fancy techniques or complicated ingredients to make something memorable.
I hope you’ll try this recipe and make it your own. Add your favorite toppings, experiment with different chocolates, or keep it simple with just candy corn and salt. The beauty of this bark is that it’s forgiving—it works no matter how you customize it. And if you’re bringing it to a gathering, just smile when everyone asks for the recipe. You can tell them it’s a family secret, or you can share the truth—that it took you ten minutes and a little bit of faith in simple ingredients.
I’d love to hear how yours turns out! Drop a comment below and let me know what variations you tried, or tag me in your photos on social media. Happy fall baking, friends—may your kitchen be warm and your treats be sweet.
Frequently Asked Questions
Can I use white chocolate chips instead of a bar?
Yes, you can use white chocolate chips, but I recommend using a high-quality brand like Ghirardelli or Guittard. Cheaper chips often contain additives that can cause the chocolate to seize up when melted. If you’re using chips, melt them gently at 50% power in the microwave and stir frequently.
Why did my white chocolate seize up?
White chocolate seizes when it gets too hot or when even a tiny drop of water gets into the bowl. Always use a completely dry bowl and utensils. Melt at 50% power in 30-second intervals, stirring between each. If it does seize, you can try whisking in a teaspoon of vegetable oil or coconut oil to smooth it out.
How far in advance can I make this bark?
You can make this bark up to 5 days ahead if stored properly at room temperature, or up to 2 weeks if refrigerated. I actually prefer the flavor on the second day—the salt integrates more evenly and the flavors meld together. Just keep it in an airtight container with parchment between layers.
Can I use other candies besides candy corn?
Absolutely! This method works with almost any candy. Try it with chopped peanut butter cups, M&Ms, crushed pretzels, or toffee bits. Just keep the total amount of add-ins to about 1 ½ cups so the chocolate can hold everything together. I’ve made a Christmas version with crushed candy canes and it was a huge hit.
Is this recipe gluten-free?
In its basic form with white chocolate and candy corn, this recipe is typically gluten-free. However, always check the labels on your ingredients—some white chocolate brands may contain gluten additives, and some candy corn is processed in facilities that handle wheat. If you’re serving someone with celiac disease, use certified gluten-free products.
Pin This Recipe!
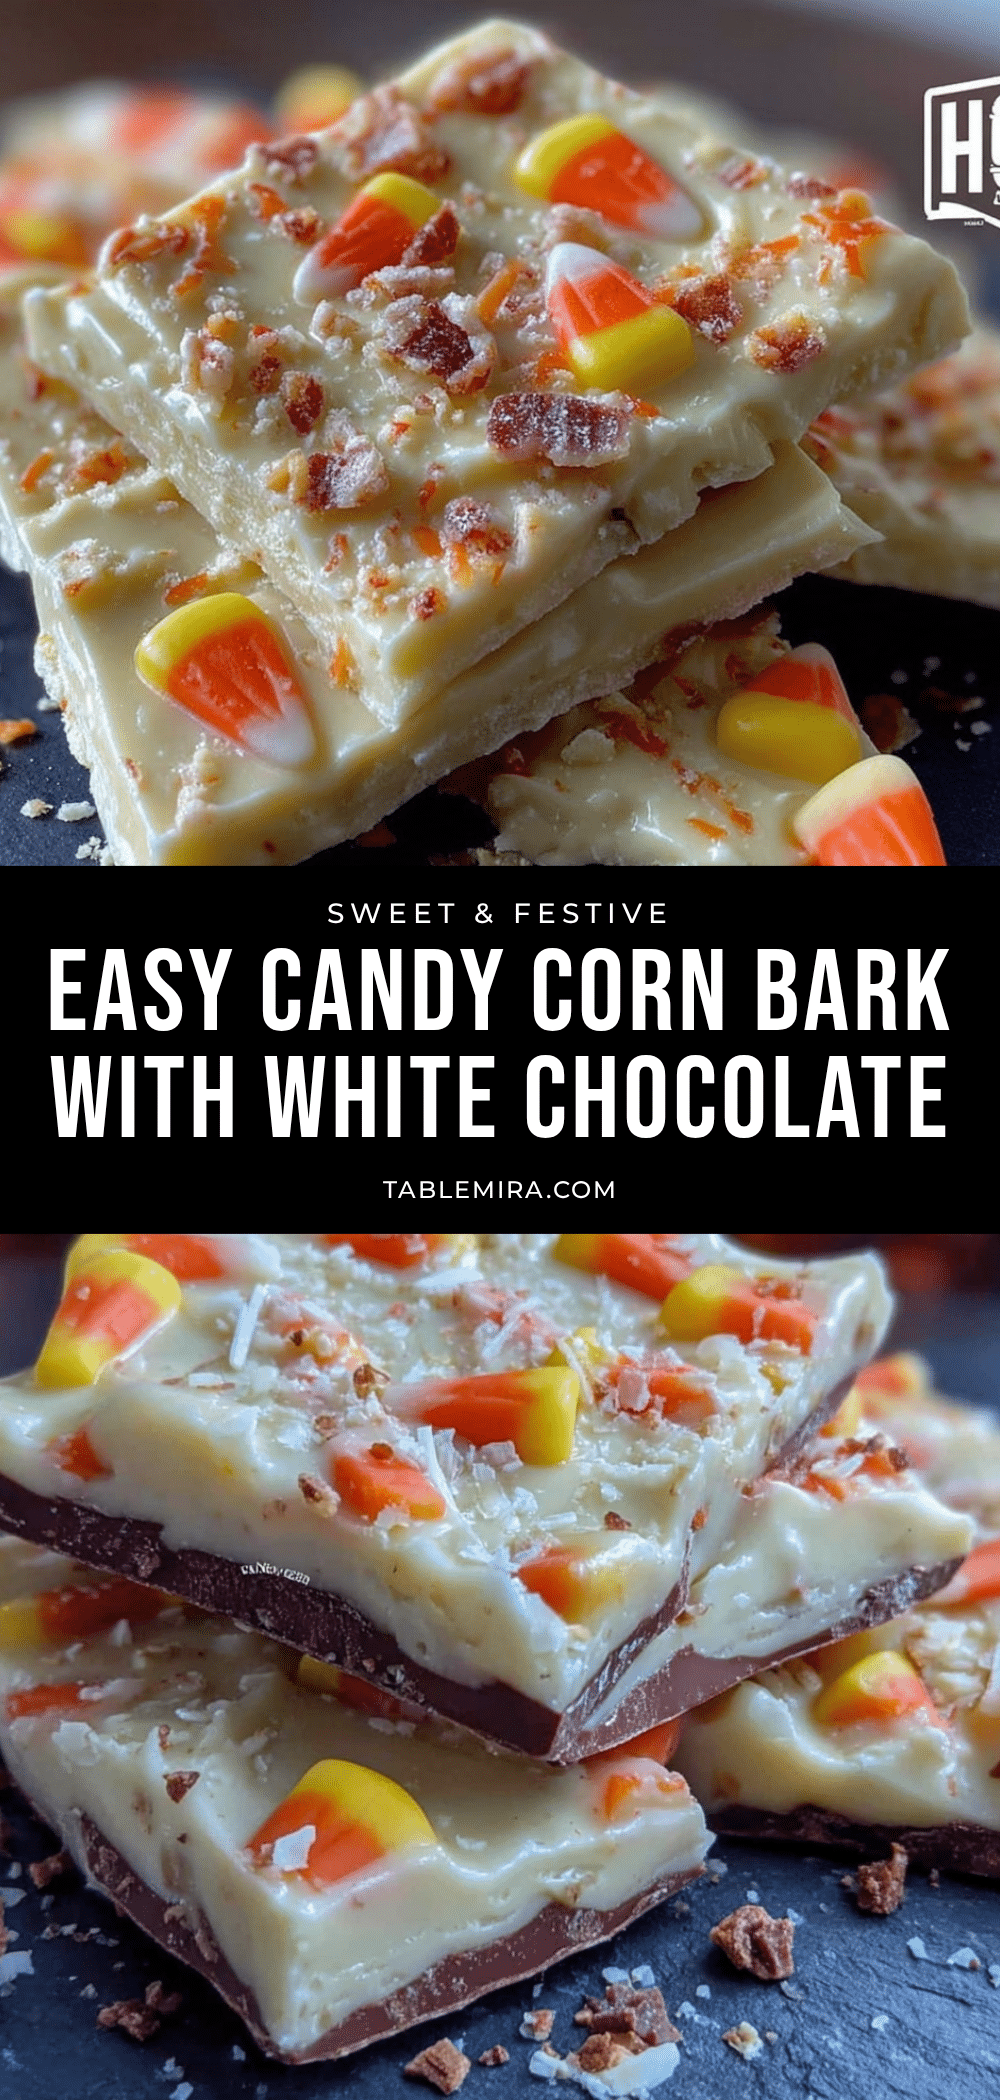
Easy Candy Corn Bark Recipe – Best 10-Minute Treat

This candy corn bark is the kind of recipe that makes you look like a hero without breaking a sweat. Ready in 10 minutes with just three simple ingredients, it’s perfect for Halloween parties, Thanksgiving dessert tables, or any autumn get-together.
- Prep Time: 10 minutes
- Cook Time: 0 minutes
- Total Time: 30 minutes (including chilling)
- Yield: 8 servings 1x
- Category: Dessert
- Cuisine: American
Ingredients
- 12 ounces white chocolate chips or bars, chopped
- 1 ½ cups candy corn
- Flaky sea salt, for sprinkling
- ½ cup roasted salted peanuts, roughly chopped (optional)
- ¼ cup dried cranberries or dried cherries (optional)
- Orange or fall-colored sprinkles (optional)
- ¼ teaspoon pumpkin pie spice or cinnamon (optional)
Instructions
- Line your baking sheet with parchment paper or a silicone mat. Make sure the paper extends slightly over the edges—this gives you handles to lift the bark out later. Set the pan aside.
- Chop your white chocolate into small, uniform pieces. If you’re using a bar, cut it into ¼-inch chunks. If you’re using chips, you can skip this step.
- Melt the white chocolate in a microwave-safe bowl. Heat it in 30-second intervals at 50% power, stirring thoroughly between each interval. Do not use full power—white chocolate burns easily. It should take about 2 to 3 minutes total. The chocolate is ready when most of it is melted and only a few small lumps remain. Keep stirring gently—the residual heat will melt the rest. It should be smooth, glossy, and warm but not hot to the touch.
- Pour the melted chocolate onto the center of your prepared baking sheet. Use your rubber spatula to spread it into an even rectangle about ¼-inch thick. Don’t worry about making it perfect—rustic edges are part of the charm. Work quickly because white chocolate starts to set fast.
- Press the candy corn into the melted chocolate. Arrange them in a single layer, pressing down gently so they stick. You can place them in rows, scatter them randomly, or create a pattern—whatever feels right. I usually scatter them because it’s faster and looks more natural. Leave a little space between pieces so each bite has some plain chocolate too.
- Sprinkle with flaky sea salt while the chocolate is still wet. Just a light, even dusting across the entire surface. This is not optional—the salt transforms this from sweet candy into something sophisticated.
- Add any optional toppings now while the chocolate is still tacky. If you’re using peanuts, cranberries, or sprinkles, sprinkle them over the top and press gently to adhere.
- Chill the bark in the refrigerator for at least 20 minutes, or until the chocolate is completely firm and set. It should be hard to the touch and lift easily from the parchment. If it’s still bendy, give it another 5 to 10 minutes.
- Break into pieces once set. Lift the entire slab of bark out of the pan using the parchment paper handles. Place it on a cutting board and break it into irregular pieces with your hands. You can also use a sharp knife to cut clean squares if you prefer a neater look.
- Serve immediately or store in an airtight container. The bark is best enjoyed within a few days.
Notes
Don’t overheat the white chocolate. Use 50% power in the microwave and stir frequently. Work quickly once the chocolate is melted. Use a light hand with the salt. Let the bark come to room temperature before serving. If the weather is humid, skip the salt. The bark actually tastes better on the second day.
Nutrition
- Serving Size: 2 ounces
- Calories: 220
- Sugar: 24
- Sodium: 85
- Fat: 12
- Saturated Fat: 7
- Carbohydrates: 28
- Protein: 2
Keywords: candy corn bark, Halloween treat, easy dessert, white chocolate bark, fall dessert, 10-minute recipe


