My niece, who was eight at the time, asked why I couldn’t just use the cookie cutter backward. I was trying to teach her how to make Halloween cookies—a tradition I’d started the year before, complete with elaborate piping and carefully matched sprinkles. She pointed at the black cat cookie cutter in my hand and said the handle part, the little curved indent, looked like a tail. I started to explain why that wouldn’t work—the shape would be wrong, the proportions would be off, and honestly, I’d been making cookies for a long time. Then I stopped.
She was right. That Tuesday afternoon, covered in flour and probably a little bit of powdered sugar on my forehead, I flipped every single cat cutter backward. The little handle indent became the tail, and the rounded top became the head. It was the most obvious thing in the world, and I had missed it for two whole years. I mean, I’d been fussing with tiny piped-on tails that always broke off in the oven, and this kid just looked at a tool differently. It was humbling, honestly.
That’s how these Halloween Black Cat Sugar Cookies were born—not from some grand recipe development session, but from a beginner’s instinct that turned out to be exactly right. The cookies themselves are a simple, buttery sugar cookie base with a deep black cocoa finish, and they come together with a technique that’s almost absurdly easy. No royal icing stress, no piping bags exploding in your hand. Maybe you’ve been there, wrestling with a piping tip at 10 PM? These cookies are the opposite of that night.
The first batch came out looking like little shadow creatures, glossy and dark with those perfect tail curves. My niece took one bite, nodded like she’d known all along, and said, “See?” I keep making them because every time I do, I remember that being wrong can be the best thing that happens to a recipe.
Why You’ll Love This Recipe
These Halloween Black Cat Sugar Cookies aren’t just another holiday cookie. They’re the kind of recipe that makes you look like a kitchen wizard without actually having to be one. Here’s why they work so well:
- No Royal Icing Required : The black cocoa powder does all the heavy lifting. You get that dramatic, dark color without spending an hour with a piping bag.
- Simple Ingredients : Butter, sugar, flour, eggs, and black cocoa powder. That’s it. You probably have most of this in your pantry right now.
- Perfect for Halloween Parties : These cookies look incredible on a dessert table, and kids absolutely lose their minds over them. They’re spooky but not scary.
- Quick Assembly : The dough comes together in about 15 minutes, and the chilling time is minimal. You can have cookies on the table in under an hour.
- Unbelievably Delicious : The black cocoa gives them a deep, almost Oreo-like flavor that’s way more interesting than a plain sugar cookie.
What makes these different from every other black cat cookie recipe out there? It’s the technique. Using the cookie cutter backward creates that natural tail curve, so you don’t have to pipe on fragile tails that snap off. I tested this with three different cutter shapes before I found the sweet spot. And the flavor? The black cocoa powder isn’t just for color—it adds a subtle richness that makes these cookies taste as good as they look.
This recipe is the one that makes you close your eyes after the first bite. It’s comfort food reimagined for spooky season—faster, easier, but with the same soul-soothing satisfaction. Perfect for impressing guests without stress, or turning a simple Tuesday into something memorable.
What Ingredients You Will Need
This recipe uses simple, wholesome ingredients to deliver bold flavor and satisfying texture without the fuss. Most of these are pantry staples, but the black cocoa powder is worth a special trip to the store or a quick online order.
- Unsalted butter, softened (1 cup / 226g) – I use Kerrygold for the best flavor, but any good-quality unsalted butter works. Make sure it’s at room temperature—cold butter won’t cream properly.
- Granulated sugar (1 cup / 200g) – Standard white sugar. No need for anything fancy here.
- Large egg (1) – Room temperature. If you forget to take it out of the fridge, place it in a bowl of warm water for 5 minutes.
- Vanilla extract (2 teaspoons) – Pure vanilla extract makes a difference. I’ve used the imitation stuff in a pinch, and honestly, you can tell.
- All-purpose flour (2 ½ cups / 312g) – Spoon and level your flour. Scooping directly from the bag packs it down and gives you dry cookies.
- Black cocoa powder (¼ cup / 25g) – This is the star. Regular cocoa powder won’t give you that deep black color. I recommend Rodelle or King Arthur Flour brands. It’s a Dutch-processed cocoa that’s been heavily alkalized, giving it that dark, Oreo-like color and flavor.
- Baking powder (1 teaspoon) – Make sure it’s fresh. Old baking powder won’t give you the right lift.
- Salt (½ teaspoon) – Fine sea salt or table salt. It balances the sweetness and enhances the cocoa flavor.
- Powdered sugar (for dusting, optional) – A light dusting makes the cookies look like they’ve been dusted with moonlight. Or you can use white icing for eyes.
Substitution Guidance : If you can’t find black cocoa powder, you can use a mix of 2 tablespoons regular Dutch-processed cocoa and 2 tablespoons activated charcoal powder. But honestly, the black cocoa gives a much better flavor. For a dairy-free option, use vegan butter sticks—not the spreadable kind in a tub. They have too much water.
Equipment Needed
You don’t need a lot of fancy equipment for these cookies. Here’s what you’ll actually use:
- Electric mixer (stand or hand-held) – A hand mixer works perfectly fine. I’ve made these with both, and the hand mixer actually gives me more control over the creaming.
- Large mixing bowls – At least two. One for the wet ingredients, one for the dry.
- Cat-shaped cookie cutter – Look for one that has a curved handle indent on top. That’s the secret to the tail. I found mine at a thrift store for 50 cents.
- Baking sheets – Two standard half-sheet pans. Line them with parchment paper or a silicone baking mat.
- Rolling pin – I use a French-style tapered pin, but any rolling pin works. If you don’t have one, a wine bottle works in a pinch—just wash it first.
- Parchment paper – For rolling and baking. It makes cleanup so much easier.
- Wire cooling rack – Essential for getting those cookies to cool evenly. Stacking warm cookies makes them soggy.
Budget-Friendly Options : Skip the expensive cookie cutter. Thrift stores and dollar stores almost always have Halloween-shaped cutters. And honestly, you can use a round cutter and shape the ears and tail by hand if you’re feeling crafty.
Preparation Method
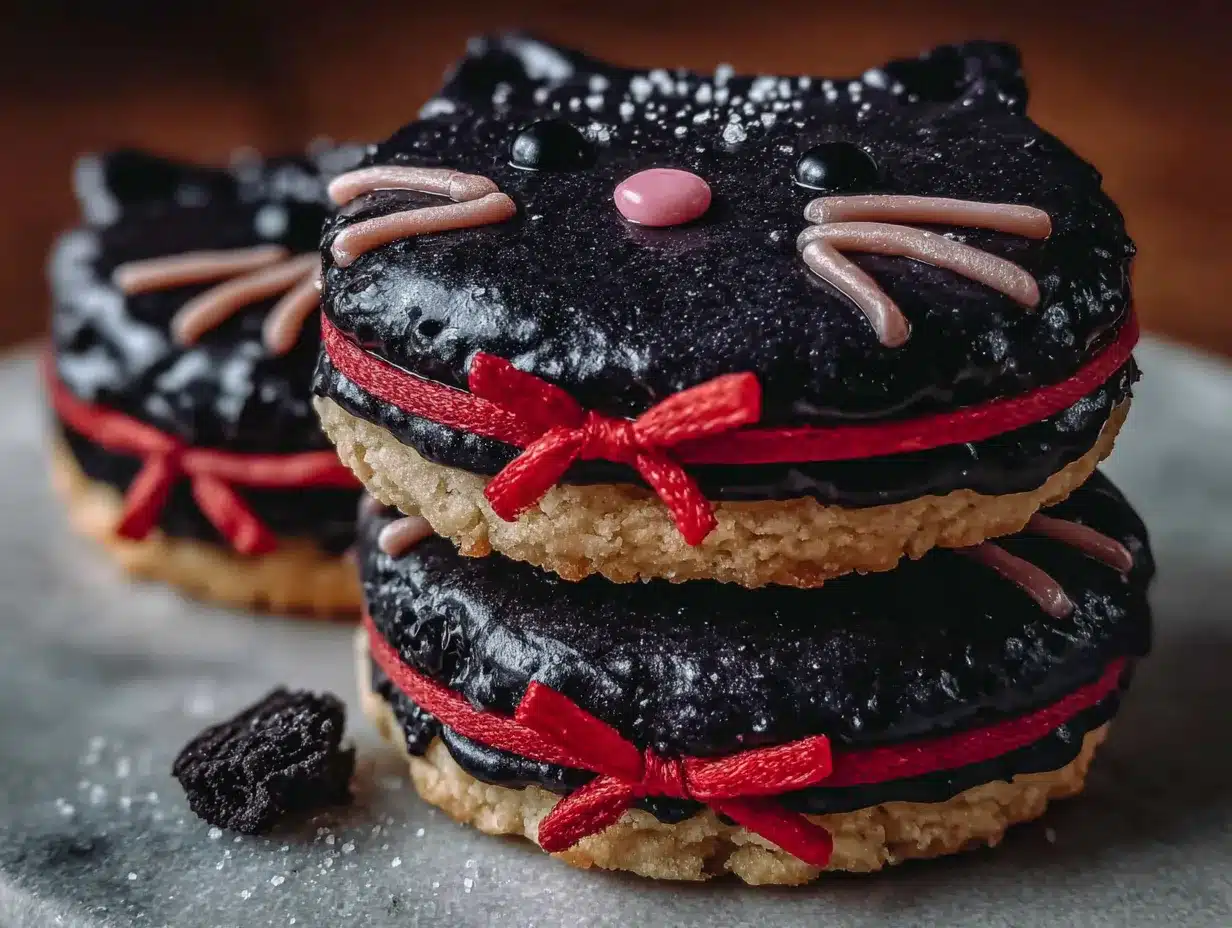
Let’s make some spooky cookies. This method is straightforward, but I’ve included every little trick I’ve learned from making these about twenty times.
- Cream the butter and sugar. In a large bowl, beat the softened butter and granulated sugar together on medium speed until light and fluffy, about 3-4 minutes. Scrape down the sides of the bowl halfway through. You want the mixture to look pale and almost doubled in volume. If it looks greasy, you’ve gone too far.
- Add the egg and vanilla. Crack the egg into a small bowl first—just in case you get shell pieces. Add it to the butter mixture along with the vanilla extract. Beat on low speed until combined, about 30 seconds. The mixture might look a little curdled at this point. Don’t panic. That’s normal.
- Whisk the dry ingredients. In a separate bowl, whisk together the flour, black cocoa powder, baking powder, and salt. Whisking aerates the flour and ensures the cocoa powder is evenly distributed. I learned this the hard way after biting into a cookie with a pocket of straight cocoa. Not pleasant.
- Combine wet and dry. Add the dry ingredients to the wet mixture in two additions, mixing on low speed after each. Stop when you no longer see streaks of flour. Overmixing develops gluten and makes tough cookies. The dough will look dark and slightly crumbly, but it should hold together when pressed.
- Chill the dough. Flatten the dough into a disk about 1 inch thick, wrap it in plastic wrap, and refrigerate for at least 30 minutes. This step is non-negotiable. Chilled dough is way easier to roll and cut, and it helps the cookies hold their shape in the oven. I once skipped this step because I was in a hurry, and the cookies spread into amorphous black blobs. They tasted fine, but they looked like coal.
- Preheat the oven. Set your oven to 350°F (175°C). Line two baking sheets with parchment paper.
- Roll and cut. On a lightly floured surface, roll the chilled dough to about ¼-inch thickness. Use your cat cookie cutter, but here’s the trick: press the cutter into the dough with the handle indent facing upward. That indent becomes the tail. Press firmly, then lift straight up. Place the cookies on the prepared baking sheets, leaving about 1 inch between them. They don’t spread much, but they need a little breathing room.
- Bake. Bake for 8-10 minutes. The cookies are done when the edges look set and the bottoms are just barely golden. They will look soft in the center—that’s okay. Let them cool on the baking sheet for 5 minutes before transferring to a wire rack. The carryover heat finishes the cooking.
- Decorate (optional). Once completely cool, you can dust them with powdered sugar for a “moonlit” effect. Or pipe on little white eyes using a simple glaze (powdered sugar mixed with a splash of milk). I usually leave half of them plain—they look elegant that way.
Cooking Tips & Techniques
I’ve made enough mistakes with these cookies to fill a small notebook. Let me save you the trouble.
The Dough Temperature Trap : If your dough gets too warm while you’re rolling, it becomes sticky and impossible to work with. Pop it back in the fridge for 10 minutes. I keep a second batch chilling while I cut the first. It’s a game-changer for efficiency.
The Black Cocoa Lesson : Black cocoa powder is more bitter than regular cocoa. Don’t taste the raw dough and think you’ve ruined everything. The bitterness mellows out during baking, and the sugar balances it perfectly. My first batch of dough tasted like dirt, and I almost threw it away. I’m glad I didn’t.
Consistency Check : The dough should feel like play-dough—firm but pliable. If it’s too dry and crumbly, add a teaspoon of milk. If it’s too sticky, add a tablespoon of flour. Trust your hands more than the recipe.
The Spreading Problem : If your cookies are spreading into blobs, your dough was too warm, or your butter was too soft. Chilling the cut cookies on the baking sheet for 10 minutes before baking can help. I do this when I’m working in a hot kitchen.
Timing Strategy : Make the dough the night before. It actually improves the flavor—the cocoa has time to meld with the butter. Then all you have to do the next day is roll, cut, and bake. This is my preferred method for party prep.
Variations & Adaptations
These cookies are surprisingly adaptable. Here are a few ways I’ve played with them:
- Gluten-Free Version : Substitute the all-purpose flour with a 1:1 gluten-free baking flour blend. I’ve used Bob’s Red Mill with good results. Add an extra tablespoon of flour—gluten-free dough tends to be stickier.
- Spiced Variation : Add ½ teaspoon of cinnamon and ¼ teaspoon of cayenne pepper to the dry ingredients. The heat sneaks up on you, and it pairs beautifully with the black cocoa. I made these for a Halloween party, and people kept asking what the secret ingredient was.
- Sandwich Cookies : Bake the cookies without the tail indent (use the cutter the “right” way) and sandwich them with a cream cheese frosting. It’s like a homemade Oreo, but spookier.
- Vegan Adaptation : Use vegan butter sticks and a flax egg (1 tablespoon ground flaxseed mixed with 3 tablespoons water, let sit for 5 minutes). The texture is slightly less tender, but the flavor is still fantastic.
- Glow-in-the-Dark Eyes : Mix a tiny bit of neon food coloring into a simple powdered sugar glaze and pipe on eyes. Under a blacklight, they actually glow. My niece thought this was the coolest thing ever.
Serving & Storage Suggestions
These cookies are best served at room temperature, which is convenient because that’s how they’ll be after you bake them. Arrange them on a dark platter or a wooden board for maximum spooky effect. A dusting of powdered sugar right before serving makes them look like they’ve been caught in a moonbeam.
Storage : Store the cookies in an airtight container at room temperature for up to 5 days. Layer them between sheets of parchment paper to prevent sticking. The flavor actually improves on day two—the cocoa settles and the cookies become more tender.
Freezing : You can freeze the baked cookies for up to 3 months. Place them in a single layer in a freezer-safe container, separated by parchment. Thaw at room temperature for about 30 minutes before serving. You can also freeze the raw dough disks for up to 2 months. Just thaw in the fridge overnight before rolling and cutting.
Reheating : If you want that just-baked warmth, pop a cookie in a 300°F (150°C) oven for 3-4 minutes. Don’t use the microwave—it makes them rubbery. I learned this after microwaving one and feeling personally betrayed by the result.
Flavor Development : These cookies are actually better the next day. The black cocoa flavor deepens and the texture softens just a touch. If you can resist eating them all on day one, you’ll be rewarded on day two.
Nutritional Information & Benefits
Let’s be honest—these are cookies. They’re a treat. But here’s what you’re working with, based on one cookie (assuming about 24 cookies per batch):
| Nutrient | Amount per Cookie |
|---|---|
| Calories | 145 |
| Total Fat | 8g |
| Saturated Fat | 5g |
| Carbohydrates | 18g |
| Sugar | 9g |
| Protein | 2g |
Health Considerations : Black cocoa powder is rich in antioxidants—more so than regular cocoa because of the Dutch-processing method. It also contains iron and magnesium. The butter provides vitamin A, and the egg adds a small amount of protein. That said, this is a dessert, not a health food. Enjoy it in moderation, and maybe have an apple alongside it.
Allergen Note : This recipe contains wheat (gluten), dairy, and eggs. For allergen-friendly versions, see the variations section above.
Conclusion
These Halloween Black Cat Sugar Cookies are proof that sometimes the best ideas come from the most unexpected places. My niece saw something I couldn’t see—a simple shape reversal that turned a frustrating cookie into a beloved tradition. Every time I make these, I think about that Tuesday afternoon, the flour on the counter, and the way she said “see?” like it was the most obvious thing in the world.
I hope you give these cookies a try, whether you’re making them for a Halloween party, a classroom treat, or just because you want something dark and delicious on a cool October afternoon. Customize them however you like—add spice, change the shape, or keep them perfectly plain. The recipe is just a starting point.
I’d love to hear how yours turn out. Leave a comment below and tell me about your cookie-making adventures. Did you discover a new trick? Did your kids suggest something that changed the recipe? Share your story—I read every single comment. And if you loved these, please share this post with a friend who needs a little spooky sweetness in their life.
Happy Halloween, and happy baking! Remember: sometimes being wrong is the best thing that can happen to a recipe.
Frequently Asked Questions
Can I use regular cocoa powder instead of black cocoa?
You can, but the cookies won’t be black. They’ll be a dark brown, which is still nice but not as dramatic. The flavor will also be different—less Oreo-like and more traditional chocolate. If you’re set on black cookies, I’d recommend finding black cocoa powder.
How do I prevent the cookies from spreading too much?
Make sure your dough is properly chilled—at least 30 minutes in the fridge. Also, don’t over-cream the butter and sugar. If your kitchen is warm, pop the cut cookies on the baking sheet in the fridge for 10 minutes before baking. That extra chill helps them hold their shape.
Can I make the dough ahead of time?
Absolutely. The dough can be refrigerated for up to 3 days or frozen for up to 2 months. Just wrap it tightly in plastic wrap. If freezing, thaw overnight in the fridge before rolling. The flavor actually improves with time.
My cookies turned out too bitter. What went wrong?
Black cocoa powder is naturally more bitter than regular cocoa. If your cookies are too bitter, you might have over-measured the cocoa, or you might have used a brand that’s particularly intense. Next time, try reducing the cocoa to 3 tablespoons and adding 1 tablespoon of regular cocoa powder.
How do I get the tail shape right?
Look for a cookie cutter that has a small curved indent on the top edge—that’s the handle. When you press the cutter into the dough, keep that indent facing upward. It will create a natural curve that looks exactly like a cat’s tail. If your cutter doesn’t have this feature, you can gently pinch the dough to form a tail shape before baking.
Pin This Recipe!
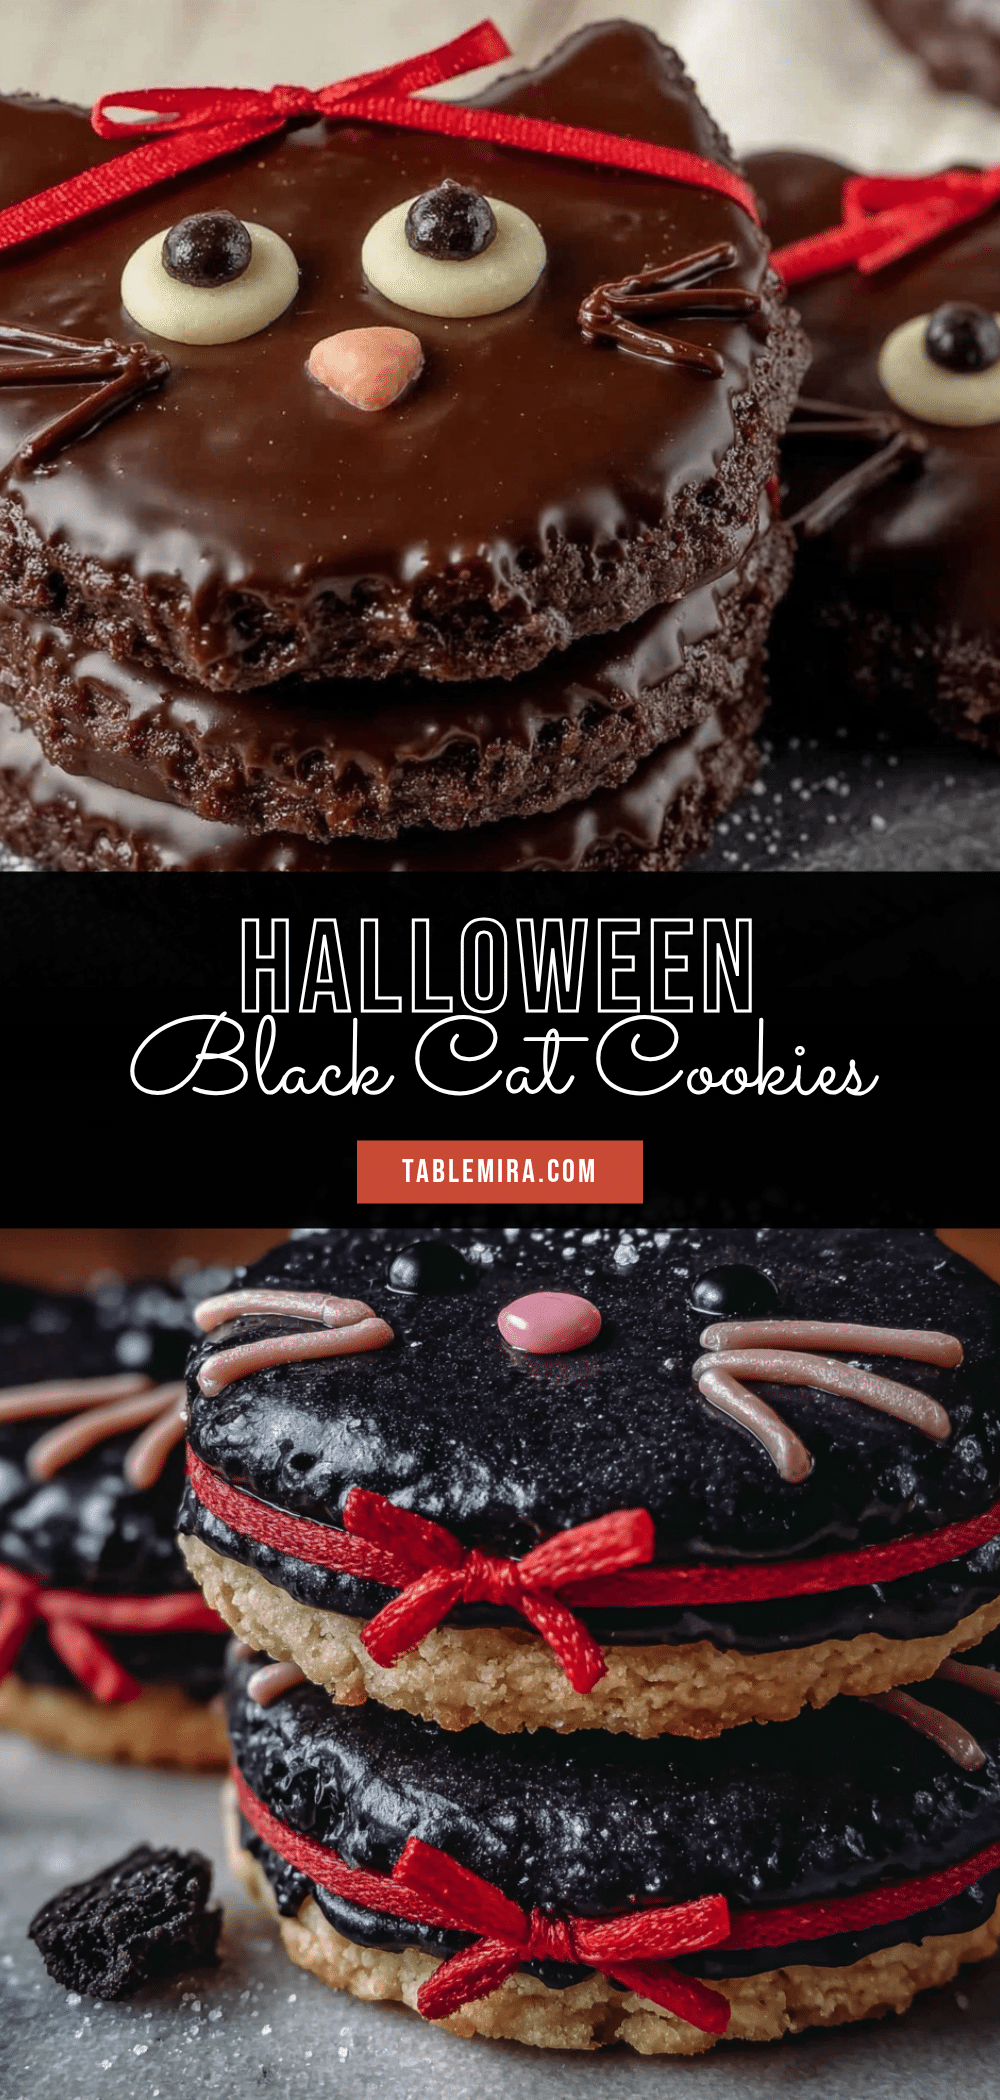
Easy Halloween Black Cat Sugar Cookies Recipe

These buttery black cocoa sugar cookies use a clever trick—flipping the cookie cutter backward—to create a natural tail shape without fragile piped-on tails. No royal icing required, just simple ingredients and a spooky, delicious result.
- Prep Time: 15 minutes
- Cook Time: 10 minutes
- Total Time: 55 minutes
- Yield: 24 servings 1x
- Category: Dessert
- Cuisine: American
Ingredients
- 1 cup (226g) unsalted butter, softened
- 1 cup (200g) granulated sugar
- 1 large egg, room temperature
- 2 teaspoons vanilla extract
- 2 ½ cups (312g) all-purpose flour
- ¼ cup (25g) black cocoa powder
- 1 teaspoon baking powder
- ½ teaspoon salt
- Powdered sugar for dusting (optional)
Instructions
- Cream the butter and sugar together on medium speed until light and fluffy, about 3-4 minutes. Scrape down the sides halfway through.
- Add the egg and vanilla extract; beat on low speed until combined, about 30 seconds.
- In a separate bowl, whisk together the flour, black cocoa powder, baking powder, and salt.
- Add the dry ingredients to the wet mixture in two additions, mixing on low speed after each until no streaks of flour remain.
- Flatten the dough into a 1-inch thick disk, wrap in plastic wrap, and refrigerate for at least 30 minutes.
- Preheat oven to 350°F (175°C). Line two baking sheets with parchment paper.
- On a lightly floured surface, roll the chilled dough to ¼-inch thickness. Use a cat-shaped cookie cutter with the handle indent facing upward to create the tail. Place cookies 1 inch apart on prepared baking sheets.
- Bake for 8-10 minutes, until edges are set and bottoms are just barely golden. Cool on baking sheet for 5 minutes, then transfer to a wire rack.
- Once completely cool, dust with powdered sugar or pipe on white eyes using a simple glaze, if desired.
Notes
Black cocoa powder is more bitter than regular cocoa; the bitterness mellows during baking. For best results, chill the dough thoroughly and avoid overmixing. The cookies actually taste better the next day as the cocoa flavor deepens.
Nutrition
- Serving Size: 1 cookie
- Calories: 145
- Sugar: 9
- Sodium: 75
- Fat: 8
- Saturated Fat: 5
- Carbohydrates: 18
- Fiber: 1
- Protein: 2
Keywords: Halloween cookies, black cat cookies, sugar cookies, black cocoa cookies, spooky cookies, easy Halloween dessert


