My roommate Sarah asked me why I couldn’t just use a regular skillet instead of dragging out the big baking dish. I was about to launch into my usual explanation about even heat distribution and proper depth for fruit bubbling—the whole spiel I’d perfected over years of making apple crisp for crowds. But something made me stop. She had a point. It was just the two of us, a Tuesday night, and honestly, I was tired of eating leftover crisp for four days straight.
So I grabbed the cast iron skillet, shrugged, and went for it. And let me tell you—that small-batch apple crisp for two turned out better than any full-sized version I’d ever made. The edges got caramelized in a way that never happens in a big dish. The topping-to-apple ratio was perfect. Every single bite had that crunchy, buttery streusel on top. I stood there at the counter, eating straight from the skillet, genuinely annoyed at myself for not figuring this out sooner.
Maybe you’ve been there too—wanting a warm, cozy dessert but not wanting to commit to a whole pan that feeds twelve. This small-batch apple crisp for two is the answer. It’s got all the cinnamon-spiced, tender apples and that golden, crispy topping you crave, but it’s scaled down perfectly for two people. Or, let’s be honest, for one person with excellent self-control who just wants dessert for two nights in a row.
That skillet moment taught me something I should have already known: bigger isn’t always better. Sometimes the best recipes come from scaling back and paying attention to the details. This small-batch apple crisp for two has become my go-to fall dessert, and I keep making it because it delivers that soul-warming comfort without the waste or the wait.
Why You’ll Love This Recipe
After testing this small-batch apple crisp for two more times than I want to admit (my neighbors have been very patient), I can confidently say this version hits every mark. It’s not just a scaled-down recipe—it’s been reworked to give you the best possible experience when cooking for two.
- Perfectly Portioned : No more eating apple crisp for a week straight. This makes exactly two generous servings, ideal for date night, a cozy evening, or treating yourself.
- Quick & Easy : Ready in about 40 minutes from start to finish. Most of that time is hands-off baking, so you can relax or prep dinner while it cooks.
- Simple Ingredients : You probably have everything in your kitchen right now. No fancy trips to specialty stores.
- Perfect for Fall Gatherings : Hosting a small dinner party? This is the ideal dessert—impressive but stress-free.
- Better Ratio : The topping-to-apple ratio is actually better in this small batch. Every spoonful gets that perfect crunchy bite.
- Unbelievably Delicious : The apples get perfectly tender, the caramelized edges are pure magic, and that buttery oat topping is absolutely irresistible.
What makes this small-batch apple crisp for two different from other recipes is the technique. Instead of just halving a full recipe, I adjusted the cooking time and apple prep to work specifically for smaller dishes. The apples are cut slightly smaller so they cook through properly, and the topping gets extra attention to ensure it stays crunchy rather than soggy. It’s the kind of recipe that makes you close your eyes after the first bite—comfort food reimagined for real life.
This is perfect for impressing a date without breaking a sweat, or for turning a quiet Tuesday into something memorable. Honestly, it’s the dessert that keeps proving small batches can be the best batches.
What Ingredients You Will Need
This small-batch apple crisp for two uses simple, wholesome ingredients that come together to create something genuinely special. Most of these are pantry staples, which makes this recipe perfect for spontaneous dessert cravings.
For the Apple Filling
- 2 medium apples (about 300g total) – I recommend a mix of tart and sweet varieties. Honeycrisp and Granny Smith are my go-to combination. The tart apples hold their shape while the sweet ones break down into that lovely jammy texture. Look for firm apples without soft spots.
- 2 tablespoons granulated sugar (25g) – Regular white sugar works perfectly here. It helps draw out the apple juices and creates that syrupy goodness.
- 1 tablespoon brown sugar (12g) – Adds a subtle molasses depth that complements the cinnamon beautifully. Light or dark brown sugar both work fine.
- 1 tablespoon all-purpose flour (8g) – This helps thicken the apple juices so you don’t end up with a watery filling. You can substitute with cornstarch if needed.
- 1/2 teaspoon ground cinnamon – The star spice here. I prefer Saigon cinnamon for its stronger, sweeter flavor, but any cinnamon works.
- 1/8 teaspoon nutmeg – Freshly grated if you have it, but pre-ground is perfectly fine. Just a tiny pinch goes a long way.
- 1 teaspoon lemon juice – Fresh squeezed is best. It prevents the apples from browning and brightens all the flavors.
For the Crisp Topping
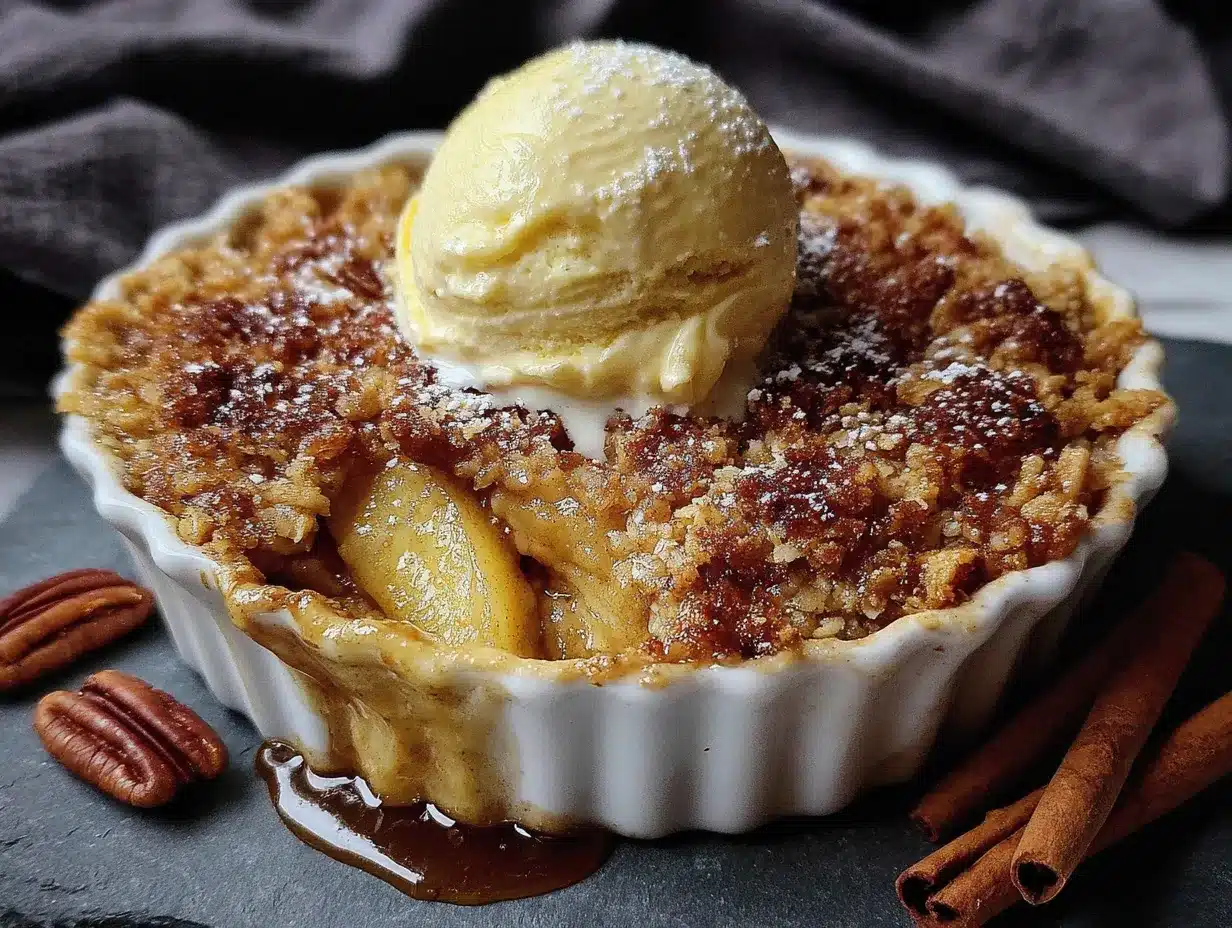
- 1/3 cup old-fashioned rolled oats (30g) – Do not use instant oats here. Old-fashioned oats give that perfect chewy-crunchy texture. Quick oats will turn mushy.
- 1/3 cup all-purpose flour (42g) – Creates the structure for the topping. You can substitute with whole wheat pastry flour for a nuttier flavor.
- 1/3 cup brown sugar (67g) – Pack it firmly when measuring. This is what gives the topping that deep, caramelized sweetness.
- 1/4 cup unsalted butter (57g) – Cold and cut into small cubes. I use unsalted to control the salt level, but salted butter works if you reduce the added salt. Kerrygold is my personal favorite for its rich flavor.
- 1/4 teaspoon salt – Just a pinch to balance the sweetness and make all the flavors pop.
- 1/4 teaspoon cinnamon – A little extra warmth in the topping never hurts.
Substitution Guidance: For a gluten-free version, use certified gluten-free oats and a 1:1 gluten-free baking flour blend. For a dairy-free option, substitute the butter with cold coconut oil or a plant-based butter stick—just make sure it’s solid and cold. If you don’t have lemon juice, a splash of apple cider vinegar works in a pinch. And if you’re out of brown sugar, mix 1 tablespoon molasses with 1/2 cup white sugar and use 1/3 cup of that mixture.
Equipment Needed
One of the best things about this small-batch apple crisp for two is that you don’t need any fancy equipment. Here’s what you’ll need:
- Two 8-ounce ramekins OR one 6-inch skillet or baking dish – Ramekins make for beautiful individual servings, while a small skillet gives you that rustic, straight-from-the-oven appeal. I’ve used both and honestly prefer the skillet for the extra caramelization on the edges.
- Mixing bowls – One medium bowl for the apples, one small bowl for the topping. Nothing fancy needed.
- Sharp knife and cutting board – For prepping the apples. A vegetable peeler is helpful but not essential if you leave the skins on.
- Measuring cups and spoons – Accuracy matters in small batches, so measure carefully.
- Rubber spatula or wooden spoon – For mixing everything together.
- Baking sheet – Place your ramekins or skillet on a baking sheet to catch any drips. Trust me on this one—I learned the hard way.
If you don’t have ramekins, you can use a small loaf pan or even a 4-cup baking dish. The key is that the dish isn’t too large, or the apples won’t cook properly and the topping-to-filling ratio will be off. I picked up my ramekins at a thrift store for two dollars, so keep an eye out for budget-friendly options.
Preparation Method
Let me walk you through making this small-batch apple crisp for two. The process is straightforward, but I’ll share the little details that make a big difference.
- Preheat your oven to 375°F (190°C). Get this going first so the oven is nice and hot when you’re ready to bake. Place a baking sheet on the middle rack to catch any drips—this saves you from a smoky kitchen later.
- Prepare the apples. Peel the apples if you prefer a smoother texture, or leave the skins on for extra fiber and a rustic look. I usually peel one apple and leave the other unpeeled for a nice balance. Cut the apples into 1/2-inch cubes—smaller than you might think. In a small batch, smaller pieces cook more evenly and create that lovely, jammy texture. You should have about 2 cups of chopped apples.
- Make the filling mixture. In a medium bowl, combine the chopped apples with 2 tablespoons granulated sugar, 1 tablespoon brown sugar, 1 tablespoon flour, 1/2 teaspoon cinnamon, 1/8 teaspoon nutmeg, and 1 teaspoon lemon juice. Stir everything together until the apples are evenly coated. Let this sit while you make the topping—this gives the apples time to release some juices, which creates that beautiful syrupy filling.
- Make the crisp topping. In a small bowl, combine 1/3 cup rolled oats, 1/3 cup flour, 1/3 cup packed brown sugar, 1/4 teaspoon salt, and 1/4 teaspoon cinnamon. Stir these dry ingredients together with a fork. Add the cold butter cubes and use your fingers or a pastry cutter to work the butter into the dry mixture. You want the texture to be uneven—some pea-sized butter pieces, some smaller sandy bits. Stop when the mixture holds together when you squeeze it. Don’t overwork it, or the topping will be dense instead of crispy.
- Assemble the crisp. Divide the apple mixture evenly between your two ramekins or spread it in your small skillet. Sprinkle the topping evenly over the apples. Don’t press it down—you want it to sit loosely on top so it gets golden and crunchy. If you’re using ramekins, place them on the baking sheet. If using a skillet, just put the skillet directly on the baking sheet.
- Bake the crisp. Place the baking sheet with your crisp in the preheated oven. Bake for 25-30 minutes, or until the topping is golden brown and the apple filling is bubbly around the edges. The bubbling is important—that means the filling has thickened properly. If the topping starts browning too quickly around the 20-minute mark, tent loosely with foil for the remaining time.
- Cool slightly before serving. Let the crisp rest for at least 5-10 minutes after coming out of the oven. This allows the filling to set up a bit—if you serve it immediately, it will be runny. The waiting is the hardest part, I know, but it’s worth it.
Sensory cues: When the crisp is done, your kitchen will smell like a fall candle come to life—cinnamon, baked apples, and buttery oats. The topping should look deeply golden, and you should see bubbles of thick, syrupy apple juice breaking through around the edges. The apples should be tender when pierced with a fork, but not mushy.
Personal tip: I always set a timer for 20 minutes and then check every 2 minutes after that. Oven temperatures vary, and that last 5 minutes can make the difference between perfectly golden and slightly burnt edges. Also, let the ramekins cool on a wire rack if you have one—it helps the bottoms stay crisp rather than steaming on a hot counter.
Cooking Tips & Techniques
After making this small-batch apple crisp for two more times than I’d like to count, I’ve collected some hard-won wisdom. Let me share the lessons I learned the hard way so you don’t have to.
Choose the right apples. This is the most important decision you’ll make. Soft apples like McIntosh will break down into applesauce—which is fine if that’s what you want, but not ideal for a crisp with texture. Firm apples like Honeycrisp, Granny Smith, or Braeburn hold their shape while still getting tender. My favorite combination is one Honeycrisp for sweetness and one Granny Smith for tartness and structure. The contrast in flavors and textures makes the dish more interesting.
Don’t skip the lemon juice. I forgot it once and the apples turned brown and the filling tasted flat. That little bit of acid brightens everything and keeps the apples looking appetizing. It also helps the pectin in the apples thicken the filling naturally.
Cold butter is non-negotiable. The first time I made this, I used room-temperature butter because I was impatient. The topping turned into a dense, greasy paste instead of a crumbly, crispy streusel. Cold butter creates steam pockets as it melts in the oven, which gives you that light, crunchy texture. Keep your butter in the fridge until the moment you need it.
Watch your bake time. Small batches cook faster than full-sized crisps. I’ve burned the topping more than once by assuming it needed the same 40-45 minutes a big dish requires. Start checking at 22 minutes and trust your eyes and nose more than the timer. The topping should be deep golden brown, and you should see bubbling around the edges.
Let it rest. I know it’s tempting to dig in immediately, but that 5-10 minute rest is crucial. The filling continues to thicken as it cools slightly. If you serve it right away, you’ll get a soupy mess. If you wait, you’ll get perfect, spoonable apple goodness that holds its shape.
Make ahead tip: You can assemble the entire crisp (without baking) up to 24 hours in advance. Just cover and refrigerate. Add about 5 minutes to the baking time if starting from cold. This is a lifesaver when you’re hosting and want to minimize last-minute work.
Variations & Adaptations
This small-batch apple crisp for two is wonderfully adaptable. Here are some variations I’ve tried and loved:
Berry-Apple Crisp: Swap one of the apples for 1/2 cup of fresh or frozen berries. Raspberries or blackberries work beautifully. The berries burst and create these gorgeous ruby pockets throughout the filling. If using frozen berries, add them straight from the freezer without thawing—and add an extra teaspoon of flour to absorb the extra moisture.
Pear Crisp: Substitute one apple with a ripe but firm pear. Bosc or Anjou pears are excellent choices. Pears have a more delicate flavor, so consider adding a pinch of ginger to complement them. The texture will be slightly softer, but equally delicious.
Gluten-Free Version: Use certified gluten-free oats and replace the all-purpose flour with a 1:1 gluten-free baking blend. I’ve tested this with Bob’s Red Mill and King Arthur’s gluten-free blends, and both worked perfectly. The topping might be slightly more delicate, so handle it gently when sprinkling.
Vegan Version: Substitute the butter with cold coconut oil or a plant-based butter stick. I’ve had great results with Earth Balance sticks. The topping won’t be quite as crispy, but it’s still wonderfully satisfying. Use maple syrup instead of brown sugar for a refined sugar-free option.
Spice It Up: Add 1/4 teaspoon of cardamom or allspice along with the cinnamon for a more complex flavor profile. Or try a pinch of cloves for that classic mulled cider taste. I once added a tiny pinch of black pepper, and the warmth it added was surprising and delightful.
Nutty Crunch: Add 2 tablespoons of chopped pecans or walnuts to the topping mixture. Toast them lightly first for maximum flavor. This adds a wonderful textural contrast and makes the crisp feel even more special.
Serving & Storage Suggestions
This small-batch apple crisp for two is at its absolute best served warm, straight from the oven. Here’s how to make it shine:
Serving temperature: Warm is non-negotiable. The contrast between the warm, tender apples and a cold topping is what makes this dessert sing. If the crisp has cooled down, pop it in a 300°F oven for 5 minutes to rewarm.
What to serve with it: A scoop of vanilla ice cream is the classic pairing, and for good reason—the cold creaminess balances the warm, spiced apples perfectly. But don’t stop there. A dollop of whipped cream, a drizzle of heavy cream, or a spoonful of Greek yogurt all work beautifully. For a special touch, try a scoop of caramel or cinnamon ice cream.
Presentation tips for hosting: Serve the crisp directly in the ramekins or skillet for that rustic, cozy look. Place each ramekin on a small plate, add a scoop of ice cream on top, and finish with a light dusting of cinnamon. A small sprig of mint adds a pop of color. If you’re feeling fancy, drizzle caramel sauce over the top.
Storage: Covered in the refrigerator, this crisp will keep for up to 3 days. The topping will lose some of its crunch over time, but it’s still delicious. To reheat, place in a 350°F oven for 8-10 minutes, or until warmed through. The microwave works in a pinch, but the topping will be soft rather than crispy.
Freezing: You can freeze the unbaked crisp for up to 3 months. Assemble in a freezer-safe dish, wrap tightly in plastic wrap and foil, and freeze. Bake from frozen, adding about 10-15 minutes to the baking time. Baked crisp can also be frozen, but the texture will be softer upon thawing.
Flavor development: Honestly, this crisp is best on the first day. The topping stays crispiest, and the apples have that perfect texture. Leftovers are still good, but the magic of that first warm bite is hard to beat.
Nutritional Information & Benefits
This small-batch apple crisp for two is a dessert, so let’s be realistic about it. But it does have some redeeming qualities worth mentioning.
Estimated nutritional values per serving (1 ramekin):
- Calories: 380
- Total Fat: 14g
- Saturated Fat: 8g
- Carbohydrates: 62g
- Fiber: 5g
- Sugar: 38g
- Protein: 4g
Health highlights: Apples are a good source of fiber and vitamin C, especially if you leave the skins on. Oats provide soluble fiber, which is great for heart health. Cinnamon has anti-inflammatory properties and can help regulate blood sugar. The portion control aspect of this small-batch recipe is actually a benefit—you’re less likely to overindulge than with a full-sized crisp.
Dietary considerations: This recipe is vegetarian and can be made gluten-free, dairy-free, or vegan with simple substitutions. It contains wheat and dairy in its standard form. The sugar content is moderate for a dessert, but you can reduce it by 1-2 tablespoons without significantly affecting the texture.
Personal perspective: I don’t make this because it’s healthy—I make it because it’s comforting and delicious. But knowing that I’m getting some fiber and vitamins from real fruit makes me feel a little better about that second scoop of ice cream. Everything in moderation, right?
Conclusion
This small-batch apple crisp for two has become my favorite fall dessert, and I think it will become yours too. It’s simple enough for a weeknight treat but special enough for a dinner party. The apples get perfectly tender, the topping is impossibly crunchy, and the whole thing comes together in under an hour with ingredients you already have.
What I love most about this recipe is how it proves that good things really do come in small packages. That skillet moment with my roommate taught me to question my assumptions in the kitchen—and that lesson has made me a better cook. Sometimes the best recipes aren’t the biggest or the most complicated. Sometimes they’re the ones you can make on a Tuesday night, share with someone you care about, and feel completely satisfied.
I’d love to hear how this small-batch apple crisp for two turns out for you. Did you try any variations? What did you serve with it? Drop a comment below and let me know—your feedback helps me create better recipes, and I genuinely love hearing about your kitchen adventures. And if you loved this recipe, please share it with a friend who needs a little fall comfort in their life.
Happy baking, and remember—sometimes the best things come in small batches.
Frequently Asked Questions
Can I make this small-batch apple crisp for two in a microwave?
Technically yes, but I don’t recommend it. The microwave will cook the apples and melt the topping, but you won’t get that golden, crispy texture that makes this dessert special. The oven is worth the extra 25 minutes.
What if I only have quick oats instead of rolled oats?
Quick oats will work in a pinch, but the texture will be softer and less crunchy. The topping will still taste good, just different. If you’re using quick oats, consider adding an extra tablespoon of flour to help with structure.
Can I double this recipe?
Absolutely. Double all the ingredients and bake in a 9-inch pie dish or 8×8 baking pan. Increase the baking time to 35-40 minutes. The topping-to-filling ratio might shift slightly, so you could increase the topping ingredients by 1.5 times for a thicker layer.
Why is my apple filling watery?
This usually happens for one of three reasons: the apples were too watery (try firmer varieties), you didn’t let the crisp rest after baking, or you used too much lemon juice. Next time, add an extra teaspoon of flour to the filling mixture to absorb excess liquid.
Can I prepare this in advance for a dinner party?
Yes! Assemble the crisp in the ramekins or skillet up to 24 hours ahead, cover, and refrigerate. When you’re ready to serve, bake as directed, adding about 5 minutes to the baking time. This is my favorite way to host—minimal fuss, maximum flavor.
Pin This Recipe!
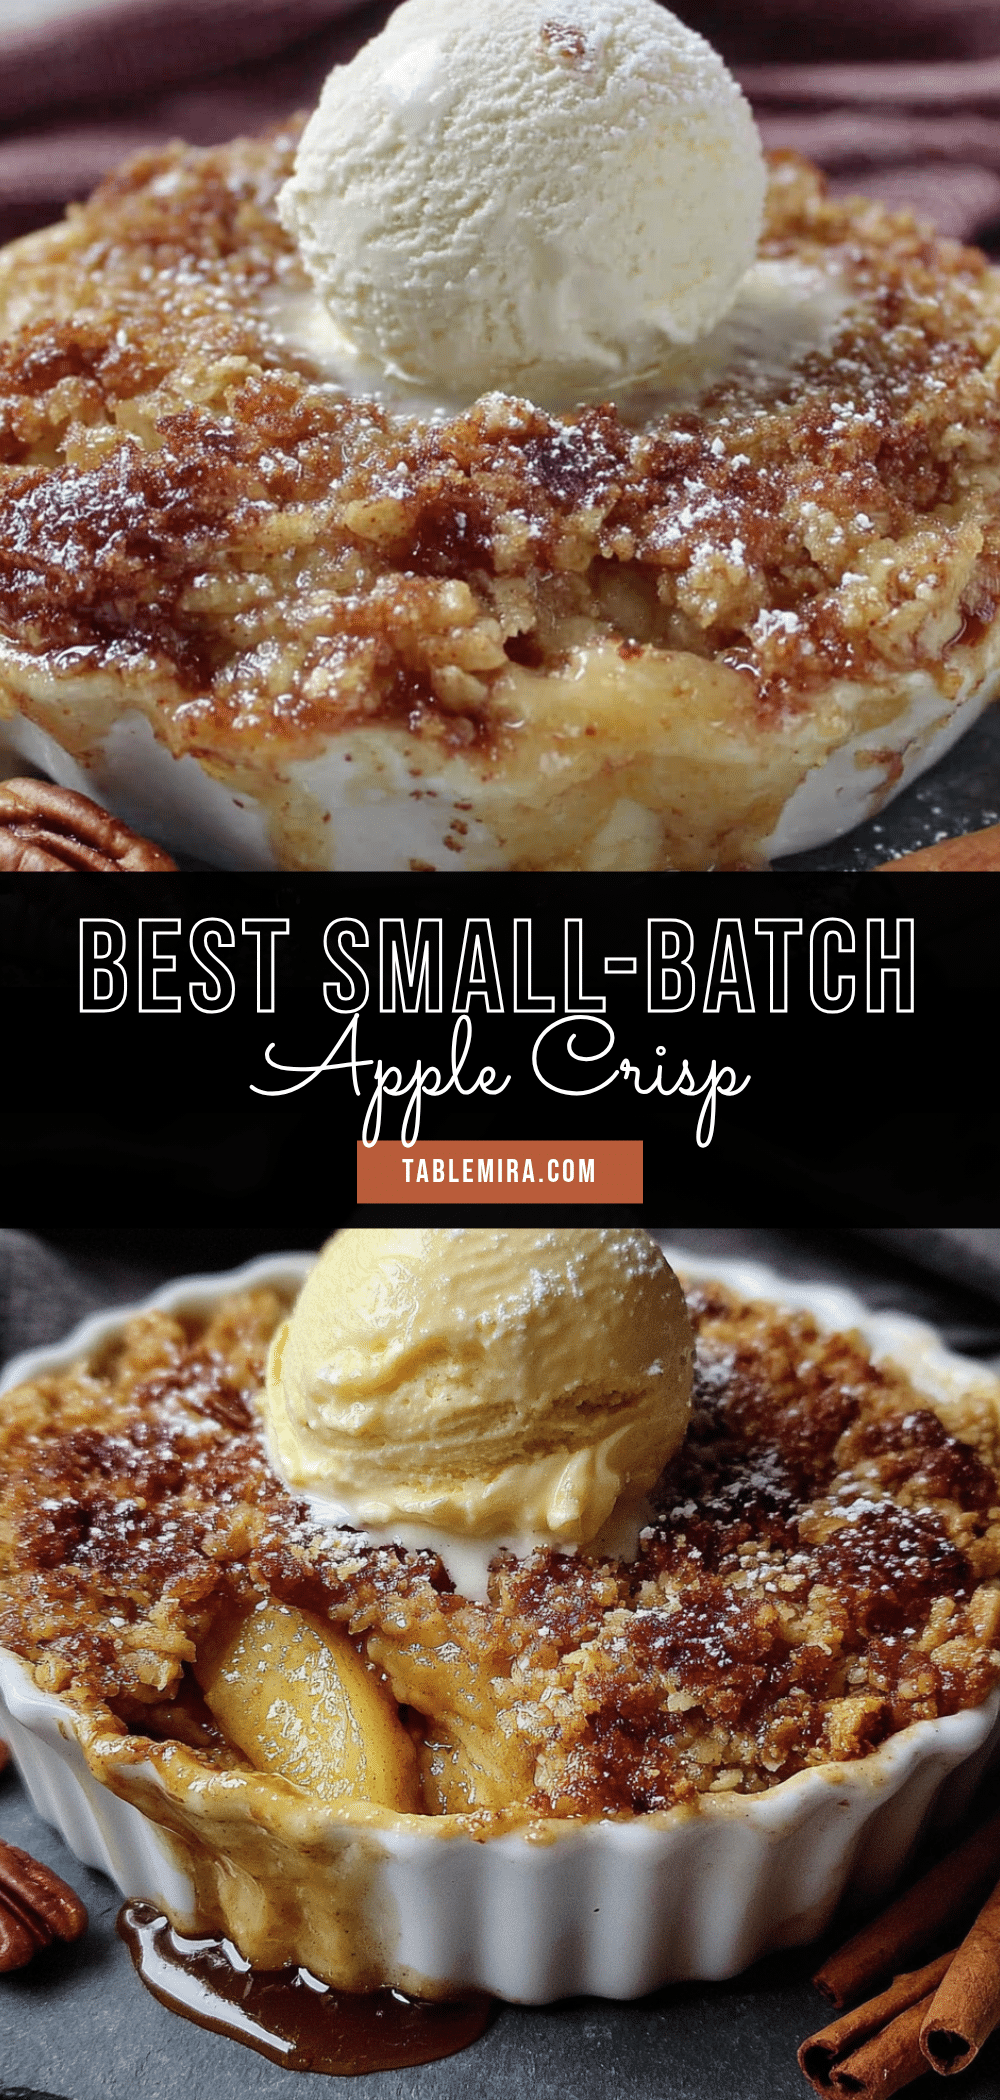
Best Small-Batch Apple Crisp for Two (Easy Fall Dessert)

A perfectly portioned apple crisp for two with tender cinnamon-spiced apples and a golden, buttery oat topping. Ready in about 40 minutes, this small-batch dessert delivers all the cozy fall flavor without leftovers.
- Prep Time: 15 minutes
- Cook Time: 30 minutes
- Total Time: 45 minutes
- Yield: 2 servings 1x
- Category: Dessert
- Cuisine: American
Ingredients
- 2 medium apples (about 300g total), such as Honeycrisp and Granny Smith
- 2 tablespoons granulated sugar (25g)
- 1 tablespoon brown sugar (12g)
- 1 tablespoon all-purpose flour (8g)
- 1/2 teaspoon ground cinnamon
- 1/8 teaspoon nutmeg
- 1 teaspoon lemon juice
- 1/3 cup old-fashioned rolled oats (30g)
- 1/3 cup all-purpose flour (42g)
- 1/3 cup brown sugar (67g), packed
- 1/4 cup unsalted butter (57g), cold and cubed
- 1/4 teaspoon salt
- 1/4 teaspoon cinnamon
Instructions
- Preheat your oven to 375°F (190°C). Place a baking sheet on the middle rack to catch drips.
- Prepare the apples: peel if desired, then cut into 1/2-inch cubes (about 2 cups).
- In a medium bowl, combine chopped apples with 2 tablespoons granulated sugar, 1 tablespoon brown sugar, 1 tablespoon flour, 1/2 teaspoon cinnamon, 1/8 teaspoon nutmeg, and 1 teaspoon lemon juice. Stir to coat evenly. Let sit while making topping.
- In a small bowl, combine 1/3 cup rolled oats, 1/3 cup flour, 1/3 cup packed brown sugar, 1/4 teaspoon salt, and 1/4 teaspoon cinnamon. Stir with a fork.
- Add cold butter cubes and work into dry mixture with fingers or pastry cutter until uneven texture (pea-sized pieces and sandy bits). Do not overwork.
- Divide apple mixture between two 8-ounce ramekins or spread in a 6-inch skillet. Sprinkle topping evenly over apples without pressing down.
- Place ramekins or skillet on baking sheet. Bake for 25-30 minutes, until topping is golden brown and filling is bubbly around edges. If topping browns too quickly, tent loosely with foil after 20 minutes.
- Let cool for 5-10 minutes before serving to allow filling to set.
Notes
For best results, use a mix of tart and sweet apples (e.g., Honeycrisp and Granny Smith). Cold butter is essential for a crispy topping. Let the crisp rest after baking to allow the filling to thicken. Can be assembled up to 24 hours in advance and refrigerated; add 5 minutes to baking time if starting from cold.
Nutrition
- Serving Size: 1 ramekin
- Calories: 380
- Sugar: 38
- Sodium: 200
- Fat: 14
- Saturated Fat: 8
- Carbohydrates: 62
- Fiber: 5
- Protein: 4
Keywords: apple crisp, small batch, dessert for two, fall dessert, easy apple crisp, apple crisp for two


