Introduction
Laura wasn’t trying to impress anyone. I’d stopped by her place on a random Tuesday afternoon to drop off a book I’d borrowed, and the smell hit me before I even got through the front door. Warm butter, brown sugar, and something almost caramel-like—it was one of those scents that stops you mid-step and makes you forget why you came in the first place.
“Oh, I’m just testing a cookie recipe,” she said when I asked, waving her hand like it was nothing. Like she hadn’t just created the most inviting aroma I’d encountered in months. She pulled a tray from the oven, and honestly, I think I audibly gasped. These weren’t flat, sad cookies. They were these gloriously tall, craggy rounds with pools of melted chocolate peeking through the cracks. She slid one onto a napkin and handed it to me without a second thought.
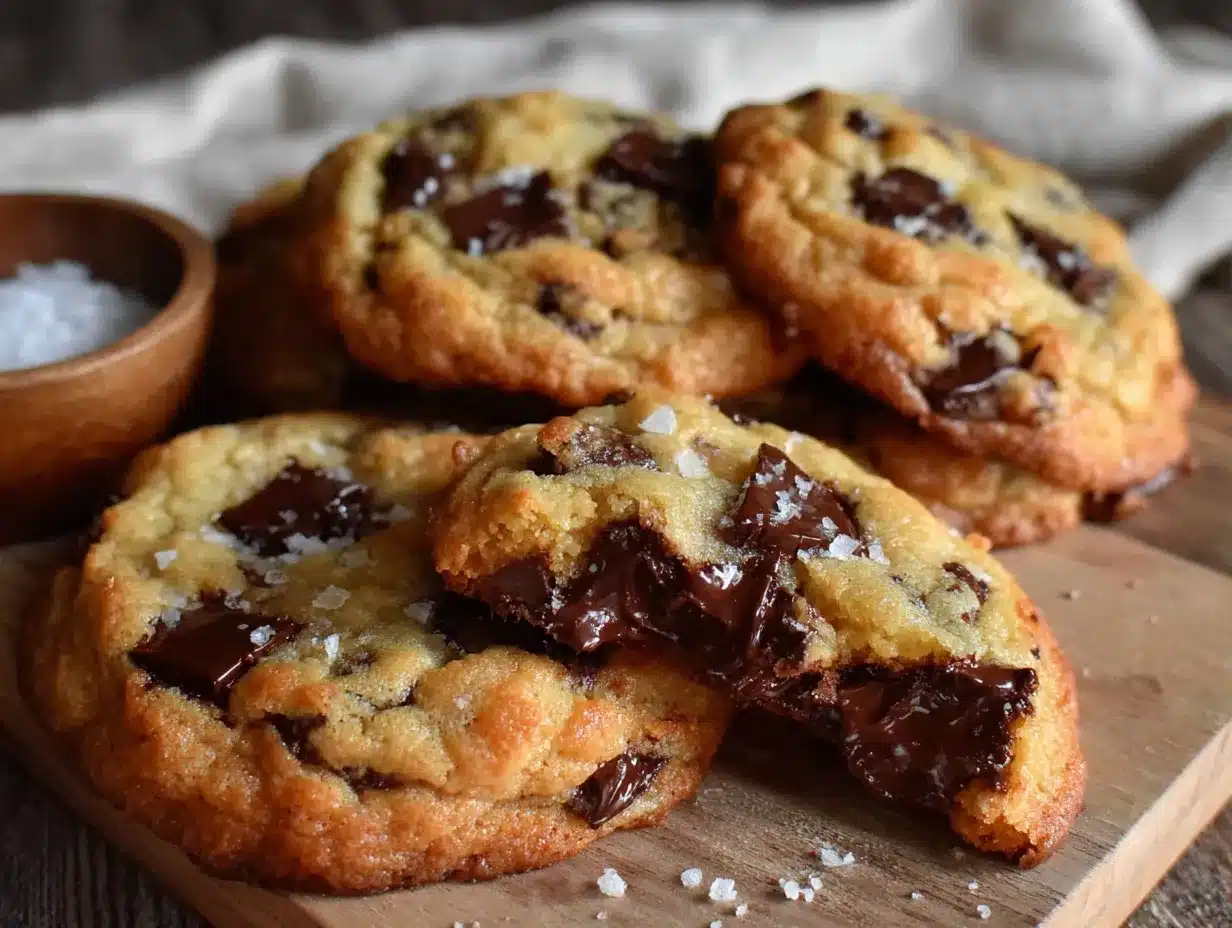
That first bite was the kind of moment that makes you close your eyes without meaning to. The edges were perfectly crisp, giving way to a center so soft and chewy it practically melted on my tongue. The chocolate—she’d used a mix of chunks and chips—was still warm and gooey. I asked her for the recipe, and she just shrugged and said, “It’s nothing special. Just a small batch for when I want a couple without a whole army of cookies around.”
Let me tell you, that “nothing special” recipe has become my go-to. Maybe you’ve been there—craving a warm, homemade cookie but not wanting to commit to a dozen or more? This is the answer. These best easy small-batch thick chewy chocolate chip cookies are exactly what you need when you want that bakery-quality experience without the leftover temptation. I’ve been making them ever since that Tuesday afternoon, and they never disappoint.
Why You’ll Love This Recipe
I’ve tested a lot of cookie recipes over the years—some good, some forgettable. This one? It’s the keeper. Here’s why these best easy small-batch thick chewy chocolate chip cookies stand out from the crowd:
- Quick & Easy: From start to finish, you’re looking at about 25 minutes. Perfect for those sudden cookie cravings that strike on a quiet evening.
- Simple Ingredients: No fancy extracts, no obscure flours, no chilling required. You probably have everything in your pantry right now.
- Perfect for Cozy Nights: This is the cookie you make when you’re curled up with a book, watching a movie, or just want something warm and comforting without the fuss of a full baking project.
- Crowd-Pleaser: Every single person I’ve shared these with has asked for the recipe. They disappear faster than I can make them.
- Unbelievably Delicious: The texture is what gets everyone. That perfect balance of crisp edge and soft, chewy center? It’s not a fluke. It’s the technique.
What makes this recipe different from the rest is the ratio. I’ve played with the butter-to-flour balance, the sugar types, and the baking time until I got it just right. These cookies use a higher proportion of brown sugar to white, which gives them that deep, almost toffee-like flavor and keeps the centers incredibly soft. They’re not just another cookie recipe—they’re the one I turn to when I need a guaranteed win.
This is the kind of cookie that makes you feel like you’ve got your life together, even if you’re eating it in your pajamas at 10 PM. It’s comfort food in its purest form—simple, satisfying, and absolutely delicious.
What Ingredients You Will Need
This recipe uses basic, pantry-friendly ingredients to create something truly special. The magic is in how they work together, not in any complicated additions. Here’s what you’ll need for your best easy small-batch thick chewy chocolate chip cookies:
For the Cookie Dough:
- 1/2 cup (113g) unsalted butter, melted and slightly cooled (I use Kerrygold for the rich flavor, but any good quality butter works)
- 1/2 cup (100g) packed light brown sugar (this is the key to the chewy texture and that caramel-like taste)
- 1/4 cup (50g) granulated white sugar
- 1 large egg yolk (save the white for another use—the yolk adds richness and tenderness)
- 1 teaspoon vanilla extract (use pure, not imitation, if you can)
- 1 cup (125g) all-purpose flour (spoon and level it—don’t scoop directly from the bag)
- 1/2 teaspoon baking soda
- 1/4 teaspoon salt (I prefer fine sea salt for even distribution)
- 1/2 cup (85g) semi-sweet chocolate chips or chunks (I like a mix of both for texture variety)
Ingredient Tips & Substitutions:
The brown sugar is non-negotiable here—it’s what gives these cookies their signature chewiness and depth of flavor. If you’re out of light brown sugar, you can substitute dark brown sugar for an even more intense molasses flavor, but the cookies will be slightly softer.
For the chocolate, feel free to use your favorite. Milk chocolate makes for a sweeter cookie, while dark chocolate (60-70% cacao) adds a nice bitterness that balances the sweetness. I’ve also made these with white chocolate chips and macadamia nuts for a different twist—delicious, but not quite the same classic experience.
If you’re gluten-sensitive, you can substitute a 1:1 gluten-free baking flour blend. I’ve tested this with Bob’s Red Mill 1-to-1 Baking Flour, and the texture is still remarkably good—slightly more delicate, but still chewy and satisfying.
Equipment Needed
You don’t need a professional bakery setup for these cookies. Here’s what you’ll need:
- Mixing bowls: One medium bowl for the wet ingredients and one small bowl for the dry ingredients. I use a set of glass nesting bowls—they’re inexpensive and easy to clean.
- Whisk: For combining the wet ingredients smoothly. A fork works in a pinch, but a whisk is better for incorporating the egg yolk without overmixing.
- Rubber spatula: For folding in the chocolate and scraping down the bowl. I prefer a heat-resistant silicone one.
- Baking sheet: A standard half-sheet pan works perfectly. I recommend a light-colored metal pan—dark pans can cause the bottoms to brown too quickly.
- Parchment paper: Non-stick and makes cleanup a breeze. You can also use a silicone baking mat, but I find parchment gives slightly crisper edges.
- Cookie scoop: A 1.5-tablespoon scoop ensures uniform cookies. If you don’t have one, use two spoons to portion the dough.
- Cooling rack: Essential for letting the cookies cool properly without steaming on the hot pan.
Honestly, the most important tool is your hands—you’ll be shaping the dough balls, and feeling the texture is the best way to know if it’s right. I’ve made these with just a bowl and a fork when I was camping once. They turned out a little rustic-looking, but they tasted just as good.
Preparation Method
Ready to make the best easy small-batch thick chewy chocolate chip cookies of your life? Follow these steps carefully, and you’ll be rewarded with bakery-quality results every time.
- Preheat your oven to 350°F (175°C). Line a baking sheet with parchment paper. This is important—don’t skip the parchment, as it helps the cookies spread evenly and prevents sticking.
- Melt the butter. In a medium microwave-safe bowl, melt the 1/2 cup of butter in 20-second bursts until just melted. Don’t let it boil—you want it melted but not hot. Let it cool for about 2 minutes. You should be able to touch the bowl comfortably.
- Combine the sugars. Add the brown sugar and granulated sugar to the melted butter. Whisk vigorously for about 30 seconds until the mixture looks like wet sand and has slightly lightened in color. This step is crucial—it helps dissolve the sugar and creates that crackly top we’re after.
- Add the egg yolk and vanilla. Drop in the egg yolk and vanilla extract. Whisk until fully combined and the mixture looks smooth and glossy, about 20 seconds. The mixture might look a little separated at first—keep whisking, it will come together.
- Mix the dry ingredients. In a separate small bowl, whisk together the flour, baking soda, and salt. This ensures the leavening is evenly distributed so your cookies rise uniformly.
- Combine wet and dry. Add the dry ingredients to the wet mixture. Use a rubber spatula to fold everything together gently. Mix just until you no longer see streaks of flour—overmixing will make the cookies tough. The dough will be soft and slightly sticky, which is exactly what you want.
- Fold in the chocolate. Add the chocolate chips and/or chunks. Fold them in with just a few strokes until evenly distributed. Don’t overmix here either—we want the chocolate to stay in distinct pockets, not get smeared throughout the dough.
- Portion the dough. Using a 1.5-tablespoon cookie scoop or two spoons, scoop the dough into 4 equal portions. They’ll be about 2 tablespoons each. Roll each portion into a ball—don’t press them flat. For extra height, you can pull the dough ball apart and press the two halves back together with the torn sides facing up (this creates those beautiful craggy tops).
- Bake. Place the dough balls on the prepared baking sheet, spacing them at least 3 inches apart—these cookies spread. Bake for 11-13 minutes. At 11 minutes, the edges will be golden brown and set, but the centers will still look slightly underdone and puffy. That’s exactly what you want. The cookies will continue to bake on the hot pan as they cool.
- Cool. Let the cookies cool on the baking sheet for 5 minutes. This is the hardest part—I know you want to eat them immediately. But trust me, this rest time allows the centers to set up while keeping them soft and chewy. After 5 minutes, transfer the cookies to a wire rack to cool completely, or enjoy them warm (my preferred method).
Pro tip from my own mistakes: I once tried to bake these on a dark non-stick pan and the bottoms burned before the centers were done. Stick with a light-colored pan for the best results. And if you’re like me and tend to get distracted, set a timer for 11 minutes and check them—every oven runs slightly different.
Cooking Tips & Techniques
I’ve made these best easy small-batch thick chewy chocolate chip cookies more times than I can count, and I’ve learned a few things along the way. Here’s what I wish someone had told me from the start:
The melted butter trick. Using melted butter instead of softened butter is the secret to the chewy texture. It coats the flour proteins differently, preventing too much gluten formation and keeping the cookies tender. Just make sure it’s not hot when you add the sugars, or you’ll end up with greasy cookies.
Don’t skip the cooling step. I know it’s tempting to pop these in your mouth straight from the oven, but letting them rest on the pan for those 5 minutes is non-negotiable. The first time I made these, I got impatient and tried to move them too early. They fell apart into a buttery, delicious mess. Still tasty, but not the beautiful cookies I was going for.
Room temperature ingredients matter. The egg yolk should be at room temperature for best incorporation. If you forgot to take it out ahead of time, place the whole egg in a bowl of warm water for 5 minutes before separating. Small detail, big difference.
Watch your baking time. Every oven is a liar, as my grandmother used to say. Start checking at 10 minutes if your oven runs hot. The cookies are done when the edges are set and golden but the centers still look slightly soft and puffy. They’ll continue to bake from the residual heat of the pan.
For extra thick cookies, chill the dough. If you have the time, refrigerate the portioned dough balls for 30 minutes before baking. This solidifies the butter slightly, which means less spread and taller cookies. I’ve done this when I wanted a really dramatic cookie height, and it works beautifully.
One failure I’ll never forget: I once substituted margarine for butter because I thought it would be healthier. Don’t. Just don’t. The cookies spread into flat, greasy pucks that tasted like regret. Butter is non-negotiable for the flavor and texture we’re after.
Variations & Adaptations
These cookies are wonderful as-is, but they’re also a fantastic base for experimentation. Here are some variations I’ve tried and loved:
Double Chocolate: Replace 2 tablespoons of the flour with 2 tablespoons of unsweetened cocoa powder. Use white chocolate chips instead of semi-sweet for a beautiful contrast. The cookies will be slightly darker and have a rich, fudgy undertone.
Nutty Delight: Add 1/4 cup of toasted chopped walnuts or pecans along with the chocolate. Toast the nuts first in a dry pan over medium heat for 3-4 minutes until fragrant—it makes a huge difference in flavor. I made this version for a holiday cookie exchange and they were the first to disappear.
Sea Salt Finish: Sprinkle a few flakes of flaky sea salt (like Maldon) on top of each cookie right when they come out of the oven. The salt cuts through the sweetness and makes the chocolate flavor pop. This is my personal favorite variation—it feels fancy but takes zero extra effort.
Gluten-Free Adaptation: As I mentioned, a 1:1 gluten-free flour blend works well. I’ve also used almond flour for a grain-free version, but the texture is more delicate and the cookies spread more. If you try almond flour, add an extra tablespoon of flour to help with structure.
Vegan Version: Use vegan butter (I like Miyoko’s) and a flax egg (1 tablespoon ground flaxseed mixed with 3 tablespoons water, let sit for 5 minutes). The texture won’t be quite as chewy, but they’re still delicious. I tested this for a friend with dietary restrictions, and she said they were the best vegan cookies she’d ever had.
Serving & Storage Suggestions
These cookies are at their absolute best when served warm, about 10 minutes after they come out of the oven. The chocolate is still melty, the edges are crisp, and the center is pillowy soft. Pair them with a cold glass of milk, a hot cup of coffee, or a scoop of vanilla ice cream for an extra-special treat.
Storage: Store any leftover cookies (if you have any!) in an airtight container at room temperature for up to 3 days. To maintain their chewy texture, add a slice of bread to the container—the cookies will absorb the moisture and stay soft. Replace the bread slice every day.
Freezing: These cookies freeze beautifully. You can freeze the baked cookies in a single layer on a baking sheet, then transfer to a freezer bag for up to 3 months. Thaw at room temperature for about 15 minutes, or reheat in a 300°F oven for 5 minutes to bring back that fresh-baked texture.
Freezing dough: Even better—freeze the portioned dough balls. Place them on a baking sheet and freeze until solid, then transfer to a freezer bag. You can bake them directly from frozen, just add 2-3 minutes to the baking time. This is my go-to for spontaneous cookie cravings.
Reheating: For a single cookie, microwave for 10-15 seconds. For a larger batch, reheat in a 300°F oven for 5 minutes. The microwave is quicker, but the oven gives a better texture—the edges get slightly crisp again.
Flavor development: Here’s something interesting—these cookies actually taste even better the next day. The flavors meld together overnight, and the texture becomes even more chewy and cohesive. If you can resist eating them all immediately, you’re in for a treat.
Nutritional Information & Benefits
Let’s be honest—these are indulgent cookies, not health food. But knowing what’s in them helps with mindful enjoyment. Here’s the estimated nutritional breakdown per cookie (based on 4 cookies total):
| Nutrient | Amount per Cookie |
|---|---|
| Calories | 385 |
| Total Fat | 22g |
| Saturated Fat | 13g |
| Cholesterol | 85mg |
| Sodium | 280mg |
| Total Carbohydrates | 45g |
| Dietary Fiber | 2g |
| Sugars | 28g |
| Protein | 4g |
Health highlights: The butter provides vitamin A and healthy fats (in moderation). Dark chocolate contains antioxidants called flavonoids, which are good for heart health. The brown sugar offers a small amount of molasses, which contains iron and calcium—though honestly, we’re not eating these for the nutritional value.
Dietary considerations: These cookies contain gluten, dairy, and eggs. For gluten-free, dairy-free, or vegan options, see the variations section above. They are nut-free as written, but check your chocolate chips for cross-contamination if you have a severe allergy.
My personal philosophy? Food is meant to be enjoyed. These cookies are a treat, and treating yourself is part of a balanced life. I make them when I need a little comfort, and I savor every single bite without guilt.
Conclusion
These best easy small-batch thick chewy chocolate chip cookies have become a staple in my kitchen for good reason. They deliver everything you want from a chocolate chip cookie—crisp edges, a soft and chewy center, and plenty of melty chocolate—without the commitment of a full batch. They’re quick enough for a weeknight craving, special enough to share, and simple enough that anyone can make them successfully.
What I love most about this recipe is how forgiving it is. I’ve made it with different chocolates, different sugars, even different flours, and it always comes through. It’s the kind of recipe that builds confidence in the kitchen because it works every single time.
I’d love to hear how your cookies turn out! Did you try any of the variations? Did you add your own twist? Drop a comment below and let me know—I read every single one, and your feedback helps me create better recipes for you. And if you loved these, please share this post with a friend who needs a little cookie magic in their life.
Happy baking, friends. May your cookies always be chewy and your chocolate always be melty.
Frequently Asked Questions
Can I double this recipe?
Absolutely! This recipe scales perfectly. Simply double all the ingredients and bake in batches. The dough can be made ahead and refrigerated for up to 48 hours if you want to bake fresh cookies throughout the week.
Why did my cookies turn out flat?
Flat cookies usually mean the butter was too warm or the dough wasn’t chilled. Make sure your melted butter has cooled for at least 2 minutes before adding the sugars. If your kitchen is warm, refrigerate the dough balls for 15 minutes before baking.
Can I use margarine or vegetable shortening?
I don’t recommend it. Butter is essential for the flavor and texture of these cookies. Margarine has a higher water content, which leads to more spread and less chew. Shortening will make the cookies tender but they’ll lack that rich, buttery flavor.
How do I get the cookies to be perfectly round?
Right after the cookies come out of the oven, use a round cookie cutter or a glass that’s slightly larger than the cookies to gently scoot them into a perfect circle. Do this while they’re still warm and soft on the pan.
Can I make these cookies without an electric mixer?
Yes! In fact, I prefer making these by hand. Since we’re using melted butter, there’s no need to cream anything. A whisk for the wet ingredients and a rubber spatula for the dry ingredients is all you need. One less thing to wash!
Pin This Recipe!
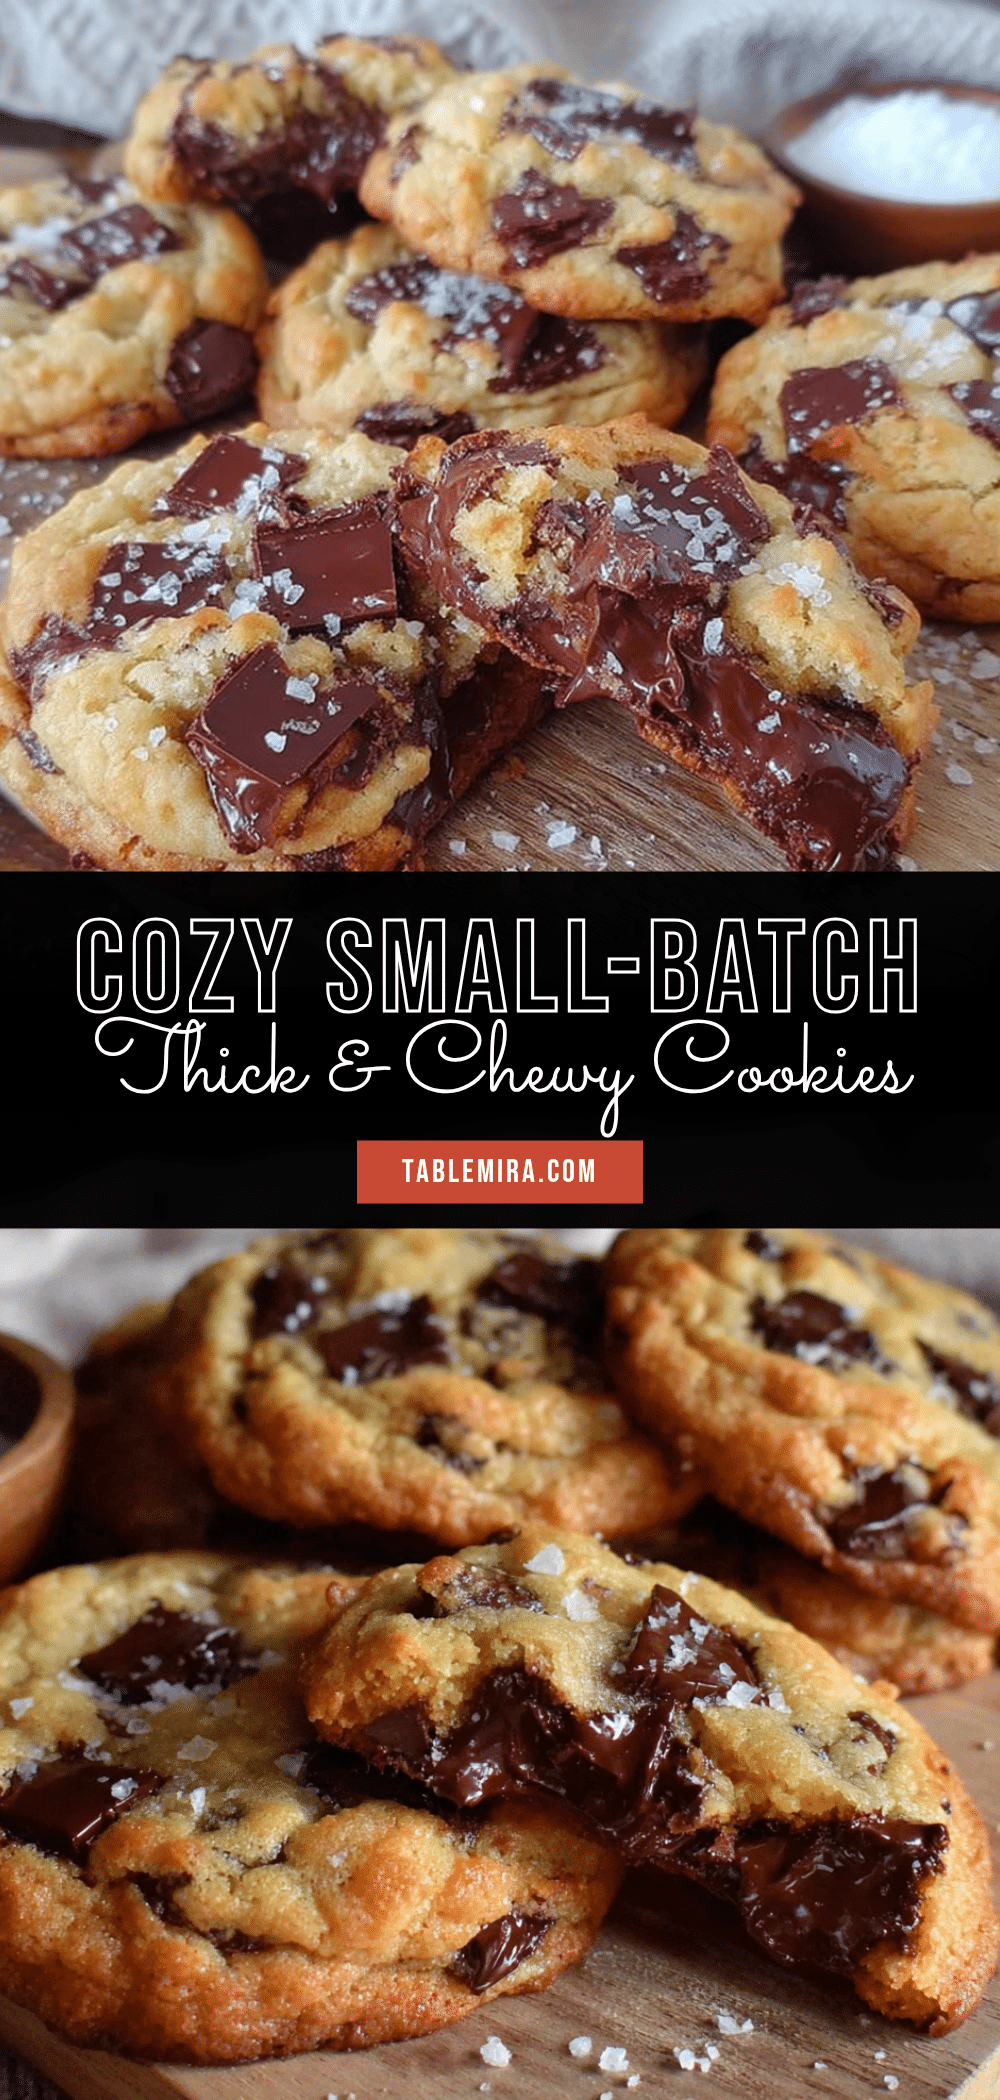
Best Easy Small-Batch Thick Chewy Chocolate Chip Cookies

These thick, chewy chocolate chip cookies are made in a small batch—perfect for when you crave a warm, homemade cookie without committing to a dozen. With crisp edges, a soft center, and melty chocolate, they’re ready in about 25 minutes using simple pantry ingredients.
- Prep Time: 10 minutes
- Cook Time: 11-13 minutes
- Total Time: 25 minutes
- Yield: 4 servings 1x
- Category: Dessert
- Cuisine: American
Ingredients
- 1/2 cup (113g) unsalted butter, melted and slightly cooled
- 1/2 cup (100g) packed light brown sugar
- 1/4 cup (50g) granulated white sugar
- 1 large egg yolk
- 1 teaspoon vanilla extract
- 1 cup (125g) all-purpose flour, spooned and leveled
- 1/2 teaspoon baking soda
- 1/4 teaspoon fine sea salt
- 1/2 cup (85g) semi-sweet chocolate chips or chunks
Instructions
- Preheat your oven to 350°F (175°C). Line a baking sheet with parchment paper.
- Melt the butter in a medium microwave-safe bowl in 20-second bursts until just melted. Let cool for about 2 minutes.
- Add the brown sugar and granulated sugar to the melted butter. Whisk vigorously for about 30 seconds until the mixture looks like wet sand and has slightly lightened in color.
- Add the egg yolk and vanilla extract. Whisk until fully combined and smooth, about 20 seconds.
- In a separate small bowl, whisk together the flour, baking soda, and salt.
- Add the dry ingredients to the wet mixture. Use a rubber spatula to fold together gently until no streaks of flour remain. The dough will be soft and slightly sticky.
- Fold in the chocolate chips or chunks with a few strokes until evenly distributed.
- Using a 1.5-tablespoon cookie scoop or two spoons, scoop the dough into 4 equal portions (about 2 tablespoons each). Roll each into a ball. For extra height, pull the dough ball apart and press the two halves back together with the torn sides facing up.
- Place the dough balls on the prepared baking sheet, spacing them at least 3 inches apart. Bake for 11-13 minutes, until the edges are golden brown and set but the centers still look slightly underdone and puffy.
- Let the cookies cool on the baking sheet for 5 minutes, then transfer to a wire rack to cool completely or enjoy warm.
Notes
For extra thick cookies, chill the portioned dough balls for 30 minutes before baking. Use a light-colored baking pan to prevent burning. The brown sugar is key for chewiness—do not substitute. For gluten-free, use a 1:1 gluten-free baking flour blend. For vegan, use vegan butter and a flax egg.
Nutrition
- Serving Size: 1 cookie
- Calories: 385
- Sugar: 28
- Sodium: 280
- Fat: 22
- Saturated Fat: 13
- Carbohydrates: 45
- Fiber: 2
- Protein: 4
Keywords: small batch chocolate chip cookies, thick chewy cookies, easy cookie recipe, homemade cookies, quick cookies


