I had claimed to hate pumpkin bread for about fifteen years. Fifteen years of wrinkling my nose at office potlucks, of politely declining slices thrust at me by well-meaning neighbors, of watching everyone else go misty-eyed over something I found, honestly, a little sad. Dense. Wet. That weird canned-pumpkin-meets-clove situation that always tasted more like a candle than a breakfast. I was smug about it, too — the kind of smug you get when you think you’ve got a food figured out and you’re above the hype. Then last October, my sister-in-law Rachel showed up at my doorstep with a loaf wrapped in parchment and twine, still warm. She said she’d made it “just for her book club” and had an extra. I took it off her hands with a polite smile, planning to pawn it off on my neighbor the next morning. But the kitchen smelled so good that night — nutty and sweet in a way that didn’t scream “autumn spice blend” — that I cut myself a thin slice just to see. Just to confirm my bias. I ate that thin slice standing at the counter, and then I ate three more. My fifteen-year streak of pumpkin bread refusal died somewhere between the second bite and the third, and honestly, I’m still a little embarrassed about how fast I folded. Maybe you’ve been there — that moment when a food you’ve dismissed for years finally gets its revenge by being absolutely, undeniably delicious. This brown butter pumpkin bread with maple glaze is that recipe. It’s the one that made me eat my words, literally, and I’ve been making it every fall since.
Why You’ll Love This Recipe
This isn’t your standard pumpkin bread. The brown butter changes everything — it adds a deep, toasty, almost caramel-like richness that makes the pumpkin flavor feel sophisticated without being fussy. I tested this recipe six times before I got the balance right, and let me tell you, my family was very patient taste-testers. Here’s why it works so well for a busy household:
- Quick & Easy: You don’t need a mixer. A bowl and a whisk get the job done in under 15 minutes of active work. The oven does the rest.
- Simple Ingredients: No trips to a specialty store. Pumpkin puree, butter, flour, sugar, eggs, and a few pantry spices. You probably have most of it right now.
- Perfect for Fall Mornings & Cozy Gatherings: It’s sturdy enough to pack for a school bake sale but fancy enough to serve with coffee when the in-laws stop by unexpectedly.
- Crowd-Pleaser: My kids, who claim to “not really like pumpkin stuff,” asked for seconds. My husband, who is a chocolate-or-bust kind of guy, ate half the loaf before I could hide it.
- Unbelievably Delicious: The brown butter gives it a nutty depth that regular pumpkin bread just doesn’t have. And the maple glaze? It seeps into the cracks while it’s still warm, creating these little pockets of sweetness that make every bite different.
What makes this recipe different from the dozens of others out there is the technique. Browning the butter is a small extra step, but it’s the kind of trick that makes people close their eyes after the first bite and ask, “What did you put in this?” It’s comfort food reimagined — richer, warmer, and more satisfying, but still quick enough for a Tuesday morning before school.
What Ingredients You Will Need
This recipe relies on simple, pantry-friendly ingredients that work together to create something that tastes far more complex than it is. The star here is the brown butter, which adds a nutty, toasty note that regular melted butter just can’t match. Here’s everything you’ll need:
For the Pumpkin Bread
- Unsalted butter — ½ cup (1 stick / 113g). You’ll brown this, so keep an eye on it. I use Land O’Lakes because I know how it behaves.
- Pumpkin puree — 1 cup (about 245g). Not pumpkin pie filling. Look for 100% pure pumpkin. Libby’s is my go-to because it’s consistently thick and not watery.
- Granulated sugar — ¾ cup (150g). Adds sweetness and helps keep the bread tender.
- Light brown sugar — ½ cup (100g), packed. Adds moisture and a hint of molasses that plays nicely with the brown butter.
- Large eggs — 2, room temperature. Cold eggs can seize the brown butter, so let them sit out for 20 minutes first.
- Vanilla extract — 1 teaspoon. Pure, not imitation. It rounds out the flavors.
- All-purpose flour — 1 ¾ cups (220g). Spoon and level it — don’t scoop straight from the bag or you’ll end up with dry bread.
- Baking soda — 1 teaspoon. For lift.
- Baking powder — ½ teaspoon. Extra insurance that it rises properly.
- Salt — ½ teaspoon. Use fine sea salt. It balances the sweetness.
- Ground cinnamon — 1 teaspoon. The backbone of the spice blend.
- Ground ginger — ½ teaspoon. Adds a little warmth.
- Ground nutmeg — ¼ teaspoon. Freshly grated if you have it.
- Ground cloves — ⅛ teaspoon. Just a pinch — it’s strong.
For the Maple Glaze
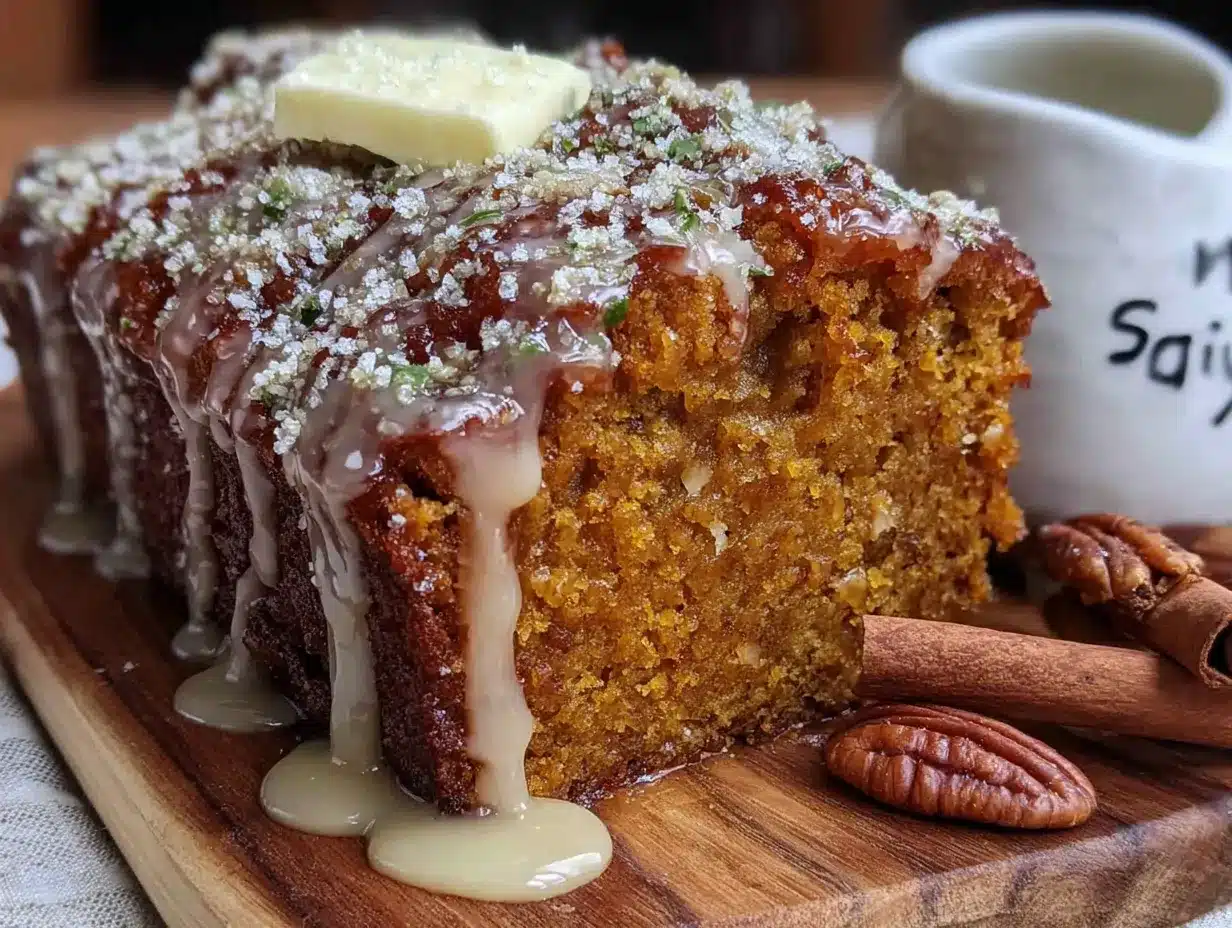
- Powdered sugar — 1 cup (120g), sifted if it’s lumpy.
- Pure maple syrup — 2 tablespoons. Not pancake syrup. The real stuff makes a difference here.
- Milk or heavy cream — 1 to 2 tablespoons. Start with 1 and add more if needed. Cream makes it richer.
- Vanilla extract — ¼ teaspoon. Optional but nice.
Equipment Needed
You don’t need a fancy kitchen for this recipe. Here’s what I used, plus a few notes on alternatives:
- 9×5-inch loaf pan — Standard size. If you use an 8×4, the bread will take longer to bake and might dome more. I’ve used both and prefer the 9×5 for even baking.
- Light-colored saucepan — For browning the butter. A dark pan makes it hard to see the color change. I use my old Farberware saucepan and it works perfectly.
- Large mixing bowl — Any bowl big enough to whisk everything without splashing.
- Whisk — A sturdy one. You don’t need a hand mixer for this batter.
- Rubber spatula — For scraping every last bit of brown butter out of the pan. Trust me, you don’t want to waste it.
- Parchment paper — Lining the pan makes removal easy. I cut a strip that hangs over the long sides like handles.
- Cooling rack — So the bottom doesn’t get soggy. If you don’t have one, let the bread cool in the pan for 10 minutes, then carefully transfer it to a plate.
- Small bowl — For whisking the glaze.
Budget-friendly tip: If you don’t have a loaf pan, you can bake this in an 8×8 square pan. Just reduce the baking time to about 35-40 minutes and check for doneness early.
Preparation Method
Let’s make this bread. I’ve broken it down into clear steps, and I’ll tell you exactly what to look for at each stage so you don’t have to guess.
- Preheat and prep. Set your oven to 350°F (175°C). Line your loaf pan with parchment paper, leaving an overhang on the two long sides. Lightly grease the exposed ends with butter or cooking spray.
- Brown the butter. Place the ½ cup butter in your light-colored saucepan over medium heat. Let it melt completely, then swirl the pan gently. It will start to foam and crackle — that’s the water evaporating. Keep swirling. After a few minutes, the foam will subside and you’ll see little brown specks forming at the bottom. The butter will smell nutty and amazing. This takes about 5-7 minutes total. As soon as it turns golden amber and smells like toasted hazelnuts, pull it off the heat. Pour it into a heatproof bowl (including all those brown bits) and let it cool for 10 minutes. Don’t walk away from the pan — brown butter goes from perfect to burnt very fast.
- Mix the wet ingredients. In your large mixing bowl, whisk together the pumpkin puree, granulated sugar, and brown sugar until smooth. Add the cooled brown butter (it should be warm, not hot), eggs, and vanilla. Whisk until everything is combined and glossy. It will look slightly separated at first, but keep whisking and it will come together.
- Combine the dry ingredients. In a separate medium bowl, whisk together the flour, baking soda, baking powder, salt, cinnamon, ginger, nutmeg, and cloves. Make sure there are no lumps — especially in the baking soda.
- Fold it together. Pour the dry ingredients into the wet mixture. Use your rubber spatula to fold gently — just until you can’t see any more streaks of flour. Do not overmix. A few lumps are fine. Overmixing will make the bread tough and dense, and nobody wants that.
- Bake. Scrape the batter into your prepared loaf pan and spread it even. Bake for 50-60 minutes, or until a toothpick inserted in the center comes out clean or with just a few moist crumbs. My oven runs hot, so I check at 50 minutes. The top should be golden brown and cracked in that beautiful way pumpkin bread does.
- Cool. Let the bread cool in the pan on a wire rack for 15 minutes. Then lift it out using the parchment overhang and let it cool completely on the rack. This is important — if you glaze it while it’s too warm, the glaze will melt right off and pool at the bottom.
- Make the glaze. In a small bowl, whisk together the powdered sugar, maple syrup, 1 tablespoon of milk or cream, and vanilla. It should be thick but pourable — like school glue. If it’s too thick, add another teaspoon of milk. If it’s too thin, add a little more powdered sugar.
- Glaze and set. Once the bread is completely cool, drizzle the glaze over the top. Let it set for about 10 minutes before slicing. Or don’t — I won’t judge you for cutting into it early. The glaze will just soak in a bit, which is honestly delicious.
Cooking Tips & Techniques
I’ve made this recipe enough times to know where things can go sideways. Here are the lessons I learned the hard way so you don’t have to:
Don’t rush the brown butter. The first time I made this, I got impatient and cranked the heat to high. The butter went from melted to burnt in about 30 seconds, and I had to start over. Use medium heat and be patient. The whole process takes about 5-7 minutes, and the payoff is huge. You’re looking for a deep amber color and a nutty aroma. If you see black specks, you’ve gone too far.
Room temperature eggs matter. I know, I know — it’s one of those annoying baking rules. But cold eggs can cause the brown butter to seize up and get grainy. If you forgot to take them out of the fridge, place them in a bowl of warm water for 5 minutes. It works like a charm.
Measure flour correctly. This is the most common mistake in baking. Scooping your measuring cup directly into the flour bag packs it down, and you can end up with 30-40 extra grams of flour. That makes dry, crumbly bread. Instead, fluff the flour with a spoon, then spoon it into your measuring cup and level it off with a knife. It takes an extra 10 seconds and makes a real difference.
Check for doneness early. Every oven is different. Start checking at 50 minutes. If the top is browning too fast but the center isn’t done, tent the pan loosely with foil and keep baking. I’ve had to do this a few times, and it always saves the loaf.
Let it cool. I know it’s hard. The smell is intoxicating. But if you slice into it while it’s still warm, the texture will be gummy and the glaze will slide right off. Give it at least an hour on the cooling rack. Use that time to make a cup of coffee and clean up the kitchen.
Variations & Adaptations
One of the best things about this recipe is how flexible it is. Here are some variations I’ve tried and loved:
Gluten-Free Version: Substitute the all-purpose flour with a 1:1 gluten-free baking flour blend (I like King Arthur’s). Add 1 teaspoon of xanthan gum if your blend doesn’t already include it. The texture will be slightly more tender, but it holds together beautifully. I made this for a friend with celiac disease and she asked for the recipe twice.
Dairy-Free Adaptation: Use vegan butter for browning — just know it won’t brown quite the same way because it has less milk solids. Miyoko’s works best. For the glaze, swap the milk for oat milk or canned coconut cream. The coconut adds a subtle richness that pairs well with the pumpkin.
Add Mix-Ins: Fold in ½ cup of chopped pecans or walnuts after the flour is incorporated. Toast them first for extra flavor. Or add ½ cup of chocolate chips — dark chocolate and pumpkin are a surprisingly good match. I once added chopped crystallized ginger and it was incredible, but my kids were less enthusiastic.
Spice It Up: If you like a stronger spice profile, add ¼ teaspoon of cardamom or allspice. Cardamom gives it a slightly floral, almost chai-like warmth that I love in the fall.
Make It Muffins: This batter makes about 12 standard muffins. Bake at 350°F for 18-22 minutes. The glaze is optional but highly recommended. My kids prefer muffins because they’re “more portable” — meaning they can eat them in the car on the way to school.
Serving & Storage Suggestions
This bread is at its best the day it’s made, but it’s still very good for a few days after — if it lasts that long. Here’s how to handle it:
Serving: I like to serve it at room temperature with a pat of salted butter on the side. The butter melts into the warm crumb and the salt cuts through the sweetness. It’s also fantastic toasted — just pop a slice in the toaster or under the broiler for a minute. The edges get crispy and the glaze caramelizes slightly. Serve it with a hot cup of coffee or a glass of cold milk.
Storage: Store the bread in an airtight container at room temperature for up to 3 days. If you’ve already glazed it, place a piece of parchment paper between the bread and the lid to keep the glaze from sticking. Do not refrigerate it — the fridge dries out baked goods and makes them stale faster.
Freezing: This bread freezes beautifully. For best results, freeze it unglazed. Wrap the cooled loaf tightly in plastic wrap, then in a layer of foil. It will keep for up to 3 months. When you’re ready to eat it, thaw it overnight in the fridge, then bring it to room temperature and glaze it fresh. I always make a double batch in October and stash one in the freezer for December. It’s a lifesaver when holiday visitors show up unexpectedly.
Reheating: If you want that just-baked warmth, microwave individual slices for 15-20 seconds. Or toast them in a 300°F oven for 5-7 minutes. The glaze will get slightly melty and the edges will crisp up. It’s almost better than fresh.
Flavor Development: Honestly, this bread tastes even better on day two. The flavors meld together overnight and the texture becomes more moist. If you can resist eating it all on day one, you’re in for a treat.
Nutritional Information & Benefits
Let’s be real — this is a treat. But it’s made with real ingredients, and there are a few nutritional bright spots worth mentioning. Here’s an approximate breakdown per slice (based on 10 slices):
| Nutrient | Amount per slice |
|---|---|
| Calories | ~310 |
| Total Fat | 12g |
| Saturated Fat | 7g |
| Carbohydrates | 48g |
| Sugar | 32g |
| Protein | 4g |
| Fiber | 2g |
| Vitamin A | ~80% DV |
Pumpkin is packed with vitamin A, which is great for eye health and immune function. It also provides fiber and antioxidants. The brown butter adds a small amount of calcium and vitamin A from the dairy. The maple syrup in the glaze contains trace minerals like zinc and manganese. That said, this is a dessert bread, not a health food. Enjoy it as part of a balanced diet — a slice with your morning coffee or as an after-dinner treat. I personally love that it feels indulgent without being overly heavy.
Dietary Notes: This recipe contains gluten, dairy, and eggs. For gluten-free and dairy-free options, see the variations section above.
Conclusion
This brown butter pumpkin bread with maple glaze is the recipe that changed my mind about an entire category of baked goods. It’s the one I make every fall without fail, the one my family requests for Thanksgiving breakfast, the one I send home with friends who need a little comfort. It’s not complicated — it’s just a few smart techniques and good ingredients doing their job. The brown butter adds depth, the maple glaze adds sweetness, and the pumpkin keeps everything tender and moist. If you’ve been burned by dry, bland pumpkin bread in the past, I get it. I was there for fifteen years. But this one is different. This one is worth making, worth sharing, and worth eating standing at the counter with no one watching. I’d love to hear how it turns out for you. Did you add any mix-ins? Did your family love it as much as mine did? Drop a comment below or tag me in your photos — I genuinely love seeing these loaves come to life in other people’s kitchens. Happy baking, friends.
Frequently Asked Questions
Can I use pumpkin pie filling instead of pumpkin puree?
No, please don’t. Pumpkin pie filling is pre-sweetened and spiced, so it will throw off the sugar and spice balance completely. Your bread will be overly sweet and the texture will be different. Stick with 100% pure pumpkin puree. Libby’s is my favorite.
Why did my brown butter burn?
It happens to the best of us. The most common cause is using high heat or walking away from the pan. Brown butter goes from perfect to burnt in about 15-20 seconds. Use medium heat, swirl the pan constantly, and watch for the color change. The moment it turns amber and smells nutty, pull it off the heat. If it smells bitter or you see black specks, start over.
Can I make this recipe without the maple glaze?
Absolutely. The bread is delicious on its own — the brown butter gives it plenty of flavor. If you want a simpler option, just dust the top with powdered sugar before serving. Or skip the topping entirely and enjoy it with a pat of butter. I’ve done all three and each version is good in its own way.
How do I know when the bread is fully baked?
Insert a wooden toothpick or skewer into the center of the loaf. If it comes out clean or with just a few moist crumbs attached, it’s done. If it comes out wet with raw batter, give it another 5 minutes and check again. The top should also be golden brown and spring back when lightly pressed.
Can I double this recipe?
Yes, and I do it all the time. Double all the ingredients and bake in two separate loaf pans. Do not try to bake it as one giant loaf — it won’t cook through evenly. If you only have one loaf pan, bake them one at a time. The batter can sit at room temperature for about 30 minutes while the first loaf bakes, but don’t let it sit much longer than that or the leavening agents will lose their power.
Pin This Recipe!
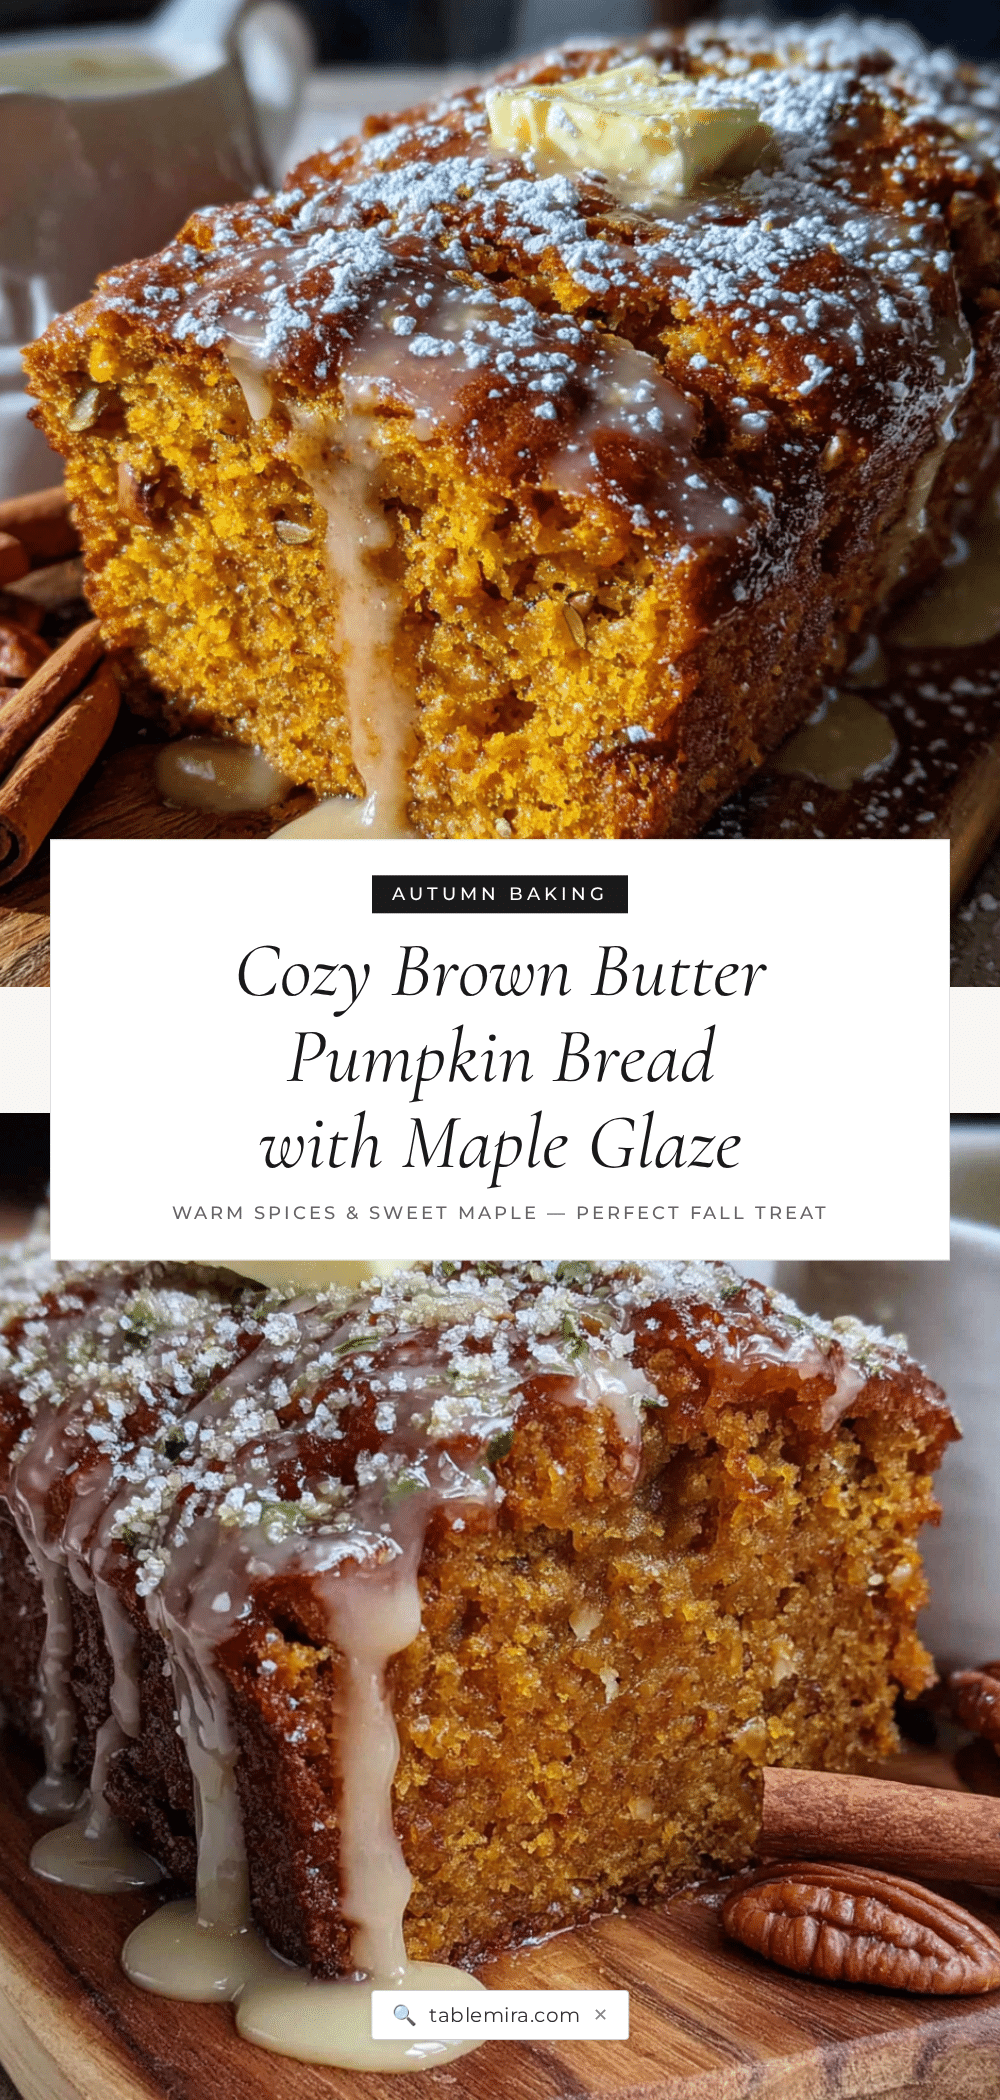
Cozy Brown Butter Pumpkin Bread with Easy Maple Glaze
This brown butter pumpkin bread with maple glaze is the recipe that changed my mind about an entire category of baked goods. It’s the one I make every fall without fail, the one my family requests for Thanksgiving breakfast, the one I send home with friends who need a little comfort.
- Prep Time: 15 minutes
- Cook Time: 55 minutes
- Total Time: 1 hour 10 minutes
- Yield: 10 servings 1x
- Category: Dessert
- Cuisine: American
Ingredients
- ½ cup (1 stick / 113g) unsalted butter
- 1 cup (about 245g) pumpkin puree (100% pure pumpkin, not pie filling)
- ¾ cup (150g) granulated sugar
- ½ cup (100g) light brown sugar, packed
- 2 large eggs, room temperature
- 1 teaspoon vanilla extract (pure, not imitation)
- 1 ¾ cups (220g) all-purpose flour
- 1 teaspoon baking soda
- ½ teaspoon baking powder
- ½ teaspoon fine sea salt
- 1 teaspoon ground cinnamon
- ½ teaspoon ground ginger
- ¼ teaspoon ground nutmeg
- ⅛ teaspoon ground cloves
- 1 cup (120g) powdered sugar, sifted if lumpy
- 2 tablespoons pure maple syrup (not pancake syrup)
- 1 to 2 tablespoons milk or heavy cream
- ¼ teaspoon vanilla extract (optional)
Instructions
- Preheat oven to 350°F (175°C). Line a 9×5-inch loaf pan with parchment paper, leaving an overhang on the two long sides. Lightly grease the exposed ends with butter or cooking spray.
- Brown the butter: Place ½ cup butter in a light-colored saucepan over medium heat. Melt completely, then swirl gently. It will foam and crackle. Continue swirling until foam subsides and brown specks form at the bottom, about 5-7 minutes. When it turns golden amber and smells nutty, remove from heat. Pour into a heatproof bowl (including brown bits) and let cool for 10 minutes.
- Mix wet ingredients: In a large bowl, whisk together pumpkin puree, granulated sugar, and brown sugar until smooth. Add cooled brown butter (warm, not hot), eggs, and vanilla. Whisk until combined and glossy.
- Combine dry ingredients: In a separate medium bowl, whisk together flour, baking soda, baking powder, salt, cinnamon, ginger, nutmeg, and cloves until no lumps remain.
- Fold together: Pour dry ingredients into wet mixture. Use a rubber spatula to fold gently until just combined—do not overmix. A few lumps are fine.
- Bake: Scrape batter into prepared loaf pan and spread even. Bake for 50-60 minutes, until a toothpick inserted in the center comes out clean or with a few moist crumbs. Check at 50 minutes. Top should be golden brown and cracked.
- Cool: Let bread cool in pan on a wire rack for 15 minutes. Lift out using parchment overhang and cool completely on rack.
- Make glaze: In a small bowl, whisk together powdered sugar, maple syrup, 1 tablespoon milk or cream, and vanilla. It should be thick but pourable. Add more milk if too thick, more powdered sugar if too thin.
- Glaze and set: Once bread is completely cool, drizzle glaze over top. Let set for about 10 minutes before slicing.
Notes
Don’t rush the brown butter—use medium heat and watch carefully. Room temperature eggs matter to prevent butter from seizing. Measure flour correctly by spooning and leveling. Check for doneness early; tent with foil if top browns too fast. Let bread cool completely before glazing. Bread tastes even better on day two. Freezes well unglazed for up to 3 months.
Nutrition
- Serving Size: 1 slice
- Calories: 310
- Sugar: 32
- Fat: 12
- Saturated Fat: 7
- Carbohydrates: 48
- Fiber: 2
- Protein: 4
Keywords: pumpkin bread, brown butter, maple glaze, fall baking, pumpkin recipe, easy bread, breakfast bread, Thanksgiving


