“You need to eat something before you run out the door, and no, a granola bar from the gas station doesn’t count.” My husband said this to me while I was already halfway into my shoes, car keys in hand, mentally running through my to-do list. He wasn’t wrong, of course. I had been grabbing whatever was within arm’s reach, and my body was starting to feel it. That afternoon, standing in my kitchen with the fridge door open, I realized I needed a backup plan. Something I could make ahead, grab without thinking, and actually feel good about eating. That’s when these easy no-bake peanut butter protein balls were born.
I wasn’t trying to reinvent the wheel here. I just wanted a snack that didn’t require turning on the oven, didn’t use a million ingredients, and actually tasted like a treat. Honestly, the first batch I made was a little too dry. The second batch was a little too sticky. But the third batch? That was the one. The texture was just right — soft, chewy, and satisfying without being heavy. My husband ate three of them before I could even get them into the fridge.
These easy no-bake peanut butter protein balls have become my go-to for busy mornings, afternoon slumps, and even post-workout recovery. They’re not fancy, and that’s exactly the point. Sometimes the best recipes are the ones that just work, no fuss required. I’ve been making them for months now, and I still look forward to that first bite every single time.
Why You’ll Love This Recipe
Let me tell you why these easy no-bake peanut butter protein balls have earned a permanent spot in my weekly rotation. I’ve tested this recipe more times than I can count, tweaking the ratios and swapping ingredients until everything clicked into place. The result is a snack that checks every box.
- Quick & Easy: These come together in about five minutes flat. No baking, no waiting, no complicated steps. Just mix, roll, and go.
- Simple Ingredients: You probably have most of these in your pantry right now. Peanut butter, oats, honey, protein powder — nothing weird or hard to find.
- Perfect for Busy Days: Whether you’re rushing to work, heading to the gym, or just need something to hold you over until dinner, these little balls deliver.
- Crowd-Pleaser: I’ve brought these to playdates, work meetings, and road trips. Kids love them, adults love them, and nobody ever guesses they’re actually good for you.
- Unbelievably Delicious: The combination of creamy peanut butter, sweet honey, and a hint of salt creates a flavor that’s seriously addictive. You’ll forget you’re eating something healthy.
What makes these different from other protein ball recipes? It’s the texture. I spent a lot of time figuring out the right balance between wet and dry ingredients so the balls hold together without being sticky or crumbly. Plus, I use a trick with the oats that gives them a softer, more satisfying bite. This isn’t just another version of peanut butter protein balls — it’s the one I keep coming back to, and I think you will too.
There’s something about having a container of these in the fridge that makes me feel like I have my life together. And honestly, that feeling is priceless.
What Ingredients You Will Need
This recipe uses simple, everyday ingredients that work together to create a snack that’s both satisfying and nourishing. Nothing fancy here — just real food that tastes great.
- Peanut Butter (1 cup / 240g) — Use creamy, natural peanut butter for best results. I prefer a brand with just peanuts and salt listed on the label. The natural oils help the balls hold together better than the processed stuff. If your peanut butter is too dry, the balls will be crumbly, so look for one that’s nicely stir-able.
- Rolled Oats (1 ½ cups / 135g) — Old-fashioned rolled oats give the best texture. Quick oats work in a pinch, but they’ll make the balls a little mushier. Don’t use steel-cut oats — they won’t soften enough and the texture will be too crunchy.
- Honey (⅓ cup / 110g) — This adds sweetness and helps bind everything together. Maple syrup works as a substitute if you’re vegan, though the flavor will be slightly different. I’ve tried both and honestly love them equally.
- Protein Powder (½ cup / 60g) — Vanilla or unflavored protein powder works best here. I’ve used both whey and plant-based options with good results. Chocolate protein powder also works if you want a double-chocolate vibe. Just adjust the sweetness accordingly.
- Chia Seeds (2 tablespoons / 20g) — These add a little crunch, some healthy omega-3s, and help with binding. Flaxseed meal or hemp seeds are great substitutes if you don’t have chia seeds on hand.
- Dark Chocolate Chips (¼ cup / 45g) — Optional, but highly recommended. They add little pockets of melty chocolate that make these feel like a treat. I use mini chips so they distribute more evenly.
- Pinch of Sea Salt — Just a small sprinkle enhances all the flavors and balances the sweetness. Trust me on this one.
That’s it. Seven ingredients, most of which you probably already have. No weird specialty items, no expensive superfood powders, just good old-fashioned pantry staples doing their thing.
Equipment Needed
You don’t need much to make these easy no-bake peanut butter protein balls, which is part of their charm. Here’s what you’ll want to have handy:
- Large Mixing Bowl — Any medium-to-large bowl will work. I use a glass one because it’s easy to see when everything is combined.
- Wooden Spoon or Spatula — For mixing everything together. A sturdy spatula works best, especially if your peanut butter is on the thicker side.
- Measuring Cups and Spoons — Accurate measurements matter here, especially for the peanut butter and honey. Too much liquid and the balls won’t hold their shape.
- Cookie Scoop or Tablespoon — For portioning the mixture into uniform balls. A small cookie scoop (about 1 tablespoon size) makes this job so much faster and cleaner.
- Parchment Paper or Baking Sheet — To place the rolled balls on while they set. You can also use a plate or tray lined with wax paper.
- Air-Tight Container — For storage in the fridge or freezer. A glass container with a tight-fitting lid works perfectly.
I’ve made these with just a bowl and my hands before, so don’t stress if you don’t have fancy equipment. The cookie scoop is nice to have, but totally optional. Your hands work just fine for rolling.
Preparation Method
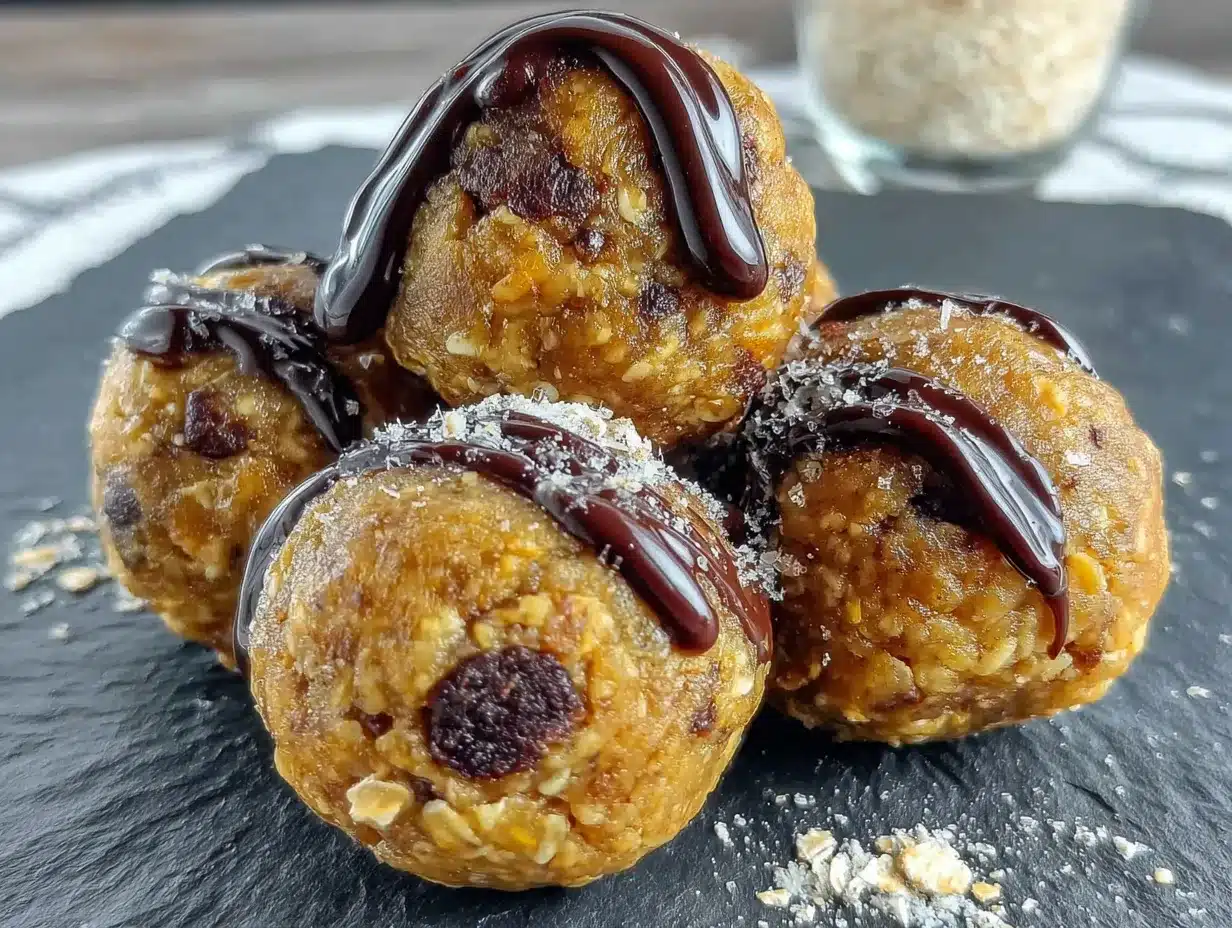
Making these easy no-bake peanut butter protein balls is incredibly straightforward. Here’s how I do it, step by step.
- Combine the dry ingredients. In your large mixing bowl, add the rolled oats, protein powder, chia seeds, and a pinch of sea salt. Give everything a quick stir with your spoon or spatula so the ingredients are evenly distributed. This step takes about 30 seconds but makes a difference in the final texture.
- Add the wet ingredients. Spoon in the peanut butter and drizzle the honey over the top. Don’t dump them all in one spot — spreading them out a little helps with mixing. If your peanut butter has been sitting in the fridge, let it come to room temperature first so it’s easier to stir.
- Mix until combined. Start stirring everything together with your spatula or wooden spoon. At first, it might look like it’s not coming together. Keep going. The oats will start absorbing the moisture and the mixture will begin to clump. Scrape the sides and bottom of the bowl a few times to make sure everything gets incorporated. This usually takes about 2 minutes of solid stirring.
- Add the chocolate chips. Once the base mixture is well combined, fold in the dark chocolate chips. Stir gently so they distribute evenly without breaking apart. If you’re skipping the chocolate chips, you can add a tablespoon of mini chocolate chips or even some chopped nuts instead.
- Check the consistency. The mixture should hold together when pressed between your fingers. If it seems too dry and crumbly, add a teaspoon of honey or a splash of milk (dairy or plant-based) and mix again. If it’s too sticky and wet, add a tablespoon more oats or protein powder. I’ve had to adjust both ways depending on the brand of peanut butter I used.
- Chill the mixture (optional but helpful). Pop the bowl in the fridge for 15-20 minutes. This makes the mixture easier to handle and helps the balls hold their shape better. If you’re in a hurry, you can skip this step and go straight to rolling.
- Roll into balls. Using your hands or a small cookie scoop, portion out about 1 tablespoon of the mixture and roll it between your palms to form a smooth ball. Place each ball on your parchment-lined baking sheet or plate as you go. You should get about 18-20 balls from this recipe, depending on how big you roll them.
- Let them set. Place the baking sheet in the fridge for at least 30 minutes to allow the balls to firm up. This step is important — don’t skip it. The chilling time helps the flavors meld together and gives the balls that perfect chewy texture.
- Transfer to storage. Once the balls are firm, move them to an air-tight container. Store them in the fridge for up to two weeks, or in the freezer for up to three months.
A quick tip: wet your hands slightly before rolling if the mixture is sticky. The moisture helps prevent the dough from clinging to your palms. I learned this the hard way after my first batch turned into a sticky mess on my fingers.
Cooking Tips & Techniques
Over the months of making these easy no-bake peanut butter protein balls, I’ve picked up a few tricks that make the process smoother and the results better. Here are my best tips.
Use room temperature peanut butter. Cold peanut butter is harder to mix and doesn’t incorporate as evenly. Let it sit on the counter for 20 minutes before you start. If you forget, you can microwave it for 10-15 seconds to soften it up.
Don’t overmix. Once everything is combined, stop stirring. Overmixing can make the texture dense and gummy, especially if you’re using a protein powder that thickens when agitated. Mix just until you can’t see any dry spots.
Toast the oats first. This is optional, but if you have an extra 5 minutes, spread the oats on a baking sheet and toast them at 350°F for about 5-7 minutes. Let them cool completely before using. Toasted oats add a nutty, deeper flavor that takes these balls to another level. I do this sometimes when I want to impress guests.
Watch the sweetness. Different protein powders have different sweetness levels. If yours is already sweetened, you might want to reduce the honey to ¼ cup. Taste the mixture before rolling and adjust accordingly. You can always add more honey, but you can’t take it out.
Chill before rolling. I mentioned this in the method, but it’s worth repeating. Chilling the mixture for even 10 minutes makes a huge difference in how easy it is to handle. The balls come out rounder and more uniform.
Double the batch. These freeze beautifully, so I always make a double batch. That way I have a stash ready to go when life gets hectic. Just make sure to store them in a single layer in the freezer before stacking, or they’ll stick together.
One mistake I made early on was using old oats that had gone slightly stale. The balls turned out dry and didn’t hold together well. Fresh oats make a noticeable difference, so check your pantry before you start.
Variations & Adaptations
One of the best things about these easy no-bake peanut butter protein balls is how adaptable they are. Here are some variations I’ve tried and loved.
Chocolate Peanut Butter Version: Swap the vanilla protein powder for chocolate protein powder and add an extra tablespoon of cocoa powder. The result tastes like a Reese’s peanut butter cup in ball form. I’ve made this version for parties and it disappears fast.
Vegan Option: Use maple syrup instead of honey and a plant-based protein powder. Make sure your chocolate chips are dairy-free. Everything else is already vegan-friendly. The texture is slightly different with maple syrup, but still delicious.
Nut-Free Alternative: Substitute the peanut butter with sunflower seed butter or tahini. The flavor will be different, but the texture works just as well. If using sunflower seed butter, add a pinch of cinnamon to balance the flavor.
Add Some Crunch: Fold in ¼ cup of chopped peanuts, almonds, or walnuts along with the chocolate chips. This adds a nice textural contrast and makes the balls even more satisfying. I love the crunch version for post-workout snacks.
Lower Sugar Option: Reduce the honey to 2 tablespoons and use an unsweetened protein powder. The peanut butter provides enough natural sweetness to keep things tasty. You can also add a few drops of stevia if you need extra sweetness without the sugar.
Seasonal Twist: In the fall, I add ½ teaspoon of pumpkin pie spice and swap the chocolate chips for dried cranberries. It gives the balls a cozy, holiday feel without any extra effort.
Don’t be afraid to experiment. These balls are forgiving, and even the “failed” batches are usually still pretty good. I once accidentally used salted peanut butter and ended up with a batch that was way too salty. I added some extra honey and oats to balance it out, and it turned into a happy accident.
Serving & Storage Suggestions
These easy no-bake peanut butter protein balls are incredibly versatile when it comes to serving and storing. Here’s what works best for me.
Serving Temperature: I prefer these straight from the fridge — they’re firmer and more satisfying that way. If you like a softer texture, let them sit at room temperature for 5-10 minutes before eating. Some people even microwave them for 10 seconds for a warm, gooey treat.
Presentation Ideas: For parties or gifts, arrange the balls in a small mason jar or on a platter with a sprinkle of sea salt on top. They look beautiful and make great hostess gifts. I’ve also packed them in lunchboxes with a little note for a fun surprise.
Pairing Suggestions: These pair wonderfully with a cup of coffee or tea for a mid-morning pick-me-up. They also go great with a glass of cold milk or a protein shake after a workout. If you’re serving them as dessert, try them alongside some fresh fruit for a balanced plate.
Refrigerator Storage: Store the balls in an air-tight container in the fridge for up to two weeks. I like to layer them between pieces of parchment paper so they don’t stick together. They actually get better after a day or two as the flavors meld and the texture softens slightly.
Freezer Storage: These freeze beautifully for up to three months. Place the balls on a baking sheet in a single layer and freeze until solid (about an hour), then transfer to a freezer-safe bag or container. This prevents them from freezing into one big clump. To thaw, just leave them in the fridge overnight or let them sit at room temperature for 15 minutes.
On-the-Go Tip: Pack a few balls in a small container or snack bag for trips, hikes, or busy days. They hold up well without refrigeration for a few hours, especially in cooler weather. In hot weather, they might get a little soft, so keep them in a cooler if possible.
One thing I love about these is that the flavors actually deepen after a day in the fridge. The honey and peanut butter meld together, and the oats soften just enough to create that perfect chewy texture. They’re good right away, but they’re even better the next day.
Nutritional Information & Benefits
These easy no-bake peanut butter protein balls aren’t just delicious — they’re packed with good-for-you ingredients that keep you fueled and satisfied. Here’s a quick breakdown.
Estimated Nutritional Values (per ball, based on 20 balls):
- Calories: 140
- Protein: 7g
- Carbohydrates: 16g
- Fiber: 3g
- Sugar: 8g
- Fat: 7g
- Saturated Fat: 1.5g
Health Benefits of Key Ingredients:
- Peanut Butter: Packed with protein, healthy fats, and vitamin E. It’s also a great source of magnesium, which supports muscle function and energy production.
- Oats: Rich in soluble fiber, which helps keep you full and supports heart health. They also provide steady energy without the crash.
- Chia Seeds: Loaded with omega-3 fatty acids, fiber, and antioxidants. They’re tiny but mighty when it comes to nutrition.
- Honey: A natural sweetener with antibacterial properties and a lower glycemic impact than refined sugar.
- Protein Powder: Helps with muscle repair and keeps you feeling full longer. Choose a quality brand with minimal additives.
Dietary Considerations: These balls are naturally gluten-free if you use certified gluten-free oats. They can be made vegan by swapping honey for maple syrup. They’re also dairy-free if you use dairy-free chocolate chips. Always check your protein powder for any allergens if you have sensitivities.
Potential Allergens: Peanuts (from peanut butter), gluten (from oats, if not certified gluten-free), and dairy (from chocolate chips and some protein powders). Adjust ingredients accordingly if needed.
I love that these balls give me real, sustained energy without the sugar crash you get from processed snacks. They’re perfect for that 3 p.m. slump when you need something to get you through the rest of the day.
Conclusion
These easy no-bake peanut butter protein balls have become a staple in my kitchen for good reason. They’re quick, simple, and genuinely delicious. No complicated techniques, no hard-to-find ingredients, no hours in the kitchen. Just five minutes of effort for a week’s worth of satisfying snacks.
I hope you give them a try and make them your own. Add your favorite mix-ins, adjust the sweetness to your liking, or experiment with different nut butters. That’s the beauty of this recipe — it’s a starting point, not a rulebook. If you end up with a version you love, I’d love to hear about it.
Drop a comment below and let me know how your batch turned out. Did you add anything fun? Did you make any substitutions that worked great? Your ideas might inspire someone else to try something new. And if you have a friend who’s always looking for easy, healthy snacks, feel free to share this recipe with them.
Here’s to good food, simple recipes, and snacks that actually make life easier. Happy snacking!
Frequently Asked Questions
Can I use quick oats instead of rolled oats?
Yes, you can use quick oats if that’s what you have on hand. The texture will be slightly softer and less chewy, but the balls will still hold together fine. I wouldn’t recommend steel-cut oats though — they’re too hard and won’t soften enough.
How long do these protein balls last in the fridge?
Stored in an air-tight container, they’ll stay fresh for up to two weeks in the refrigerator. I’ve kept them for three weeks before and they were still good, but the texture starts to get a little drier after the two-week mark.
Can I freeze these peanut butter protein balls?
Absolutely! Freeze them in a single layer on a baking sheet, then transfer to a freezer-safe bag or container. They’ll keep for up to three months. To thaw, just leave them in the fridge overnight or at room temperature for about 15 minutes.
My mixture seems too dry. What should I do?
Add a teaspoon of honey or a splash of milk (dairy or plant-based) and mix again. Add just a little at a time until the mixture holds together when pressed. Different brands of peanut butter and protein powder can affect moisture levels, so don’t worry if you need to adjust.
Can I make these without protein powder?
Yes, you can skip the protein powder. Just add an extra ¼ cup of oats and an extra tablespoon of chia seeds to make up for the dry ingredients. The protein content will be lower, but the balls will still taste great and hold together well.
Pin This Recipe!
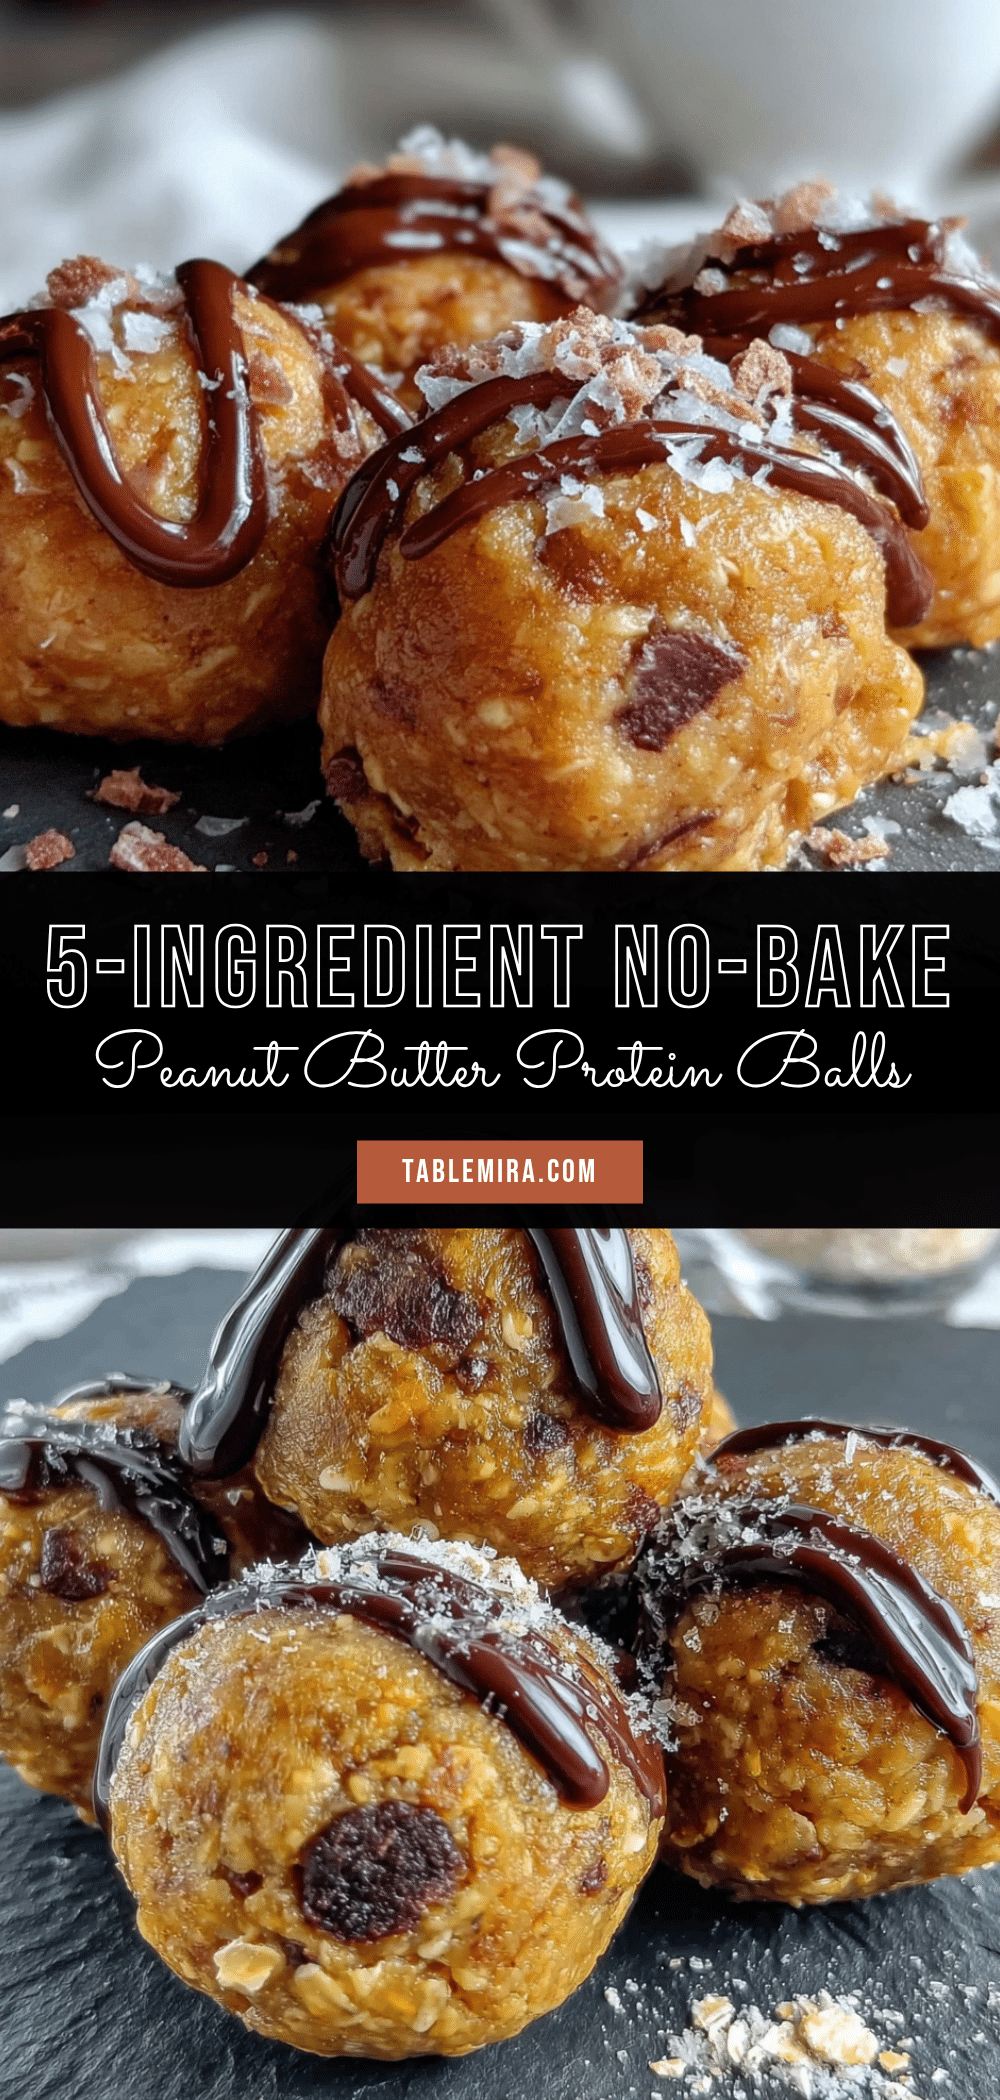
Easy No-Bake Peanut Butter Protein Balls: Best 5-Minute Snack

These easy no-bake peanut butter protein balls are the perfect quick snack for busy mornings, afternoon slumps, or post-workout recovery. Made with simple pantry ingredients, they come together in just five minutes and taste like a treat.
- Prep Time: 5 minutes
- Cook Time: 0 minutes
- Total Time: 35 minutes (includes chilling)
- Yield: 18-20 balls 1x
- Category: Snack
- Cuisine: American
Ingredients
- 1 cup (240g) creamy natural peanut butter
- 1 ½ cups (135g) rolled oats
- ⅓ cup (110g) honey
- ½ cup (60g) vanilla or unflavored protein powder
- 2 tablespoons (20g) chia seeds
- ¼ cup (45g) dark chocolate chips (optional)
- Pinch of sea salt
Instructions
- In a large mixing bowl, combine the rolled oats, protein powder, chia seeds, and a pinch of sea salt. Stir to distribute evenly.
- Add the peanut butter and honey. Mix with a spatula or wooden spoon until well combined, about 2 minutes.
- Fold in the dark chocolate chips until evenly distributed.
- Check the consistency: the mixture should hold together when pressed. If too dry, add a teaspoon of honey or a splash of milk. If too sticky, add a tablespoon more oats or protein powder.
- Optional: Chill the mixture in the fridge for 15-20 minutes for easier handling.
- Using your hands or a small cookie scoop, portion about 1 tablespoon of the mixture and roll into smooth balls. Place on a parchment-lined baking sheet.
- Refrigerate for at least 30 minutes to firm up.
- Transfer to an airtight container and store in the fridge for up to 2 weeks or in the freezer for up to 3 months.
Notes
Use room temperature peanut butter for easier mixing. Wet your hands slightly if the mixture is sticky. For a vegan version, substitute honey with maple syrup. Toasting the oats first adds a nutty flavor. The balls taste even better after a day in the fridge as flavors meld.
Nutrition
- Serving Size: 1 ball
- Calories: 140
- Sugar: 8
- Fat: 7
- Saturated Fat: 1.5
- Carbohydrates: 16
- Fiber: 3
- Protein: 7
Keywords: no-bake protein balls, peanut butter protein balls, healthy snack, easy snack, gluten-free snack, high protein snack


