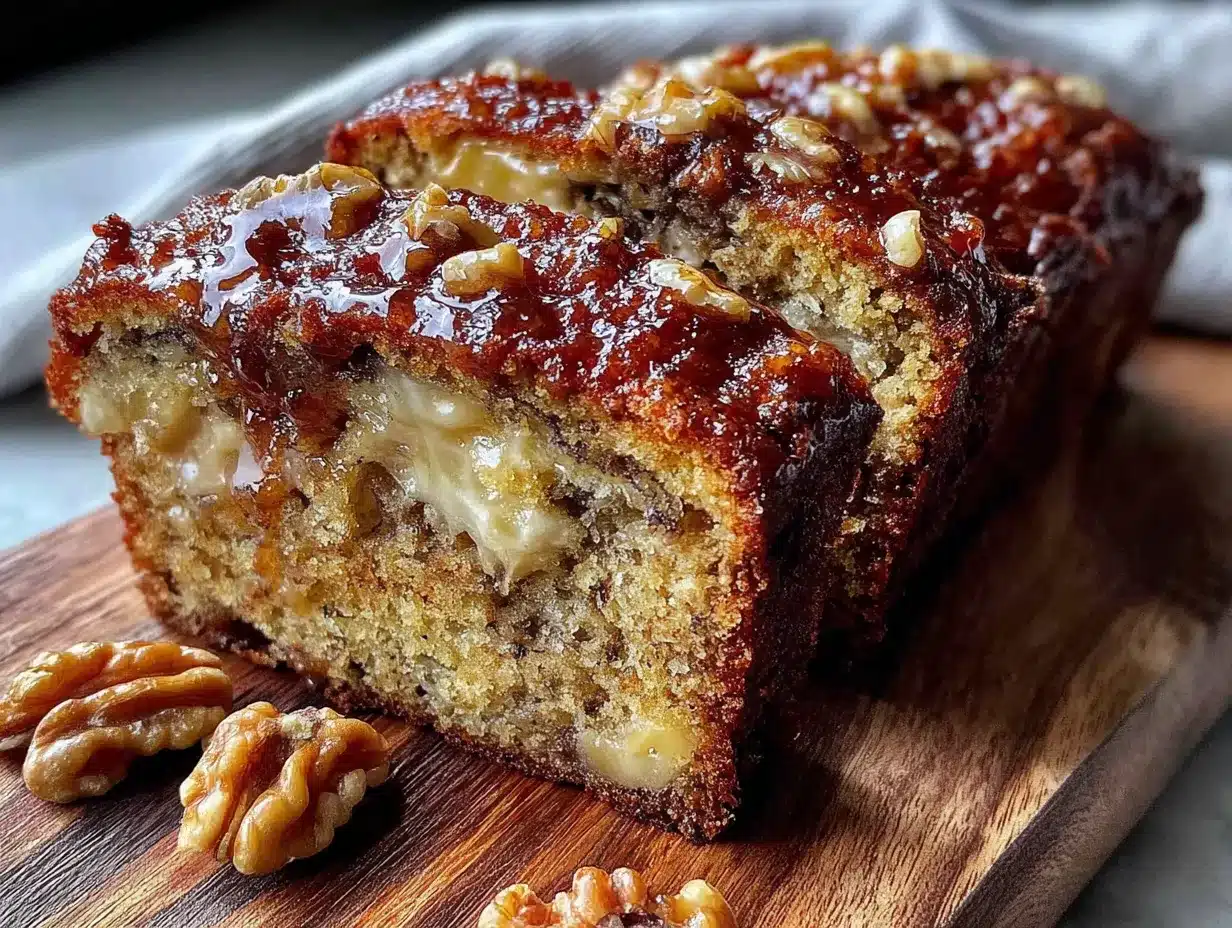
The crackly, sugar-crusted top that gives way to a tender, impossibly moist crumb — that’s what I was after. Not the whole loaf, not the massive batch that lingers for days and tempts you into a second breakfast. Just one perfect slice, warm from the oven, with a few toasted walnuts tucked into every bite. This easy small-batch banana bread with walnuts was born from a very specific kind of craving — the kind that hits on a quiet Tuesday afternoon when you have one sad, spotty banana on the counter and absolutely no intention of making a full-sized production out of it.
I used to think banana bread required commitment. You know, the whole shebang — three bananas, a mixer, a 9×5 loaf pan, and an hour of your life. But honestly? Sometimes you just want the payoff without the surplus. This recipe is my answer to that. It’s scaled down, scaled back, and scaled to fit into a standard loaf pan (or even a small cast iron skillet, if you’re feeling fancy).
The thing about small-batch baking is that it forces you to be intentional. Every ingredient earns its place. There’s no room for filler. And this loaf? It delivers that perfect balance of tender crumb and nutty crunch. It’s the kind of bread that makes you close your eyes after the first bite — not because it’s complicated, but because it’s exactly right. And honestly, that’s the whole point.
Why You’ll Love This Recipe
This isn’t just another banana bread recipe. It’s the one you’ll turn to when you want something homemade without the leftover loaf threatening your willpower for the next five days. Here’s why it works so well:
- Perfectly Portioned: This recipe makes one small loaf — just enough for two to four people. No more, no less. It’s ideal for small households, solo bakers, or anyone who wants a treat without the temptation of a full-sized loaf staring at them from the counter.
- Simple Ingredients: You probably have everything already. A single banana, some butter, sugar, an egg, flour, and a handful of walnuts. No fancy extracts or specialty flours required.
- Quick and Easy: From mixing bowl to oven in under 15 minutes. The active prep time is almost laughably short, and the hands-off baking time lets you get on with your day.
- Foolproof Texture: The crumb is tender and moist without being gummy. The walnuts add just enough crunch to keep every bite interesting. It’s the kind of texture that makes you wonder why you ever bothered with full-sized loaves.
- Endlessly Adaptable: This base recipe is a blank canvas. Swap the walnuts for chocolate chips, add a swirl of peanut butter, or toss in some dried fruit. It handles substitutions beautifully.
What makes this small-batch banana bread with walnuts different from the rest? It’s the ratio. I spent a few weekends tweaking the balance of wet to dry ingredients until I got that perfect, almost custardy crumb. The secret is in how you treat the banana — mashing it thoroughly but not to a complete pulp, leaving a few tiny chunks for texture. And the walnuts? Toasting them first is non-negotiable. It wakes up their oils and makes them taste almost buttery. This isn’t just another version — it’s my best version, and I think you’ll agree.
What Ingredients You Will Need
This recipe uses simple, humble ingredients to create something genuinely satisfying. The magic isn’t in exotic additions — it’s in how these everyday staples come together. Here’s what you’ll need and why each one matters:
For the Batter
- 1 very ripe medium banana (about 120g, mashed) — The riper, the better. Those brown-speckled or even fully black bananas are what you want. They’re sweeter and more aromatic, which means you can use less sugar. Mash it with a fork until mostly smooth, leaving a few small lumps for texture.
- ¼ cup unsalted butter (56g), melted and slightly cooled — Butter adds richness and that unmistakable flavor. I use unsalted so I can control the salt level. Let it cool for a minute after melting so it doesn’t cook the egg.
- ⅓ cup granulated sugar (66g) — Just enough sweetness to complement the banana without overwhelming it. You can reduce this to ¼ cup if your banana is extremely ripe.
- 1 large egg — This is the structural backbone. It gives the bread lift and helps bind everything together. Make sure it’s at room temperature for the best emulsion.
- ½ teaspoon vanilla extract — Pure vanilla, not imitation. It rounds out the flavors and makes the banana taste more like itself.
- ¾ cup all-purpose flour (95g) — Spoon and level it into your measuring cup. Scooping directly can pack the flour and make the bread dense. I like King Arthur Flour for consistent results.
- ½ teaspoon baking soda — This is your leavening agent. It reacts with the acidity in the banana to create lift. Make sure it’s fresh — test it by dropping a pinch into vinegar; it should fizz immediately.
- ¼ teaspoon salt — A small amount that makes a big difference. It balances the sweetness and enhances all the flavors.
- ½ cup walnut halves and pieces (60g), toasted and roughly chopped — Toasting is key. Spread them on a baking sheet at 350°F for 5-7 minutes until they smell fragrant. Let them cool before chopping. I prefer pieces over whole halves because they distribute more evenly through the batter.
Optional Add-Ins
- ¼ cup chocolate chips or chopped dark chocolate — If you’re feeling indulgent. Use semisweet or bittersweet for the best balance.
- 1 tablespoon brown sugar — Sprinkle on top before baking for a crackly, caramelized crust.
- ¼ teaspoon cinnamon — Adds warmth and depth. It pairs beautifully with banana and walnuts.
Equipment Needed
You don’t need a fancy bakery setup for this one. Here’s what you’ll need:
- Small loaf pan (about 6×3 inches or 7×3 inches) — This is the key piece. A standard 9×5 pan will make a very flat loaf. I use a 6×3 inch pan for the perfect height. If you don’t have one, you can bake the batter in a 9×5 pan — just check it 10 minutes early.
- Mixing bowls — One medium bowl for wet ingredients and one small bowl for dry.
- Whisk and rubber spatula — A whisk for the wet ingredients and a spatula for folding in the dry. A wooden spoon works too.
- Parchment paper — Lining the pan makes removal a breeze. Leave an overhang on two sides for easy lifting.
- Cooling rack — Essential for even cooling. If you don’t have one, use the inverted loaf pan or a wire trivet.
- Baking sheet — For toasting the walnuts. A small sheet or even a pie plate works.
Pro tip: If you’re using a metal loaf pan, reduce the oven temperature by 25°F to prevent over-browning. Glass or ceramic pans retain heat longer, so you might need to add a few minutes.
Preparation Method
Let’s get baking. This is straightforward, but I’ll walk you through every step so you get that perfect loaf.
- Preheat your oven to 350°F (175°C). Position the rack in the center. While it’s heating, toast the walnuts on a small baking sheet for 5-7 minutes. They should smell nutty and look slightly darker. Remove them and let cool completely. Chop them roughly — you want some small pieces and a few larger ones for texture.
- Prepare your loaf pan. Cut a piece of parchment paper that’s about 8 inches wide and long enough to overhang the long sides of the pan by 2 inches. Press it into the pan, smoothing the corners. Lightly grease any exposed sides with butter or nonstick spray. This ensures the bread releases cleanly.
- Mash the banana. In a medium mixing bowl, add the ripe banana. Use a fork to mash it until mostly smooth. Leave a few small chunks — they’ll melt into the bread and create little pockets of concentrated banana flavor. You should have about ½ cup of mashed banana.
- Mix the wet ingredients. Add the melted and slightly cooled butter to the mashed banana. Whisk until combined. Add the granulated sugar, egg, and vanilla extract. Whisk vigorously for about 30 seconds until the mixture is smooth, pale, and slightly thickened. This step aerates the batter and helps create a tender crumb.
- Combine the dry ingredients. In a separate small bowl, whisk together the all-purpose flour, baking soda, and salt. Make sure there are no lumps. This ensures even distribution of the leavening agent.
- Fold the dry into the wet. Add the dry ingredients to the wet mixture. Use a rubber spatula to fold gently — cut through the center, scrape the bottom, and turn the mixture over. Repeat until just a few streaks of flour remain. Do NOT overmix. Overmixing develops gluten and will make your bread tough.
- Add the walnuts. Sprinkle the toasted, chopped walnuts over the batter. Fold them in with just 3-4 strokes. You want them evenly distributed, not buried at the bottom.
- Transfer to the pan. Scrape the batter into the prepared loaf pan. Spread it into an even layer. If you’re using the brown sugar topping, sprinkle it evenly over the surface now.
- Bake. Place the pan in the preheated oven. Bake for 35-40 minutes, or until a toothpick inserted into the center comes out clean or with just a few moist crumbs. The top should be golden brown and spring back when lightly touched. If the top is browning too quickly after 25 minutes, tent it loosely with foil.
- Cool. Let the bread cool in the pan for 10 minutes. Then lift it out using the parchment overhang and transfer it to a cooling rack. Let it cool completely before slicing — about 1 hour. I know it’s tempting, but slicing too early will result in a gummy texture.
Cooking Tips & Techniques
I’ve made this small-batch banana bread with walnuts more times than I can count, and I’ve learned a few things along the way. Here are the tips that make a real difference:
- Don’t skip the toasting step. I once skipped toasting the walnuts because I was in a hurry. The bread was fine, but the walnuts were soft and almost mealy. Toasting transforms them — it intensifies their flavor and keeps them crunchy even after baking.
- Use a digital scale for accuracy. Measuring flour by volume is notoriously inconsistent. If you have a scale, use it. 95 grams of all-purpose flour is perfect. Without a scale, spoon the flour into your measuring cup and level it off with a knife. Never scoop directly from the bag.
- Room temperature ingredients matter. Cold egg and cold butter won’t emulsify properly with the sugar. Let the egg sit out for 30 minutes before starting. If you’re in a rush, place the egg in a bowl of warm water for 5 minutes.
- Check for doneness with a thermometer. An instant-read thermometer is more reliable than a toothpick. The internal temperature should be around 200-205°F when the bread is done. This ensures the center is fully cooked without being dry.
- Let it rest overnight. If you can resist, wrap the cooled loaf in plastic wrap and let it sit overnight. The flavors meld and the texture becomes even more moist. It’s a game-changer.
Variations & Adaptations
This recipe is a fantastic base for experimentation. Here are a few variations I’ve tried and loved:
- Chocolate Chip Banana Bread: Replace the walnuts with ½ cup of semisweet chocolate chips. The chocolate melts into the warm bread and creates pockets of gooey goodness. I like to press a few extra chips on top before baking for a pretty finish.
- Gluten-Free Version: Swap the all-purpose flour with a good 1:1 gluten-free baking flour blend (I like Bob’s Red Mill). Add ¼ teaspoon of xanthan gum if your blend doesn’t include it. The texture will be slightly more delicate, but it’s still delicious.
- Vegan Adaptation: Use melted coconut oil or vegan butter instead of dairy butter. Replace the egg with a flax egg (1 tablespoon ground flaxseed + 3 tablespoons water, let sit for 5 minutes). The bread will be a bit denser, but the flavor is still spot on.
- Spiced Walnut Version: Add ½ teaspoon of cinnamon, ¼ teaspoon of nutmeg, and a pinch of cloves to the dry ingredients. This gives the bread a warm, cozy flavor that’s perfect for fall. You can also toss the toasted walnuts in a teaspoon of maple syrup before adding them to the batter.
- Peanut Butter Swirl: Warm 2 tablespoons of peanut butter until it’s runny. After adding the batter to the pan, drop spoonfuls of the peanut butter on top and swirl it in with a knife. It creates beautiful ribbons and adds a salty-savory contrast.
Serving & Storage Suggestions
This small-batch banana bread with walnuts is best served slightly warm, but it’s also fantastic at room temperature. Here’s how I like to enjoy it:
- Serving: Slice it thick — about ¾ inch wide. Spread a little salted butter on top while it’s still warm. The butter melts into the crumb and takes it to another level. For a breakfast treat, toast a slice and drizzle it with honey. It’s also wonderful with a dollop of Greek yogurt and a sprinkle of cinnamon.
- Storage: Wrap the cooled loaf tightly in plastic wrap and store it at room temperature for up to 3 days. The moisture from the banana keeps it tender. Do not refrigerate — the cold air will dry it out.
- Freezing: This bread freezes beautifully. Wrap it tightly in plastic wrap, then in foil, and freeze for up to 3 months. To thaw, leave it on the counter for 2-3 hours, or warm individual slices in the microwave for 20 seconds.
- Reheating: For that fresh-from-the-oven experience, reheat slices in a toaster oven at 350°F for 5 minutes. The edges get slightly crisp while the center stays soft. It’s dangerously good.
Nutritional Information & Benefits
Here’s an approximate nutritional breakdown per slice (based on 6 slices):
- Calories: 245
- Fat: 14g
- Saturated Fat: 6g
- Carbohydrates: 28g
- Fiber: 2g
- Sugar: 14g
- Protein: 5g
Bananas are a great source of potassium and vitamin B6, which support heart health and energy metabolism. Walnuts are packed with omega-3 fatty acids and antioxidants, making this bread a surprisingly nutritious treat. While it’s still a dessert, it’s one that gives you a little something back — fiber, healthy fats, and real food ingredients. Perfect for a guilt-free afternoon pick-me-up.
Conclusion
This easy small-batch banana bread with walnuts is the kind of recipe that becomes a habit. It’s simple enough for a weekday whim, but special enough to share with a friend over coffee. The crackly top, the tender crumb, the toasted walnuts in every bite — it’s comfort food at its most honest.
I love that this recipe doesn’t demand a lot from you. One banana, a handful of pantry staples, and 40 minutes is all it takes. It’s proof that you don’t need a big batch or a fancy technique to make something genuinely satisfying. So go ahead — grab that spotty banana, toast those walnuts, and bake yourself a little joy. And when you do, I’d love to hear about it. Leave a comment below, share your photos, or tell me how you made it your own. Happy baking!
Frequently Asked Questions
Can I use frozen bananas for this recipe?
Absolutely. Thaw the banana completely and drain off any excess liquid before mashing. Frozen bananas are actually more concentrated in flavor, which makes the bread even more delicious. Just be sure to use them right away after thawing.
Why did my banana bread turn out dry?
This usually happens from overmixing the batter or overbaking. Mix just until the flour disappears, and start checking for doneness at the 35-minute mark. Using a kitchen scale for your flour measurement can also prevent a dry result.
Can I make this without walnuts?
Yes! Simply omit the walnuts, or replace them with an equal amount of chocolate chips, dried cranberries, or chopped pecans. The base recipe works beautifully on its own as a plain banana bread.
How do I make this dairy-free?
Replace the butter with melted coconut oil or a dairy-free butter alternative. The bread will have a slightly different texture — a bit more tender — but the flavor will still be excellent. Use a dairy-free chocolate chip version for a fully dairy-free treat.
Can I double this recipe for a standard loaf pan?
Yes, you can double all the ingredients and bake the batter in a standard 9×5 inch loaf pan. Increase the baking time to 50-60 minutes, and tent the top with foil after 30 minutes to prevent over-browning. Check with a toothpick or thermometer for doneness.
Pin This Recipe!
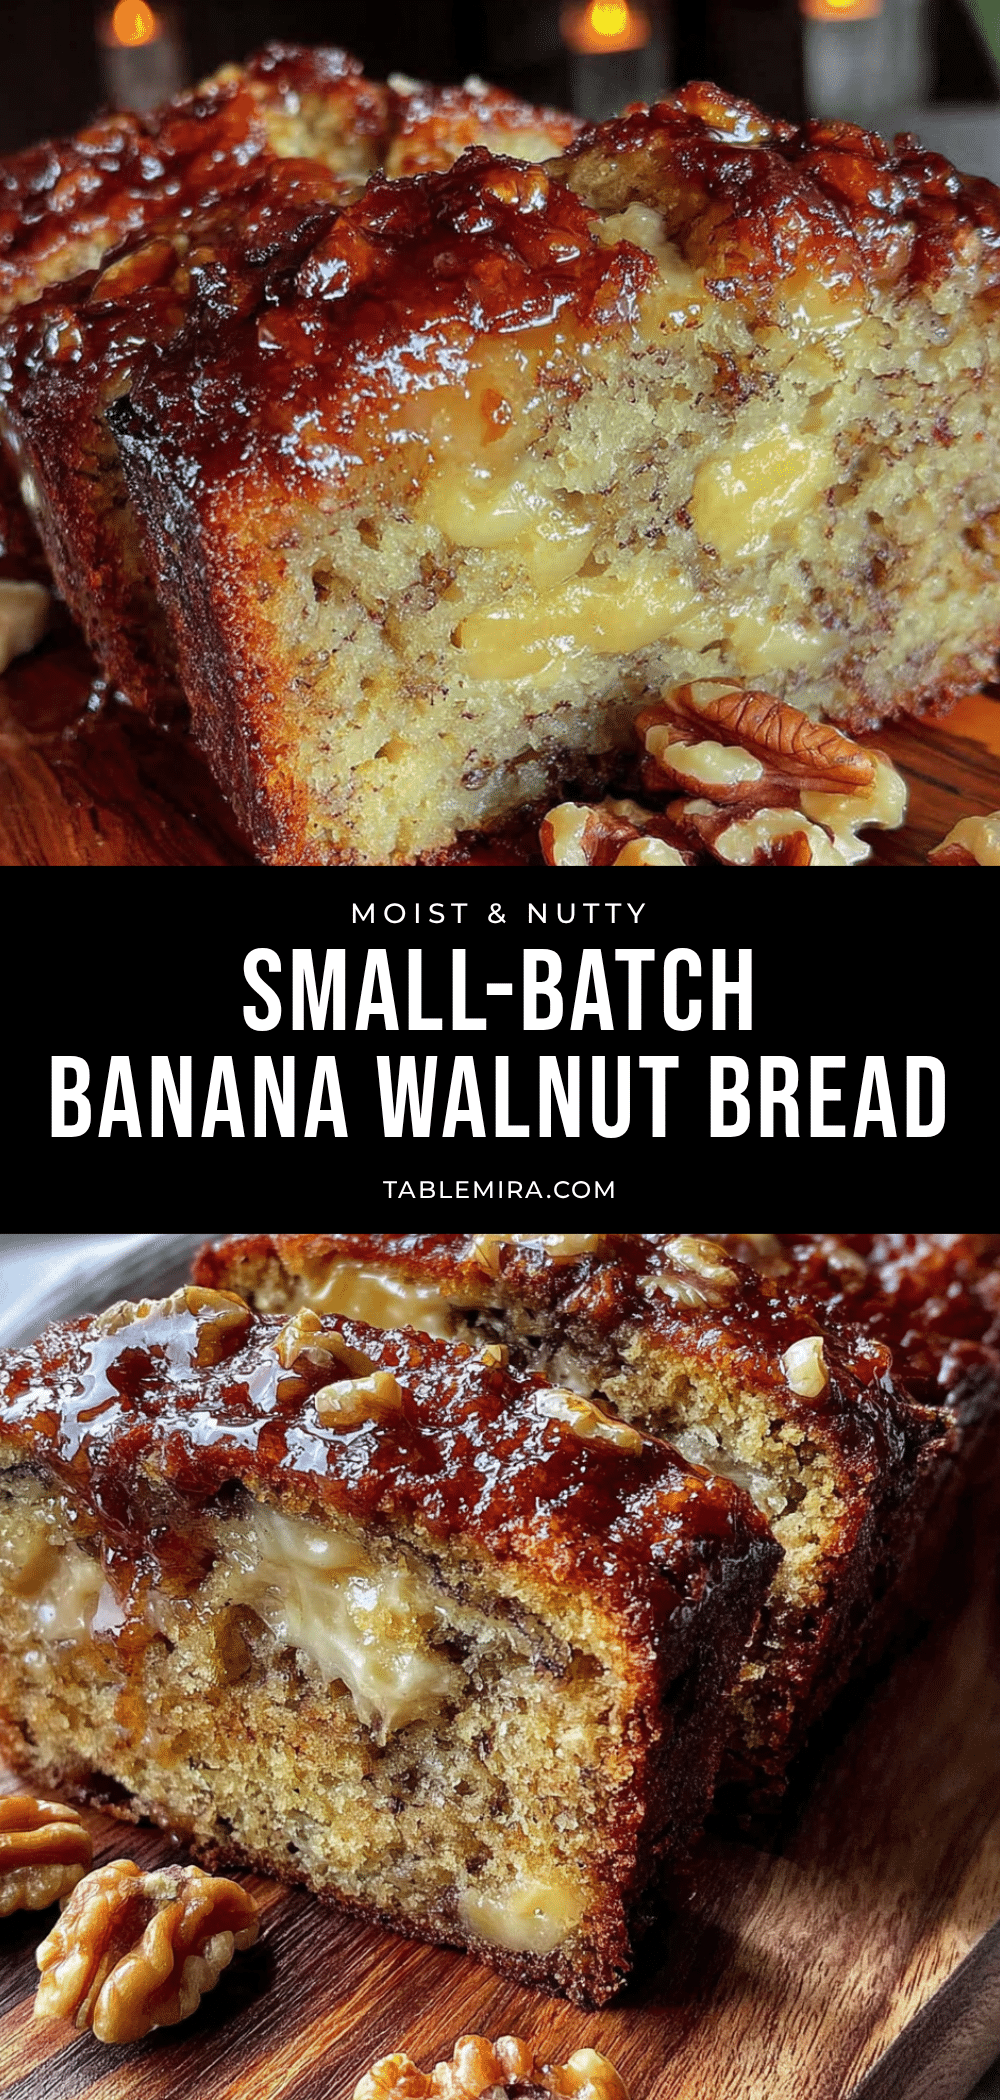
Easy Small-Batch Banana Bread with Walnuts: Best Homemade Recipe
This easy small-batch banana bread with walnuts is perfectly portioned for two to four people, featuring a crackly sugar-crusted top and a tender, moist crumb with toasted walnuts in every bite. It’s a simple, foolproof recipe that delivers comfort food at its most honest.
- Prep Time: 15 minutes
- Cook Time: 35-40 minutes
- Total Time: 1 hour 15 minutes (including cooling)
- Yield: 6 servings 1x
- Category: Dessert
- Cuisine: American
Ingredients
- 1 very ripe medium banana (about 120g), mashed
- 1/4 cup unsalted butter (56g), melted and slightly cooled
- 1/3 cup granulated sugar (66g)
- 1 large egg, at room temperature
- 1/2 teaspoon vanilla extract
- 3/4 cup all-purpose flour (95g), spooned and leveled
- 1/2 teaspoon baking soda
- 1/4 teaspoon salt
- 1/2 cup walnut halves and pieces (60g), toasted and roughly chopped
- Optional: 1/4 cup chocolate chips or chopped dark chocolate
- Optional: 1 tablespoon brown sugar (for topping)
- Optional: 1/4 teaspoon cinnamon
Instructions
- Preheat your oven to 350°F (175°C). Position the rack in the center. While it’s heating, toast the walnuts on a small baking sheet for 5-7 minutes until fragrant. Remove and let cool completely, then chop roughly.
- Prepare your loaf pan: Cut a piece of parchment paper about 8 inches wide and long enough to overhang the long sides by 2 inches. Press it into the pan, smoothing the corners. Lightly grease any exposed sides with butter or nonstick spray.
- Mash the banana: In a medium mixing bowl, mash the ripe banana with a fork until mostly smooth, leaving a few small chunks. You should have about 1/2 cup of mashed banana.
- Mix the wet ingredients: Add the melted and slightly cooled butter to the mashed banana and whisk until combined. Add the granulated sugar, egg, and vanilla extract. Whisk vigorously for about 30 seconds until smooth, pale, and slightly thickened.
- Combine the dry ingredients: In a separate small bowl, whisk together the all-purpose flour, baking soda, and salt until no lumps remain.
- Fold the dry into the wet: Add the dry ingredients to the wet mixture. Use a rubber spatula to fold gently until just a few streaks of flour remain. Do not overmix.
- Add the walnuts: Sprinkle the toasted, chopped walnuts over the batter and fold in with just 3-4 strokes until evenly distributed.
- Transfer to the pan: Scrape the batter into the prepared loaf pan and spread into an even layer. If using, sprinkle brown sugar evenly over the surface.
- Bake: Place the pan in the preheated oven and bake for 35-40 minutes, or until a toothpick inserted into the center comes out clean or with just a few moist crumbs. The top should be golden brown and spring back when lightly touched. If browning too quickly after 25 minutes, tent loosely with foil.
- Cool: Let the bread cool in the pan for 10 minutes. Then lift it out using the parchment overhang and transfer to a cooling rack. Let cool completely before slicing, about 1 hour.
Notes
For best results, use a very ripe banana (brown-speckled or fully black). Toasting the walnuts is non-negotiable for optimal flavor and crunch. If using a metal loaf pan, reduce oven temperature by 25°F to prevent over-browning. Let the bread cool completely before slicing to avoid a gummy texture. For even more moistness, wrap the cooled loaf in plastic wrap and let it sit overnight.
Nutrition
- Serving Size: 1 slice (based on 6
- Calories: 245
- Sugar: 14
- Sodium: 180
- Fat: 14
- Saturated Fat: 6
- Carbohydrates: 28
- Fiber: 2
- Protein: 5
Keywords: small-batch banana bread, banana bread with walnuts, easy banana bread, homemade banana bread, moist banana bread, single banana recipe


