I had been looking for a Halloween treat that actually tasted as good as it looked. You know the ones I mean—those store-bought mixes that are all orange food coloring and waxy chocolate, where the candy corn gets stale before you even open the bag. For a while, I just accepted that festive desserts meant sacrificing flavor for the sake of being cute. But last October, standing in the baking aisle with a bag of marshmallows in one hand and a box of Rice Krispies in the other, it clicked. Why was I overcomplicating this?
The answer was sitting right there in the cereal aisle, next to the seasonal candy display. Candy corn and Rice Krispies treats—it’s one of those combinations that seems obvious once you think about it. The chewy, buttery marshmallow base, the crunch of the cereal, and those little tri-colored kernels of pure nostalgia. I grabbed a bag of candy corn (the good brand, not the waxy stuff) and headed home, already picturing how the layers would look when sliced.
The first batch came out okay. A little too sweet, honestly. The candy corn melted into the marshmallow mixture and turned everything a weird shade of sunset orange. Not exactly the look I was going for. But I learned something important that day: patience. Letting the marshmallow mixture cool just a bit before folding in the candy corn, pressing them in gently so they stayed intact—that made all the difference. By the third try, I had a pan of treats that actually looked like Halloween. Bright white marshmallow squares studded with little pops of yellow, orange, and white.
These easy candy corn Rice Krispie treats aren’t going to win any awards for sophistication. But they don’t need to. They’re the kind of recipe you make when you want to bring something to the school party or the office potluck that people will actually eat. Not just admire, but reach for. And honestly? That’s exactly what I was after.
Why You’ll Love This Recipe
Let’s be real—there are about a million ways to make Rice Krispie treats. But these easy candy corn Rice Krispie treats hit different. Here’s why they’ve become my go-to for fall gatherings:
- Quick & Easy: From start to finish, you’re looking at about 15 minutes of active work. The hardest part is waiting for them to set.
- Simple Ingredients: You need butter, marshmallows, Rice Krispies cereal, and a bag of candy corn. That’s it. No obscure extracts or specialty baking supplies.
- Perfect for Halloween: They’re festive without being fussy. No piping bags, no fondant, no stress. Just bright, cheerful squares that scream October.
- Crowd-Pleaser: Kids go crazy for them, and adults sneak them when they think no one’s looking. I’ve watched it happen.
- Unbelievably Delicious: The salty butter balances the sweetness of the marshmallows, and the candy corn adds this little chewy pop that’s totally addictive.
What makes these different from every other Halloween treat out there? It’s the texture contrast. Most candy corn desserts end up tasting like sugar bombs with no structure. But here, the crispy cereal provides the perfect canvas for the soft, chewy marshmallow and those slightly firmer candy corn pieces. You get three different textures in one bite.
These easy candy corn Rice Krispie treats are the kind of recipe that makes you feel like you’ve got it together, even when you definitely don’t. They’re forgiving, they’re fast, and they taste like the best part of fall—without the pumpkin spice fatigue.
What Ingredients You Will Need
This recipe uses simple, pantry-friendly ingredients to deliver that classic Rice Krispie treat texture with a festive Halloween twist. Here’s what you’ll need:
For the Base
- 3 tablespoons unsalted butter (plus extra for greasing the pan) — Salted butter works in a pinch, but unsalted lets you control the salt level. I prefer Kerrygold for the richer flavor.
- 1 bag (10 ounces) mini marshmallows — Standard size marshmallows work too, but mini ones melt faster and more evenly. Jet-Puffed is my go-to brand.
- 6 cups Rice Krispies cereal — Generic crispy rice cereal works fine, but the name brand gives you that perfect crunch that doesn’t get soggy. If you’re feeling adventurous, try the cocoa version for a chocolate twist.
- 1 cup candy corn — About half a standard 15-ounce bag. Brach’s is the classic choice, but any brand works. Just avoid the seasonal “harvest mix” with the pumpkins—they’re too big and throw off the texture.
- ¼ teaspoon salt — Optional but recommended. A tiny pinch balances the sweetness beautifully. Use flaky sea salt for a more pronounced finish.
Optional Add-Ins
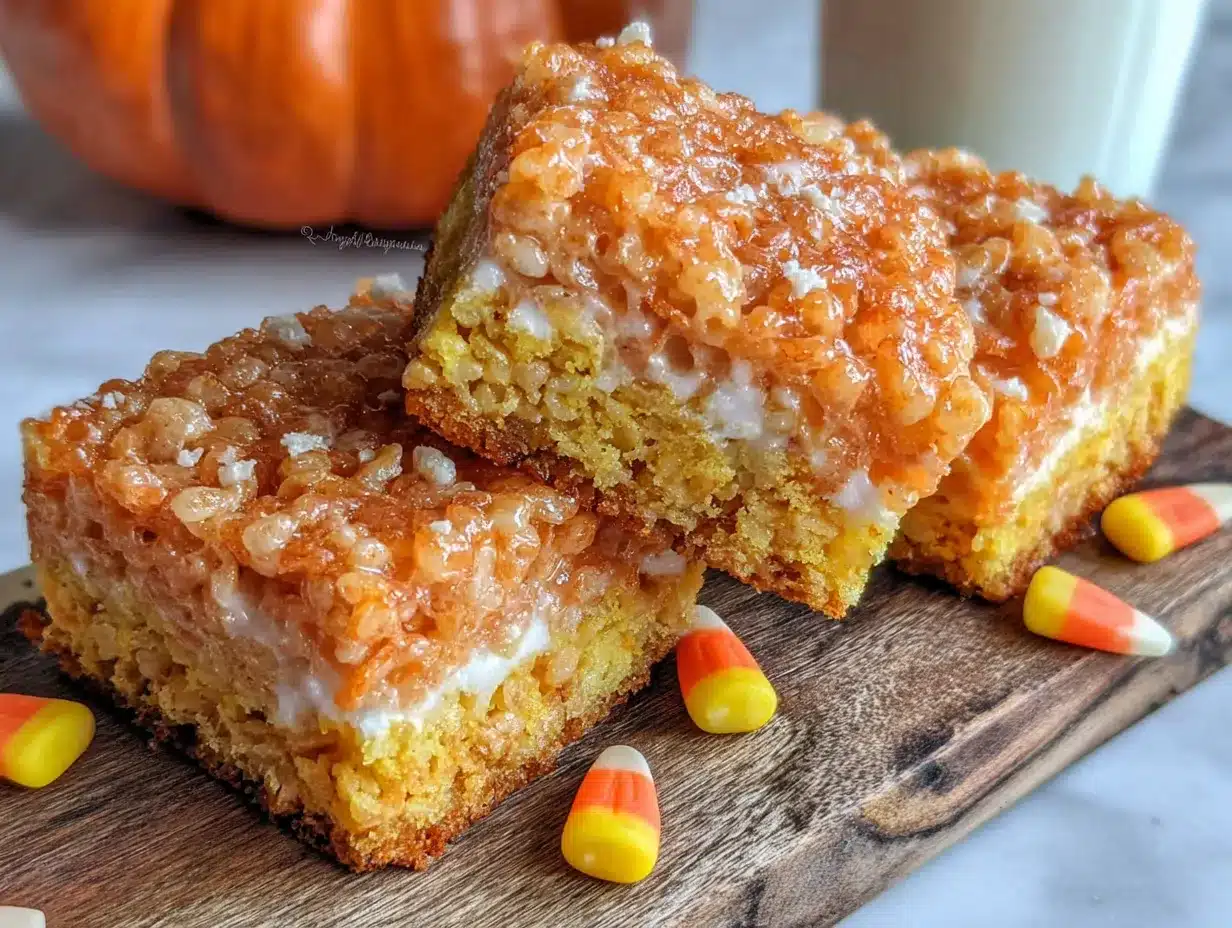
- ½ cup white chocolate chips — Melted and drizzled on top makes these feel extra special. I like Ghirardelli for the smooth melt.
- Orange food coloring — A few drops in the marshmallow mixture if you want a more uniform Halloween look. Gel coloring works best—liquid can mess with the marshmallow ratio.
- ¼ cup sprinkles — Halloween-themed jimmies or nonpareils add crunch and color. Add them right after pressing the mixture into the pan.
One thing I’ve learned the hard way: don’t skimp on the butter. It’s what keeps these easy candy corn Rice Krispie treats from turning into cement blocks. And if you’re using salted butter, skip the extra pinch of salt—you won’t need it.
For the candy corn, freshness matters. Stale candy corn gets hard and chalky. Give the bag a squeeze in the store—if it feels stiff, grab a different one. You want the kernels to be soft and slightly pliable.
Equipment Needed
You don’t need a fancy kitchen to pull these off. Here’s what you’ll need:
- 9×13-inch baking dish — Glass or metal both work. Glass gives you a better view of the bottom layer, but metal conducts heat faster if you’re in a hurry. Just make sure it’s at least 2 inches deep.
- Large pot or Dutch oven — You need room to stir everything without cereal flying everywhere. A 5-quart pot is ideal. Non-stick makes cleanup a breeze.
- Silicone spatula or wooden spoon — Silicone is my preference because it doesn’t scratch the pot and it scrapes the sides clean. A wooden spoon works fine, but you’ll have more marshmallow stuck to it.
- Parchment paper or wax paper — For lining the pan. Parchment is non-stick and holds up better than wax paper, which can get soggy. Leave overhang on two sides for easy lifting.
- Sharp knife — A chef’s knife or a long serrated knife works best. Spray it with cooking spray between cuts to keep the marshmallow from sticking.
- Measuring cups and spoons — For accuracy. Eyeballing works for the cereal, but the butter and marshmallows need to be precise.
If you don’t have a 9×13, an 8×8 pan works—your treats will just be thicker. Adjust the cooking time slightly, and expect them to take a bit longer to set. I’ve also made these in a disposable foil pan for parties, and they turn out exactly the same.
One pro tip: keep a small bowl of water nearby. Dip your spatula in the water before pressing the mixture into the pan. The marshmallow won’t stick to the wet silicone, and you’ll get a much smoother surface.
Preparation Method
Making these easy candy corn Rice Krispie treats is almost embarrassingly simple. But there are a few tricks to getting them just right. Follow these steps, and you’ll have a pan of perfect squares every time.
- Prep the pan. Line your 9×13-inch baking dish with parchment paper, leaving about 2 inches of overhang on the long sides. Lightly butter the parchment and the exposed sides of the dish. This ensures nothing sticks and makes cleanup a dream. Set the pan aside.
- Measure everything first. This is crucial. Once the marshmallows start melting, you don’t have time to fish around for the cereal. Measure out 6 cups of Rice Krispies into a large bowl. Count out 1 cup of candy corn and set it aside. Have your butter measured and ready. Trust me on this—I’ve burned more than one batch of marshmallows because I was scrambling to find the cereal.
- Melt the butter. In a large pot or Dutch oven, melt the 3 tablespoons of unsalted butter over medium-low heat. Stir it occasionally with your silicone spatula. You want it fully melted but not browned. If you see it starting to foam or turn golden, pull it off the heat immediately. Brown butter tastes amazing, but it changes the flavor profile—save that experiment for another batch.
- Add the marshmallows. Dump the entire 10-ounce bag of mini marshmallows into the pot with the melted butter. Reduce the heat to low. Stir constantly in a figure-eight motion, scraping the bottom and sides. The marshmallows will start to puff up and then collapse into a smooth, gooey mass. This takes about 3-4 minutes. Don’t walk away—marshmallows go from perfectly melted to scorched in about 30 seconds.
- Remove from heat. As soon as the marshmallows are completely melted and the mixture is smooth, pull the pot off the burner. Stir in the ¼ teaspoon salt if you’re using it. The residual heat will continue to soften the marshmallows, so don’t leave it on the stove.
- Fold in the cereal. Pour the 6 cups of Rice Krispies into the pot. Use a folding motion—lift the mixture from the bottom and turn it over the top. Don’t stir aggressively or you’ll crush the cereal. You want the marshmallow to coat every piece evenly without breaking them into crumbs. This should take about 1 minute.
- Add the candy corn. Let the mixture cool for 2-3 minutes. This is the important part I learned the hard way. If you add the candy corn while the marshmallow is still piping hot, the candy corn will melt and streak orange everywhere. You want the mixture warm enough to be pliable but not hot enough to melt the candy. Gently fold in 1 cup of candy corn, reserving about ¼ cup for the top. Fold just until distributed—maybe 30 seconds.
- Press into the pan. Scrape the mixture into your prepared baking dish. Lightly wet your silicone spatula or your hands with water (this prevents sticking). Press the mixture evenly into the pan, working from the center outward. Don’t press too hard—you want the treats to hold together, not turn into hockey pucks. Sprinkle the reserved candy corn on top and press them in gently.
- Let them set. Leave the pan on the counter at room temperature for at least 1 hour. Don’t rush this by putting them in the fridge—the rapid cooling can make the marshmallow mixture seize up and become tough. Room temperature setting gives you that perfect chewy texture.
- Slice and serve. Once set, lift the entire block out of the pan using the parchment overhang. Place it on a cutting board. Spray your knife with cooking spray and cut into squares. I go for 12 large squares or 24 smaller ones, depending on the crowd. Wipe the knife clean between cuts for neater edges.
You’ll know they’re ready when the top feels firm but gives slightly when you press it. The candy corn should still be visible as distinct pieces, not melted blobs. If you see orange streaks, you added the candy corn too early—no big deal, they’ll still taste great.
Cooking Tips & Techniques
After more batches of these easy candy corn Rice Krispie treats than I care to admit, I’ve picked up a few tricks that make a real difference.
Low and slow is the way to go. I know it’s tempting to crank up the heat and melt those marshmallows in two minutes flat. Don’t do it. High heat scorches the milk solids in the butter and gives the marshmallows a weird, slightly burnt flavor. Keep it on low. Your patience will be rewarded with a silky, buttery marshmallow base that tastes like heaven.
The wet spatula trick is non-negotiable. I can’t tell you how many batches I ruined before I figured this out. Marshmallow mixture sticks to everything—spatulas, hands, countertops, your soul. Dip your spatula in water before pressing the mixture into the pan. The steam creates a barrier that prevents sticking. Re-wet it between presses. Your life will be infinitely easier.
Don’t overmix the cereal. I see people stirring and stirring, trying to get every last piece coated. But all that agitation breaks the cereal into dust. You want gentle folds. Think of it like folding egg whites into a batter—tender and deliberate. A few dry spots are fine; they’ll get coated as you press the mixture into the pan.
Room temperature is your friend. The fridge seems like a shortcut, but it’s a trap. Cold air makes the marshmallow mixture contract too quickly, which creates a tough, dense texture. Let them set at room temperature. Yes, it takes an hour. But the difference in texture is night and day.
Timing is everything with the candy corn. If you add it too early, it melts. Too late, and the mixture is too stiff to fold it in evenly. The sweet spot is about 2-3 minutes after you pull the pot off the heat. The marshmallow should still be warm and pliable but not scorching hot. Test it with a clean finger—if you can touch the mixture without yelping, it’s ready.
One more thing: if your treats come out too hard, you probably pressed them too firmly into the pan. Next time, use a lighter hand. If they come out too soft, you might have used too much butter or not enough cereal. Adjust accordingly. Every batch teaches you something.
Variations & Adaptations
These easy candy corn Rice Krispie treats are a fantastic base for experimentation. Here are some variations I’ve tried and loved:
Chocolate Drizzle Deluxe: Melt ½ cup of white chocolate chips with 1 teaspoon of coconut oil (for smoothness) and drizzle it over the set treats. Let the chocolate harden before slicing. The contrast between the sweet white chocolate and the salty marshmallow is incredible. For a darker twist, use semi-sweet chocolate chips instead.
Peanut Butter Swirl: Melt ¼ cup of creamy peanut butter with the butter before adding the marshmallows. The peanut butter adds richness and a savory note that balances the candy corn sweetness. If you’re nut-free, sunflower seed butter works the same way—just expect a slightly greener color.
Spiced Autumn Version: Add ½ teaspoon of pumpkin pie spice or cinnamon to the marshmallow mixture along with the salt. The warm spices complement the candy corn’s honey flavor beautifully. I made this version for a Friendsgiving potluck and got asked for the recipe four times.
Gluten-Free Option: Rice Krispies are naturally gluten-free, but check the label—some generic brands add malt flavoring that contains gluten. The name brand is safe. Everything else in this recipe is gluten-free, so you’re good to go. Just make sure your candy corn doesn’t have any hidden gluten (most brands don’t).
Vegan Adaptation: Use vegan butter (like Miyoko’s or Earth Balance) and vegan marshmallows (Dandies are my favorite—they melt beautifully). Everything else is plant-based. The texture is slightly different—vegan marshmallows are a bit firmer—but the flavor is spot on.
Extra Crunchy: Swap 1 cup of the Rice Krispies for 1 cup of crushed pretzels or chopped peanuts. The salty crunch plays off the sweet marshmallow base perfectly. Just be careful not to overdo it—you still want the cereal to be the star.
I’ve also made these as individual treats using a muffin tin. Just grease the cups well, press a spoonful of mixture into each one, and let them set. They’re perfect for lunchboxes or party favors. And if you’re feeling really festive, stick a lollipop stick in each one for Rice Krispie treat pops—kids lose their minds over them.
Serving & Storage Suggestions
These easy candy corn Rice Krispie treats are best served at room temperature. The texture is perfectly chewy, the candy corn is soft but distinct, and the marshmallow base holds together without being sticky. If you’ve chilled them, let them sit on the counter for 15-20 minutes before serving.
For presentation, I like to arrange them on a white platter or cake stand to let the orange, yellow, and white colors pop. A sprinkle of orange and black jimmies on top adds extra Halloween flair. If you’re serving them at a party, stack them in a pyramid or arrange them in a pumpkin shape—it’s surprisingly easy and always gets compliments.
Storage: Keep your treats in an airtight container at room temperature. They’ll stay fresh for up to 3 days. Don’t refrigerate them—the cold dries them out and makes the marshmallow tough. If you live in a humid climate, add a piece of bread to the container to absorb excess moisture. Replace the bread every day.
Freezing: These freeze beautifully. Wrap individual squares in plastic wrap, then place them in a freezer-safe bag. They’ll keep for up to 3 months. To thaw, let them sit at room temperature for about 30 minutes. The texture won’t be quite as soft as fresh, but they’re still delicious. I’ve pulled these out for last-minute Halloween parties more times than I can count.
Reheating: If your treats have gone a bit stale, pop them in the microwave for 5-10 seconds. It softens the marshmallow and brings back that fresh-from-the-pan texture. Just don’t overdo it—10 seconds is plenty. Any longer and the candy corn will start to melt.
One thing I love about these treats is that they actually get better after a few hours. The flavors meld together, and the marshmallow softens just enough to make every bite perfectly chewy. So don’t stress about making them the day before—they’ll be even better.
Nutritional Information & Benefits
Let’s be honest—these easy candy corn Rice Krispie treats are a treat, not a health food. But here’s the breakdown if you’re curious:
Per serving (1 large square, based on 12 servings):
- Calories: 220
- Fat: 6g
- Saturated Fat: 3.5g
- Carbohydrates: 42g
- Sugar: 28g
- Fiber: 0g
- Protein: 2g
- Sodium: 180mg
These numbers are estimates and will vary based on your exact ingredients and portion sizes. If you use vegan marshmallows or different butter, the nutritional profile will shift.
Dietary Considerations: This recipe is naturally nut-free (check your candy corn label) and can be made gluten-free with certified gluten-free cereal. It’s not low-carb, keto-friendly, or sugar-free by any stretch. But if you’re looking for a treat that brings joy without a laundry list of weird ingredients, this is it.
Potential Allergens: Dairy (butter) and gluten (in some cereal brands). Candy corn is typically free of major allergens, but always check the label if you’re serving someone with allergies.
I like to think of these treats as a celebration food. They’re not something you eat every day—they’re for the moments when you want something fun, festive, and familiar. And honestly? Sometimes that’s exactly what you need.
Conclusion
These easy candy corn Rice Krispie treats are proof that you don’t need complicated techniques or fancy ingredients to make something special. They’re quick, they’re forgiving, and they taste like the best parts of Halloween—without the stress.
I love this recipe because it’s the kind of thing you can make with kids, or while watching a movie, or when you need a last-minute contribution to a party. It’s not pretentious. It’s not fussy. It’s just good, honest food that makes people smile.
My favorite part? Watching someone take their first bite and seeing their eyes light up. That moment of recognition—the familiar crunch of the cereal, the sweet marshmallow, the unexpected pop of candy corn. It’s pure comfort.
So go ahead and make a batch. Customize them however you like—add chocolate, skip the candy corn, press them into fun shapes. The recipe is a starting point, not a rulebook. And when you’re done, come back and tell me how they turned out. I’d love to hear about your variations, your successes, and even your happy accidents.
Happy Halloween, friends. May your treats be sweet and your candy corn stay intact.
Frequently Asked Questions
Can I use stale candy corn for this recipe?
You can, but fresh candy corn gives you a much better texture. Stale candy corn is hard and chalky, and it won’t soften properly in the marshmallow mixture. If you’re stuck with a stale bag, try microwaving the candy corn for 5-10 seconds to soften it before adding it to the mixture.
Why did my candy corn melt into the marshmallow mixture?
This happens when you add the candy corn while the marshmallow mixture is still too hot. Let the mixture cool for 2-3 minutes after removing it from the heat before folding in the candy corn. The mixture should be warm but not scorching. If you’re still having trouble, refrigerate the candy corn for 10 minutes before adding it—it’ll hold up better.
Can I make these treats ahead of time?
Absolutely. These treats actually taste better the next day—the flavors meld together beautifully. Store them in an airtight container at room temperature for up to 3 days. If you’re making them more than a day in advance, freeze them instead. They’ll keep for up to 3 months in the freezer.
How do I keep the treats from sticking to the knife when cutting?
Spray your knife with cooking spray before each cut. You can also run the knife under hot water and dry it off between cuts. The key is to keep the blade clean and lubricated. Wipe it with a paper towel after every few cuts to remove any sticky residue.
Can I use a different cereal instead of Rice Krispies?
Yes! Fruity Pebbles gives you a bright, fruity flavor and a fun color. Cocoa Krispies add a chocolate twist. Cheerios or Kix work in a pinch but have a different texture. Just keep in mind that different cereals absorb moisture differently, so you might need to adjust the marshmallow-to-cereal ratio slightly. Start with 5 cups and add more if needed.
Pin This Recipe!
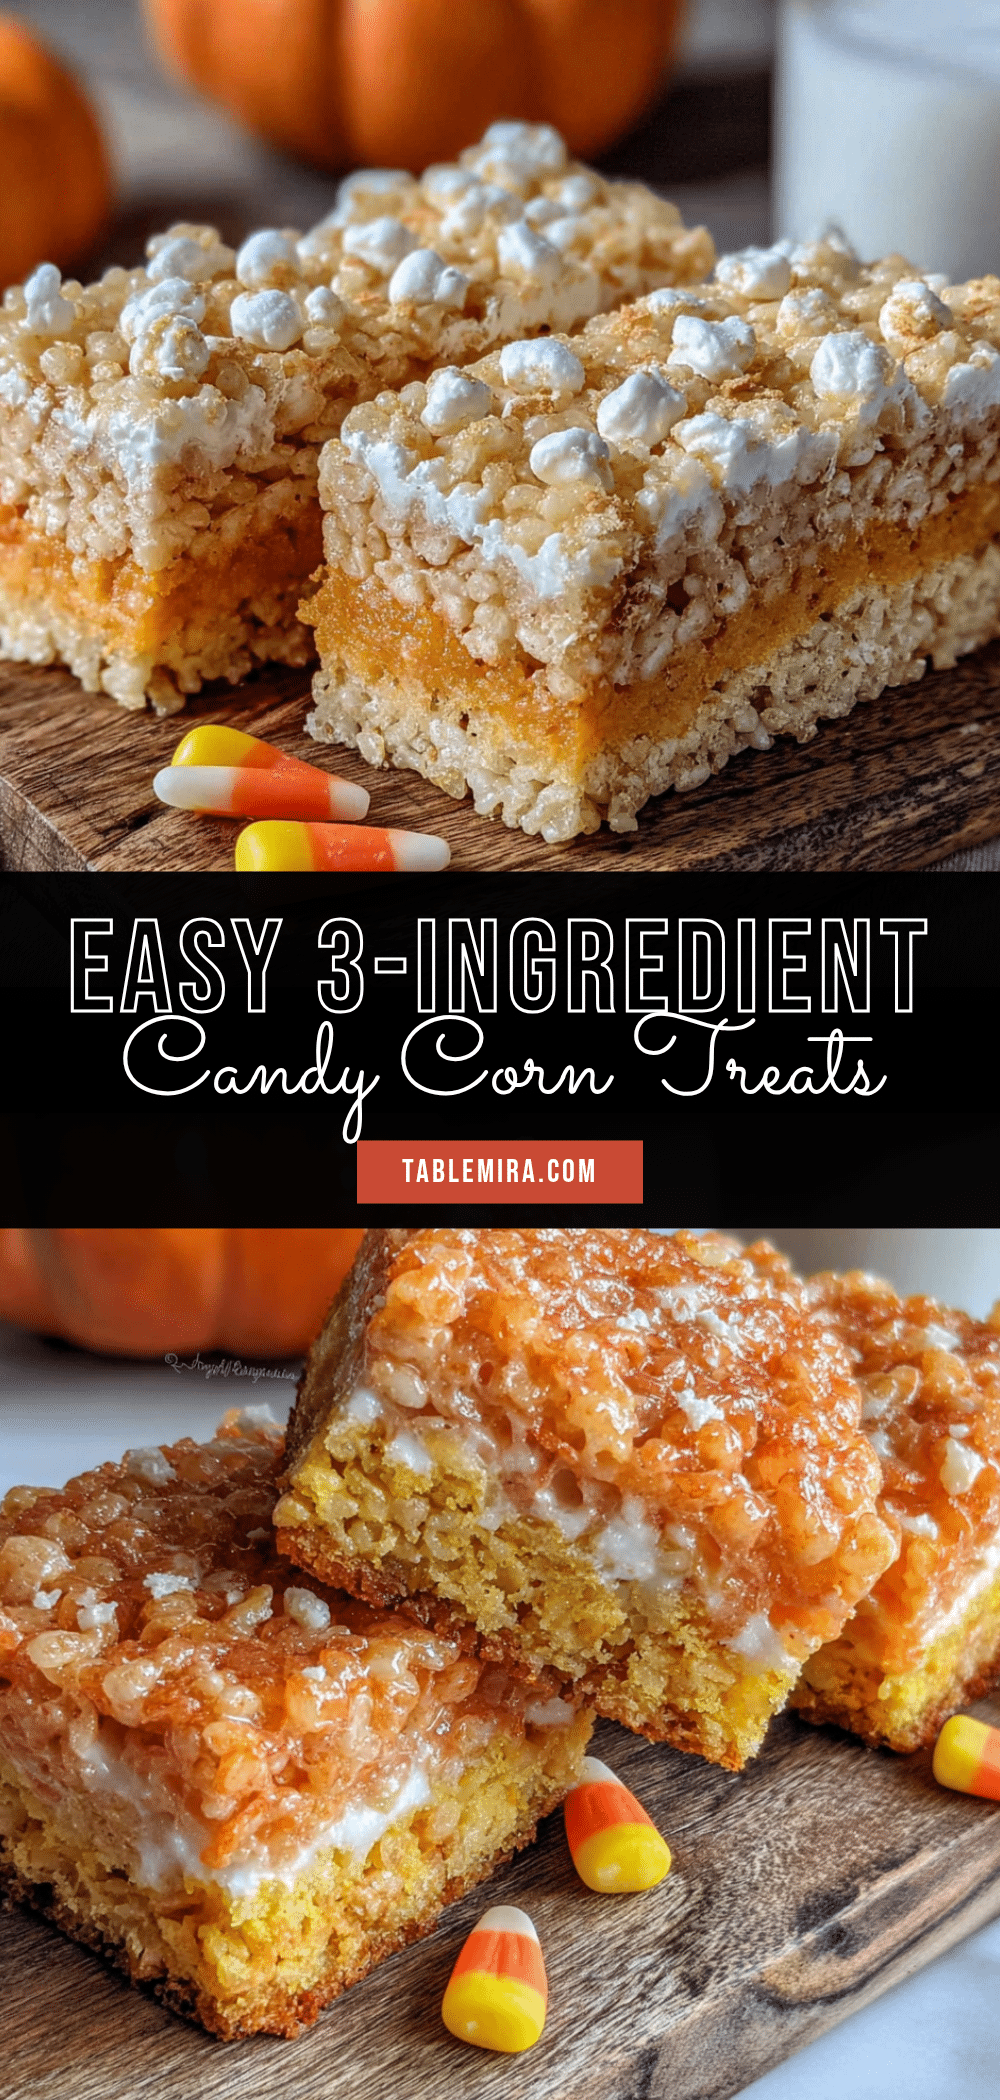
Easy Candy Corn Rice Krispie Treats

These easy candy corn Rice Krispie treats are a quick and festive Halloween dessert with a chewy marshmallow base, crispy cereal, and pops of candy corn. Perfect for parties and potlucks, they come together in just 15 minutes of active work.
- Prep Time: 15 minutes
- Cook Time: 5 minutes
- Total Time: 1 hour 20 minutes
- Yield: 12 servings 1x
- Category: Dessert
- Cuisine: American
Ingredients
- 3 tablespoons unsalted butter (plus extra for greasing the pan)
- 1 bag (10 ounces) mini marshmallows
- 6 cups Rice Krispies cereal
- 1 cup candy corn (about half a standard 15-ounce bag)
- ¼ teaspoon salt (optional)
- ½ cup white chocolate chips (optional, for drizzling)
- Orange food coloring (optional)
- ¼ cup Halloween-themed sprinkles (optional)
Instructions
- Prep the pan. Line a 9×13-inch baking dish with parchment paper, leaving about 2 inches of overhang on the long sides. Lightly butter the parchment and the exposed sides of the dish. Set aside.
- Measure everything first. Measure out 6 cups of Rice Krispies into a large bowl. Count out 1 cup of candy corn and set aside. Have the butter measured and ready.
- Melt the butter. In a large pot or Dutch oven, melt the 3 tablespoons of unsalted butter over medium-low heat. Stir occasionally until fully melted but not browned.
- Add the marshmallows. Dump the entire 10-ounce bag of mini marshmallows into the pot with the melted butter. Reduce heat to low. Stir constantly in a figure-eight motion until the marshmallows are completely melted and smooth, about 3-4 minutes.
- Remove from heat. As soon as the marshmallows are melted, pull the pot off the burner. Stir in the ¼ teaspoon salt if using.
- Fold in the cereal. Pour the 6 cups of Rice Krispies into the pot. Use a folding motion to coat every piece evenly without crushing the cereal, about 1 minute.
- Add the candy corn. Let the mixture cool for 2-3 minutes. Gently fold in 1 cup of candy corn, reserving about ¼ cup for the top. Fold just until distributed, about 30 seconds.
- Press into the pan. Scrape the mixture into the prepared baking dish. Lightly wet a silicone spatula or your hands with water. Press the mixture evenly into the pan, working from the center outward. Sprinkle the reserved candy corn on top and press them in gently.
- Let them set. Leave the pan at room temperature for at least 1 hour. Do not refrigerate.
- Slice and serve. Once set, lift the entire block out of the pan using the parchment overhang. Place on a cutting board. Spray a sharp knife with cooking spray and cut into squares. Wipe the knife clean between cuts for neater edges.
Notes
Let the marshmallow mixture cool for 2-3 minutes before adding candy corn to prevent melting. Use a wet spatula to press the mixture into the pan to avoid sticking. For best texture, let treats set at room temperature, not in the fridge.
Nutrition
- Serving Size: 1 large square
- Calories: 220
- Sugar: 28
- Sodium: 180
- Fat: 6
- Saturated Fat: 3.5
- Carbohydrates: 42
- Protein: 2
Keywords: candy corn, Rice Krispie treats, Halloween, easy dessert, no-bake, marshmallow treats


