Third batch in four days, and I finally stopped timing myself. That first attempt—rushed, sloppy, with cream cheese oozing out the sides like a confession—taught me nothing except how not to do it. By round two, I’d figured out the cream cheese needed to be colder. By round three, I stopped fighting the bacon and let it wrap the way it wanted to. This is what happens when a snack idea gets inside your head and refuses to leave.
I’d made jalapeño poppers before, the classic halved-and-stuffed kind, and they’re fine. But I wanted something different—something where every bite had bacon, where the pepper wasn’t just a boat but part of the whole experience. So I diced everything up, mixed it together, and rolled it into little flavor-packed spheres. Then I wrapped each one in bacon, because honestly, when is that ever the wrong choice?
The first time I pulled a tray of these out of the oven, the kitchen smelled like a tailgate party had somehow wandered inside and decided to stay. My husband walked in, grabbed one straight off the baking sheet (burned his fingers, didn’t care), and said, “These are dangerous.” He wasn’t wrong. There’s something about that combination—spicy pepper, cool creamy filling, salty crispy bacon—that makes you reach for another before you’ve finished chewing the first. These crispy bacon-wrapped jalapeño popper bites aren’t just appetizers. They’re the kind of snack that turns a casual gathering into a full-blown event.
Why You’ll Love This Recipe
Let me tell you what makes these bites different from every other jalapeño popper you’ve tried. I’ve tested this recipe about seven times now (my neighbors are very happy), and here’s what I know for sure:
- Bacon in every bite. Because we wrap the whole thing, not just the top. No sad, bacon-less corners.
- No more leaking filling. That trick of freezing the cream cheese mixture first? Game changer. I’ll explain below.
- Perfect for parties. These hold up well on a platter, they’re easy to grab with a napkin, and they disappear faster than almost anything else I’ve made.
- Customizable heat. Keep the seeds for fire-breathing friends, remove them for milder palates. You’re in control.
- Simple ingredients. Nothing weird. Nothing that requires a specialty grocery run. You probably have most of this already.
I’ve tested these in a conventional oven, an air fryer, and even on a grill (for a baby back ribs weekend that got out of hand). Every method works, but I’ll share the one that gives you the crispiest bacon without drying out the inside. That’s the sweet spot we’re aiming for.
These bites are the kind of thing you bring to a game day party and suddenly everyone’s standing around the kitchen island asking for the recipe. They’re also dangerously snackable on a random Tuesday night when you need something that feels like a treat. No judgment here—I’ve done both.
What Ingredients You Will Need
This recipe uses straightforward ingredients, but each one plays a specific role. Here’s what you’ll need and why it matters:
For the Filling
- 8 ounces cream cheese, softened to room temperature — This is the backbone of the filling. Full-fat works best for texture and flavor, but reduced-fat will work in a pinch. Just know it won’t be quite as creamy.
- 1 cup sharp cheddar cheese, shredded — I prefer sharp because it cuts through the richness of the cream cheese. Pre-shredded bags work, but freshly shredded melts more smoothly. Your call.
- 6-8 fresh jalapeños, seeded and finely diced — The exact number depends on size. You want about ½ cup of diced jalapeño. If you like more heat, leave some of the white membrane in. That’s where the real fire lives.
- 2 green onions, thinly sliced — Adds a mild onion bite and a little color. You could substitute chives if that’s what you have.
- ¼ teaspoon garlic powder — Don’t use fresh garlic here; it can release too much moisture during baking. Garlic powder gives you the flavor without the risk.
- ¼ teaspoon salt — Just enough to bring everything together. The bacon adds salt too, so don’t overdo it.
- ⅛ teaspoon black pepper — Freshly ground if you’ve got it.
For Wrapping
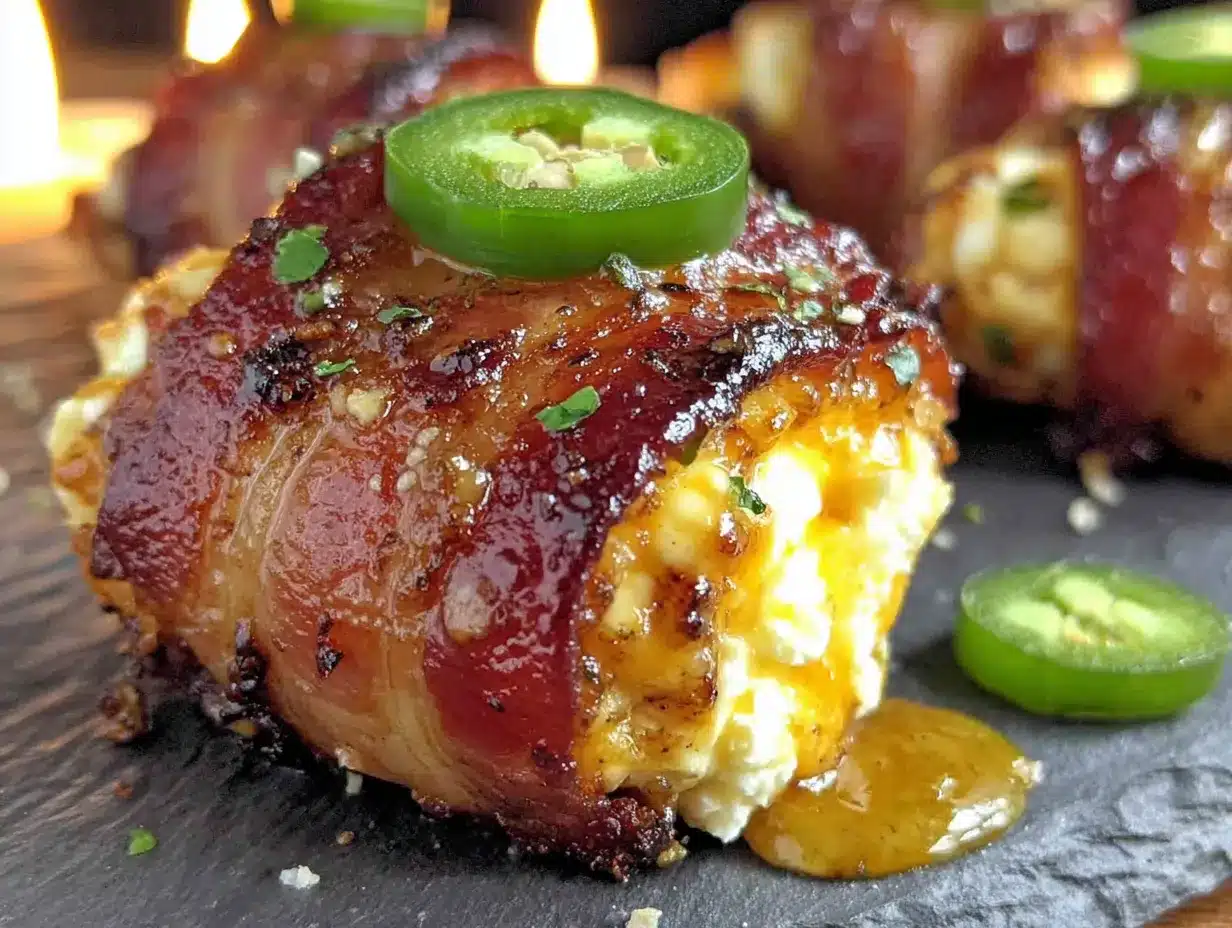
- 12 ounces thin-cut bacon — This is crucial. Thick-cut bacon takes too long to render and crisp up, and by the time it’s done, the inside is overcooked. Thin-cut is your friend here. I usually go with Wright Brand or Oscar Mayer, but any thin-cut brand works. You’ll need about 12-14 slices, cut in half crosswise.
For the Topping (Optional but Recommended)
- ¼ cup ranch dressing or sour cream, for dipping — These are rich little bites, and something cool to dip them in balances everything out. I’ve also used a smoked gouda bacon jalapeño dip as a dipping sauce before, and honestly, it was ridiculous in the best way.
- Fresh cilantro or chives, for garnish — Makes them look fancy with almost zero effort.
Ingredient Note: When you’re picking jalapeños at the store, look for ones that are firm and smooth, without soft spots or wrinkles. Smaller jalapeños tend to be hotter than larger ones, so keep that in mind depending on your crowd. I’ve made the mistake of grabbing the biggest, mildest peppers before a party where my friends were hoping for heat—learn from my error.
Equipment Needed
You don’t need anything fancy here. Most of this is standard kitchen stuff:
- Baking sheet — A half-sheet pan works perfectly. Line it with parchment paper or aluminum foil for easier cleanup. Trust me on this one.
- Wire rack — This fits inside the baking sheet and lets the bacon crisp up on all sides. If you don’t have one, you can still make these, but the bottoms won’t be as crispy. I picked up a cheap set at Target and use them constantly.
- Mixing bowls — One medium bowl for the filling, one small bowl for chilling the formed bites (optional but helpful).
- Cheese grater — If you’re shredding your own cheddar (and you should).
- Cutting board and sharp knife — For dicing jalapeños and slicing green onions. Be careful with those pepper oils—wash your hands thoroughly afterward, or better yet, wear disposable gloves.
- Measuring spoons — For the garlic powder, salt, and pepper.
- Toothpicks — Optional, but helpful for securing the bacon if your pieces are being stubborn. I usually don’t need them, but they’re good to have on standby.
- Air fryer (optional) — If you want to try the air fryer method, you’ll need one that fits a single layer of these bites. I’ll cover that variation below.
I’ve made these with just a baking sheet and some foil when I was camping (glamping, really) and they still turned out great. Don’t let missing equipment stop you—just know the wire rack makes a real difference in texture.
Preparation Method
Alright, let’s make these happen. I’ll walk you through every step so you don’t make the same mistakes I did on round one.
Step 1: Prep Your Ingredients (15 minutes)
First, let the cream cheese sit out until it’s softened—about 20-30 minutes. While you’re waiting, shred your cheddar cheese if you’re doing it fresh. Dice your jalapeños after removing the stems and seeds. I like to slice each jalapeño in half lengthwise, scrape out the seeds with a small spoon, then dice the flesh into tiny pieces—about ¼-inch or smaller. You want them small enough to distribute evenly through the filling without creating big chunks of pepper.
Slice the green onions thin, using both the white and green parts. Set everything aside.
Step 2: Make the Filling (5 minutes)
In a medium bowl, combine the softened cream cheese, shredded cheddar, diced jalapeños, green onions, garlic powder, salt, and pepper. Stir until everything is evenly mixed. Taste a tiny bit (I know, it’s raw, but you need to check the seasoning). Adjust salt or pepper if needed. The filling should be thick and scoopable, not runny. If it seems loose, pop it in the fridge for 10 minutes to firm up.
Step 3: Form the Bites (10 minutes)
Scoop out about 1 tablespoon of the filling and roll it into a ball between your palms. You want them roughly 1 inch in diameter—about the size of a walnut. Place each ball on a parchment-lined baking sheet or plate. You should get about 20-24 balls from this recipe, depending on how generous you are with your scoops.
Here’s the trick I learned the hard way: once all the balls are formed, pop them in the freezer for 15-20 minutes. This firms them up so they hold their shape when you wrap them in bacon. If you skip this step, the filling gets squishy and starts leaking out the ends of the bacon wrap. Trust me—I’ve cleaned enough cream cheese off a baking sheet to know.
Step 4: Wrap in Bacon (15 minutes)
While the filling balls are chilling, cut your bacon slices in half crosswise. Each half-slice should be about 3-4 inches long—perfect for wrapping around a 1-inch ball.
Take one chilled filling ball and place it at one end of a bacon half-slice. Roll the bacon around the ball, overlapping slightly as you go. The bacon should cover most of the surface. Place the wrapped bite seam-side down on your wire rack (set inside the baking sheet). Repeat with all the balls.
If the bacon doesn’t stay put, use a toothpick to secure the end. I usually don’t need them, but some bacon brands are more stubborn than others.
Step 5: Bake (20-25 minutes)
Preheat your oven to 400°F (200°C). Place the baking sheet with the wire rack on the middle rack of the oven. Bake for 20-25 minutes, or until the bacon is crispy and browned to your liking. I start checking at 18 minutes because ovens vary, and I’ve definitely overdone a batch before.
If you want extra-crispy bacon, switch the oven to broil for the last 1-2 minutes. Watch them like a hawk—broil can go from perfect to burnt in about 30 seconds.
Step 6: Cool and Serve (5 minutes)
Let the bites rest on the wire rack for about 5 minutes before serving. They’ll be molten-hot inside straight out of the oven, and that cream cheese filling holds heat like a secret. Serve warm with ranch dressing or sour cream for dipping, and garnish with fresh cilantro or chives if you’re feeling fancy.
Cooking Tips & Techniques
I’ve made enough mistakes with these bites to write a small book. Here’s what I learned so you don’t have to:
Don’t skip the freeze step. I know it adds time, but it’s the difference between neat little bites and a tray full of cream cheese puddles. Fifteen minutes in the freezer makes the filling firm enough to handle without falling apart.
Space them out. These need room on the wire rack for hot air to circulate. If they’re touching, the bacon won’t crisp evenly. Give each bite a little breathing room.
Thin bacon is non-negotiable. I tried thick-cut once because that’s what I had in the fridge. The bacon was still chewy when the filling was already overdone. Thin-cut renders faster and gets crispy before the inside dries out.
Watch the broiler. If you’re broiling at the end, don’t walk away. I almost ruined a batch because I got distracted by a text message. The line between golden and charcoal is very thin under the broiler.
Make extra. Seriously. I thought 20 bites would be plenty for four people. We ran out in 10 minutes. These are addictive in a way that sneaks up on you.
Gloves are your friend. I say this every time I work with jalapeños, and I still forget sometimes. The capsaicin oil gets under your fingernails and stays there. If you touch your eyes later, you will regret it. Disposable gloves cost pennies and save hours of discomfort.
Variations & Adaptations
One of the best things about this recipe is how easy it is to change up. Here are some variations I’ve tried and loved:
Air Fryer Version
Preheat your air fryer to 375°F (190°C). Place the bacon-wrapped bites in a single layer in the basket—don’t overcrowd. Cook for 10-12 minutes, flipping halfway through, until the bacon is crispy. The air fryer version is faster and gets the bacon incredibly crunchy, but you’ll need to work in batches if you’re making a full recipe.
Spicy Version
For heat lovers, add ½ teaspoon of cayenne pepper to the cream cheese mixture, or use habanero cheddar instead of sharp cheddar. You can also leave some jalapeño seeds in the dice for extra fire. I made a batch like this for a nacho bar party and they were gone before the nachos.
Mild Version
If you’re serving these for a crowd that includes kids or heat-sensitive folks, swap the jalapeños for diced poblano peppers. Poblanos have a similar flavor but almost no heat. You lose a little of that signature jalapeño kick, but you gain a wider audience.
Dairy-Free Adaptation
Use dairy-free cream cheese and vegan shredded cheddar. The texture will be slightly different—a bit less creamy, a bit more firm—but the flavor is still great. I tested this with Kite Hill brand cream cheese and it worked surprisingly well.
Smoked Version
If you have a smoker, these are incredible at 225°F (107°C) for about 45 minutes with hickory or applewood. The smoky flavor penetrates the bacon and fills the cream cheese with this deep, savory note that’s hard to describe. I did this once for a summer cookout and people kept asking what the “secret ingredient” was.
Serving & Storage Suggestions
These bites are best served warm, right after the bacon has crisped up. I like to arrange them on a platter with a small bowl of ranch dressing in the center and a sprinkle of fresh cilantro over the top. They look impressive with almost no effort.
For a game day spread, pair them with crispy buffalo chicken stuffed mini sweet peppers for a pepper-themed appetizer lineup that’s hard to beat. Or serve them alongside a creamy cheeseburger potato soup for a cozy dinner that feels indulgent without being over-the-top.
As for drinks, these go great with a cold beer (something light like a lager or pilsner), a margarita, or even a crisp white wine like Sauvignon Blanc. The acidity cuts through the richness nicely.
Storage: If you have leftovers (unlikely, but possible), let them cool completely, then store in an airtight container in the refrigerator for up to 3 days. The bacon will lose its crispness, but the flavor is still there.
Reheating: The best way to bring back the crunch is in the oven or air fryer. Reheat at 350°F (175°C) for 5-7 minutes, or until warmed through. The microwave works in a pinch, but the bacon will be soft. I don’t recommend it unless you’re really in a hurry.
Freezing: You can freeze the uncooked, bacon-wrapped bites on a baking sheet until solid, then transfer to a freezer bag. Bake from frozen at 400°F (200°C) for 25-30 minutes, adding a few extra minutes as needed. I’ve done this for last-minute parties and it works beautifully.
Nutritional Information & Benefits
Let’s be real—these are not health food. They’re a treat, and that’s okay. But here’s the breakdown if you’re tracking:
Per bite (approximate, based on 20 bites):
- Calories: 110-130
- Fat: 9-10g
- Protein: 5-6g
- Carbohydrates: 2g
- Fiber: 0g
- Sugar: 1g
These numbers will vary depending on the exact brands you use and how much bacon wraps each bite. The good news is that they’re naturally low in carbs and sugar, making them suitable for low-carb and keto diets. Jalapeños are also a good source of vitamin C and capsaicin, which has anti-inflammatory properties. So there’s that.
If you’re watching sodium, use low-sodium bacon or reduce the added salt in the filling. The bacon brings plenty of salt on its own.
Conclusion
These crispy bacon-wrapped jalapeño popper bites are the kind of recipe that earns a permanent spot in your rotation. They’re simple enough for a Tuesday night snack, impressive enough for a party, and customizable enough to please just about everyone. That combination of spicy, creamy, salty, and crunchy is hard to beat.
I’ve made these for game days, backyard barbecues, holiday parties, and random evenings when I just wanted something good. Every single time, they disappear. People hover around the tray. They ask for the recipe. They eat one, then reach for another before they’ve finished the first. That’s the highest compliment a snack can get.
Now I want to hear from you. When you make these, what dip do you reach for? Ranch? Sour cream? Something unexpected? Drop a comment below and let me know—I’m always looking for new ideas. And if you try a variation, share that too. The best recipes are the ones we make our own.
Go ahead, preheat that oven. Your taste buds are about to thank you.
Frequently Asked Questions
Can I make these ahead of time?
Absolutely. You can prepare the filling balls and wrap them in bacon up to 24 hours in advance. Keep them covered in the refrigerator, then bake when you’re ready. If you’re making them further ahead, freeze the uncooked bites on a baking sheet, then transfer to a freezer bag for up to 3 months.
Why did my filling leak out during baking?
This usually happens for one of two reasons: the cream cheese was too soft when you formed the balls, or you skipped the freezing step. Cold filling holds its shape better during wrapping and baking. Also, make sure your bacon is wrapped snugly with no gaps for the filling to escape through.
Can I use turkey bacon instead?
You can, but the results won’t be as crispy. Turkey bacon has less fat, so it doesn’t render and crisp up the same way. If you’re using turkey bacon, brush it lightly with oil before baking and keep a close eye on it—it can go from underdone to burnt quickly.
How do I make these less spicy?
Remove all the seeds and white membrane from the jalapeños before dicing. That’s where most of the heat lives. You can also swap in poblano peppers for a very mild alternative, or use only half the jalapeños and add extra green onion for bulk.
Can I grill these instead of baking?
Yes! Preheat your grill to medium heat (about 375°F/190°C). Place the bacon-wrapped bites on a grill mat or in a grill basket to prevent them from falling through the grates. Grill for 12-15 minutes, turning occasionally, until the bacon is crispy. The smoky flavor from the grill adds another layer of deliciousness.
Pin This Recipe!
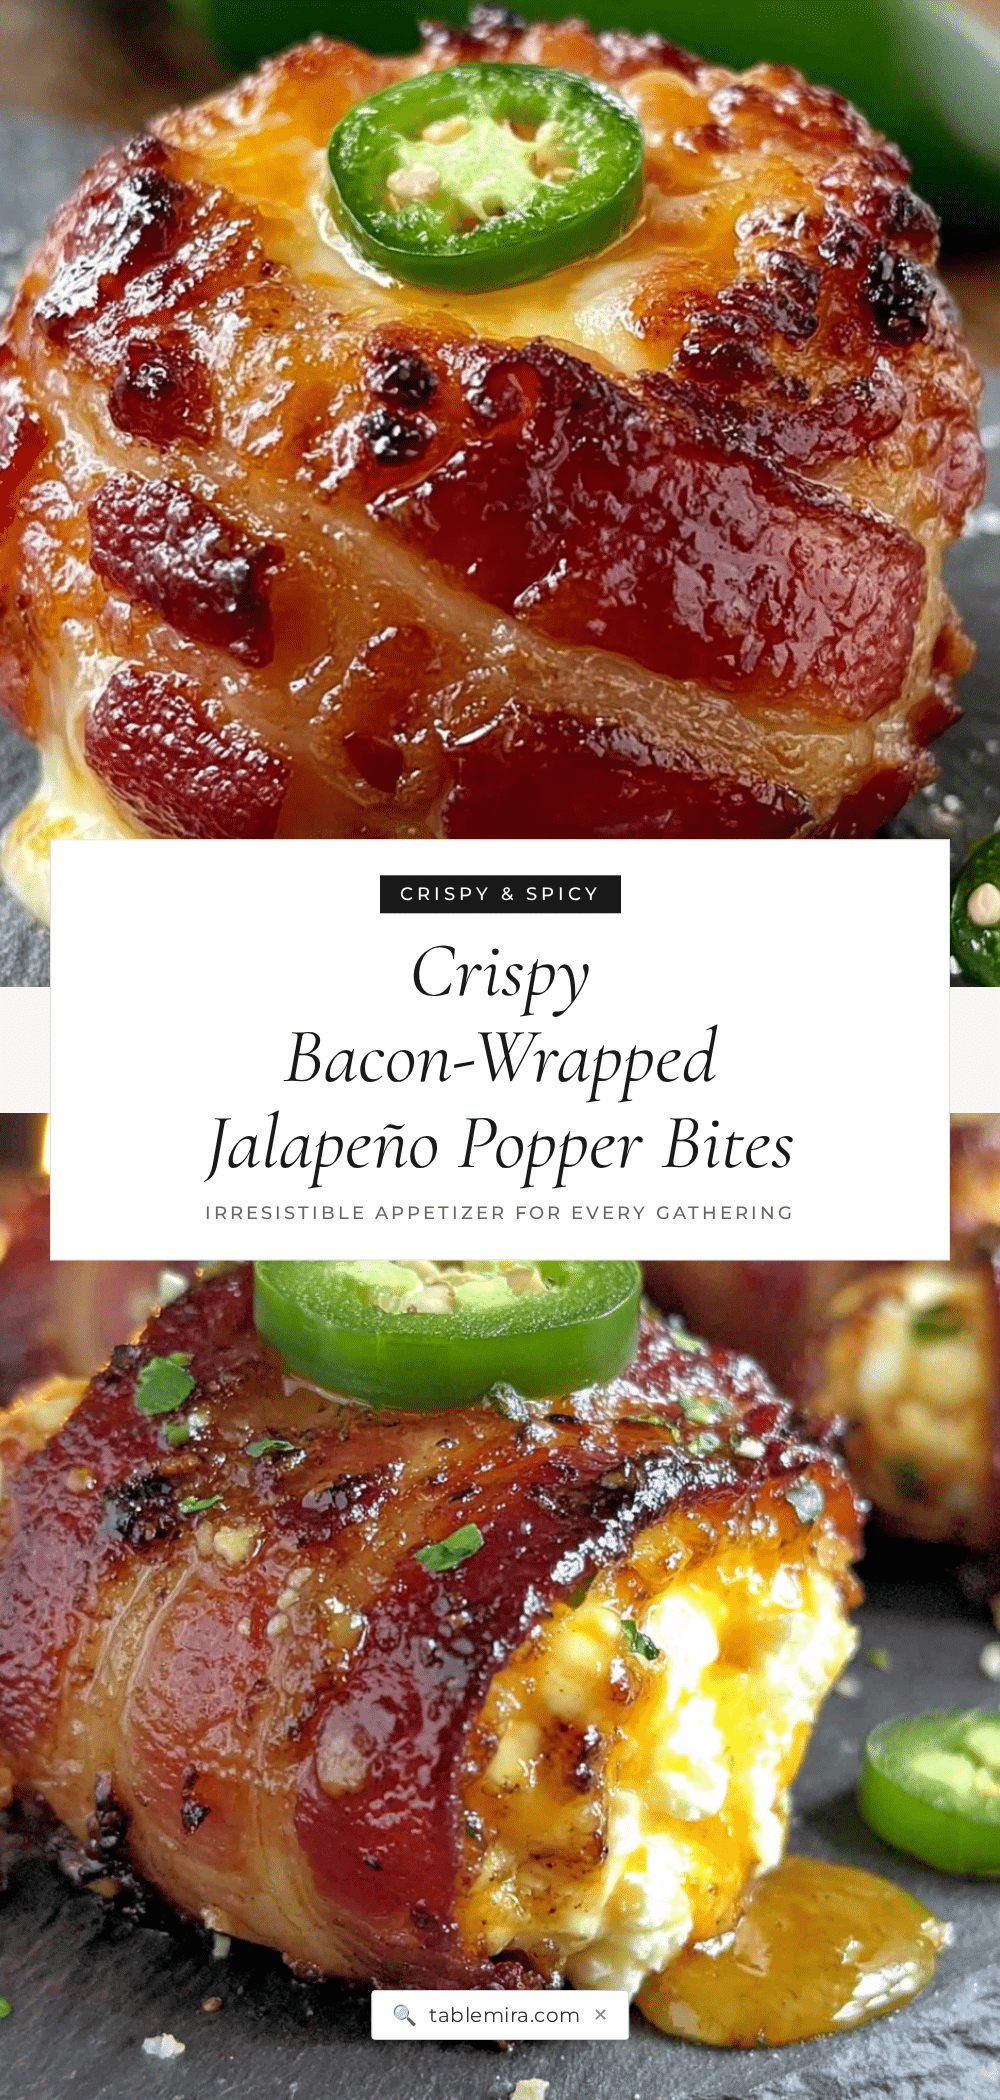
Best Crispy Bacon-Wrapped Jalapeño Popper Bites Recipe

These crispy bacon-wrapped jalapeño popper bites are packed with spicy, creamy, and salty flavors. Perfect for parties or a snack, they feature a cream cheese and cheddar filling wrapped in thin-cut bacon for a crunchy, irresistible bite.
- Prep Time: 30 minutes
- Cook Time: 25 minutes
- Total Time: 55 minutes
- Yield: 20 bites 1x
- Category: Appetizer
- Cuisine: American
Ingredients
- 8 ounces cream cheese, softened to room temperature
- 1 cup sharp cheddar cheese, shredded
- 6–8 fresh jalapeños, seeded and finely diced
- 2 green onions, thinly sliced
- ¼ teaspoon garlic powder
- ¼ teaspoon salt
- ⅛ teaspoon black pepper
- 12 ounces thin-cut bacon, cut in half crosswise
- ¼ cup ranch dressing or sour cream, for dipping (optional)
- Fresh cilantro or chives, for garnish (optional)
Instructions
- Let cream cheese soften for 20-30 minutes. Shred cheddar, dice jalapeños (remove seeds), and slice green onions.
- In a medium bowl, combine cream cheese, cheddar, jalapeños, green onions, garlic powder, salt, and pepper. Mix until evenly combined. Adjust seasoning if needed.
- Scoop about 1 tablespoon of filling and roll into 1-inch balls. Place on a parchment-lined baking sheet. Freeze for 15-20 minutes until firm.
- Cut bacon slices in half crosswise. Wrap each chilled filling ball with a half-slice of bacon, overlapping slightly. Place seam-side down on a wire rack set inside a baking sheet. Use toothpicks if needed.
- Preheat oven to 400°F (200°C). Bake for 20-25 minutes until bacon is crispy. For extra crispiness, broil for 1-2 minutes, watching carefully.
- Let rest on wire rack for 5 minutes. Serve warm with ranch dressing or sour cream, garnished with cilantro or chives.
Notes
Don’t skip freezing the filling balls—it prevents leaking. Use thin-cut bacon for best crispiness. For extra heat, add cayenne or leave jalapeño seeds. For a milder version, use poblano peppers. Can be made ahead and refrigerated for 24 hours or frozen for up to 3 months.
Nutrition
- Serving Size: 1 bite
- Calories: 120
- Sugar: 1
- Sodium: 280
- Fat: 9.5
- Saturated Fat: 4.5
- Carbohydrates: 2
- Protein: 5.5
Keywords: jalapeño popper bites, bacon wrapped jalapeño poppers, crispy bacon appetizer, game day snack, keto appetizer, low carb snack


