Three egg yolks sitting in the fridge, staring at me every time I opened the door. I’d made angel food cake the night before (don’t ask—it was a whole situation involving a stand mixer and a very sticky counter), and there they were. Just yolks. Too few for custard, too many to toss. And honestly, I was craving something cold, salty, and completely indulgent. So I grabbed a can of sweetened condensed milk, a carton of heavy cream, and decided to see what happened. No ice cream maker. No fancy equipment. Just pure kitchen desperation and a serious sweet tooth.
That first bite—I’m not kidding—made me laugh out loud. The texture was so creamy, so velvety, it felt like I’d cheated the system. And the salted caramel? It rippled through the base like little pockets of liquid gold. I stood there in my pajamas, spoon in one hand, bowl in the other, thinking, “Why has nobody told me this is this easy?”
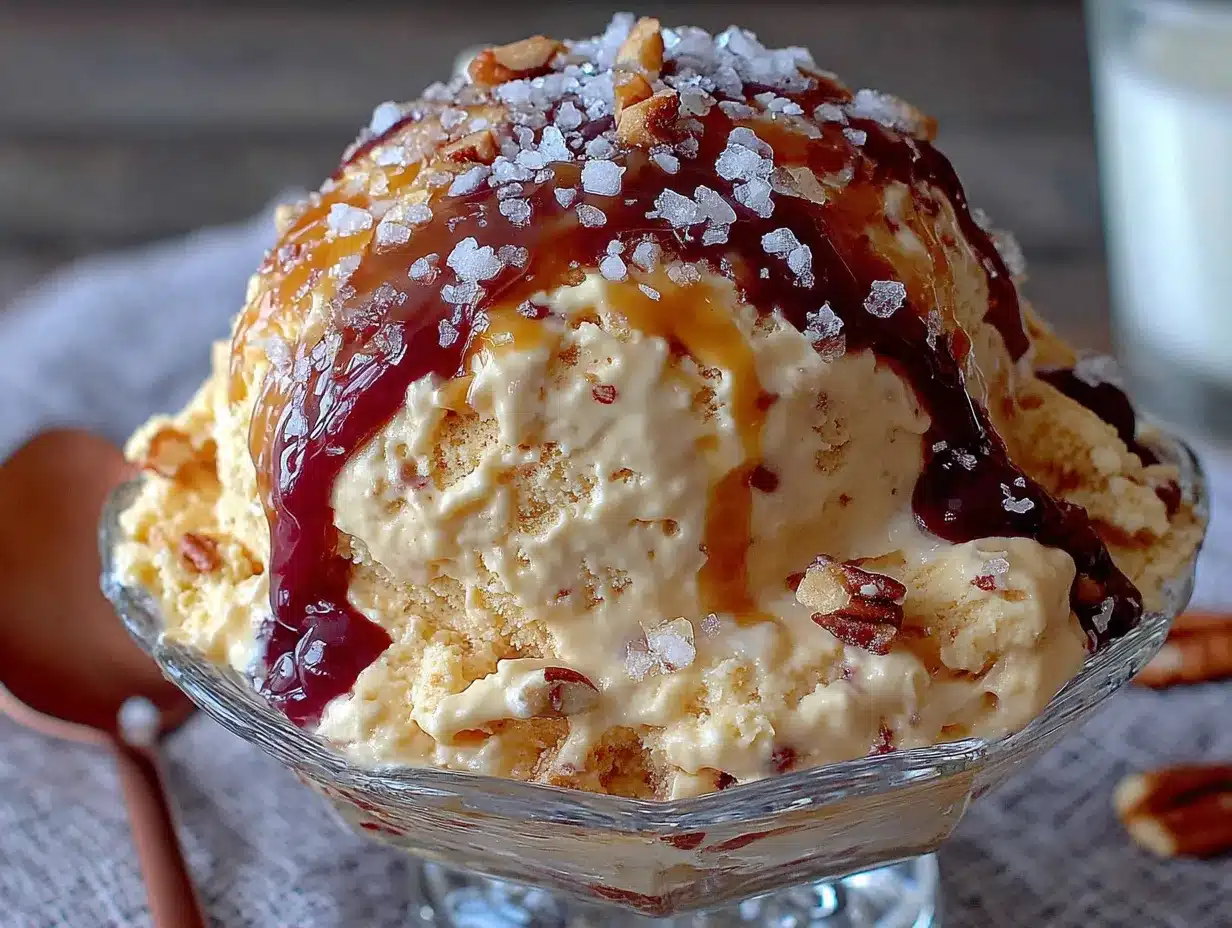
This Creamy No-Churn Salted Caramel Ice Cream is the kind of recipe that makes you feel like a genius with almost zero effort. No churning, no ice cream maker, no complicated sugar thermometers. Just a few ingredients, a little patience while it freezes, and the most luscious, scoopable homemade ice cream you’ve ever pulled out of your own freezer. It’s the dessert that saves the day when you need something impressive but don’t have the energy for a whole production. And honestly? It might just ruin store-bought ice cream for you forever.
Why You’ll Love This Recipe
I’ve tested this recipe more times than I care to admit—through sticky summer afternoons, late-night cravings, and even a few failed caramel batches that ended up in the trash. What I landed on is genuinely foolproof. Here’s why this one’s different:
- No Ice Cream Maker Required: Seriously, zero special equipment. If you have a mixing bowl and a freezer, you’re in business.
- Rich, Creamy Texture Every Time: The combination of heavy cream and sweetened condensed milk creates that ultra-smooth, scoopable texture without any ice crystals. No churning needed.
- Real Salted Caramel Flavor: We’re not using fake caramel syrup here. You’ll make a simple homemade caramel sauce that takes about 10 minutes and tastes leagues better than anything from a jar.
- Perfect for Hot Days and Late Cravings: Whether it’s a scorching July afternoon or a random Tuesday night when you need something sweet, this ice cream delivers.
- Easier Than You Think: The active prep time is maybe 15 minutes. The hardest part is waiting for it to freeze.
- Customizable to Your Taste: More salt? Less salt? Extra caramel swirls? You’re in control. This recipe is endlessly adaptable.
This isn’t just another no-churn recipe. It’s the one I’ve made for friends, neighbors, and my own late-night sanity sessions. It’s the kind of dessert that makes people’s eyes go wide when they take that first bite. And the best part? You probably already have most of the ingredients in your kitchen right now.
What Ingredients You Will Need
This recipe keeps things simple—just a handful of everyday ingredients that come together to create something truly special. Here’s what you’ll need and why each one matters:
For the Salted Caramel Sauce
- 1 cup (200g) granulated sugar: The foundation of your caramel. Regular white sugar works perfectly here. Don’t use brown sugar—it changes the flavor and texture.
- 6 tablespoons (85g) unsalted butter, cut into pieces: Adds richness and that silky mouthfeel. I prefer unsalted so I can control the salt level myself. Let it come to room temperature before you start.
- 1/2 cup (120ml) heavy cream, at room temperature: This is what makes your caramel smooth and pourable. Cold cream will seize up the caramel and create lumps, so let it sit out for about 20 minutes first.
- 1 teaspoon flaky sea salt (plus more for topping): The star of the show here. Flaky sea salt like Maldon gives you those little bursts of saltiness that make the caramel sing. Table salt works in a pinch, but use half the amount.
- 1 teaspoon vanilla extract: Rounds out the flavor and adds warmth. Pure vanilla is best, but imitation works fine.
For the Ice Cream Base
- 2 cups (480ml) heavy cream, cold: This is non-negotiable. You need the full-fat stuff for that creamy, scoopable texture. Light cream or half-and-half won’t whip properly and will leave you with icy ice cream.
- 1 can (14 ounces/397g) sweetened condensed milk: The magic ingredient that makes no-churn ice cream work. It adds sweetness, creaminess, and helps prevent ice crystals. Don’t substitute evaporated milk—they’re not the same thing.
- 1 teaspoon vanilla extract: Adds depth to the base and helps the caramel flavor pop.
- Pinch of salt: Just a tiny bit to balance the sweetness.
I’ll be honest—I’ve tried this with different brands of heavy cream, and the texture varies slightly. I’ve had the best luck with Horizon Organic or Organic Valley heavy cream. They seem to whip up a little thicker and hold their structure better. For the sweetened condensed milk, Eagle Brand is my go-to, but store brands work just fine.
One quick note on the caramel: if you’ve never made caramel before, don’t stress. It’s easier than it sounds, and I’ll walk you through every step. The key is to not walk away from the stove while the sugar is melting. Trust me on this one—I learned the hard way.
Equipment Needed
You don’t need much for this recipe, which is honestly my favorite part. Here’s what you’ll want to have on hand:
- Medium saucepan: For making the caramel sauce. A light-colored pan is ideal so you can see the color of the sugar as it melts.
- Large mixing bowl: For whipping the cream. Glass or metal works best—plastic bowls can sometimes hold onto grease that prevents cream from whipping properly.
- Electric hand mixer or stand mixer: You can whip cream by hand with a whisk, but your arm will definitely feel it. A hand mixer makes this step a breeze.
- Rubber spatula: For folding everything together gently. You want to keep as much air in the whipped cream as possible.
- 9×5-inch loaf pan or similar container: For freezing the ice cream. A metal loaf pan works great because it conducts cold well. Glass or ceramic also works.
- Parchment paper: Optional, but it makes removing the ice cream from the pan much easier if you’re planning to serve it as a block.
- Plastic wrap or airtight lid: To cover the surface of the ice cream and prevent freezer burn.
If you don’t have a loaf pan, you can use any freezer-safe container. I’ve used a round cake pan before in a pinch—it just means the ice cream freezes in a different shape. The taste is exactly the same. And if you don’t have a hand mixer, you can absolutely whip the cream by hand. It’ll take about 5-7 minutes of vigorous whisking, but it’s a great arm workout.
Preparation Method
Alright, let’s make some ice cream. I’ll walk you through every step so you feel confident, even if you’ve never made caramel before.
Step 1: Make the Salted Caramel Sauce
Start by placing the granulated sugar in an even layer in your medium saucepan. Set it over medium heat and let it sit—don’t stir it yet. You’ll start to see the edges melting and turning golden after about 3-4 minutes. Once you see liquid around the edges, gently swirl the pan (don’t stir!) to help the sugar melt evenly. Keep swirling occasionally until all the sugar is dissolved and you have a deep amber-colored liquid. This usually takes about 6-8 minutes total. The color should be the shade of a copper penny—not too dark, or it’ll taste burnt.
Remove the pan from the heat immediately. Add the butter pieces and whisk vigorously—the mixture will bubble up dramatically, but that’s normal. Keep whisking until the butter is completely melted and incorporated. Slowly drizzle in the room-temperature heavy cream while whisking constantly. Again, it’ll bubble up, so be careful. Whisk until smooth, then stir in the vanilla and flaky sea salt. Let the caramel cool in the pan for about 15 minutes, then transfer it to a heat-safe jar or bowl. Set it aside to cool completely while you make the ice cream base.
Step 2: Whip the Heavy Cream
Pour the cold heavy cream into your large mixing bowl. Using an electric hand mixer on medium-high speed, whip the cream until stiff peaks form. This usually takes about 3-4 minutes. You’ll know it’s ready when you lift the beaters and the cream holds its shape without drooping. Be careful not to over-whip—if it starts to look grainy or separates into butter, you’ve gone too far. Stop as soon as it looks thick and fluffy.
Step 3: Combine the Base
In a separate small bowl, stir together the sweetened condensed milk, vanilla extract, and a pinch of salt until smooth. Pour this mixture into the bowl of whipped cream. Using a rubber spatula, gently fold everything together. Work slowly and deliberately—you want to incorporate the condensed milk without deflating all that air you just whipped into the cream. Fold until you don’t see any streaks of white or beige. The mixture should look pale, thick, and uniform.
Step 4: Layer and Swirl
Take your loaf pan and spread about one-third of the ice cream base evenly across the bottom. Drizzle about one-third of your cooled caramel sauce over the top in a zigzag pattern. Use a butter knife or skewer to gently swirl the caramel into the base—just a few figure-eight motions, nothing too thorough. You want ribbons of caramel, not a fully mixed caramel ice cream. Repeat with the remaining base and caramel, ending with a final drizzle of caramel on top. Sprinkle a little extra flaky sea salt over the surface for that perfect sweet-salty finish.
Step 5: Freeze
Press a piece of plastic wrap directly onto the surface of the ice cream (this prevents ice crystals from forming). Cover the pan with a lid or another layer of foil, then place it in the freezer. Let it freeze for at least 6 hours, but overnight is even better. The texture gets creamier the longer it sits. Don’t rush this step—if you try to scoop it too early, it’ll be soft and melty.
One thing I learned the hard way: make sure your freezer is set to 0°F (-18°C) or colder. If your freezer is too warm, the ice cream will take forever to freeze and might end up icy. Also, don’t open the freezer door every hour to check on it—I know it’s tempting, but it messes with the temperature.
Cooking Tips & Techniques
After making this recipe about a dozen times (seriously, my neighbors have become very loyal taste-testers), I’ve picked up a few tricks that make a real difference.
Don’t rush the caramel. The first time I made this, I got impatient and cranked the heat up to high. The sugar burned in about 30 seconds, and my whole kitchen smelled like a campfire. Low and slow is the way to go. Medium heat, patience, and constant attention. Your caramel should smell nutty and sweet, not bitter.
Room temperature ingredients matter. I know it’s annoying to wait for cream and butter to come to room temperature, but it really does make a difference. Cold cream hitting hot caramel will seize up and leave you with lumpy, grainy sauce. Set your cream out on the counter about 20 minutes before you start making the caramel, and you’ll be fine.
Whip the cream to stiff peaks. This is probably the most important step for achieving that creamy texture. If you under-whip the cream, your ice cream will be dense and heavy instead of light and scoopable. If you over-whip it, you’ll end up with butter chunks in your ice cream (which, honestly, isn’t the worst thing in the world, but it’s not what we’re going for here).
Let the caramel cool completely. I made the mistake of adding warm caramel to my ice cream base once, and it melted the whipped cream into a soupy mess. The ice cream still tasted good, but it was icy and flat. Let your caramel cool to room temperature before swirling it in. You can even make it a day ahead and keep it in the fridge.
Use a metal loaf pan. Metal conducts cold much better than glass or ceramic, so your ice cream will freeze faster and more evenly. If you’re using glass, expect it to take an extra hour or two in the freezer.
Let it soften before scooping. Fresh from the freezer, this ice cream is pretty firm. Let it sit on the counter for 5-10 minutes before scooping. It’ll soften just enough to make those perfect round scoops without melting into a puddle.
Variations & Adaptations
One of the best things about this recipe is how easy it is to change up. Here are some variations I’ve tried and loved:
Chocolate Salted Caramel Ice Cream: Before whipping the cream, stir 3 tablespoons of unsweetened cocoa powder into the sweetened condensed milk. Whisk until smooth, then proceed as directed. The chocolate and salted caramel combo is absolutely killer—like a fancy frozen candy bar.
Vegan/Dairy-Free Version: Swap the heavy cream for full-fat coconut cream (the solid part from a can of coconut milk, chilled overnight). Use a dairy-free sweetened condensed milk—Nature’s Charm makes a great coconut-based one. For the caramel, use vegan butter and full-fat coconut cream instead of heavy cream. The texture is slightly different—a little more icy, but still delicious.
Boozy Salted Caramel Ice Cream: Add 2 tablespoons of bourbon or dark rum to the ice cream base before folding. The alcohol lowers the freezing point, so the ice cream will be softer and creamier. Plus, bourbon and caramel are a match made in heaven.
Nutty Caramel Crunch: Fold in 1/2 cup of toasted pecans or walnuts along with the caramel swirl. The crunch adds a lovely texture contrast. I made this version for Thanksgiving last year, and it was gone before the pie even made it to the table.
Espresso Salted Caramel: Dissolve 1 tablespoon of instant espresso powder in the vanilla extract before adding it to the sweetened condensed milk. The coffee flavor deepens the caramel and makes it taste even more sophisticated. This is my personal favorite—I love the way the bitterness plays against the sweetness.
Low-Sugar Option: Use a sugar-free sweetened condensed milk (like the one from Lakanto) and a sugar-free caramel sauce. The texture won’t be quite as creamy, but it’s a solid option if you’re watching your sugar intake.
Serving & Storage Suggestions
This ice cream is best served straight from the freezer, but give it a few minutes on the counter to soften slightly. Scoop it into bowls or cones and top with an extra pinch of flaky sea salt and maybe a drizzle of warm caramel sauce if you’re feeling fancy.
It pairs beautifully with warm desserts—try it alongside a slice of moist maple walnut pumpkin bread or a scoop of decadent Neapolitan birthday cake for the ultimate dessert experience. The cold, creamy ice cream against warm, spiced cake is absolutely divine.
For storage, keep the ice cream in an airtight container with plastic wrap pressed directly onto the surface. It’ll stay good for up to 2 weeks in the freezer, though I doubt it’ll last that long. The caramel swirls might soften slightly over time, but the flavor actually gets better after a day or two as everything melds together.
If you’re making this ahead for a party, I recommend making it at least 24 hours in advance. The texture is at its peak after a full day of freezing. Just remember to take it out of the freezer about 10 minutes before serving so it’s easy to scoop.
One thing I’ve noticed: this ice cream doesn’t get rock-hard like some homemade versions. Thanks to the sweetened condensed milk and the caramel, it stays soft and scoopable even after a week in the freezer. That’s a win in my book.
Nutritional Information & Benefits
Let’s be real—this is a treat, not a health food. But knowing what’s in it can help you enjoy it mindfully. Here’s the approximate nutritional breakdown per 1/2-cup serving (based on 8 servings total):
| Nutrient | Amount per Serving |
|---|---|
| Calories | 410 |
| Total Fat | 28g |
| Saturated Fat | 18g |
| Cholesterol | 95mg |
| Sodium | 280mg |
| Total Carbohydrates | 38g |
| Sugars | 35g |
| Protein | 4g |
| Calcium | 150mg |
On the bright side, this ice cream does contain some calcium from the heavy cream and sweetened condensed milk. And if you’re using high-quality flaky sea salt, you’re getting trace minerals too. But honestly? This is a dessert meant for indulgence, not daily nutrition. I like to think of it as a special occasion treat—perfect for summer barbecues, holiday gatherings, or those nights when you just need something incredible.
If you’re watching your sugar intake, try the low-sugar variation I mentioned above. And if you’re dairy-sensitive, the vegan version works beautifully. Just remember that portion control is your friend here—a little goes a long way when it’s this rich and satisfying.
Conclusion
This Creamy No-Churn Salted Caramel Ice Cream has become my go-to dessert for pretty much any occasion. It’s the recipe I bring to potlucks, the one I make when friends come over, and honestly, the one I make just for myself on a random Tuesday when I need a little sweetness in my life. The fact that it comes together in about 15 minutes with no special equipment still feels like magic to me.
I love how forgiving this recipe is. You can tweak the salt level, add mix-ins, or change up the caramel—it’s hard to mess up. And the result is always creamy, rich, and absolutely packed with that sweet-salty caramel flavor that makes people close their eyes and sigh.
I’d love to hear how yours turns out! Did you add any fun mix-ins? Try a different variation? Leave a comment below and let me know—I read every single one, and your ideas might just inspire my next batch. And if you loved this recipe, share it with a friend who needs a little homemade happiness in their freezer. Happy scooping!
Frequently Asked Questions
Can I make this without an electric mixer?
Absolutely! You can whip the cream by hand with a whisk. It’ll take about 5-7 minutes of steady whisking, but it’s totally doable. Just make sure your cream is very cold and your arm is ready for a workout.
Why did my caramel seize up and turn into a hard lump?
This usually happens when cold cream or butter hits hot sugar. Make sure your cream and butter are at room temperature before adding them to the caramel. If your caramel does seize, don’t panic—just return it to low heat and whisk gently until it smooths out.
How long does this ice cream keep in the freezer?
It stays good for up to 2 weeks if stored properly in an airtight container with plastic wrap pressed onto the surface. After that, it might start developing ice crystals or absorbing freezer odors. But honestly, mine never lasts that long.
Can I use store-bought caramel sauce instead of making my own?
You can, but the texture and flavor won’t be the same. Homemade caramel is thicker, richer, and has that deep, complex flavor that store-bought sauces just can’t replicate. Plus, making your own takes less than 10 minutes and tastes so much better.
My ice cream turned out icy—what went wrong?
A few things could cause iciness: under-whipped cream (not enough air incorporated), warm caramel melting the base, or a freezer that’s not cold enough. Make sure your cream is whipped to stiff peaks, your caramel is completely cool, and your freezer is set to 0°F (-18°C) or colder.
Pin This Recipe!
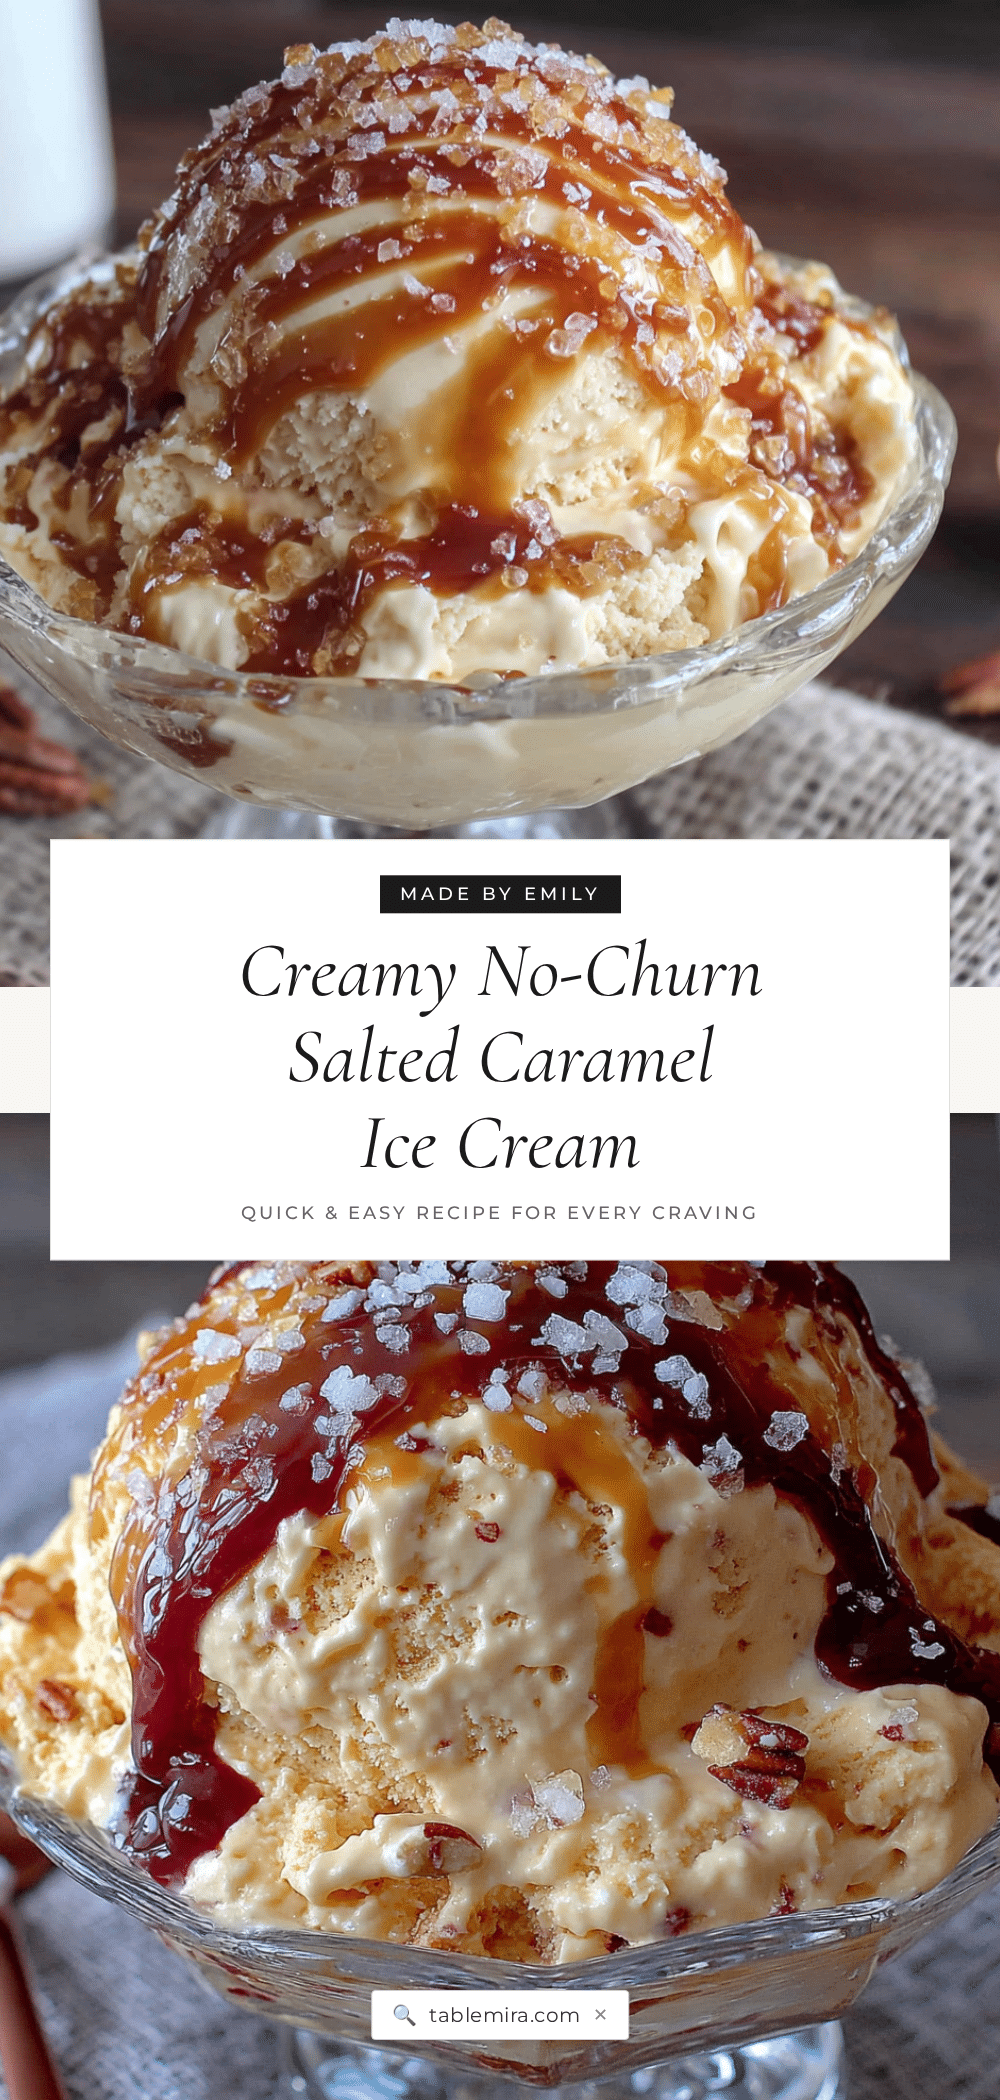
Creamy No-Churn Salted Caramel Ice Cream: Best Easy Recipe
This creamy no-churn salted caramel ice cream is incredibly easy to make with no ice cream maker required. It features a rich, velvety texture and homemade salted caramel swirls for the perfect sweet-salty treat.
- Prep Time: 15 minutes
- Cook Time: 10 minutes
- Total Time: 6 hours 25 minutes (includes freezing time)
- Yield: 8 servings 1x
- Category: Dessert
- Cuisine: American
Ingredients
- 1 cup (200g) granulated sugar
- 6 tablespoons (85g) unsalted butter, cut into pieces, at room temperature
- 1/2 cup (120ml) heavy cream, at room temperature
- 1 teaspoon flaky sea salt (plus more for topping)
- 1 teaspoon vanilla extract
- 2 cups (480ml) heavy cream, cold
- 1 can (14 ounces/397g) sweetened condensed milk
- 1 teaspoon vanilla extract
- Pinch of salt
Instructions
- Make the salted caramel sauce: Place the granulated sugar in an even layer in a medium saucepan over medium heat. Let it sit without stirring until the edges start to melt and turn golden (about 3-4 minutes). Gently swirl the pan to help the sugar melt evenly until all sugar is dissolved and you have a deep amber-colored liquid (about 6-8 minutes total). Remove from heat immediately.
- Add the butter pieces and whisk vigorously until melted and incorporated. Slowly drizzle in the room-temperature heavy cream while whisking constantly. Whisk until smooth, then stir in the vanilla and flaky sea salt. Let cool in the pan for 15 minutes, then transfer to a heat-safe jar or bowl and cool completely.
- Whip the heavy cream: Pour the cold heavy cream into a large mixing bowl. Using an electric hand mixer on medium-high speed, whip until stiff peaks form (about 3-4 minutes). Be careful not to over-whip.
- Combine the base: In a small bowl, stir together the sweetened condensed milk, vanilla extract, and a pinch of salt until smooth. Pour this mixture into the whipped cream and gently fold with a rubber spatula until uniform and no streaks remain.
- Layer and swirl: Spread one-third of the ice cream base evenly in a 9×5-inch loaf pan. Drizzle one-third of the cooled caramel sauce in a zigzag pattern. Use a butter knife or skewer to gently swirl the caramel into the base. Repeat with remaining base and caramel, ending with a final drizzle of caramel on top. Sprinkle extra flaky sea salt over the surface.
- Freeze: Press plastic wrap directly onto the surface of the ice cream, cover the pan with a lid or foil, and freeze for at least 6 hours, preferably overnight. Let soften for 5-10 minutes at room temperature before scooping.
Notes
For best results, ensure cream and butter are at room temperature before making caramel to prevent seizing. Whip cream to stiff peaks for a light texture. Let caramel cool completely before swirling into the base. Use a metal loaf pan for faster, more even freezing. Store in an airtight container with plastic wrap pressed onto the surface for up to 2 weeks.
Nutrition
- Serving Size: 1/2 cup
- Calories: 410
- Sugar: 35
- Sodium: 280
- Fat: 28
- Saturated Fat: 18
- Carbohydrates: 38
- Protein: 4
Keywords: no-churn ice cream, salted caramel, homemade ice cream, easy dessert, no ice cream maker


