That first deep breath of August air, thick with the scent of sun-warmed tomato vines and crushed basil leaves — it hits me before I even round the corner of the garden path. Sticky fingers from pinching off suckers, the slight grittiness of soil under my nails, and a basket so heavy with Roma tomatoes that the woven handles creak. It’s the smell of work, honestly, but also of a quiet kind of abundance. I remember standing there last summer, knee-deep in plants that had gone absolutely rogue, thinking, “What on earth am I going to do with all of these?” The answer, as it always is, came from my grandmother’s kitchen. Not a recipe she wrote down, but a feeling — the slow, bubbling sound of a pot on the back burner, the steam fogging up the windows on a sweltering day. That sound meant winter was taken care of. It meant pasta in January that tasted like July. This easy homemade canned tomato sauce from fresh garden tomatoes is that feeling in a jar. It’s not about being fancy. It’s about capturing a season of hard work and turning it into something you can open up on a cold Tuesday night and feel instantly warmer.
Why You’ll Love This Recipe
I’ve made a lot of tomato sauce in my day. From quick stovetop versions for busy weeknights to slow-simmered Sunday ragùs. But this recipe? This is the one I come back to every single year. It’s the one I trust.
- Deep, Concentrated Flavor Without the Work: We’re not simmering this for hours on end. A quick oven-roasting technique locks in sweetness and umami, giving you that all-day-cooked taste in a fraction of the time.
- Uses Up That Garden Bounty: Got a counter overflowing with tomatoes? You’re in the right place. This recipe handles a glut like a champ and turns it into gold.
- Simple, Clean Ingredients: Just tomatoes, a little onion, garlic, and herbs. No weird preservatives, no added sugars (unless you count the natural sweetness of the tomatoes themselves), and nothing you can’t pronounce.
- Pantry Gold for the Whole Year: There is no better feeling than pulling a jar of your own sauce off the shelf in February. It’s a little taste of summer sunshine, and it makes any weeknight meal feel special.
- Totally Customizable: This is your base. You can keep it plain for pizza, add red pepper flakes for heat, or stir in some roasted eggplant for a heartier texture. It’s a blank canvas for your winter cooking.
Honestly, what makes this recipe different from the rest is the roasting step. Most canning recipes have you just boil everything down, which can take hours and sometimes tastes a bit flat. By roasting the tomatoes first, you concentrate their sugars and deepen their flavor without needing to babysit a pot all day. It’s a trick I learned from a chef friend years ago, and it’s been my secret weapon ever since. This isn’t just another tomato sauce recipe — it’s your new favorite way to preserve the harvest.
What Ingredients You Will Need
This recipe uses simple, wholesome ingredients to deliver bold flavor and satisfying texture without the fuss. Most of these are probably already in your kitchen or garden.
- Fresh Tomatoes (about 10-12 pounds): Roma or San Marzano varieties are best for sauce because they’re meaty and have fewer seeds. If you’re using larger heirlooms or beefsteaks, that’s totally fine — just expect a slightly thinner sauce that will need a bit more time to simmer down. I usually use a mix from my garden.
- Large Yellow Onions (2): These add a sweet, savory backbone to the sauce. You can use sweet onions like Vidalia if you have them, but yellow onions are perfect here.
- Garlic Cloves (8-10): Don’t skimp! Roasted garlic becomes sweet and mellow, but we want enough to flavor the whole batch. I’ve used up to 15 cloves before when I had a particularly good harvest.
- Extra Virgin Olive Oil (¼ cup): A good quality oil helps the vegetables roast and adds richness. You don’t need the fancy finishing stuff, just a solid everyday olive oil.
- Fresh Basil Leaves (a large handful): Added at the end for a bright, fresh note. If you don’t have fresh, you can use 2 tablespoons of dried basil, but add it during the simmering stage.
- Dried Oregano (1 tablespoon): Earthy and aromatic. It’s a classic Italian herb that pairs beautifully with tomatoes.
- Kosher Salt (2-3 teaspoons, to taste): I like Diamond Crystal brand because it’s less salty by volume, so it’s harder to over-salt. You’ll need to adjust based on your tomatoes.
- Freshly Ground Black Pepper (1 teaspoon): A little warmth and bite. Always grind it fresh if you can.
- Bottled Lemon Juice (¼ cup total, for canning safety): This is non-negotiable for water bath canning. It ensures the proper acidity level to prevent botulism. Use bottled, not fresh, because the acidity is standardized.
I really recommend using Roma tomatoes for this if you can find them. They just have that perfect meat-to-seed ratio. But honestly, I’ve made this with a motley crew of garden leftovers and it was still fantastic. The key is to taste as you go and adjust the salt and herbs to your liking.
Equipment Needed
You don’t need a fancy kitchen to make this, but a few key tools will make the process much smoother.
- Large Roasting Pans or Rimmed Baking Sheets (2): To roast all those tomatoes at once. If you don’t have two, you can do it in batches.
- Large Stockpot or Dutch Oven (at least 8-quart): For simmering the sauce. A heavy-bottomed pot is best to prevent scorching.
- Food Mill or Immersion Blender: A food mill is my favorite tool for this job because it strains out the seeds and skins in one step, giving you a silky-smooth sauce. An immersion blender works great too, but you won’t have the seeds removed. I’ve used both, and honestly, the food mill is worth the investment if you can a lot.
- Water Bath Canner with Rack: A large pot that can hold your jars fully submerged with at least an inch of water over the tops. A rack keeps the jars off the bottom.
- Canning Jars, Lids, and Bands: Standard pint (16 oz) or quart (32 oz) jars work well. I use wide-mouth pints for this sauce. Always inspect your jars for chips and cracks.
- Jar Lifter and Canning Funnel: These are safety essentials. A jar lifter has rubber grips to handle hot jars, and a wide-mouth funnel makes filling them a mess-free job.
- Clean Kitchen Towels: For drying jars and wiping rims.
If you don’t have a food mill, don’t let that stop you. You can peel the tomatoes before roasting (just score an X on the bottom, blanch for 30 seconds, and shock in ice water) or use an immersion blender and just accept a few seeds in the final sauce. I’ve done it both ways, and honestly, a few seeds never hurt anyone.
Preparation Method
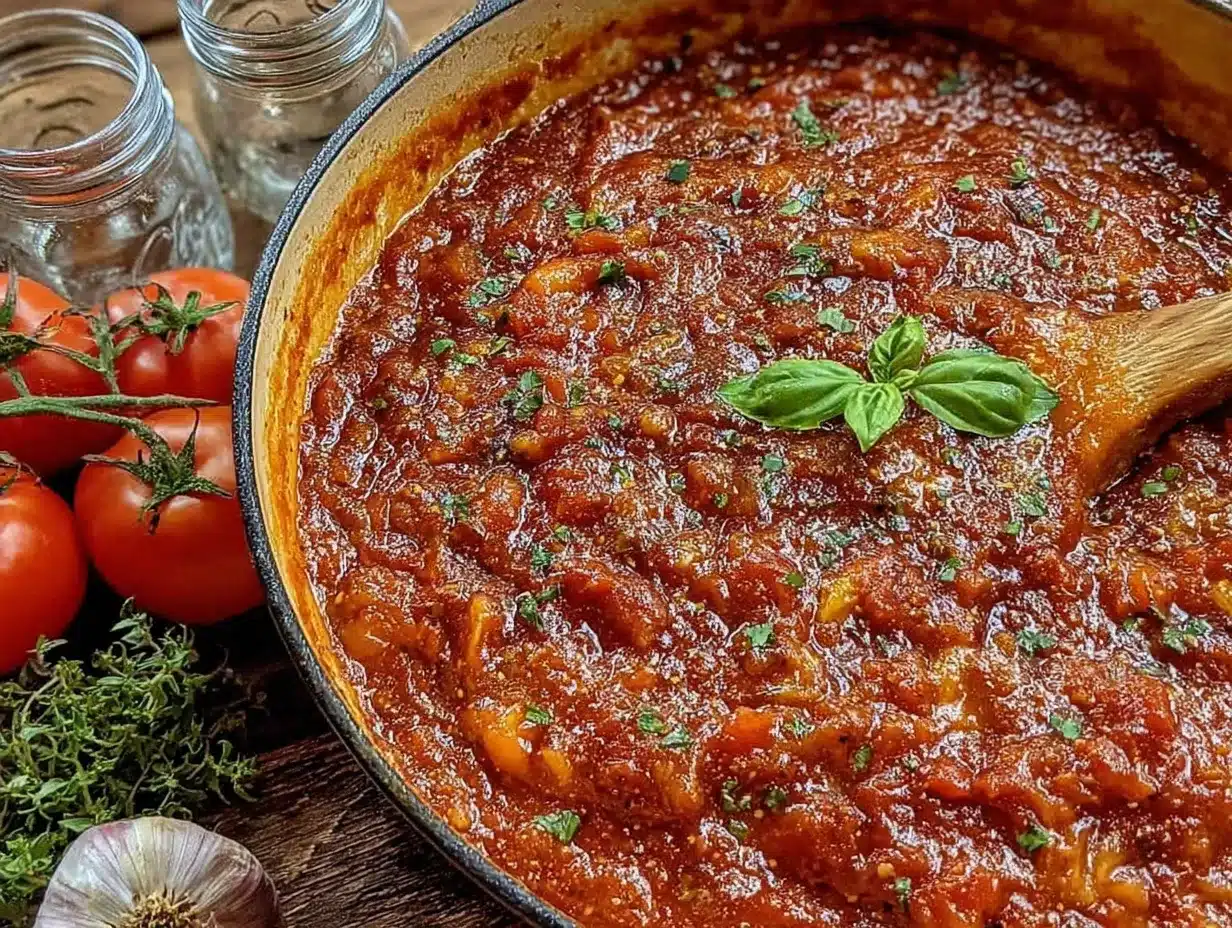
Alright, let’s get to the good stuff. Set aside a few hours for this — the active work is maybe an hour, but the roasting and simmering take some time. Put on a podcast or some music you love.
- Preheat and Prep (10 minutes): Preheat your oven to 400°F (200°C). Wash all your tomatoes thoroughly. Cut out the core (the tough little stem part) and any bruised spots. Cut the larger tomatoes in half. If you’re using Romas, you can leave them whole or just cut them in half lengthwise. Peel and quarter the onions. Smash the garlic cloves with the flat side of your knife — no need to chop them finely.
- Roast the Vegetables (45-60 minutes): Toss the tomatoes, onions, and garlic cloves with the olive oil, salt, and pepper directly on your rimmed baking sheets. Spread them out in a single layer as best you can — it’s okay if they’re a little crowded. Roast for 45-60 minutes, stirring once halfway through, until the tomatoes are soft, blistered, and starting to caramelize. The onions should be tender and golden at the edges. Your kitchen will smell incredible at this point.
- Process the Roasted Vegetables (10 minutes): Let the roasted vegetables cool for about 10 minutes so you don’t burn yourself. Working in batches, pass the mixture through a food mill fitted with the medium disc into your large stockpot. If you’re using an immersion blender, just dump everything into the pot and blend until smooth. Be careful — it’s hot! This is where you get to decide on the texture. I like mine fairly smooth but with a little body.
- Simmer the Sauce (45-60 minutes): Place the stockpot over medium heat and bring the sauce to a gentle simmer. You’ll see small bubbles breaking the surface, not a rolling boil. Stir in the dried oregano. Let it simmer uncovered for 45-60 minutes, stirring every 10 minutes or so to prevent sticking on the bottom. The sauce will reduce and thicken slightly. You’re looking for it to coat the back of a spoon. If it seems too thin, let it go a little longer. Too thick? Add a splash of water.
- Finish and Season (5 minutes): Stir in the fresh basil leaves and let them wilt into the sauce for a minute or two. Taste the sauce. This is the most important step! Add more salt and pepper as needed. Remember, salt brings out the sweetness of the tomatoes. I usually end up adding a bit more than I think I need at this stage. Remove from the heat.
- Prepare for Canning (15 minutes): While the sauce simmers, get your canning station ready. Wash your jars, lids, and bands in hot, soapy water. Rinse well. Place the jars in your water bath canner, cover them with water, and bring to a simmer (180°F). You want them hot so they don’t crack when you add the hot sauce. Place the lids in a small saucepan of simmering water to soften the sealing compound.
- Fill the Jars (20 minutes): Remove a hot jar from the canner using your jar lifter, dumping the water back into the pot. Place the canning funnel on the jar. Add 1 tablespoon of bottled lemon juice per pint jar, or 2 tablespoons per quart jar. Ladle the hot sauce into the jar, leaving ½ inch of headspace (the space between the sauce and the rim). Use a chopstick or a bubble remover tool to gently stir the sauce and release any trapped air bubbles. Wipe the rim of the jar clean with a damp paper towel. Center a lid on the jar and screw on the band until it’s fingertip-tight — just snug, not cranked down.
- Process in Water Bath (35-40 minutes): Using your jar lifter, carefully lower the filled jars back into the simmering water in the canner. Make sure they are covered by at least 1 inch of water. Put the lid on the canner, bring the water to a full rolling boil, and process for 35 minutes for pints, 40 minutes for quarts. Adjust processing time if you are at a high altitude (add 5 minutes for every 1,000 feet above sea level).
- Cool and Check Seals (12-24 hours): Turn off the heat and remove the canner lid. Let the jars sit in the water for 5 minutes. Then, use your jar lifter to carefully transfer them to a towel-lined counter, leaving at least an inch of space between them. Don’t tighten the bands. Let them cool completely, undisturbed, for 12 to 24 hours. You should hear a satisfying “ping” sound as each jar seals. After they’re cool, press down on the center of each lid. If it doesn’t pop back, it’s sealed. Store any unsealed jars in the refrigerator and use within a week.
That first jar you open in the dead of winter is pure magic. The smell alone will take you right back to this moment.
Cooking Tips & Techniques
I’ve been making this sauce for years, and I’ve definitely had my share of mishaps. Here are the lessons I learned the hard way so you don’t have to.
Don’t Skip the Roasting Step. I know it seems like an extra step, but it’s the secret to that deep, concentrated flavor. If you just boil the tomatoes, you’ll end up with a sauce that tastes more like watery tomato juice than a rich, complex sauce. Roasting caramelizes the natural sugars and adds a smoky depth that you just can’t get any other way.
Watch Your Acidity. Tomatoes are naturally acidic, but levels can vary depending on the variety and how ripe they are. That’s why bottled lemon juice is crucial for safe water bath canning. It guarantees the sauce is acidic enough to prevent harmful bacteria from growing. I’ve made the mistake of using fresh lemon juice before, and while the sauce was delicious, I spent the whole winter nervously checking my jars. Stick with bottled.
Don’t Overfill the Jars. That ½ inch of headspace isn’t just a suggestion. It’s the space the sauce needs to expand as it processes and to create a proper vacuum seal as it cools. If you overfill, the sauce can bubble out, get under the lid, and prevent a good seal. I lost a whole batch one year because I got too eager with the ladle.
Multitask Like a Pro. While the tomatoes are roasting, get your jars and canner ready. While the sauce is simmering, clean up your kitchen. This isn’t a recipe you can walk away from for long periods, but you can absolutely work in the small windows of downtime. It makes the whole process feel much less overwhelming.
Taste, Taste, Taste. Before you add the lemon juice and can the sauce, taste it. Is it flat? Add more salt. Is it too acidic? A pinch of sugar can help balance it out. This is your last chance to adjust the flavor before it’s sealed away for months. Don’t skip it.
Variations & Adaptations
This basic recipe is a wonderful starting point, but don’t be afraid to make it your own. Here are some of my favorite twists.
Spicy Arrabbiata Sauce: Add 2-3 dried red chili peppers (like arbol or cayenne) to the pot during the simmering stage. Remove them before blending or processing. The heat will infuse the sauce with a wonderful warmth. I love this version for pasta with a little grilled chicken.
Roasted Garlic and Herb Sauce: Double the garlic! Roast an entire head of garlic (just slice the top off, drizzle with oil, and wrap in foil) alongside the tomatoes. Squeeze the soft, roasted cloves into the pot before blending. It makes the sauce incredibly sweet and mellow. Add a sprig of fresh rosemary or thyme to the simmering pot for an even more complex flavor.
No-Canning, Freezer-Friendly Version: If the idea of water bath canning is intimidating, don’t worry. You can absolutely freeze this sauce. Let it cool completely, then pour it into freezer-safe bags or containers. Lay the bags flat to freeze — they stack beautifully and take up less space. Just remember to leave a little room for expansion. It will keep in the freezer for up to 6 months.
Thicker Sauce for Pizza: For a pizza sauce, you want it thicker so it doesn’t make the crust soggy. After simmering, let the sauce continue to cook down until it’s very thick and concentrated, almost like a paste. You can also skip the food mill and just crush the roasted tomatoes by hand for a chunkier texture.
Roasted Tomato and Red Pepper Sauce: Add 2-3 red bell peppers to the roasting pan with the tomatoes. They add a natural sweetness and a beautiful color. This version is fantastic on pasta or as a base for a creamy tomato soup. I made this last year and it was a game-changer for my creamy slow cooker Tuscan chicken recipe.
Serving & Storage Suggestions
This sauce is so versatile, you’ll find yourself reaching for it constantly.
Serving Suggestions: This sauce is best served warm, straight from the jar. For a simple, perfect meal, toss it with your favorite pasta — a thick spaghetti or a ridged rigatoni are my top picks. A generous sprinkle of freshly grated Parmesan cheese and a few torn basil leaves are all you need. It’s also incredible on homemade pizza, as a dipping sauce for crusty bread, or simmered with meatballs for a hearty Sunday dinner. I even love it stirred into a bowl of quick spicy ramen for a rich, tomatoey twist.
Storage Instructions: Properly sealed jars of this sauce will last for 12 to 18 months in a cool, dark pantry. Once you open a jar, store it in the refrigerator and use it within 5 to 7 days. The flavor actually deepens and gets even better after a few weeks in the pantry. It’s one of those magical things about home-canned goods.
Reheating Tips: To reheat, simply empty the jar into a small saucepan and warm it over medium-low heat, stirring occasionally. You can also microwave it in a safe bowl in 30-second bursts. Don’t boil it aggressively, or the texture can become a little watery. Gentle heat is all it needs.
Flavor Development: The flavors in this sauce will meld and deepen over time. A jar that’s been sitting for a few months will taste noticeably more complex and “cooked” than one you just made. It’s a beautiful thing to witness. That’s why I always try to save at least one jar for a full year — just to see how it evolves.
Nutritional Information & Benefits
This sauce is not just delicious; it’s genuinely good for you. A half-cup serving (about 4 ounces) is packed with nutrients.
- Estimated Nutritional Values (per ½ cup serving): Approximately 50-70 calories, 3-4g fat, 7-9g carbohydrates, 2g fiber, 4-5g sugar, and 1-2g protein. These are estimates and will vary based on your specific ingredients.
- Rich in Lycopene: Tomatoes are one of the best sources of lycopene, a powerful antioxidant linked to heart health and reduced risk of certain cancers. Cooking the tomatoes actually makes the lycopene more available for your body to absorb.
- Good Source of Vitamins: This sauce is high in Vitamin C, Vitamin A, and Vitamin K. It also provides a decent amount of potassium.
- Dietary Considerations: This recipe is naturally gluten-free, dairy-free, vegan, and low in added sugars. It’s a fantastic way to add flavor and nutrients to a wide variety of diets.
- Allergen Information: This sauce is free from the top 9 major allergens. However, if you have a sensitivity to nightshades (tomatoes, peppers, etc.), this is not suitable for you.
I love knowing that when I open a jar of this sauce, I’m not just getting a delicious meal — I’m getting a concentrated dose of summer’s best nutrition. It feels good to feed my family something so pure and wholesome.
Conclusion
Making your own canned tomato sauce is one of those kitchen projects that feels a little daunting at first, but I promise you, it’s so worth it. The process is meditative, the result is deeply satisfying, and the payoff lasts all year long. You’re not just making sauce; you’re creating a little piece of summer to open up on a snowy day. You’re giving yourself the gift of a quick, delicious, and healthy meal any night of the week. And you’re connecting with a tradition that home cooks have been doing for generations.
I encourage you to make this recipe your own. Add your favorite herbs, play with the spice level, or adjust the texture to your liking. The beauty of a simple base like this is that it’s endlessly adaptable. And honestly, the best version is the one that tastes like your garden and your kitchen. If you give this a try, I’d love to hear about it. Drop a comment below and tell me how it turned out, or share a photo of your beautiful jars. It’s the best feeling in the world to see someone else enjoying something from your kitchen. Happy canning!
Frequently Asked Questions
Can I use this recipe for canning if I don’t have a food mill?
Absolutely. If you don’t have a food mill, you can peel the tomatoes before roasting them. Score a small “X” on the bottom of each tomato, blanch them in boiling water for 30-60 seconds, then plunge them into an ice bath. The skins will slip right off. Then proceed with the recipe as written. You can use an immersion blender to get a smooth consistency, but you will have a few seeds in your final sauce.
How long does homemade canned tomato sauce last in the pantry?
When properly sealed and stored in a cool, dark place (like a pantry or basement), your homemade canned tomato sauce will maintain its best quality for 12 to 18 months. It’s safe to eat for even longer, but the flavor and texture will gradually decline. Always check the seal before opening — if the lid is bulging or pops when you press on it, discard the jar.
Why do I have to use bottled lemon juice instead of fresh?
Bottled lemon juice has a standardized, guaranteed level of acidity (usually around 5%). The acidity of fresh lemons can vary significantly. For safe water bath canning, you need to ensure your sauce reaches a specific pH level to prevent the growth of Clostridium botulinum bacteria. Bottled lemon juice is the only safe way to guarantee that level of acidity.
My sauce is too watery. What did I do wrong?
This is usually because the tomatoes were very juicy or you didn’t simmer the sauce long enough to reduce it. To fix it, simply return the sauce to the pot and simmer it over medium heat, stirring frequently, until it reaches your desired consistency. You can also try roasting the tomatoes a little longer next time to drive off more moisture before processing.
Can I add meat or other vegetables to this sauce before canning?
It is not recommended to add meat, poultry, fish, or low-acid vegetables (like peppers, onions, or mushrooms) directly to a tomato sauce recipe for water bath canning. These ingredients change the acidity and density of the sauce, making it unsafe for this method. If you want a chunky sauce, add those ingredients fresh when you open the jar and are reheating it to serve. For a safe version with other vegetables, consider pressure canning instead.
Pin This Recipe!
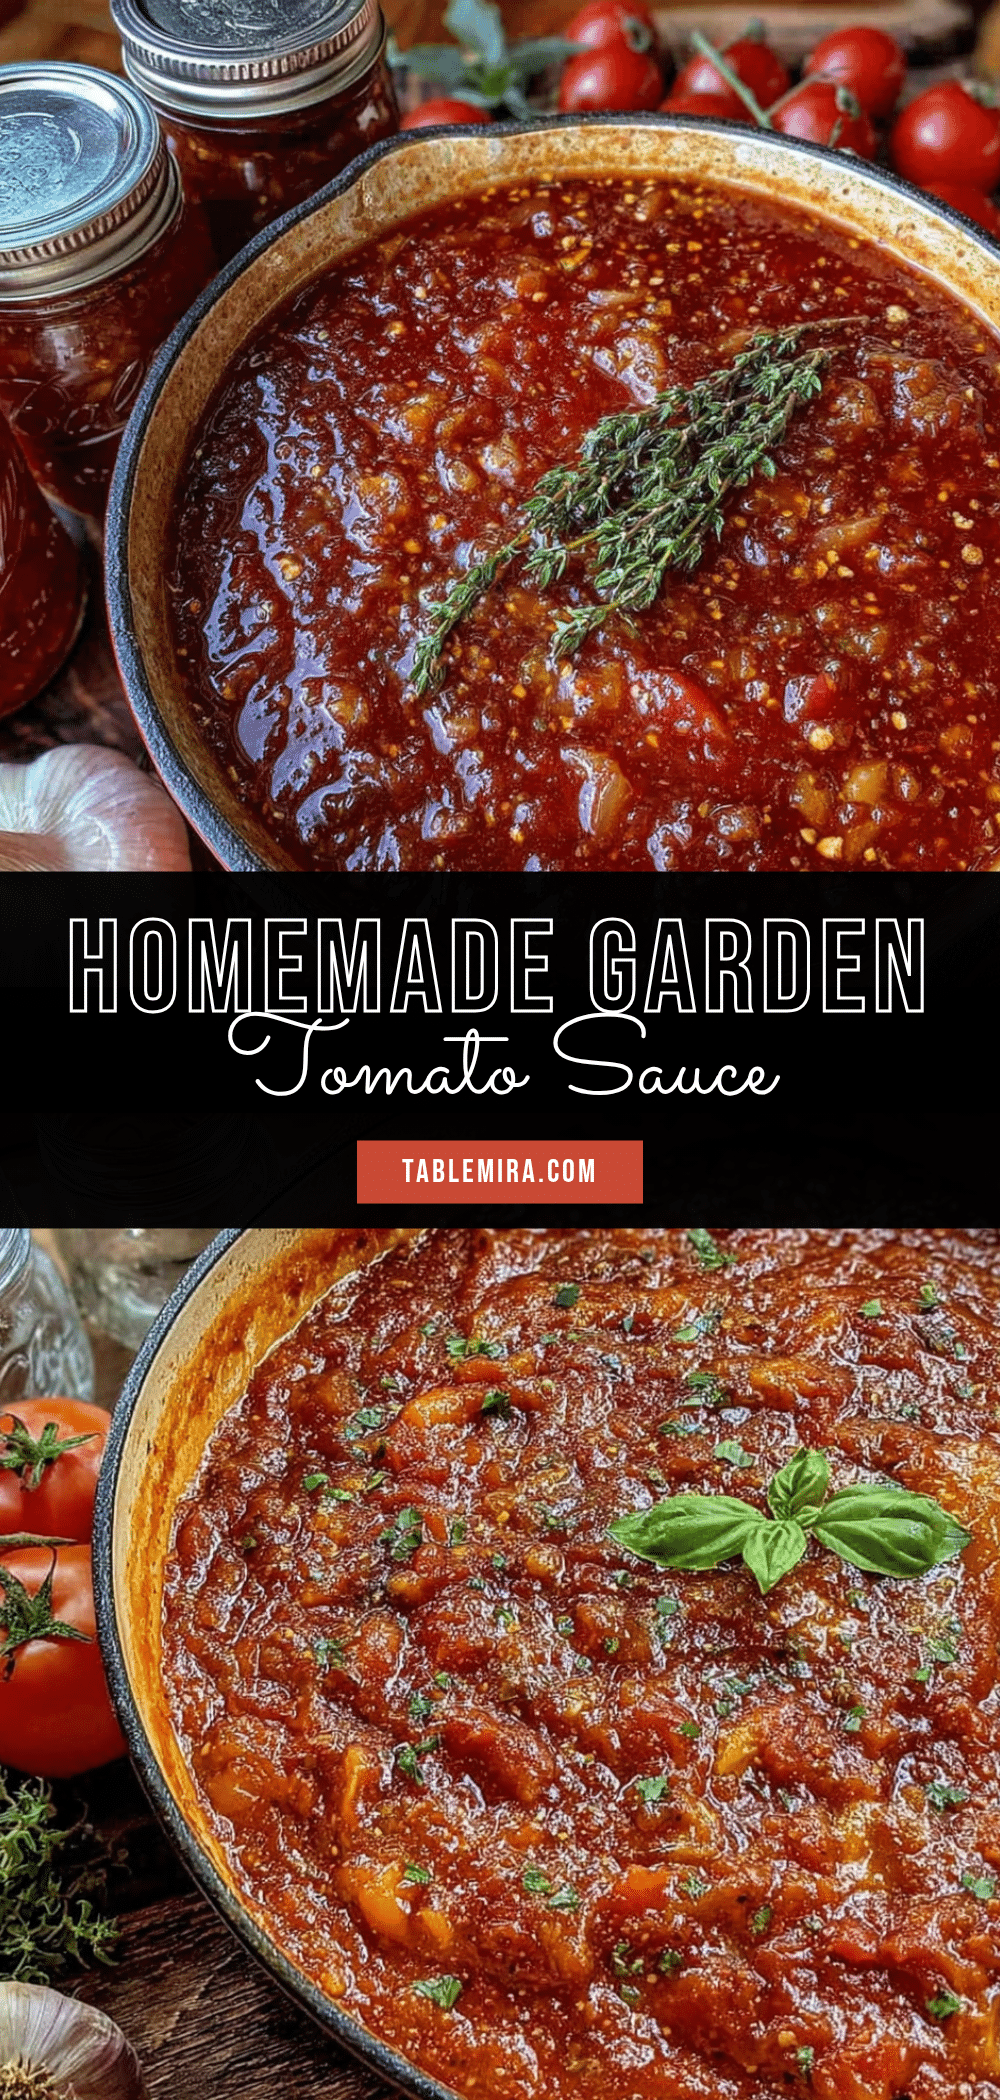
Easy Homemade Canned Tomato Sauce from Fresh Garden Tomatoes
Capture the taste of summer with this easy homemade canned tomato sauce made from fresh garden tomatoes. A quick oven-roasting technique locks in sweetness and umami, giving you that all-day-cooked taste in a fraction of the time.
- Prep Time: 1 hour
- Cook Time: 1 hour 45 minutes
- Total Time: 3 hours 45 minutes (including cooling)
- Yield: Approximately 6-8 pints 1x
- Category: Preserves / Sauce
- Cuisine: Italian-American
Ingredients
- 10–12 pounds fresh tomatoes (Roma or San Marzano preferred)
- 2 large yellow onions, peeled and quartered
- 8–10 garlic cloves, smashed
- ¼ cup extra virgin olive oil
- 1 large handful fresh basil leaves
- 1 tablespoon dried oregano
- 2–3 teaspoons kosher salt (to taste)
- 1 teaspoon freshly ground black pepper
- ¼ cup bottled lemon juice (for canning safety)
Instructions
- Preheat oven to 400°F (200°C). Wash tomatoes, remove cores and bruised spots. Cut larger tomatoes in half; Romas can be left whole or halved lengthwise. Peel and quarter onions. Smash garlic cloves.
- Toss tomatoes, onions, and garlic with olive oil, salt, and pepper on rimmed baking sheets. Spread in a single layer. Roast for 45-60 minutes, stirring once halfway, until tomatoes are soft, blistered, and caramelized, and onions are tender and golden.
- Let roasted vegetables cool for 10 minutes. Working in batches, pass mixture through a food mill fitted with medium disc into a large stockpot. Alternatively, use an immersion blender to blend until smooth.
- Place stockpot over medium heat and bring sauce to a gentle simmer. Stir in dried oregano. Simmer uncovered for 45-60 minutes, stirring every 10 minutes, until sauce coats the back of a spoon.
- Stir in fresh basil leaves and let wilt for 1-2 minutes. Taste and adjust salt and pepper as needed. Remove from heat.
- While sauce simmers, prepare canning station: Wash jars, lids, and bands in hot soapy water. Place jars in water bath canner, cover with water, and bring to a simmer (180°F). Place lids in a small saucepan of simmering water.
- Remove a hot jar from canner using jar lifter. Add 1 tablespoon bottled lemon juice per pint jar (2 tablespoons per quart). Ladle hot sauce into jar, leaving ½ inch headspace. Remove air bubbles with a chopstick. Wipe rim clean, center lid, and screw on band fingertip-tight.
- Lower filled jars into canner, ensuring they are covered by at least 1 inch of water. Cover, bring to a full rolling boil, and process for 35 minutes for pints, 40 minutes for quarts (adjust for altitude: add 5 minutes per 1,000 feet above sea level).
- Turn off heat, remove lid, and let jars sit in water for 5 minutes. Transfer to a towel-lined counter, leaving space between jars. Cool completely, undisturbed, for 12-24 hours. Check seals: press center of lid; if it doesn’t pop back, it’s sealed. Refrigerate any unsealed jars and use within a week.
Notes
Don’t skip the roasting step—it concentrates flavor. Use bottled lemon juice for safe canning (standardized acidity). Leave ½ inch headspace in jars. Taste sauce before canning and adjust seasoning. For high altitude, add 5 minutes processing time per 1,000 feet above sea level.
Nutrition
- Serving Size: ½ cup
- Calories: 5070
- Sugar: 45
- Sodium: 200300
- Fat: 34
- Saturated Fat: 0.5
- Carbohydrates: 79
- Fiber: 2
- Protein: 12
Keywords: homemade tomato sauce, canned tomato sauce, garden tomatoes, canning recipe, preserving tomatoes, easy tomato sauce, roasted tomato sauce


