Three kids down with the sniffles, a half-empty bottle of the store-bought stuff that cost me eighteen dollars, and a pot of water already boiling on the stove. That was the moment I finally decided to make my own homemade elderberry syrup recipe for cold season. Honestly, I had been meaning to try it for years, but life gets busy and you just grab whatever is on the shelf when the coughing starts. But standing there, staring at that tiny, overpriced bottle, I just thought—there has to be a better way. And there is. This homemade elderberry syrup recipe for cold season is now a staple in my kitchen from October through March. It tastes better, costs a fraction of the price, and I actually know exactly what went into it. No weird additives, no artificial colors, just honest ingredients doing what they do best. The deep, tart-sweet flavor of the berries mingled with warm spices and honey creates something that actually feels good to take by the spoonful. And the first time I watched my kids ask for their daily dose without a fight? That was a real win.
Why You’ll Love This Homemade Elderberry Syrup
After years of testing different ratios and tweaking the spice blend, I can confidently say this version hits the sweet spot. It is not just another recipe you find online—it is the one I make every single season without fail.
- Simple Ingredients : You need dried elderberries, honey, and a few pantry spices. No running around to specialty stores.
- Cost-Effective : A single batch costs roughly the same as one fancy coffee drink but yields weeks worth of syrup. The store-bought versions are honestly a rip-off.
- Quick to Make : About 30 minutes of hands-on time and your kitchen will smell like a cozy apothecary.
- Kid-Approved : The honey and cinnamon make it sweet enough that even picky eaters will take it willingly. I have yet to meet a child who fights this version.
- Customizable : You can adjust the sweetness, swap spices, or add extra immune-supporting ingredients like ginger or echinacea.
What makes this recipe different from the rest? It is the balance. Some versions are too thin, others are cloyingly sweet, and many lack that deep, complex flavor that comes from properly simmering the berries. I spent a whole winter testing batches until I got it just right. The result is a syrup with a beautiful deep purple color, a velvety texture, and a flavor that makes you actually look forward to taking your daily spoonful. It is the kind of recipe that makes you feel like you are doing something good for your body without it tasting like punishment.
What Ingredients You Will Need
This recipe uses simple, wholesome ingredients that work together to create a potent and delicious syrup. Most of these are probably already in your pantry or spice drawer, which makes this even easier.
- Dried elderberries : 1 cup. Look for organic, deep purple-black berries from a reputable source. I prefer Starwest Botanicals or Mountain Rose Herbs for consistent quality. Do not use fresh elderberries—they must be cooked before consumption.
- Water : 4 cups. Filtered water is best since you are concentrating the flavors down.
- Raw honey : 1 cup. Local honey is ideal for added immune benefits, but any raw, unfiltered honey works. Do not use processed honey—it lacks the natural enzymes and antimicrobial properties.
- Cinnamon sticks : 2 sticks. They add warmth and depth while supporting healthy blood sugar levels.
- Fresh ginger : 1 thumb-sized piece, sliced thin. Ginger adds a gentle heat and is fantastic for settling upset stomachs that often accompany colds.
- Whole cloves : 1 teaspoon. Just a few cloves add a subtle, aromatic complexity. Go easy—they are potent and can overpower the syrup.
- Optional additions : 1 tablespoon dried rose hips for extra vitamin C, or 1 teaspoon dried echinacea root for additional immune support. I sometimes add both during peak flu season.
Ingredient Selection Tip : When buying dried elderberries, look for berries that are intact and not powdery. They should have a deep, almost black color with a slight sheen. Avoid berries that smell musty or have visible mold. I have learned the hard way that quality matters here—cheap elderberries often result in a weaker, less flavorful syrup.
Substitution Guidance : If you cannot have honey, use maple syrup or agave nectar instead. The flavor will change slightly but it still works beautifully. For a sugar-free version, try monk fruit sweetener or stevia, though the texture will be thinner. You can also skip the spices if you prefer a pure elderberry flavor, though I think the cinnamon and ginger really make this special.
Equipment Needed
You do not need fancy equipment for this recipe, which is part of its charm. Here is what you will need:
- Medium saucepan : A 2 to 3-quart pot works perfectly. Stainless steel or enameled is best—avoid aluminum as it can react with the berries.
- Fine-mesh strainer : A standard mesh strainer works, but a nut milk bag or cheesecloth gives you a clearer syrup. I use a fine-mesh strainer lined with a single layer of cheesecloth for the best results.
- Glass measuring cup : For measuring liquids accurately. A 4-cup Pyrex measuring cup is my go-to.
- Glass jars or bottles : 2 to 3 pint-sized mason jars or swing-top bottles for storage. Make sure they are thoroughly cleaned and sterilized.
- Wooden spoon : For stirring. Metal spoons are fine too, but wooden spoons feel more fitting for something this rustic.
- Funnel : A small funnel makes transferring the syrup into jars much less messy. Trust me on this one.
Budget-Friendly Options : If you do not have a fine-mesh strainer, use a colander lined with a clean kitchen towel or several layers of paper towels. It works in a pinch, though the syrup may be slightly cloudier. I have done this more times than I care to admit.
Preparation Method
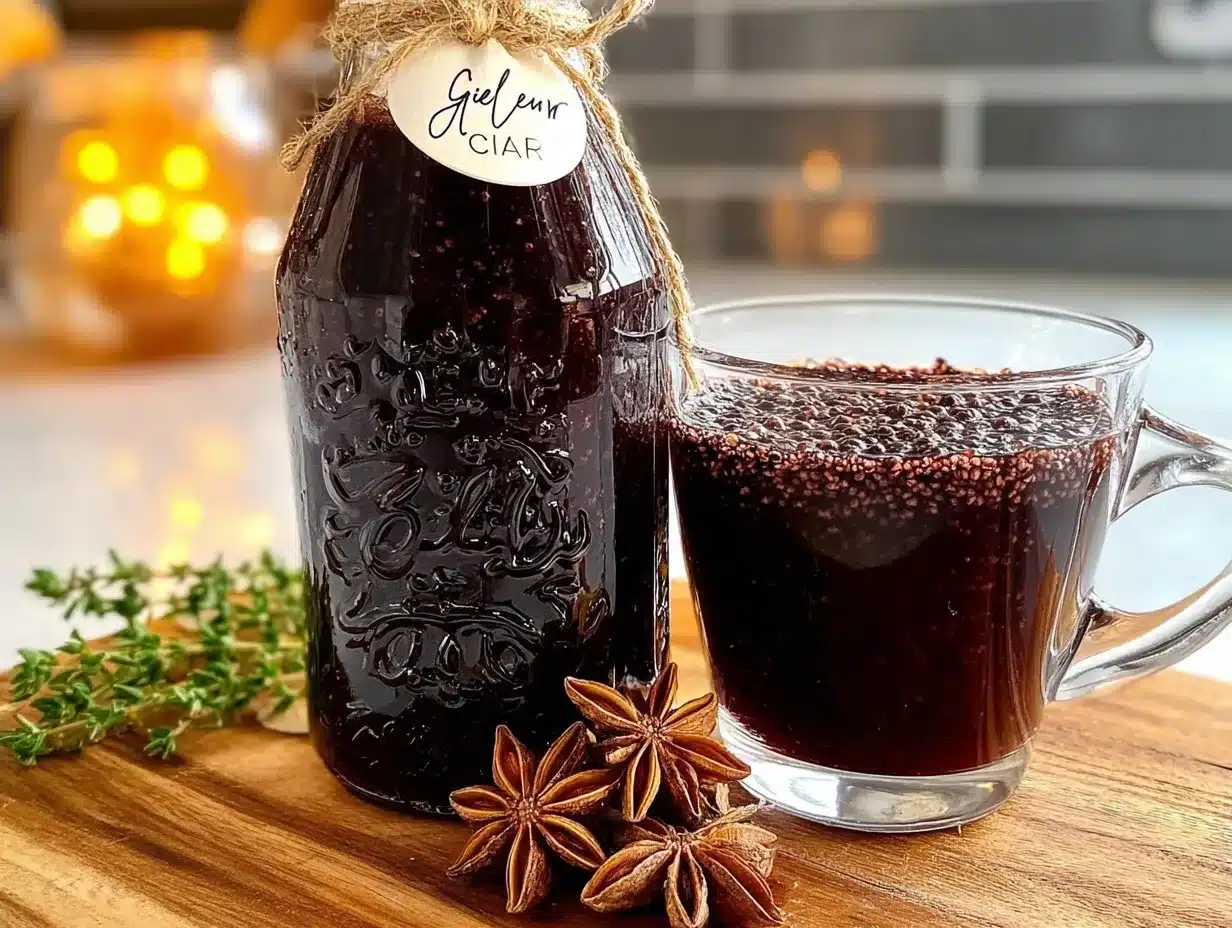
This process is straightforward, but there are a few key moments where attention to detail makes all the difference. Follow these steps and you will have a beautiful, potent syrup every time.
- Combine berries, water, and spices : In your medium saucepan, add the dried elderberries, water, cinnamon sticks, sliced ginger, and whole cloves. Give everything a quick stir to make sure the berries are fully submerged. The water will look deeply purple almost immediately—that is a good sign.
- Bring to a boil : Place the pot over medium-high heat and bring the mixture to a gentle boil. Do not walk away—this happens faster than you expect. Once it reaches a boil, reduce the heat to low immediately.
- Simmer gently : Cover the pot and let it simmer on low for 30 to 40 minutes. The liquid should be barely bubbling, not rolling. You will know it is done when the berries have plumped up significantly and the liquid has reduced by about half. The color should be a deep, almost opaque purple-black.
- Mash the berries (optional but recommended) : After 30 minutes, use the back of a wooden spoon or a potato masher to gently press the berries against the side of the pot. This releases more of their goodness into the liquid. Be careful not to break the cinnamon sticks. Let it simmer for another 5 to 10 minutes after mashing.
- Strain the mixture : Place your fine-mesh strainer over a large glass measuring cup or bowl. Line it with cheesecloth if you have it. Carefully pour the hot liquid through the strainer. Let it drain naturally for a few minutes—do not press on the berries yet. Let gravity do the work first.
- Press for extra liquid : Once the dripping slows, gently press on the berries with the back of a spoon to extract every last drop of that concentrated goodness. You should end up with about 2 to 2.5 cups of deep purple liquid. Discard the spent berries and spices.
- Cool slightly : Let the strained liquid cool for about 10 to 15 minutes. It should be warm but not hot—you do not want to kill the beneficial enzymes in the honey. If it is too hot to comfortably touch, it is too hot for the honey.
- Add the honey : Pour the raw honey into the warm elderberry liquid and stir gently until fully dissolved. The mixture will become glossy and slightly thicker. Taste it at this point—it should be sweet with a pleasant tartness and a warm spice finish. Adjust honey to your preference if needed.
- Bottle and store : Using your funnel, pour the finished syrup into clean glass jars or bottles. Leave about half an inch of headspace. Seal tightly and let it cool completely before refrigerating. The syrup will thicken slightly as it cools.
Sensory Cue : At each stage, pay attention to the smell. The simmering berries will release a deep, almost wine-like aroma mixed with the warmth of cinnamon and the sharpness of ginger. When you add the honey, the scent becomes sweet and comforting—like a hug in a jar.
Cooking Tips & Techniques
I have made this recipe more times than I can count, and I have definitely made my share of mistakes. Here is what I have learned so you do not have to repeat my errors.
Do not boil aggressively . The first time I made this, I thought a rolling boil would extract more flavor faster. It did not. It made the syrup bitter and cloudy. Gentle simmering is the way to go—low and slow is your friend here.
Watch the reduction carefully . The amount of liquid you end up with depends on how long you simmer. Aim for about half the original volume. Too little reduction and your syrup will be watery and prone to spoilage. Too much and it becomes overly concentrated and almost syrupy in a way that is hard to measure out. I usually start checking at the 25-minute mark.
Let the berries steep after turning off the heat . If you have time, let the berries sit in the hot liquid for an extra 15 minutes after you turn off the heat. This allows even more of the beneficial compounds to extract into the liquid. I do this when I am not in a rush and the difference is noticeable.
Use a candy thermometer for precision . If you want to be extra careful about preserving the honey’s beneficial properties, let the strained liquid cool to 115°F to 120°F before adding the honey. Raw honey loses its antimicrobial properties when heated above 140°F. I am not always this precise, but it is good practice.
Sterilize your jars properly . I learned this lesson the hard way when a batch molded after two weeks. Wash jars in hot, soapy water, rinse well, and then place them in a 250°F oven for 10 minutes to dry and sterilize. Let them cool before filling. It takes an extra few minutes and saves you from wasting a whole batch.
Variations & Adaptations
One of the best things about this recipe is how flexible it is. Here are some variations I have tried and loved.
Spiced Apple Elderberry Syrup : Replace 1 cup of water with unsweetened apple cider. Add a star anise pod and a strip of orange peel during the simmer. The apple flavor pairs beautifully with the elderberries and makes it taste like fall in a bottle. My kids call this the “apple pie syrup.”
Extra Immune-Boosting Version : Add 2 tablespoons of dried echinacea root and 1 tablespoon of dried astragalus root to the simmering liquid. These herbs have a slightly earthy flavor that blends well with the spices. I make this version in January when everyone around me seems to be sick.
Low-Sugar Option : Reduce the honey to 1/2 cup and add 1/4 cup of monk fruit sweetener or stevia glycerite. The texture will be thinner, so you can simmer the liquid a bit longer to concentrate it more. This version is great for anyone watching their sugar intake.
Mulled Wine Style : Add a vanilla bean (split and scraped) and 2 tablespoons of brandy or bourbon after the syrup has cooled. This is strictly for adults, but it makes a lovely addition to hot tea on a cold evening. Just keep it away from the kids.
Ginger-Citrus Punch : Add the zest of one lemon and one orange along with an extra thumb of ginger. The citrus brightens the flavor and adds natural vitamin C. I make this version when I feel a cold coming on and want something extra zingy.
Serving & Storage Suggestions
This syrup is incredibly versatile in how you can use it. Here are my favorite ways to enjoy it.
Daily Maintenance Dose : Adults take 1 tablespoon daily, children (ages 1 and up) take 1 teaspoon daily. During cold season or when exposed to illness, you can double this amount. I keep a small spoon by the jar so it is easy to grab in the morning.
In Hot Tea : Stir a tablespoon into a cup of hot chamomile, ginger, or black tea. It dissolves beautifully and adds a lovely fruity sweetness. This is my go-to on chilly afternoons.
Over Pancakes or Yogurt : Drizzle it over pancakes, waffles, oatmeal, or Greek yogurt. It is basically a fruit syrup at this point, and it is way more interesting than maple syrup. My kids love it on their morning oatmeal.
In Smoothies : Add a tablespoon to your morning smoothie for an immune boost. It pairs especially well with berry-based smoothies.
Storage : Keep the syrup in a tightly sealed glass jar in the refrigerator. It will keep for up to 3 months. I have kept batches for up to 4 months without any issues, but it rarely lasts that long in my house. If you see any mold, fizzing, or off smells, discard it immediately.
Freezing : Pour the syrup into ice cube trays and freeze. Once solid, pop the cubes out and store them in a freezer bag. Each cube is roughly 1 to 2 tablespoons. Thaw a cube as needed for tea or smoothies. This is a great way to make a big batch last even longer.
Flavor Development : The flavors actually meld and deepen over the first week in the refrigerator. The spices become more pronounced and the honey flavor rounds out. Do not be surprised if it tastes even better after a few days.
Nutritional Information & Benefits
While I am not a doctor or nutritionist, I can share what the research says about these ingredients and what I have experienced personally.
Estimated per 1 tablespoon serving : Calories: 45 | Carbohydrates: 12g | Sugars: 11g | Vitamin C: 4% DV | Iron: 2% DV. These values are approximate and will vary based on the specific honey and elderberries you use.
Elderberries are rich in antioxidants, particularly anthocyanins, which give them their deep purple color. Studies suggest they may help reduce the duration and severity of cold and flu symptoms by supporting the immune system. They are also a good source of dietary fiber and vitamin C.
Raw honey contains natural enzymes, antioxidants, and antimicrobial compounds. Local honey may also contain trace amounts of local pollen, which some believe helps with seasonal allergies. I personally notice a difference when I use local honey versus store-bought.
Ginger is well-known for its anti-inflammatory properties and its ability to soothe digestive upset. It also adds a pleasant warmth to the syrup.
Cinnamon has been shown to help regulate blood sugar levels and has antimicrobial properties. It also makes the syrup taste incredible.
Dietary Considerations : This recipe is gluten-free, dairy-free, and vegetarian. It is not suitable for infants under 1 year due to the honey content. For a vegan version, use maple syrup instead of honey.
Allergen Note : This recipe is free from the top common allergens (dairy, eggs, nuts, soy, wheat). However, always check your spice sources for potential cross-contamination if you have severe allergies.
Conclusion
This homemade elderberry syrup recipe for cold season has become a non-negotiable part of my family’s winter routine. It is one of those rare things that is both practical and a little bit magical—a simple kitchen project that makes you feel prepared and proactive. The deep, spiced aroma that fills the house as it simmers, the satisfaction of seeing those deep purple jars lined up in the fridge, and the peace of mind knowing you have something effective and natural on hand when the coughing starts—it all adds up to something genuinely worthwhile.
I encourage you to make this recipe your own. Adjust the spices, try different honey, experiment with add-ins. The beauty of homemade is that you are in control. And if you make a batch, I would love to hear about it. Drop a comment below and let me know how it turned out, what variations you tried, or if your kids actually asked for seconds like mine did. Share this with a friend who could use a little immune support this season. Here is to staying healthy and cozy, one spoonful at a time.
Frequently Asked Questions
Can I use fresh elderberries instead of dried?
No, you should never use fresh elderberries without cooking them thoroughly. Fresh elderberries contain compounds that can cause nausea and digestive upset. Dried elderberries are safe because the drying process neutralizes these compounds, and then you cook them further in the syrup. Stick with dried for this recipe.
How long does homemade elderberry syrup last?
Properly stored in a sealed glass jar in the refrigerator, this syrup will last for 2 to 3 months. I have kept batches for up to 4 months without issues, but always check for signs of spoilage like mold, off smells, or bubbling before using. If you want it to last longer, freeze it in ice cube trays.
Can I give this syrup to my toddler?
Yes, for children over 1 year old. The concern is the honey content, which can contain botulism spores that are dangerous for infants under 12 months. For children ages 1 and up, the standard dose is 1 teaspoon daily for maintenance and up to 1 teaspoon three times daily during illness. Always check with your pediatrician before starting any new supplement.
Can I make this without honey?
Absolutely. You can substitute maple syrup, agave nectar, or monk fruit sweetener for the honey. The flavor and texture will change slightly, but it will still be effective and delicious. If using a sugar-free sweetener, you may need to simmer the liquid a bit longer to concentrate it since these sweeteners do not add the same body as honey.
Is this safe to take with other medications?
Elderberry is generally considered safe, but it can interact with certain medications, particularly immunosuppressants and diuretics. If you are pregnant, nursing, or taking prescription medications, it is always best to consult with your healthcare provider before adding any herbal remedy to your routine. Better safe than sorry.
Pin This Recipe!
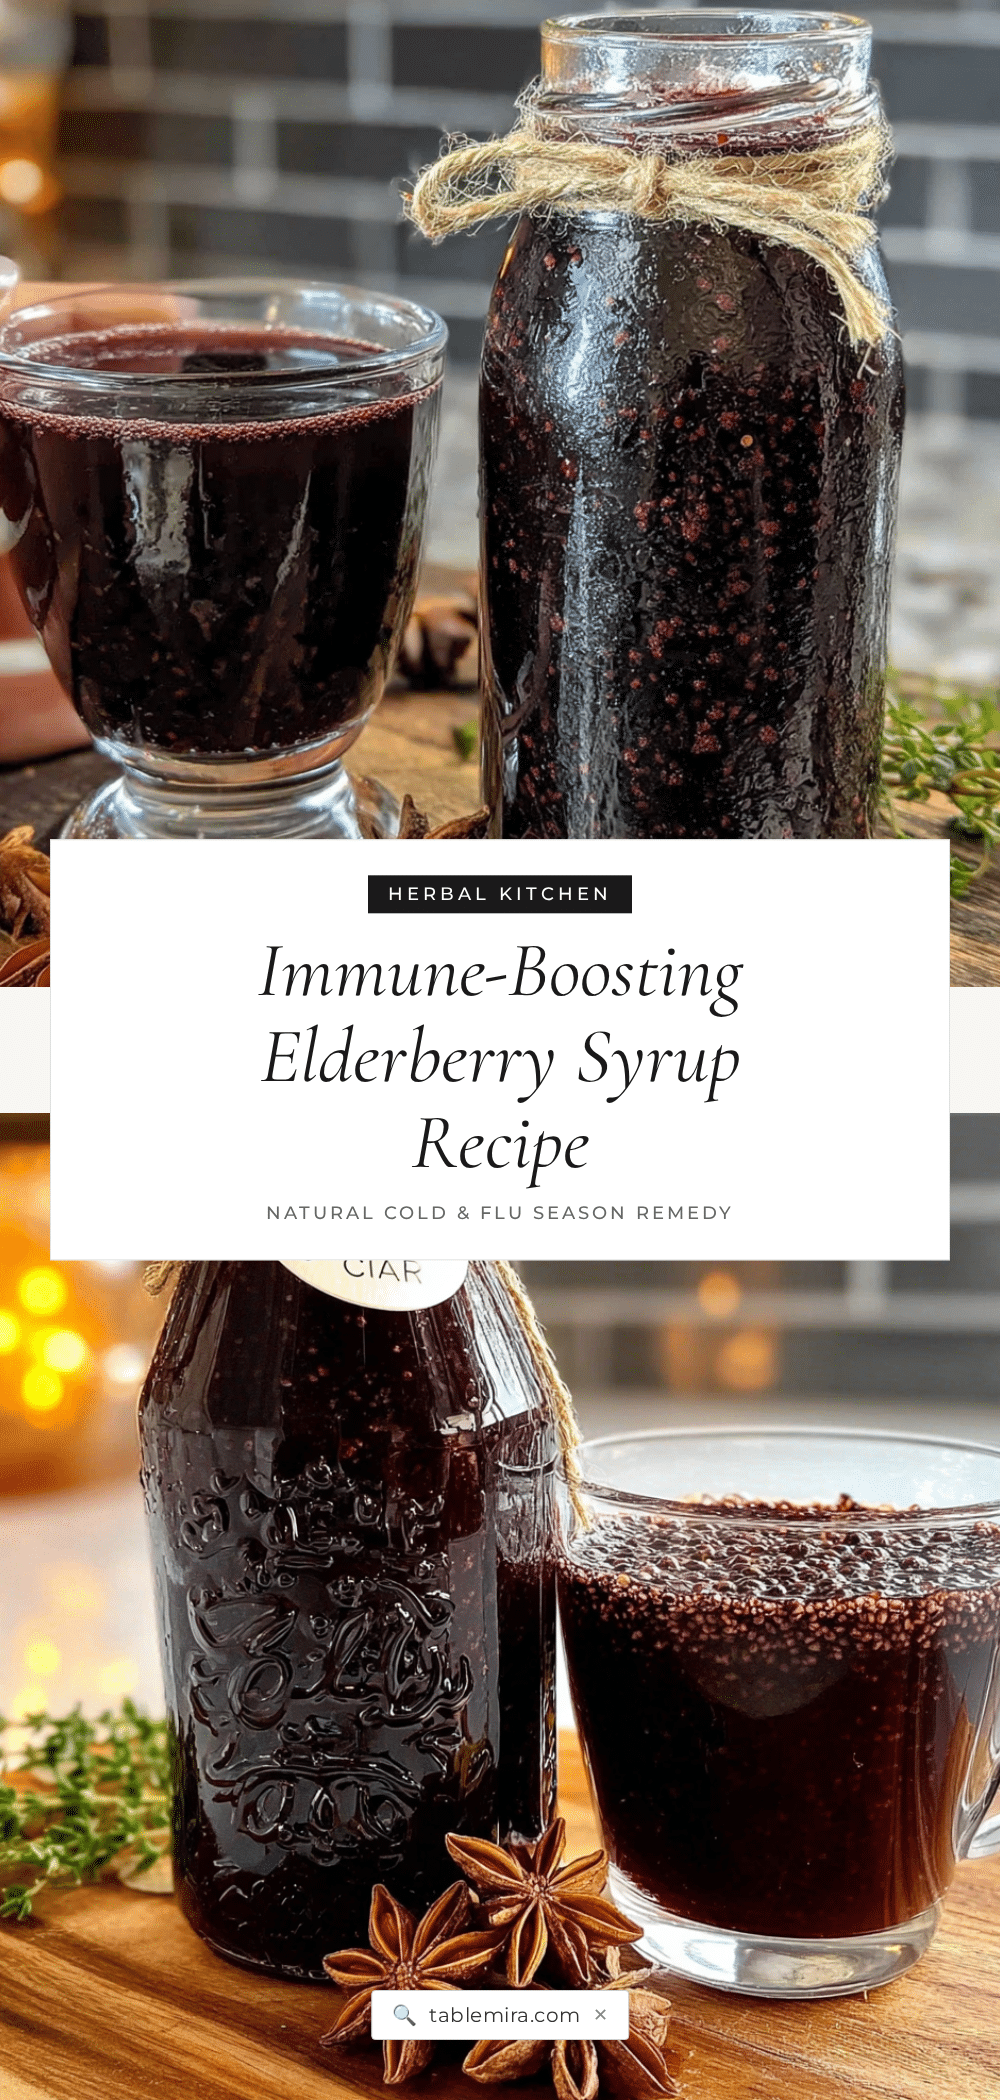
Homemade Elderberry Syrup Recipe for Cold Season
A simple, cost-effective homemade elderberry syrup made with dried elderberries, honey, and warm spices. Perfect for immune support during cold season, this kid-approved recipe yields weeks worth of syrup with no artificial additives.
- Prep Time: 10 minutes
- Cook Time: 40 minutes
- Total Time: 50 minutes
- Yield: 2 to 2.5 cups (approximately 32 to 40 servings of 1 tablespoon each) 1x
- Category: Condiment
- Cuisine: American
Ingredients
- 1 cup dried elderberries
- 4 cups filtered water
- 1 cup raw honey
- 2 cinnamon sticks
- 1 thumb-sized piece fresh ginger, sliced thin
- 1 teaspoon whole cloves
- 1 tablespoon dried rose hips (optional)
- 1 teaspoon dried echinacea root (optional)
Instructions
- Combine berries, water, and spices: In a medium saucepan, add the dried elderberries, water, cinnamon sticks, sliced ginger, and whole cloves. Stir to ensure berries are submerged.
- Bring to a boil: Place the pot over medium-high heat and bring the mixture to a gentle boil. Reduce heat to low immediately.
- Simmer gently: Cover the pot and let it simmer on low for 30 to 40 minutes until the liquid has reduced by about half and the berries have plumped up.
- Mash the berries (optional but recommended): After 30 minutes, use the back of a wooden spoon or a potato masher to gently press the berries against the side of the pot. Simmer for another 5 to 10 minutes.
- Strain the mixture: Place a fine-mesh strainer over a large glass measuring cup or bowl. Line with cheesecloth if available. Carefully pour the hot liquid through the strainer. Let it drain naturally for a few minutes.
- Press for extra liquid: Once the dripping slows, gently press on the berries with the back of a spoon to extract remaining liquid. You should have about 2 to 2.5 cups of deep purple liquid. Discard spent berries and spices.
- Cool slightly: Let the strained liquid cool for 10 to 15 minutes until warm but not hot (115°F to 120°F if using a candy thermometer).
- Add the honey: Pour the raw honey into the warm elderberry liquid and stir gently until fully dissolved. Taste and adjust honey if needed.
- Bottle and store: Using a funnel, pour the finished syrup into clean glass jars or bottles, leaving about half an inch of headspace. Seal tightly and let cool completely before refrigerating.
Notes
Do not boil aggressively as it can make the syrup bitter and cloudy. Let the berries steep after turning off the heat for extra extraction. Sterilize jars properly to prevent mold. The syrup will thicken slightly as it cools. For infants under 1 year, do not use honey; substitute with maple syrup or agave nectar. Store in the refrigerator for up to 3 months or freeze in ice cube trays.
Nutrition
- Serving Size: 1 tablespoon
- Calories: 45
- Sugar: 11
- Carbohydrates: 12
Keywords: elderberry syrup, homemade elderberry syrup, immune support, cold season, natural remedy, elderberry recipe, honey syrup, winter wellness


