The TV was on, muted, and the score was already lopsided by the third quarter. My brother-in-law had texted twenty minutes ago saying he was “in the neighborhood” with three friends. I had a half-empty bag of tortilla chips, a block of cheddar that was definitely past its prime, and a sudden, sinking feeling. That’s when the idea hit me, not as a plan, but as a desperate scramble through the pantry. I pulled out black beans, a can of diced tomatoes, and some forgotten jalapeños from the back of the fridge. I wasn’t making dinner; I was building a fortress of snack food. And honestly? That chaotic, thrown-together nacho platter ended up being the highlight of the entire game. It was messy, it was loud, and everyone kept coming back for more. That’s the exact feeling I wanted to bottle with this Ultimate Loaded Nacho Bar for Game Day—the energy of a last-minute win, served on a sheet pan.
This isn’t just a recipe; it’s a strategy for hosting. It lets everyone build their own perfect bite, whether they’re a purist who just wants cheese and jalapeños or a maximalist who piles on everything but the kitchen sink. I’ve tested this setup for everything from Super Bowl parties to casual Saturday hangouts, and it never fails. It’s the kind of spread that makes people hover around the kitchen island, talking and grabbing, instead of sitting politely on the couch. The secret isn’t in one single ingredient—it’s in the setup. Warm, seasoned beef, a silky cheese sauce that doesn’t seize up, and a rainbow of fresh toppings all waiting to be layered. Let’s build the ultimate snack bar that will have your guests cheering long after the final whistle.
Why You’ll Love This Recipe
I’ve spent years perfecting the art of the party snack, and this nacho bar is the result of many, many happy accidents. It’s the one dish I can always count on to disappear first, no matter the crowd.
- Build-Your-Own Fun: Everyone gets to be the chef. It’s interactive, it’s fun, and it means no one is stuck picking off toppings they don’t like.
- Perfect for a Crowd: This scales up effortlessly. Doubling the recipe is as easy as grabbing two pounds of beef and two bags of chips. It’s the ultimate game day party food that keeps everyone happy.
- Simple, Real Ingredients: You won’t find any canned “cheese product” here. We’re using real cheddar and a splash of milk for a sauce that’s smooth, creamy, and actually tastes like cheese.
- Make-Ahead Friendly: You can prep almost everything hours in advance. The beef, the beans, the cheese sauce—they all reheat beautifully. When guests arrive, you just set everything out and relax.
- Customizable for Any Diet: It’s easy to make it vegetarian, gluten-free (just use corn chips), or even dairy-free with a few simple swaps. Everyone can eat and be happy.
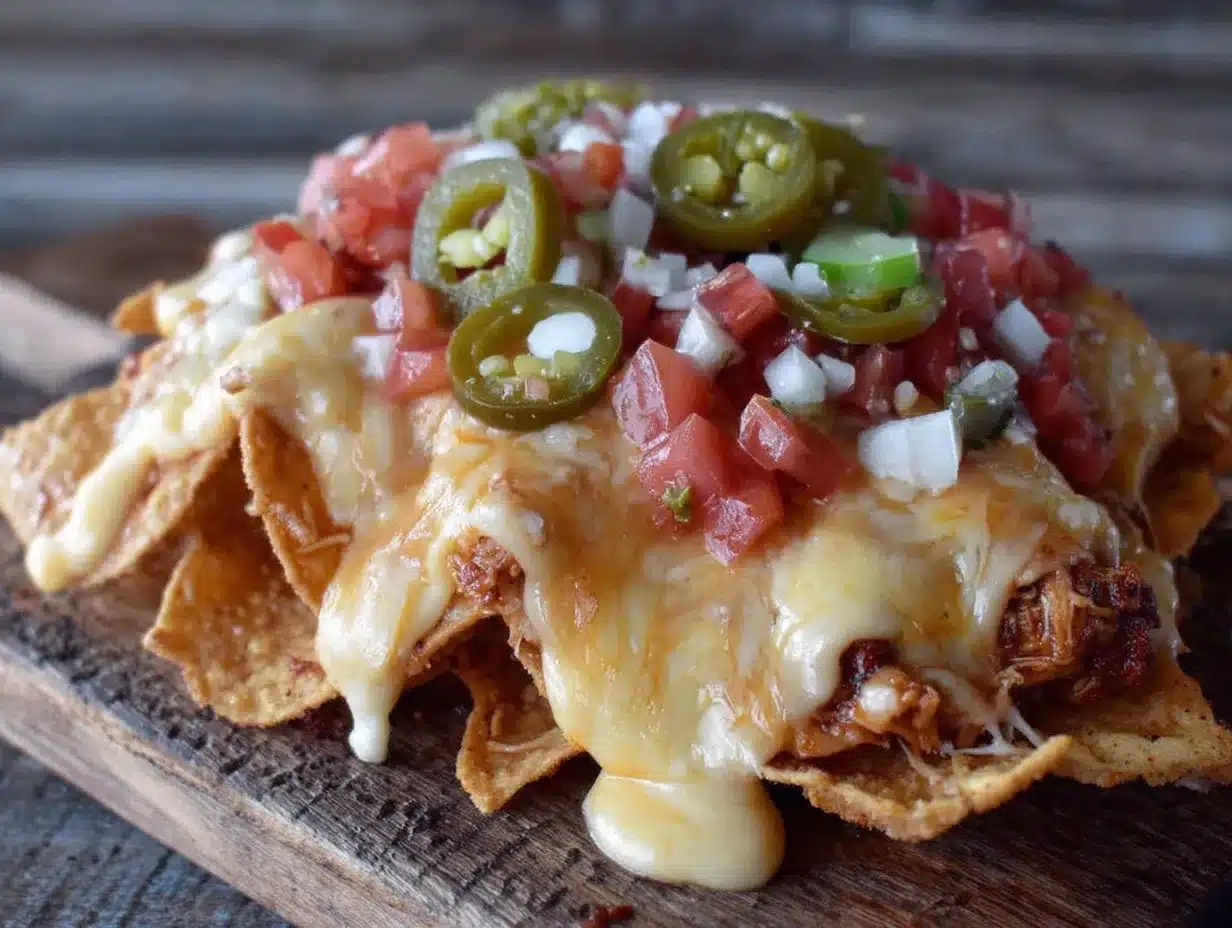
This isn’t just another snack. It’s the kind of spread that turns a regular game into a memorable event. The first bite—crunchy chip, warm beef, melty cheese, cool sour cream—is pure comfort. It’s the kind of food that makes you close your eyes for a second, and that’s exactly what a good party should feel like.
What Ingredients You Will Need
This recipe uses a handful of simple, grocery-store staples to build layers of flavor and texture. The magic is in the combination, not in any one fancy ingredient. Here’s what you’ll need to gather to build your ultimate bar.
For the Seasoned Beef
- 1 lb ground beef (80/20 is ideal for flavor, but you can use ground turkey or a plant-based crumble)
- 1 tablespoon chili powder
- 1 teaspoon ground cumin
- 1/2 teaspoon smoked paprika (this adds a subtle, smoky depth that’s incredible)
- 1/2 teaspoon garlic powder
- 1/2 teaspoon onion powder
- Salt and black pepper, to taste
- 1/2 cup beef broth or water (to keep the meat juicy and help the spices meld)
For the Creamy Cheese Sauce
- 2 tablespoons unsalted butter
- 2 tablespoons all-purpose flour
- 1 1/2 cups whole milk (2% works, but whole milk makes the creamiest sauce)
- 2 cups shredded sharp cheddar cheese (freshly shredded from a block melts much smoother than pre-shredded, which often has anti-caking agents)
- 1/4 teaspoon ground mustard (a secret ingredient that helps emulsify the cheese and adds a tiny tang)
- Pinch of cayenne pepper (optional, for a little heat)
- Salt, to taste
For the Nacho Bar Toppings
- 1 large bag of sturdy tortilla chips (restaurant-style or scoop chips work best to hold all the weight)
- 1 (15 oz) can of black beans, drained and rinsed
- 1 cup canned or jarred jalapeños (pickled, for that classic tangy heat)
- 1 cup fresh pico de gallo or salsa
- 1 cup sour cream
- 1 cup guacamole (store-bought is fine, or make your own simple version)
- 1/2 cup chopped fresh cilantro
- 1/2 cup sliced green onions
- 1 cup shredded lettuce (optional, for a fresh crunch)
- 1 lime, cut into wedges
Ingredient Tip: For the black beans, I like to warm them up in a small pot with a pinch of cumin and salt. It makes them feel more intentional than just dumping them cold on the bar. Also, feel free to get creative with your toppings—diced avocado, pickled red onions, or crumbled cotija cheese are all fantastic additions.
Equipment Needed
You don’t need a lot of fancy gear for this, just a few key tools to make the process smooth and the presentation great.
- A large skillet or frying pan (for browning the beef. A 12-inch skillet is perfect).
- A medium saucepan (for the cheese sauce. A non-stick pan is helpful for easy cleanup).
- A whisk (essential for a lump-free cheese sauce).
- A large sheet pan or two (for baking the loaded nachos. A rimmed baking sheet is best to catch any drips).
- Small serving bowls and spoons (for all the toppings. This is what makes it a “bar”).
- Parchment paper or aluminum foil (for easy cleanup on the sheet pan).
If you don’t have a whisk, a fork will work in a pinch for the cheese sauce, but you’ll need to be more vigorous. For the sheet pan, you can also use a large oven-safe platter or even a cast-iron skillet.
Preparation Method
Let’s walk through this step-by-step. The key to a successful nacho bar is organization, so we’ll prep the components in a logical order. This whole process takes about 30-40 minutes.
Step 1: Season and Cook the Beef (10 minutes)
Place your large skillet over medium-high heat. Add the ground beef and cook, breaking it up with a spoon, until it’s browned and no longer pink, about 5-7 minutes. Don’t drain all the fat—leave about a tablespoon in the pan for flavor. Reduce the heat to medium-low. Add the chili powder, cumin, smoked paprika, garlic powder, onion powder, and a generous pinch of salt and pepper. Stir everything together and cook for 1 minute until the spices are fragrant. Pour in the 1/2 cup of beef broth and let it simmer for 2-3 minutes, stirring occasionally, until most of the liquid has evaporated and the beef is coated in a rich, glossy sauce. Taste and adjust seasoning. Transfer the beef to a serving bowl and keep it warm.
Step 2: Make the Creamy Cheese Sauce (10 minutes)
In a medium saucepan, melt the butter over medium heat. Once melted, whisk in the flour. Cook this mixture, called a roux, for about 1 minute, whisking constantly. It should look like a thick, bubbly paste. Slowly pour in the milk while whisking continuously to prevent lumps. Continue whisking until the mixture thickens enough to coat the back of a spoon, about 3-4 minutes. Remove the pan from the heat. Add the shredded cheddar cheese, ground mustard, and cayenne (if using). Whisk until the cheese is completely melted and the sauce is smooth and creamy. If it seems too thick, whisk in a splash more milk. Season with a pinch of salt. Pour the cheese sauce into a heatproof serving bowl or a small slow cooker to keep it warm.
Step 3: Warm the Beans (2 minutes)
While the cheese sauce is finishing, you can quickly warm the black beans. In a small pot over medium heat, add the drained beans and a pinch of cumin. Cook for 2-3 minutes, stirring occasionally, until heated through. Transfer to a small serving bowl.
Step 4: Prep the Toppings (5 minutes)
This is the fun part. Arrange all your cold toppings—pico de gallo, sour cream, guacamole, shredded lettuce, jalapeños, cilantro, and green onions—in their own small bowls. Cut the lime into wedges. Having everything prepped and ready makes assembly a breeze.
Step 5: Assemble and Bake the Nachos (10-12 minutes)
Preheat your oven to 375°F (190°C). Line a large sheet pan with parchment paper. Spread a generous, even layer of tortilla chips across the pan. Don’t pile them too high, or the ones on the bottom won’t get any toppings. Spoon about half of the seasoned beef over the chips, followed by about half of the warm black beans. Drizzle about half of the cheese sauce over everything. Bake for 8-10 minutes, or until the cheese is bubbly and the chips are lightly toasted around the edges. Remove from the oven and immediately top with the remaining beef, beans, and cheese sauce. This two-layer method ensures every chip gets some love.
Step 6: Set Up Your Bar (5 minutes)
Place the hot sheet pan of loaded nachos in the center of your serving area. Arrange all the small bowls of cold toppings around it. Let your guests pile on their favorites. The combination of hot, melty nachos with cool, fresh toppings is what makes this so addictive.
Cooking Tips & Techniques
After making this more times than I can count, I’ve learned a few things the hard way. Here are my best tips to ensure your nacho bar is a total success.
- Don’t Overload the Chips Before Baking: If you add all the toppings before baking, the chips on the bottom get soggy. The two-layer baking method (bake half the toppings, then add the rest) is the secret to a crunchy, fully-loaded nacho.
- Shred Your Own Cheese: I know it’s tempting to buy the bag, but pre-shredded cheese is coated with cellulose and starches to prevent clumping. This makes it melt poorly and can lead to a grainy, oily cheese sauce. A block of cheddar you shred yourself is a game-changer.
- Keep the Cheese Sauce Warm: The cheese sauce will thicken as it cools. If you’re making it ahead, reheat it gently over low heat, whisking in a splash of milk to bring it back to a pourable consistency. A small slow cooker on the “warm” setting is perfect for keeping it ready all party long.
- Use Sturdy Chips: Thin, delicate chips will crumble under the weight of the toppings. Look for “restaurant-style” or “scoop” tortilla chips. They’re thicker and designed to hold up to heavy dips and toppings.
- Season the Meat Well: Don’t be shy with the spices. The beef is the backbone of the flavor, so taste it and adjust the salt and chili powder before you take it off the heat. A bland base makes for a bland nacho.
I once forgot to whisk the milk into the roux slowly, and I ended up with a lumpy, floury mess. I had to start over. The lesson? Patience with the whisk is non-negotiable for a silky sauce.
Variations & Adaptations
This recipe is a fantastic base, but it’s also incredibly adaptable. Here are a few of my favorite ways to switch it up.
- Vegetarian Nachos: Skip the beef entirely. Instead, use a can of black beans and a can of pinto beans, seasoned with the same chili powder and cumin. You can also add sautéed bell peppers and onions for extra texture and flavor.
- Pulled Pork Nachos: Swap the seasoned ground beef for leftover slow cooker BBQ pulled pork. It’s a completely different, but equally delicious, flavor profile. The smoky, sweet pork pairs perfectly with the tangy cheese sauce.
- Spicy Chicken Nachos: Use shredded rotisserie chicken tossed with your favorite hot sauce or buffalo wing sauce. Top with blue cheese or ranch dressing instead of sour cream for a buffalo chicken experience.
- Breakfast Nachos: Yes, it’s a thing! Replace the beef with seasoned breakfast sausage or chorizo. Use a white cheddar or pepper jack cheese sauce and top with scrambled eggs, diced avocado, and a drizzle of hot sauce.
- Dairy-Free Option: Use a dairy-free butter and milk alternative (like oat or unsweetened almond milk) for the cheese sauce. Look for a high-quality vegan cheddar shred that melts well. Nutritional yeast can also be added for a cheesy flavor.
My personal favorite variation is adding a layer of pickled red onions. The sharp, acidic bite cuts through the richness of the cheese and beef perfectly. It’s a small tweak that makes a huge difference.
Serving & Storage Suggestions
This is best enjoyed fresh from the oven, but with a little planning, you can manage leftovers like a pro.
Serving: Serve the loaded sheet pan nachos immediately after the second bake. Place it in the center of the table with all the cold toppings in small bowls around it. Let guests serve themselves. Encourage them to build their own plate, grabbing a few loaded chips and then adding their favorite cold toppings on top. The contrast of hot and cold is the whole point!
Storage: Leftover loaded nachos are a bit tricky because the chips will soften. The best method is to separate the components. Store any leftover seasoned beef, cheese sauce, and beans in separate airtight containers in the refrigerator for up to 3 days. The cold toppings like pico de gallo and guacamole are best eaten fresh but will last a day in the fridge. The assembled, baked nachos themselves don’t reheat well, so it’s better to keep the parts separate.
Reheating: To reheat the beef, warm it in a skillet over medium heat with a splash of water or broth. Reheat the cheese sauce in a small saucepan over low heat, whisking in a splash of milk to loosen it up. Then, you can assemble fresh chips and re-bake them with the reheated toppings for a second round of fresh nachos.
Flavor Development: The seasoned beef actually tastes even better the next day after the flavors have had time to meld. The cheese sauce is best enjoyed the day it’s made, as it can separate slightly upon reheating.
Nutritional Information & Benefits
Let’s be honest—this is a treat, not a health food. But knowing what’s in it can help you enjoy it mindfully. This information is for one serving (about 1 cup of loaded nachos) and will vary based on your specific toppings.
- Estimated Calories: 450-550 per serving
- Protein: 25-30g (from the beef and cheese)
- Carbohydrates: 35-45g (from the chips and beans)
- Fat: 25-35g (from the beef, cheese, and oil)
- Fiber: 5-7g (from the black beans and any fresh veggies)
While it’s indulgent, there are some nutritional bright spots. The black beans are a fantastic source of fiber and plant-based protein. The beef provides iron and B vitamins. The fresh toppings like pico de gallo and cilantro add a dose of vitamins and antioxidants. If you’re looking to lighten it up, use lean ground turkey, load up on veggies, and go easy on the cheese sauce. It’s all about balance, and this bar lets you control your own portions.
Conclusion
This Ultimate Loaded Nacho Bar for Game Day is more than just a recipe—it’s a party in a pan. It’s the kind of food that brings people together, gets them talking, and makes any game feel like a championship. The best part? It’s incredibly forgiving. You can swap proteins, change up the toppings, and make it your own. I love how it turns a simple snack into an interactive experience. It feels generous and fun without requiring hours in the kitchen.
So go ahead, set up your bar, and let your guests build their dream nacho. I promise you’ll be the hero of the party. And when you do, I’d love to hear about it. Leave a comment below and tell me your favorite nacho topping combination, or share a photo of your spread! Don’t forget to pin this recipe for your next big game day get-together. Happy snacking!
Frequently Asked Questions
Can I make the cheese sauce ahead of time?
Yes, absolutely. Make the cheese sauce up to two days in advance. Store it in an airtight container in the refrigerator. To reheat, place it in a saucepan over low heat and whisk in a splash of milk until it’s smooth and pourable again.
What are the best chips to use for loaded nachos?
Sturdy chips are key. Look for “restaurant-style” or “scoop” tortilla chips. They are thicker and can hold up to the weight of the beef, beans, and cheese without breaking. Avoid thin, delicate chips.
How do I keep the nachos from getting soggy?
The two-layer baking method is the secret. Bake half the toppings on the chips first to melt the cheese and toast the chips. Then, add the remaining toppings after baking. This prevents the chips from sitting in liquid for too long.
Can I make this vegetarian or vegan?
Yes, easily. For a vegetarian version, replace the beef with extra seasoned black beans or pinto beans. For a vegan version, use plant-based ground crumbles, a dairy-free cheese sauce made with vegan cheddar and oat milk, and vegan sour cream.
How many people does this recipe serve?
This recipe, as written, is generous for 4-6 people as a main dish or 8-10 as a hearty appetizer for a party. If you’re feeding a larger crowd, simply double the beef and cheese sauce recipe and use two sheet pans.
Pin This Recipe!
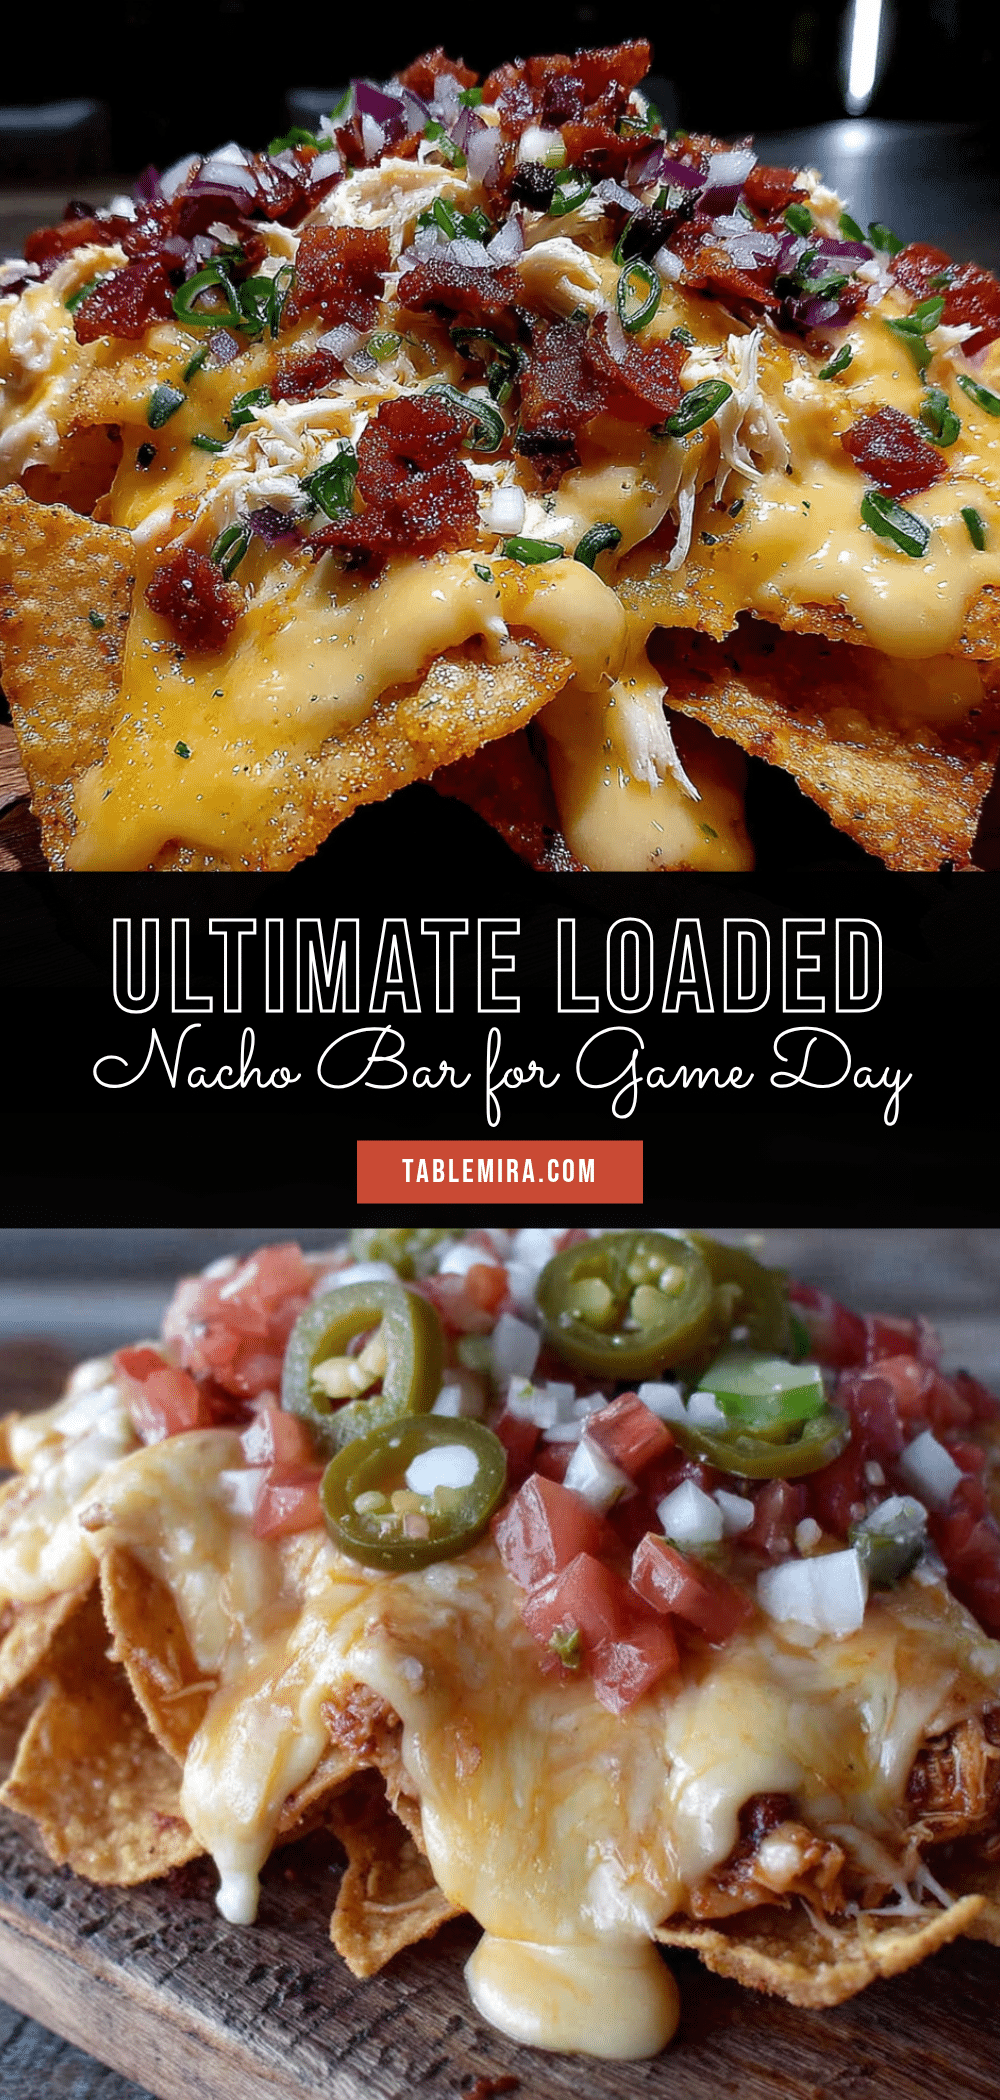
Ultimate Loaded Nacho Bar for Game Day – Easy Party Food

This isn’t just a recipe; it’s a strategy for hosting. It lets everyone build their own perfect bite, whether they’re a purist who just wants cheese and jalapeños or a maximalist who piles on everything but the kitchen sink.
- Prep Time: 15 minutes
- Cook Time: 30 minutes
- Total Time: 45 minutes
- Yield: 4-6 servings 1x
- Category: Main Course
- Cuisine: Mexican
Ingredients
- 1 lb ground beef (80/20)
- 1 tablespoon chili powder
- 1 teaspoon ground cumin
- 1/2 teaspoon smoked paprika
- 1/2 teaspoon garlic powder
- 1/2 teaspoon onion powder
- Salt and black pepper, to taste
- 1/2 cup beef broth or water
- 2 tablespoons unsalted butter
- 2 tablespoons all-purpose flour
- 1 1/2 cups whole milk
- 2 cups shredded sharp cheddar cheese
- 1/4 teaspoon ground mustard
- Pinch of cayenne pepper (optional)
- Salt, to taste
- 1 large bag of sturdy tortilla chips
- 1 (15 oz) can of black beans, drained and rinsed
- 1 cup canned or jarred jalapeños
- 1 cup fresh pico de gallo or salsa
- 1 cup sour cream
- 1 cup guacamole
- 1/2 cup chopped fresh cilantro
- 1/2 cup sliced green onions
- 1 cup shredded lettuce (optional)
- 1 lime, cut into wedges
Instructions
- Place your large skillet over medium-high heat. Add the ground beef and cook, breaking it up with a spoon, until it’s browned and no longer pink, about 5-7 minutes. Don’t drain all the fat—leave about a tablespoon in the pan for flavor. Reduce the heat to medium-low. Add the chili powder, cumin, smoked paprika, garlic powder, onion powder, and a generous pinch of salt and pepper. Stir everything together and cook for 1 minute until the spices are fragrant. Pour in the 1/2 cup of beef broth and l…
- In a medium saucepan, melt the butter over medium heat. Once melted, whisk in the flour. Cook this mixture, called a roux, for about 1 minute, whisking constantly. It should look like a thick, bubbly paste. Slowly pour in the milk while whisking continuously to prevent lumps. Continue whisking until the mixture thickens enough to coat the back of a spoon, about 3-4 minutes. Remove the pan from the heat. Add the shredded cheddar cheese, ground mustard, and cayenne (if using). Whisk until the chee…
- While the cheese sauce is finishing, you can quickly warm the black beans. In a small pot over medium heat, add the drained beans and a pinch of cumin. Cook for 2-3 minutes, stirring occasionally, until heated through. Transfer to a small serving bowl.
- Arrange all your cold toppings—pico de gallo, sour cream, guacamole, shredded lettuce, jalapeños, cilantro, and green onions—in their own small bowls. Cut the lime into wedges.
- Preheat your oven to 375°F (190°C). Line a large sheet pan with parchment paper. Spread a generous, even layer of tortilla chips across the pan. Spoon about half of the seasoned beef over the chips, followed by about half of the warm black beans. Drizzle about half of the cheese sauce over everything. Bake for 8-10 minutes, or until the cheese is bubbly and the chips are lightly toasted around the edges. Remove from the oven and immediately top with the remaining beef, beans, and cheese sauce.
- Place the hot sheet pan of loaded nachos in the center of your serving area. Arrange all the small bowls of cold toppings around it. Let your guests pile on their favorites.
Notes
Don’t overload the chips before baking; use the two-layer baking method for crunchy nachos. Shred your own cheese for a smoother sauce. Keep the cheese sauce warm in a small slow cooker. Use sturdy chips like restaurant-style or scoop chips. Season the meat well for best flavor.
Nutrition
- Serving Size: 1 cup of loaded nach
- Calories: 450550
- Sugar: 35
- Sodium: 8001000
- Fat: 2535
- Saturated Fat: 1015
- Carbohydrates: 3545
- Fiber: 57
- Protein: 2530
Keywords: nacho bar, game day, party food, loaded nachos, beef nachos, cheese sauce, build your own nachos


