It came out of nowhere, right there on her sunlit porch while we were sipping iced tea and swapping stories about garden mishaps. I’d brought over a batch of homemade water bath canned pear halves in honey vanilla syrup that I’d made from the backyard pear tree’s overflow. Honestly, I wasn’t expecting much—just some way to save the fruit—and yet, those jars sparked something. The sticky honey-sweet syrup clung to the tender pear halves, the vanilla warming every bite. It was more than just preserving fruit; it was preserving a feeling.
That moment stuck with me—how simple ingredients turned into something so cozy and memorable. The light clink of glass jars, the rich scent of vanilla and honey filling the kitchen, the soft, yielding texture of the pears once the syrup seeped in—it all made me realize why homemade canned fruits feel different from store-bought stuff. They carry a story, patience, and a little bit of love that you can taste.
Since then, whenever I open a jar of these canned pears, I’m reminded of lazy summer afternoons and friendly chatter. It’s not just a recipe; it’s a chance to bottle up a little sunshine and sweetness to enjoy whenever you want. That’s why this homemade water bath canned pear halves in honey vanilla syrup recipe quietly became a staple in my kitchen—something I return to when I want to share comfort in a jar, without fuss or frills.
Why You’ll Love This Recipe
Making your own canned pears might sound intimidating, but this recipe makes the process surprisingly simple—and honestly, the payoff is sweet in every way. Here’s why it’s worth your time:
- Quick & Easy: The hands-on part takes about 30 minutes, with the water bath doing the rest. Perfect for busy days when you want to preserve without stress.
- Simple Ingredients: Just fresh pears, honey, vanilla, lemon juice, and water. No weird additives, no mystery syrups—you likely have these pantry staples on hand.
- Perfect for Gifting & Entertaining: These jars look pretty on any table and make thoughtful homemade gifts for neighbors or potlucks.
- Crowd-Pleaser: Kids love the natural sweetness, and adults appreciate the depth from the vanilla and honey combo.
- Unbelievably Delicious: The syrup is just the right balance of rich and light, soaking into pear halves that stay firm yet tender.
This isn’t just a run-of-the-mill canned fruit recipe. The trick? Using a water bath canning method that keeps the pears perfectly textured, plus a honey vanilla syrup that’s blended to a silky, fragrant finish. Unlike syrupy canned pears you find on shelves, these have that real homemade soul, with a nuanced sweetness that’s never overpowering.
Honestly, after a few batches, I realized this recipe doesn’t just preserve pears—it preserves moments. Moments where you slow down, savor something simple, and maybe share that jar with someone who needs a little sweetness in their day.
What Ingredients You Will Need
This recipe uses simple, wholesome ingredients to deliver bold flavor and a satisfying texture without fuss. Most are pantry staples or easy to find fresh, and you can swap a few if needed.
- Fresh Pears (about 6-8 medium-sized, firm but ripe): Bartlett or Bosc work beautifully here. I’ve found that smaller pears yield more elegant halves.
- Honey (1 cup / 240 ml): Choose a mild, floral honey like clover or wildflower for a subtle sweetness that won’t overpower.
- Vanilla Bean (1 whole bean, split and scraped): This adds a warm, aromatic depth. If unavailable, 1 teaspoon pure vanilla extract works as a substitute.
- Lemon Juice (2 tablespoons / 30 ml, fresh squeezed): Keeps the pears from browning and adds a bright, fresh note.
- Water (4 cups / 960 ml): For the syrup base and water bath process.
- Canning Salt (optional, 1 teaspoon / 5 g): Helps preserve color and flavor, but not essential.
If you’re after a slight twist, you can experiment with raw honey for a deeper flavor or swap the vanilla bean for a cinnamon stick for a seasonal variation. For a vegan option, maple syrup can replace honey, though the flavor will shift slightly.
Equipment Needed
Water bath canning requires a few key tools, but nothing too fancy—many home cooks already have what’s needed or can find budget-friendly versions.
- Large Water Bath Canner or Stockpot: Big enough to hold your jars submerged by at least an inch of water. I’ve used a 22-quart canner that works like a charm.
- Glass Canning Jars: Quart (32 oz / 950 ml) or pint (16 oz / 475 ml) jars with two-piece lids (flat lid + screw band). Wide-mouth jars make packing pears easier.
- Jar Lifter: Essential for safely moving hot jars in and out of boiling water.
- Funnel: A wide-mouth funnel helps fill jars without sticky spills.
- Bubble Remover/Headspace Tool: To release trapped air bubbles and measure proper headspace.
- Sharp Knife & Peeler: For prepping the pears.
For those who don’t have a dedicated canner, a large, deep pot with a rack works fine—just be sure the jars don’t touch the bottom directly. I once used a pasta pot in a pinch, and it worked surprisingly well. Keeping your equipment clean and jars sterilized is key for safe preservation.
Preparation Method
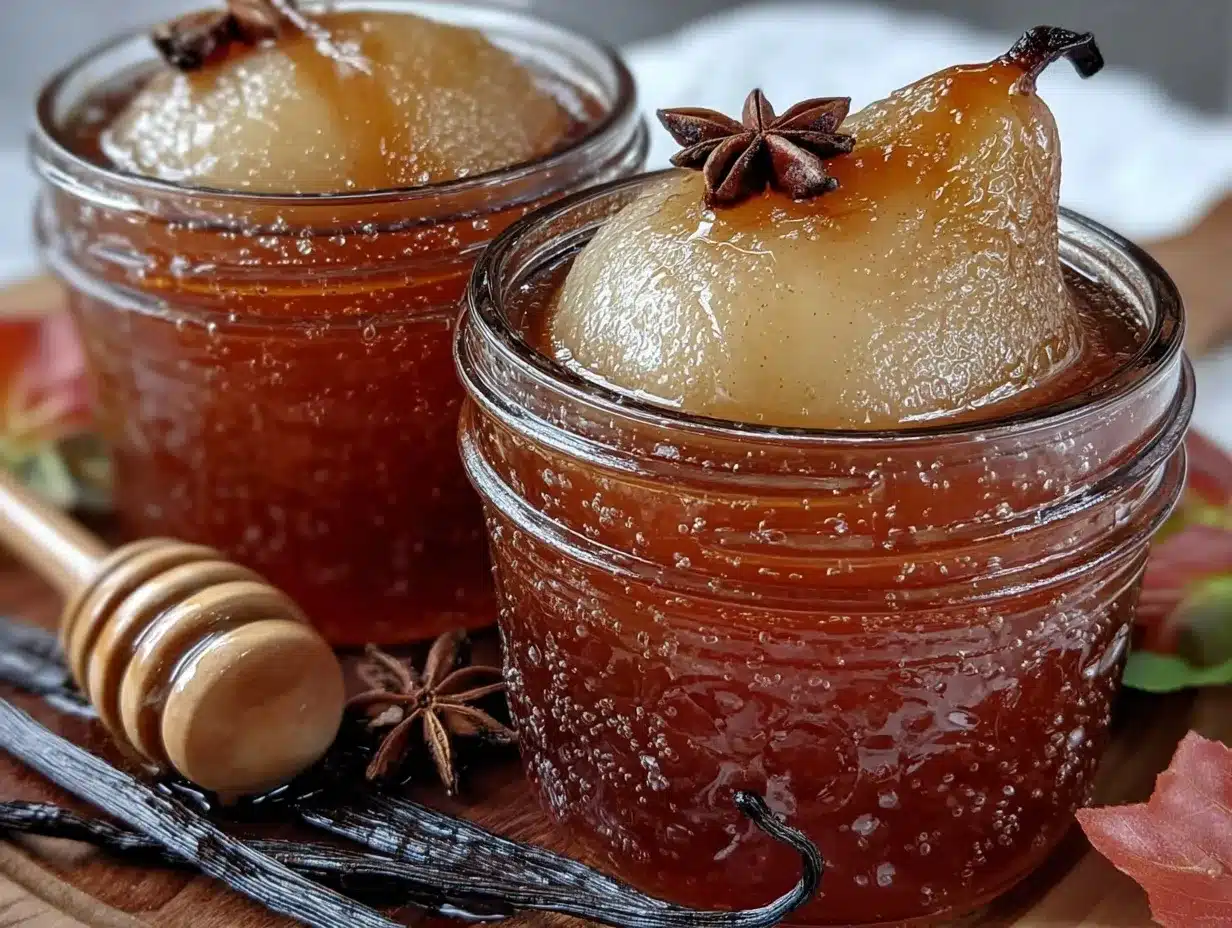
- Prepare the Pears (15-20 minutes): Start by washing your pears thoroughly. Peel them using a sharp peeler, then cut in half and gently core out the seeds with a small spoon or melon baller. To avoid browning, immediately place peeled pears in a bowl of water mixed with 2 tablespoons of lemon juice.
- Make the Honey Vanilla Syrup (10 minutes): In a large pot, combine 4 cups of water, 1 cup of honey, split vanilla bean with scraped seeds, and optional canning salt. Bring the mixture to a gentle boil, stirring to dissolve the honey fully. Once boiling, reduce heat and let it simmer for 5 minutes to infuse the vanilla flavor deeply.
- Pack the Jars (15 minutes): Using a jar lifter, place sterilized jars on a clean towel. Remove pear halves from the lemon water and carefully pack them into the jars, rounded side down to fit snugly. Leave about 1/2 inch (1.3 cm) headspace at the top.
- Add Syrup and Remove Air Bubbles (10 minutes): Pour the hot honey vanilla syrup over the pears, covering them completely but keeping the headspace intact. Use a bubble remover or a non-metallic spatula to gently slide around the inside edges to release any trapped air bubbles—this step helps prevent spoilage.
- Seal the Jars (5 minutes): Wipe the rims clean with a damp cloth to ensure a good seal. Place flat lids on top and screw on the bands just until fingertip-tight—not too tight, or air can’t escape during processing.
- Process in Water Bath (25 minutes): Carefully lower the jars into your boiling water bath canner. The water should cover the jars by at least 1 inch (2.5 cm). Cover and start timing once water returns to a full boil. Process quart jars for 25 minutes; adjust time slightly for altitude if needed.
- Cool and Store (12 hours): Remove jars carefully and place them upright on a towel. Let them cool undisturbed for 12-24 hours. You’ll hear satisfying pops as jars seal. After cooling, check seals by pressing the center of lids—no flex means good seal.
Heads-up: If any jars don’t seal, just refrigerate and consume those first. Also, the syrup thickens slightly as it cools, clinging to pears for that lovely sticky finish.
Cooking Tips & Techniques
Water bath canning can feel tricky, but a few lessons I learned the hard way might save you some headaches:
- Choose pears that are ripe but firm. Overripe ones turn mushy in the canning process, and underripe pears won’t absorb syrup flavor as nicely.
- Don’t skip the lemon juice bath. It keeps the pears from browning and improves appearance, so your jars look as inviting as they taste.
- Adjust syrup sweetness to your liking. Honey varies in strength, so taste your syrup before canning and tweak if needed.
- Watch your headspace carefully. Too little, and syrup can leak out; too much, and you risk spoilage.
- Process jars for full recommended time. Under-processing risks spoilage, especially with fruit products.
- Label jars with date and contents. It’s easy to forget when they were canned, and pears are best enjoyed within a year for peak flavor.
One time, I forgot to fully tighten the bands, and the jars didn’t seal—lesson learned the sticky way! Also, multitasking by prepping your next batch of pears while jars are processing speeds things up. If you’re interested in other homemade preserving adventures, I’ve found success with bread and butter pickles that complement these pears nicely on a charcuterie board.
Variations & Adaptations
The beauty of this recipe is its flexibility. Here are a few ways to make it your own:
- Spiced Version: Add a cinnamon stick or a few whole cloves to the syrup for a warm, aromatic twist, perfect for cozy fall gifts.
- Low-Sugar Option: Reduce honey by half and add a splash of apple cider vinegar for balance. The pears stay tender but less sweet.
- Different Fruit: Try the same water bath method with peach halves in honey vanilla syrup—similar process, equally delicious. You might enjoy the peach galette recipe on the site for fresh peach inspiration.
- Vanilla Extract Swap: If you don’t have vanilla beans, use pure vanilla extract added after removing from heat to preserve flavor intensity.
- Allergen-Friendly: This recipe is naturally gluten-free and dairy-free, making it accessible to many diets.
Personally, I once tried using maple syrup instead of honey when I ran out, and while the flavor was earthier, it was a nice change for a fall-themed batch.
Serving & Storage Suggestions
Once your jars are sealed and ready, serving these canned pear halves is a treat in itself. Chill them in the fridge for a refreshing dessert or serve slightly warmed with a dollop of whipped cream or vanilla ice cream.
They’re also fantastic spooned over oatmeal or mixed into yogurt for a naturally sweet breakfast boost. For a savory-sweet combo, try pairing them with a cheese platter—think creamy brie or sharp cheddar. And if you’re interested in a unique salad addition, these pears can add a lovely touch to a fresh green salad.
Store sealed jars in a cool, dark place for up to 12 months. Once opened, keep refrigerated and consume within a week. The syrup thickens over time, so if it’s too thick for your taste, gently warm the jar in a water bath to loosen it.
Leftover syrup can be strained and used as a glaze on roasted vegetables or drizzled over pancakes for an extra touch of vanilla-honey magic.
Nutritional Information & Benefits
Each serving of these canned pear halves (about 1/2 cup or 120 grams) offers approximately:
| Nutrient | Amount |
|---|---|
| Calories | 90 kcal |
| Carbohydrates | 23 g |
| Fiber | 2 g |
| Sugars | 20 g (natural honey sugars) |
| Protein | 0.5 g |
| Fat | 0 g |
Pears provide dietary fiber and vitamin C, while honey adds natural antioxidants and antimicrobial properties. Using real vanilla bean means you get those subtle phytochemicals that add flavor without any artificial ingredients. This recipe is gluten-free, dairy-free, and free from preservatives, making it a wholesome option that feels indulgent but clean.
From a wellness perspective, having canned fruit like this on hand is a great way to enjoy seasonal produce year-round without added chemicals or excessive sugar.
Conclusion
Homemade water bath canned pear halves in honey vanilla syrup aren’t just about preserving fruit—they’re about preserving a little bit of calm, sweetness, and connection. Whether you’re canning for yourself, gifting friends, or bringing a touch of homemade magic to your holiday table, this recipe has a way of turning simple pears into something memorable.
Feel free to tweak the syrup sweetness or add your favorite spices to make it truly yours. I love how this recipe invites you to slow down, get hands-on, and enjoy the process as much as the results. It’s a classic that’s stood the test of time in my kitchen, and I hope it finds a cozy spot in yours too.
If you give it a try, I’d love to hear how you made it your own or what moments you’ve bottled up with these pears. Happy canning and sweet eating!
FAQs About Homemade Water Bath Canned Pear Halves in Honey Vanilla Syrup
How long do canned pears last on the shelf?
When stored properly in a cool, dark place, sealed jars can last up to 12 months. After opening, refrigerate and consume within a week.
Can I use frozen pears for this recipe?
Fresh pears work best for texture and flavor. Frozen pears tend to become mushy and may not hold their shape during canning.
Is a water bath canner necessary?
Yes, for safety and proper preservation, a water bath canner or a large pot with a rack to submerge jars fully is essential.
Can I substitute sugar for honey in the syrup?
You can use granulated sugar instead of honey, but adjust the amount to taste—about 1 to 1 1/4 cups sugar for 1 cup honey works well.
Why do some jars not seal properly?
Common reasons include not wiping jar rims clean, over-tightening lids, processing for too short a time, or jars being damaged. Always inspect jars before use and follow sealing instructions carefully.
Pin This Recipe!
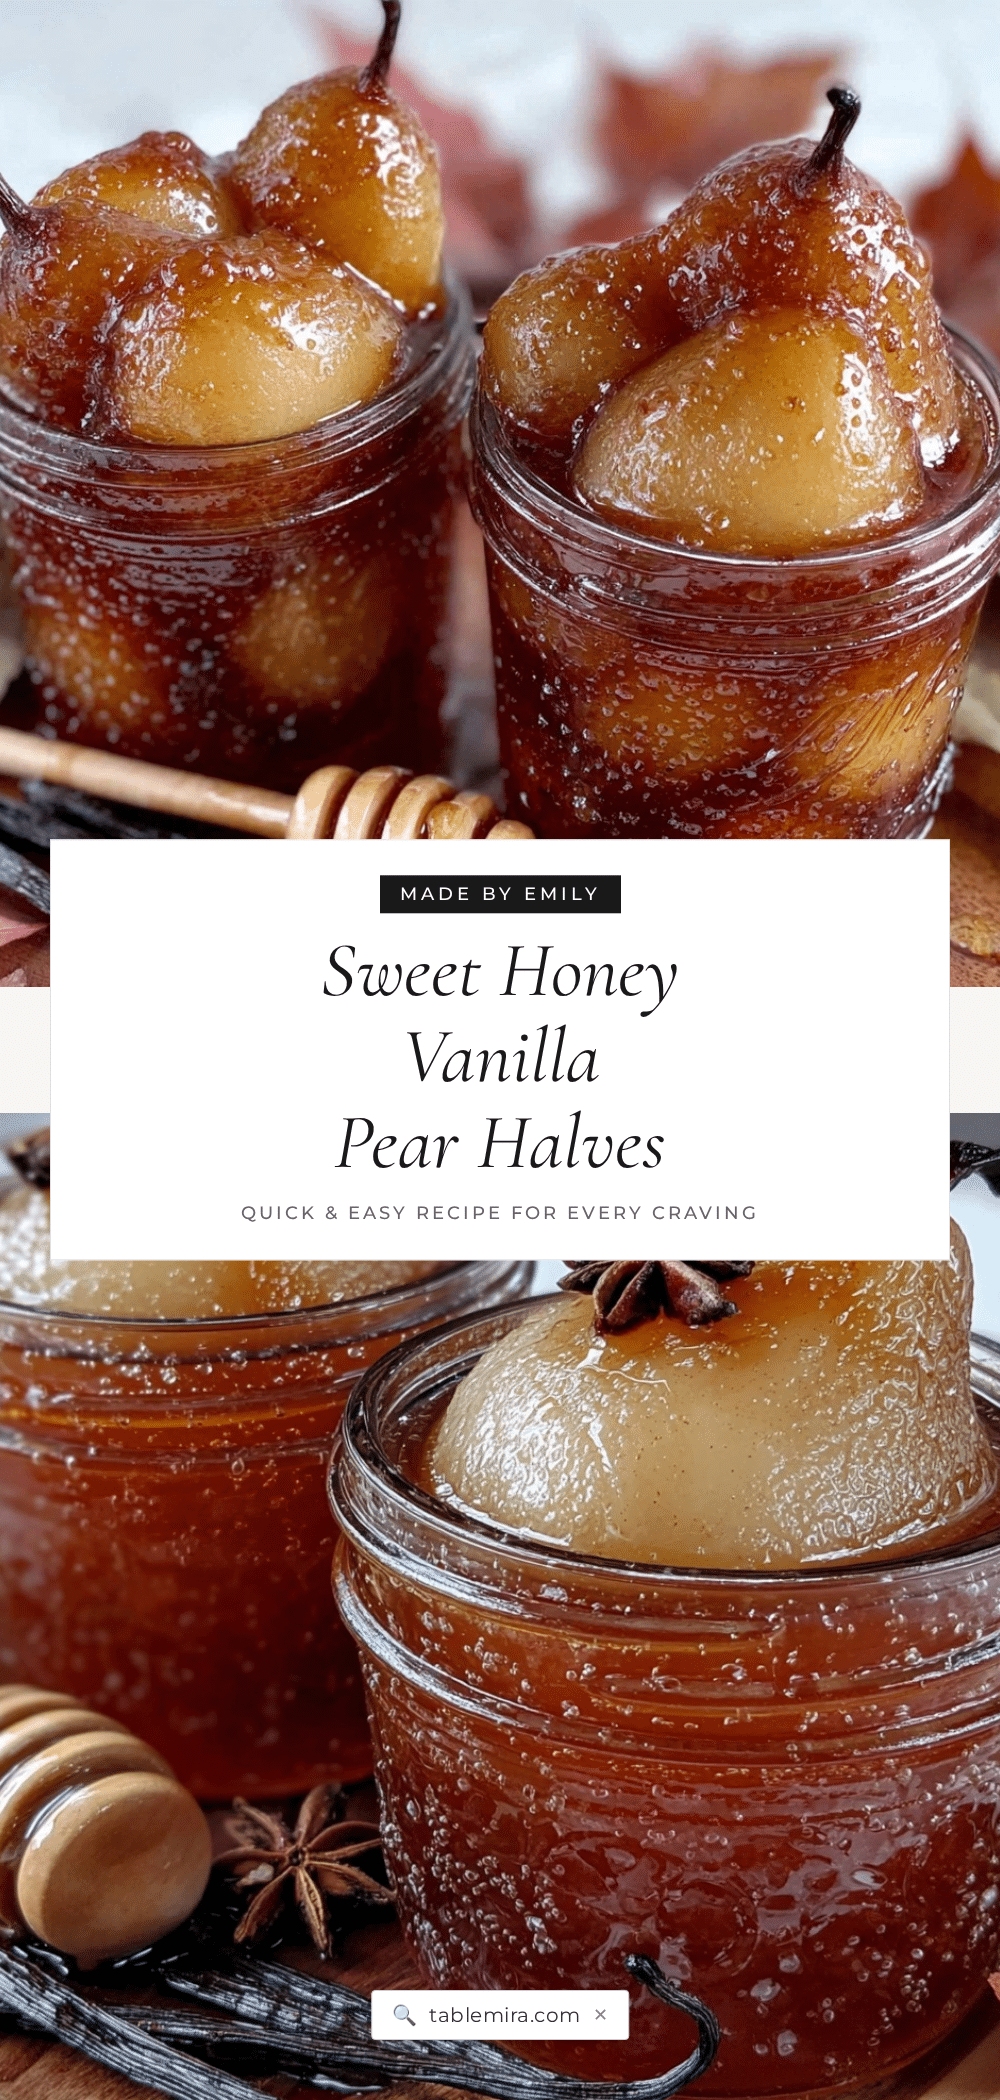
Homemade Water Bath Canned Pear Halves in Honey Vanilla Syrup
A simple and cozy recipe for preserving pear halves in a fragrant honey vanilla syrup using a water bath canning method. Perfect for gifting, entertaining, or enjoying a taste of summer year-round.
- Prep Time: 30 minutes
- Cook Time: 25 minutes
- Total Time: 55 minutes
- Yield: 4-6 quart jars 1x
- Category: Preserves
- Cuisine: American
Ingredients
- 6–8 medium-sized fresh pears (Bartlett or Bosc, firm but ripe)
- 1 cup (240 ml) honey (mild, floral like clover or wildflower)
- 1 whole vanilla bean, split and scraped (or 1 teaspoon pure vanilla extract)
- 2 tablespoons (30 ml) fresh squeezed lemon juice
- 4 cups (960 ml) water
- 1 teaspoon (5 g) canning salt (optional)
Instructions
- Prepare the Pears (15-20 minutes): Wash pears thoroughly. Peel them using a sharp peeler, cut in half, and gently core out the seeds with a small spoon or melon baller. Immediately place peeled pears in a bowl of water mixed with 2 tablespoons lemon juice to prevent browning.
- Make the Honey Vanilla Syrup (10 minutes): In a large pot, combine 4 cups water, 1 cup honey, split vanilla bean with scraped seeds, and optional canning salt. Bring to a gentle boil, stirring to dissolve honey. Reduce heat and simmer for 5 minutes to infuse vanilla flavor.
- Pack the Jars (15 minutes): Place sterilized jars on a clean towel. Remove pear halves from lemon water and pack them into jars, rounded side down, leaving about 1/2 inch headspace.
- Add Syrup and Remove Air Bubbles (10 minutes): Pour hot honey vanilla syrup over pears, covering completely but maintaining headspace. Use a bubble remover or non-metallic spatula to release trapped air bubbles.
- Seal the Jars (5 minutes): Wipe rims clean with a damp cloth. Place flat lids on jars and screw on bands fingertip-tight.
- Process in Water Bath (25 minutes): Lower jars into boiling water bath canner with at least 1 inch water covering jars. Cover and process quart jars for 25 minutes, adjusting for altitude if needed.
- Cool and Store (12 hours): Remove jars and place upright on a towel. Let cool undisturbed for 12-24 hours until jars seal with a popping sound. Check seals by pressing lid centers; no flex means sealed.
Notes
Choose ripe but firm pears to avoid mushiness. Do not skip the lemon juice bath to prevent browning. Adjust syrup sweetness to taste. Ensure proper headspace and processing time for safe preservation. Label jars with date and contents. Store sealed jars in a cool, dark place up to 12 months. Refrigerate after opening and consume within a week.
Nutrition
- Serving Size: 1/2 cup (120 grams)
- Calories: 90
- Sugar: 20
- Carbohydrates: 23
- Fiber: 2
- Protein: 0.5
Keywords: canned pears, water bath canning, homemade preserves, honey vanilla syrup, pear halves, easy canning recipe, fruit preservation