Rummaging through the fridge when the clock’s screaming ‘dinner in 20,’ and the only thing that looks remotely like dessert is a sad little container of huckleberries. Half a dozen hungry voices echoing from the living room—no time for anything fancy, but craving something sweet and comforting. That’s when these huckleberry hand pies came to life, basically out of pure necessity. The kitchen smelled like a wild berry patch kissed by honey, sticky fingers and warm crusts all around. Honestly, I didn’t expect them to turn out so darn good, but they did—and every bite was a little reminder why sometimes the simplest fixes become favorite recipes.
These hand pies, wrapped in a flaky honey butter crust, are kind of like the cozy hug you didn’t know you needed on that chaotic evening. The huckleberries burst with tart sweetness, perfectly balanced by the subtle floral notes from the honey in the dough. It’s the kind of treat that makes you pause for a second, close your eyes, and just enjoy that moment of calm amid the noise. Honestly, they stuck with me because they’re not just dessert—they’re a little slice of comfort that’s easy to whip up in a pinch.
Why You’ll Love This Recipe
After multiple test runs (and yes, a few kitchen mishaps), this recipe has become a go-to for those “I need something quick and delicious” moments. It’s been tried and approved by family, friends, and even the pickiest dessert lovers. Here’s why this recipe stands out:
- Quick & Easy: Comes together in under an hour, perfect for last-minute treats or spontaneous baking sessions.
- Simple Ingredients: No need to hunt for rare items—most are pantry basics, with fresh or frozen huckleberries doing the heavy lifting on flavor.
- Perfect for Any Occasion: Whether it’s a cozy afternoon snack, a picnic dessert, or a charming addition to a brunch spread, these hand pies fit right in.
- Crowd-Pleaser: Kids love the sweet bursts of berry inside, and adults appreciate the flaky, buttery crust.
- Unbelievably Delicious: The honey butter crust is what really sets this apart—soft, flaky, and subtly sweet, it complements the tart huckleberries perfectly.
- Unique Technique: The crust gets a gentle folding and chilling step that keeps it tender without being tough, a little trick I picked up from my rustic galette experiments.
This isn’t just another berry pie. It’s a handheld, honey-kissed treat that brings a bit of wild berry magic indoors. The kind that makes you want to bake again tomorrow—or maybe just sneak in a second one before anyone notices.
What Ingredients You Will Need
This recipe uses simple, wholesome ingredients to deliver bold flavor and a satisfying texture without the fuss. Most are pantry staples, and the huckleberries (fresh or frozen) provide that signature tangy punch. Here’s what you’ll want to gather before getting started:
- For the Honey Butter Crust:
- All-purpose flour – 2 ½ cups (310g), sifted for a tender dough
- Unsalted butter – 1 cup (227g), cold and cubed (I usually go for Plugrá for its great melting qualities)
- Honey – 3 tablespoons (60ml), adds subtle sweetness and a lovely aroma
- Cold water – 4 to 6 tablespoons (60-90ml), to bring the dough together
- Salt – ½ teaspoon, balances the sweetness
- For the Huckleberry Filling:
- Fresh or frozen huckleberries – 2 cups (about 250g), rinsed and drained if fresh
- Granulated sugar – ⅓ cup (65g), adjusted to taste depending on berry tartness
- Lemon juice – 1 tablespoon (15ml), brightens the berry flavor
- Cornstarch – 1 ½ tablespoons (12g), to thicken the filling
- Vanilla extract – 1 teaspoon, for warmth and depth
- For Finishing:
- Egg – 1 large, beaten (for egg wash)
- Turbinado sugar or coarse sugar – 1 tablespoon, for sprinkling on top
If you don’t have huckleberries, blueberries make a fine substitute, though they lack that unique tartness. For gluten-free options, swapping in almond flour for part of the all-purpose flour can work, but the texture will be a bit different. I like to keep the butter cold and use local honey when possible—it feels like a small way to support local producers and adds a personal touch.
Equipment Needed
Having the right tools can make or break these hand pies, but don’t worry—you don’t need a fancy setup. Here’s what I use:
- Mixing bowls – one large for dough, one medium for filling
- Pastry cutter or two forks – to cut butter into flour (a food processor works if you have one, but it’s not necessary)
- Rolling pin – essential for getting that even, thin crust
- Baking sheet lined with parchment paper – prevents sticking and easy cleanup
- Pastry brush – for the egg wash
- Measuring cups and spoons – for accuracy
- Sharp knife or round cutter (about 4-5 inches diameter) – to shape the pies
If you don’t have a pastry cutter, you can use two knives to chop the butter into the flour. I’ve also used a clean wine bottle as a rolling pin in a pinch—hey, whatever works when baking under pressure, right? Keeping the butter cold is key, so if you have a small ice pack or chilled baking sheet, that can help too.
Preparation Method
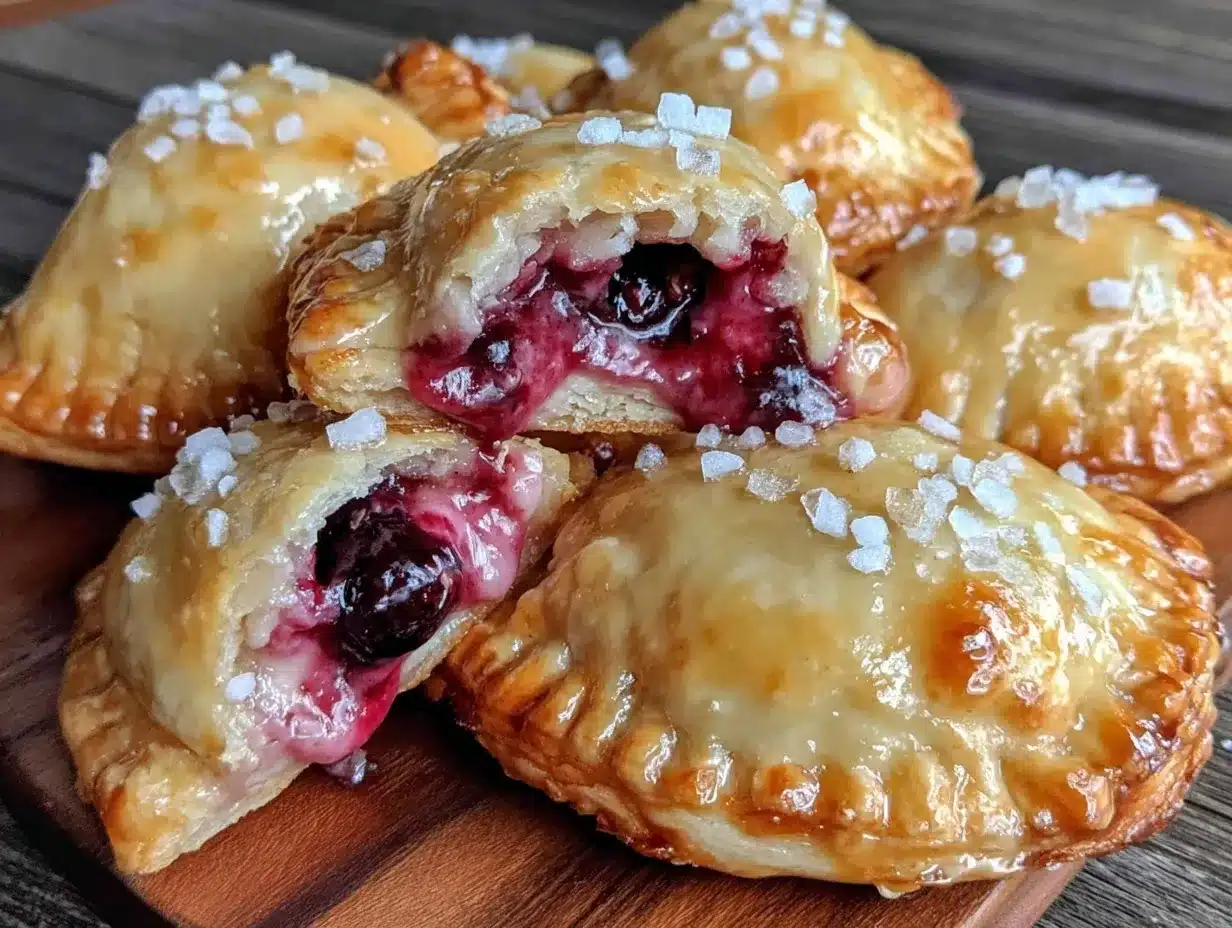
- Make the Honey Butter Crust: In a large bowl, whisk together 2 ½ cups (310g) flour and ½ teaspoon salt. Add 1 cup (227g) cold, cubed unsalted butter. Use a pastry cutter or two forks to cut the butter into the flour until the mixture resembles coarse crumbs with some pea-sized pieces. This helps keep the crust flaky.
- Add Honey and Water: Drizzle 3 tablespoons (60ml) honey over the mixture. Slowly add 4 tablespoons (60ml) cold water, mixing gently with a fork. Add more water, one tablespoon at a time, just until the dough holds together when pressed. Be careful not to overwork it—overmixing leads to tough crust.
- Chill the Dough: Shape the dough into two discs, wrap in plastic, and refrigerate for at least 30 minutes. This resting time lets the butter firm up again, which is crucial for a flaky crust.
- Prepare the Filling: In a medium bowl, combine 2 cups (250g) huckleberries, ⅓ cup (65g) granulated sugar, 1 tablespoon (15ml) lemon juice, 1 ½ tablespoons (12g) cornstarch, and 1 teaspoon vanilla extract. Gently toss to coat the berries evenly. Let sit while the dough chills—this helps the filling thicken slightly.
- Roll Out the Dough: On a lightly floured surface, roll out one dough disc to about ⅛-inch (3mm) thickness. Use a 4-5 inch round cutter or a sharp knife to cut circles for the pies. Gather scraps, reroll, and repeat until all dough is used.
- Fill the Pies: Spoon about 2 tablespoons of the huckleberry filling onto the center of each dough circle. Don’t overfill, or the juices might leak. Brush the edges with a little water, fold the dough over to form a half-moon shape, and press edges firmly with a fork to seal.
- Apply Egg Wash and Sugar: Place pies on a parchment-lined baking sheet. Brush tops with beaten egg for a glossy finish, then sprinkle with turbinado or coarse sugar for crunch.
- Bake: Preheat oven to 375°F (190°C). Bake pies for 25-30 minutes or until golden brown and bubbling. Keep an eye on them—oven temps vary, and you want that perfect golden hue, not burnt edges.
- Cool and Serve: Let pies cool on a wire rack for 10 minutes before eating. The filling will be hot and gooey, so patience is key here.
Pro tip: If your filling seems too runny, add a bit more cornstarch next time. Also, chilling the pies briefly before baking helps keep the shape crisp. These little steps make a big difference!
Cooking Tips & Techniques
Getting that flaky, buttery crust right with a honey twist took some trial and error. Here’s what I learned:
- Butter Temperature: Cold butter is a must. If it melts into the flour, the crust turns tough. Keep your butter in the fridge until the moment you chop it in.
- Don’t Overwork the Dough: Handling it too much warms the butter and develops gluten, resulting in a chewy crust instead of flaky. Mix just until combined and chill promptly.
- Filling Consistency: The cornstarch thickens the berry juices as they bake, but too much makes the filling gummy. Balance is key. I like to test the filling by microwaving a small spoonful to check thickness before using.
- Seal Properly: Use a fork to crimp edges firmly. If the pies leak, it’s usually because the dough wasn’t sealed well or the filling was overstuffed.
- Baking Time: Watch closely in the last 5 minutes. Every oven bakes differently, and burnt honey crust isn’t pretty.
- Multitasking: While the dough chills, prepping the filling and washing up speeds things along. I often make a batch of southern peach cobbler filling at the same time when peaches are in season—double the fun!
Variations & Adaptations
Hand pies are wonderfully flexible, so feel free to make these your own:
- Fruit Swaps: Blueberries, blackberries, or a mix of wild berries work beautifully. Just adjust sugar to balance tartness.
- Crust Twists: Use browned butter instead of cold butter for a nutty depth, or swap honey for maple syrup for an earthier sweetness.
- Dietary Alternatives: Gluten-free flour blends can replace all-purpose flour, though the texture will be slightly different. For a vegan option, use coconut oil instead of butter and a flax egg for the wash.
- Flavor Enhancements: Add a pinch of cinnamon or freshly grated lemon zest to the filling for extra zing.
- Cooking Methods: These pies can also be pan-fried in a little butter for a crispier crust, turning them into handheld fruit turnovers.
One time, I tried adding a spoonful of cream cheese to the filling for a tangy surprise — it was surprisingly good! It’s a fun way to mix textures and flavors without complicating the process.
Serving & Storage Suggestions
These hand pies are best served warm, straight from the oven, ideally with a scoop of vanilla ice cream or a dollop of whipped cream. The honey butter crust is soft but crisp enough to hold up in your hand (hence the name!), making them perfect for casual gatherings or outdoor picnics.
Store leftovers in an airtight container at room temperature for up to 2 days. For longer storage, refrigerate for up to 5 days or freeze for up to 2 months. To reheat, warm them in a 350°F (175°C) oven for 8-10 minutes to revive that flaky crust. Microwave reheating tends to make the crust soggy, so oven warming is best.
Over time, the flavors meld beautifully, especially if you make them ahead for a party. The honey in the crust continues to impart a subtle sweetness, and the berries soften, turning these into a comforting, nostalgic treat.
Nutritional Information & Benefits
Each hand pie (makes 8) roughly provides:
| Calories | Fat | Carbohydrates | Protein |
|---|---|---|---|
| 280 kcal | 14g | 35g | 3g |
Huckleberries pack a punch of antioxidants and vitamin C, making them a healthier fruit choice compared to many sweets. The honey butter crust, while indulgent, uses natural honey instead of refined sugar, lending some trace minerals and a lower glycemic index.
This recipe is naturally gluten-free adaptable and can be made dairy-free with simple swaps, making it accessible for many dietary needs. I find that baking these feels like a little wellness boost wrapped in comfort—because sometimes, nourishing the soul is just as important as the body.
Conclusion
These irresistible huckleberry hand pies with honey butter crust have become a little kitchen miracle for me—quick enough for hectic nights but special enough to feel like a treat. They’re flexible, forgiving, and have that perfect balance of sweet, tart, and buttery that keeps you coming back for more.
Make them your own by swapping fruits, tweaking the crust, or adding personal touches. I love this recipe because it reminds me that even in the middle of chaos, a warm homemade pie can bring a moment of joy and calm.
If you try these hand pies, I’d love to hear how you customize them or what memories they bring up—there’s something about berry desserts that just stick with you. Happy baking!
FAQs about Huckleberry Hand Pies
Can I use frozen huckleberries for this recipe?
Yes! Just thaw and drain them well before mixing with the filling ingredients to avoid excess moisture.
How do I prevent the crust from getting soggy?
Make sure to chill the dough before baking and don’t overfill the pies. Adding cornstarch to the filling helps thicken berry juices as they cook.
Can I make the dough ahead of time?
Absolutely. The dough can be made and refrigerated for up to 2 days or frozen for up to 1 month before rolling out.
What’s the best way to store leftover hand pies?
Store in an airtight container at room temperature for 1-2 days or refrigerate for up to 5 days. Reheat in the oven for best texture.
Are these hand pies gluten-free?
The recipe uses all-purpose flour by default, but you can substitute a gluten-free flour blend. Keep in mind texture may vary slightly.
Pin This Recipe!
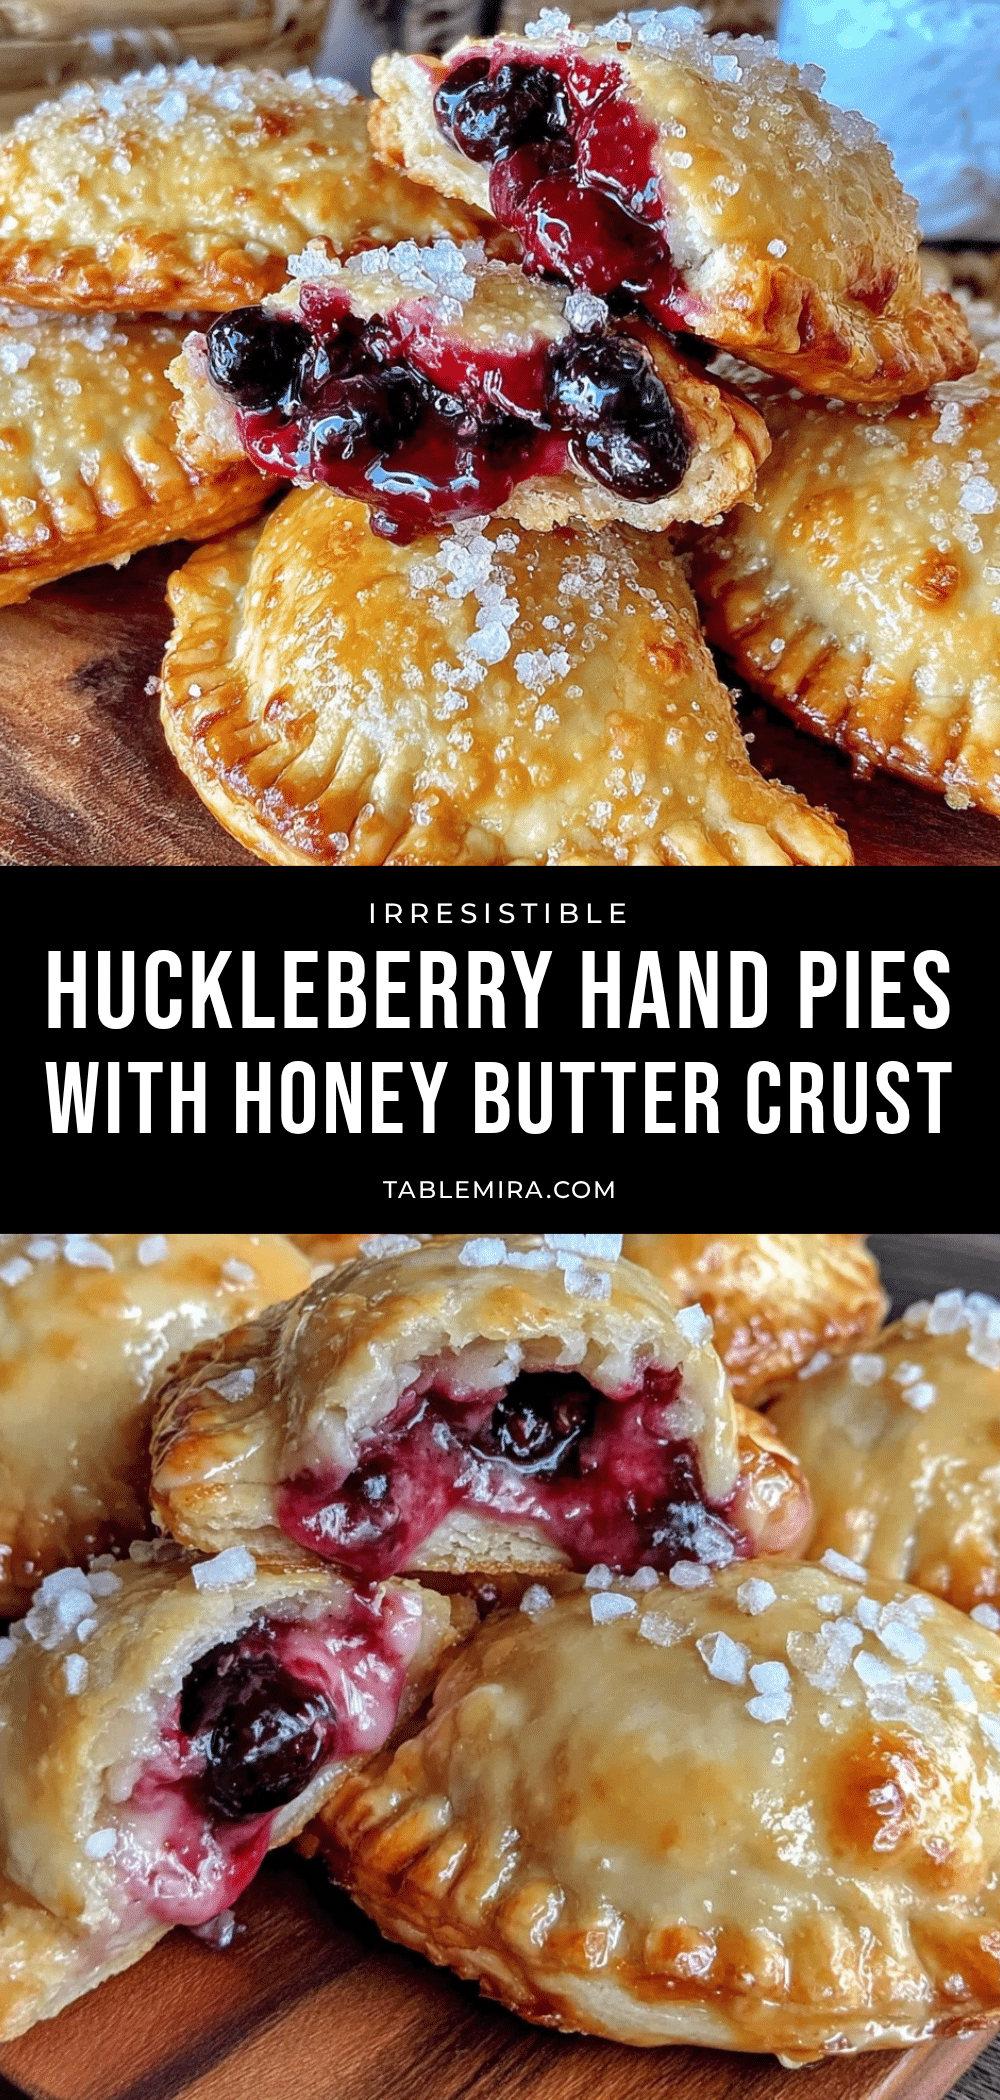
Irresistible Huckleberry Hand Pies Recipe with Easy Honey Butter Crust

These hand pies, wrapped in a flaky honey butter crust, feature tart huckleberries balanced by subtle floral honey notes. Quick and easy to make, they are perfect for a comforting dessert or snack.
- Prep Time: 15 minutes
- Cook Time: 30 minutes
- Total Time: 45 minutes
- Yield: 8 servings 1x
- Category: Dessert
- Cuisine: American
Ingredients
- 2 ½ cups (310g) all-purpose flour, sifted
- 1 cup (227g) unsalted butter, cold and cubed
- 3 tablespoons (60ml) honey
- 4 to 6 tablespoons (60-90ml) cold water
- ½ teaspoon salt
- 2 cups (about 250g) fresh or frozen huckleberries, rinsed and drained if fresh
- ⅓ cup (65g) granulated sugar
- 1 tablespoon (15ml) lemon juice
- 1 ½ tablespoons (12g) cornstarch
- 1 teaspoon vanilla extract
- 1 large egg, beaten (for egg wash)
- 1 tablespoon turbinado sugar or coarse sugar (for sprinkling)
Instructions
- In a large bowl, whisk together flour and salt. Add cold, cubed butter and cut into flour using a pastry cutter or two forks until mixture resembles coarse crumbs with some pea-sized pieces.
- Drizzle honey over the mixture. Slowly add 4 tablespoons cold water, mixing gently with a fork. Add more water, one tablespoon at a time, until dough holds together when pressed. Avoid overmixing.
- Shape dough into two discs, wrap in plastic, and refrigerate for at least 30 minutes.
- In a medium bowl, combine huckleberries, sugar, lemon juice, cornstarch, and vanilla extract. Toss gently to coat and let sit while dough chills.
- On a lightly floured surface, roll out one dough disc to about ⅛-inch (3mm) thickness. Cut circles about 4-5 inches in diameter. Gather scraps, reroll, and repeat.
- Spoon about 2 tablespoons of filling onto center of each dough circle. Brush edges with water, fold dough over to form half-moon shape, and press edges firmly with a fork to seal.
- Place pies on parchment-lined baking sheet. Brush tops with beaten egg and sprinkle with turbinado or coarse sugar.
- Preheat oven to 375°F (190°C). Bake pies for 25-30 minutes until golden brown and bubbling.
- Let pies cool on a wire rack for 10 minutes before serving.
Notes
Keep butter cold to ensure a flaky crust. Do not overwork the dough to avoid toughness. Chill dough before baking to maintain shape. Adjust cornstarch if filling is too runny. Use egg wash and sugar for a glossy, crunchy top. For gluten-free, substitute flour with gluten-free blend; for vegan, use coconut oil and flax egg.
Nutrition
- Serving Size: 1 hand pie
- Calories: 280
- Fat: 14
- Carbohydrates: 35
- Protein: 3
Keywords: huckleberry hand pies, honey butter crust, quick dessert, berry hand pies, flaky crust, easy baking, handheld pies


