Peanut butter and chocolate chip granola bars are exactly what my snack cravings demand right now — chewy, sweet, and just a little bit salty. But here’s the kicker: I’m staring at a mostly empty pantry except for that stubborn jar of peanut butter and a lonely bag of chocolate chips. It’s one of those moments where the idea of store-bought just won’t cut it, and making something homemade feels like the only sane option. I want that satisfying chew, that perfect balance of nutty and sweet, without spending hours or hunting down weird ingredients. So naturally, I start piecing together a recipe that’s easy enough to whip up on a lazy afternoon but still tastes like a treat worth savoring.
Honestly, the texture is what hooks me. None of that crumbly, dry nonsense — these bars have to hold together when you pick them up, soft enough to sink your teeth into but with just enough bite to keep you coming back for more. And the peanut butter? It’s the star that ties everything together, with those bursts of chocolate chips hiding like little treasures in every bite. I remember the first time I nailed this recipe — it was one of those rare kitchen wins where everything just clicked. The smell of toasted oats mixed with peanut butter and melting chocolate filled the air, promising a snack that would make afternoons feel a little more indulgent and a lot less rushed.
It’s funny how something so simple can feel so satisfying. These Easy Chewy Peanut Butter Chocolate Chip Granola Bars stuck with me because they’re the kind of homemade snack that feels personal — like a little bit of comfort you can carry with you. No fuss, no messing around, just honest ingredients and real flavor. I think that quiet promise of a snack that hits all the right notes is why I keep coming back to this recipe, ready to make a batch whenever the craving strikes.
Why You’ll Love This Recipe
Let me tell you why these Easy Chewy Peanut Butter Chocolate Chip Granola Bars have become a staple in my kitchen and could easily become one in yours, too:
- Quick & Easy: These bars come together in under 30 minutes, perfect for those busy days when you need a snack to grab and go without drama.
- Simple Ingredients: You likely have all these pantry staples on hand — oats, peanut butter, honey, and chocolate chips. No last-minute grocery runs required.
- Perfect for Snacking Anytime: Whether you need an afternoon pick-me-up, a post-workout bite, or a lunchbox addition, these bars fit the bill.
- Crowd-Pleaser: I’ve made these for family gatherings and casual hangouts — kids, adults, and even picky eaters give them thumbs up.
- Unbelievably Delicious: The chewy texture combined with rich peanut butter and melty chocolate chips is honestly next-level comfort food.
What sets this recipe apart? It’s the way the peanut butter binds everything together without making the bars overly dense or greasy. I use a mix of rolled oats and a touch of honey to get that chewy yet soft texture, and the chocolate chips are folded in last to avoid melting completely — so you get those pockets of chocolate that surprise you with every bite. Plus, it’s super forgiving, so even if you tweak the ingredient amounts a bit, you’re still going to end up with a snack that tastes amazing.
This isn’t just another granola bar recipe floating around the internet; it’s been tested over and over, tweaked for texture and flavor until it felt just right. Honestly, it’s the kind of recipe that makes you close your eyes after the first bite and smile, knowing you made something really good. And because it’s so easy, you can impress guests or satisfy your own cravings without any stress.
What Ingredients You Will Need
This recipe uses simple, wholesome ingredients to deliver bold flavor and satisfying texture without the fuss. Most of these are pantry staples, and you can easily swap a few to suit your preferences or dietary needs.
- Rolled oats (old-fashioned, 2 cups / 180g) – the chewy base of the bars
- Peanut butter (1 cup / 250g, creamy or chunky depending on your texture preference) – the binding agent and flavor star
- Honey (1/3 cup / 113g) – natural sweetener and helps hold bars together
- Brown sugar (1/4 cup / 50g, packed) – adds a bit of caramelized sweetness
- Vanilla extract (1 teaspoon) – essential for rounding out the flavor
- Salt (1/4 teaspoon) – balances the sweetness
- Baking soda (1/4 teaspoon) – helps with the slight lift and texture
- Mini chocolate chips (3/4 cup / 135g) – melty, sweet pockets of chocolate throughout
Substitution tips: If you want to make these gluten-free, just use certified gluten-free oats. Almond butter or sunflower seed butter can replace peanut butter for nut-free options. Maple syrup or agave can swap in for honey if needed. For a bit of crunch, add chopped nuts or seeds alongside the oats.
For the best texture, I recommend using a peanut butter brand that is smooth but not overly oily — I like Smucker’s Natural. Also, mini chocolate chips work better than larger ones because they distribute evenly and melt just right without sinking to the bottom.
Equipment Needed
- Mixing bowl: A large one for combining ingredients. Glass or metal works fine.
- Measuring cups and spoons: For accuracy, especially with sticky ingredients like honey and peanut butter.
- Wooden spoon or sturdy spatula: For mixing dense ingredients together without breaking your wrist.
- 9×9 inch (23×23 cm) baking pan: To press and shape the granola bars. You can line it with parchment paper for easy removal.
- Microwave-safe bowl or small saucepan: For gently warming peanut butter and honey (optional but helpful).
- Knife or bench scraper: To cut the bars neatly after chilling.
If you don’t have a 9×9 pan, an 8×8 will also work but expect slightly thicker bars. Parchment paper is a lifesaver here — it makes cleanup easier and helps the bars come out in one piece.
Once, I tried mixing the peanut butter and honey cold, and I ended up with clumps. Warming them just a bit helps the mixture blend smoothly without cooking the honey. No fancy tools needed, just a bit of patience and a good spatula!
Preparation Method
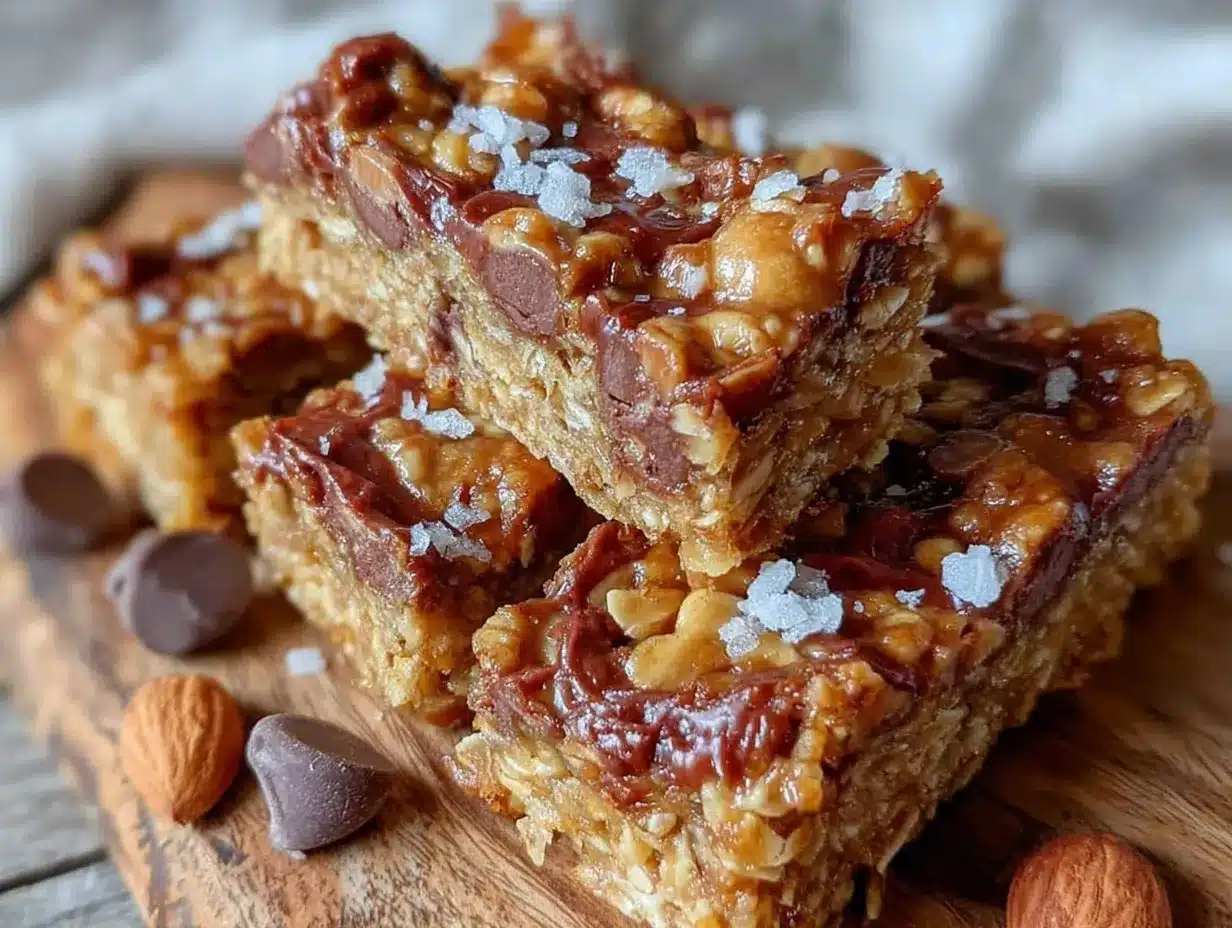
- Prepare your pan: Line a 9×9 inch (23×23 cm) baking pan with parchment paper, leaving some overhang on the sides for easy removal later. Set aside.
- Toast the oats (optional but recommended): In a dry skillet over medium heat, toast the 2 cups (180g) of rolled oats for about 5 minutes, stirring frequently until they smell nutty and slightly golden. This step adds depth to the flavor and keeps the texture from being bland.
- Warm peanut butter and honey: In a microwave-safe bowl, combine 1 cup (250g) of peanut butter and 1/3 cup (113g) of honey. Warm in 20-second intervals, stirring between each until smooth and well combined. This makes it easier to mix later.
- Mix dry ingredients: In a large bowl, stir together toasted oats, 1/4 cup (50g) brown sugar, 1/4 teaspoon salt, and 1/4 teaspoon baking soda.
- Combine wet and dry: Pour the warm peanut butter and honey mixture into the dry ingredients along with 1 teaspoon vanilla extract. Stir with a sturdy spatula or wooden spoon until everything is evenly coated. This will be thick but manageable.
- Add chocolate chips: Gently fold in 3/4 cup (135g) mini chocolate chips, saving a few to sprinkle on top if you like.
- Press into pan: Transfer the mixture into the prepared pan. Using a piece of parchment paper or wax paper, press down firmly to compact the bars. This helps them hold together once chilled.
- Chill: Place the pan in the refrigerator for at least 2 hours (or up to overnight) to let the bars set properly. Don’t skip this step — it’s the key to that chewy texture you want.
- Cut and serve: Lift the bars out using the parchment overhang, place on a cutting board, and cut into 12 even bars. Serve immediately or store as directed below.
If your bars crumble when cutting, try chilling them longer or pressing more firmly before chilling next time. The warmth of your kitchen can affect the texture, so keep that in mind.
These bars freeze beautifully — just wrap individually or keep in an airtight container. When you want a quick snack, let one thaw at room temperature for 10 minutes or heat gently in the microwave for 15 seconds.
Cooking Tips & Techniques
Here’s what I’ve learned making these granola bars a dozen times (or more):
- Don’t skip toasting the oats: It’s a little extra step, but it brings out a toasty flavor and prevents the bars from tasting flat.
- Warm peanut butter and honey gently: Heating just enough to combine helps everything mix smoothly without cooking the sugars, which keeps the chewiness.
- Press firmly: Don’t be shy about pressing the mixture tightly into the pan. Loose packing means crumbly bars.
- Use mini chocolate chips: Larger chips can melt unevenly or sink to the bottom — mini chips spread the chocolate love throughout.
- Patience is key: Letting the bars chill fully is what makes them chewy instead of crumbly or overly sticky.
- Adjust sweetness to taste: If you prefer less sugar, try cutting back on the brown sugar or honey a bit. Just keep an eye on the texture.
One time, I got impatient and cut the bars too soon — they fell apart everywhere. Learned my lesson: chilling time is non-negotiable! Also, if your peanut butter is super oily, give it a quick stir before measuring to avoid greasy bars.
Variations & Adaptations
These granola bars are pretty versatile, and I’ve tried a few variations that turned out great:
- Nut-free version: Use sunflower seed butter instead of peanut butter, and swap in allergy-safe chocolate chips. Perfect for school snacks.
- Added crunch: Stir in 1/2 cup chopped nuts (like almonds or walnuts) or pumpkin seeds for a little extra texture.
- Seasonal twist: Mix in dried cranberries or chopped dried apricots for a fruity surprise. In fall, a pinch of cinnamon adds warmth.
- Chocolate swap: Try dark chocolate chips or even white chocolate for different flavor profiles.
- Protein boost: Add a scoop of your favorite protein powder (about 1/4 cup) to the dry ingredients — just watch the texture and add a splash of milk if it feels too dry.
One personal favorite is adding a sprinkle of flaky sea salt on top before chilling — that salty-sweet combo takes the bars up a notch. If you want to check out another snack bar with a different vibe, the cozy snickerdoodle zucchini bars are a delicious alternative with a cinnamon twist.
Serving & Storage Suggestions
These bars are best served chilled or at room temperature — the chewiness is at its peak once they’ve set properly. I like to grab one straight from the fridge as a quick breakfast on hectic mornings or pack them for afternoon snacks on the go.
They pair wonderfully with a cup of coffee or a glass of cold milk for a classic snack combo. For a more substantial snack, try them alongside a fresh fruit salad or a small yogurt cup.
Store the bars in an airtight container in the refrigerator for up to one week. If you want to keep them longer, they freeze well for up to three months. Just thaw at room temperature or warm briefly in the microwave for that fresh-baked feel.
Interestingly, the flavors deepen a bit after a day or two in the fridge, making them taste even better as time passes — perfect for prepping snacks ahead of a busy week.
Nutritional Information & Benefits
Each granola bar (assuming 12 bars per batch) has roughly:
| Calories | 190-210 kcal |
|---|---|
| Protein | 5g |
| Fat | 9g |
| Carbohydrates | 24g |
| Fiber | 3g |
| Sugar | 11g |
These bars provide a good balance of protein and carbs, which makes them a sustaining snack. The peanut butter contributes heart-healthy fats and protein, while oats offer fiber and slow-release energy. By using natural sweeteners like honey and limiting refined sugar, they’re a better alternative to many store-bought granola bars loaded with additives.
Keep in mind the recipe contains nuts and dairy (in chocolate chips), so it’s not suitable for those with allergies unless you substitute carefully. For anyone aiming for gluten-free, just make sure to pick certified gluten-free oats.
From my own experience, having these on hand helps curb mid-afternoon sugar cravings without the crash, making them a staple in my homemade snack rotation.
Conclusion
Easy Chewy Peanut Butter Chocolate Chip Granola Bars are one of those recipes that feel like a small win every time you make them. They’re straightforward, packed with familiar flavors, and hit that perfect chewy texture I crave in a snack. The best part is how flexible they are — you can tweak ingredients to suit your pantry or dietary needs and still end up with bars that taste like you put in twice the effort.
For me, these bars are more than just a recipe; they’re a go-to when I want something homemade but don’t want to fuss over complicated steps or long baking times. I love that they travel well, satisfy cravings, and get better with a little time in the fridge.
If you try this recipe, I’d be curious to hear how you make it your own — whether it’s adding nuts, swapping in a different nut butter, or throwing in some dried fruit. Sharing those tweaks always inspires me to test new versions in the kitchen. So don’t be shy — leave a comment or share your favorite spin on these chewy granola bars. Happy snacking!
FAQs About Easy Chewy Peanut Butter Chocolate Chip Granola Bars
Can I use natural peanut butter for this recipe?
Yes, natural peanut butter works fine, but it may be a bit oilier. Stir it well before measuring, and you might need to press the bars a little more firmly.
How do I make these bars gluten-free?
Just swap the rolled oats for certified gluten-free oats. Make sure your other ingredients, like baking soda and chocolate chips, are also gluten-free.
Can I replace honey with maple syrup or agave?
Absolutely. Both maple syrup and agave nectar will work as natural sweeteners, though the texture might be slightly softer.
Is it necessary to toast the oats?
Toasting is optional but recommended because it enhances flavor and helps with the texture. If you skip toasting, the bars may be less flavorful.
How long will these granola bars keep?
Stored in an airtight container, they last up to one week in the refrigerator and up to three months in the freezer.
Pin This Recipe!
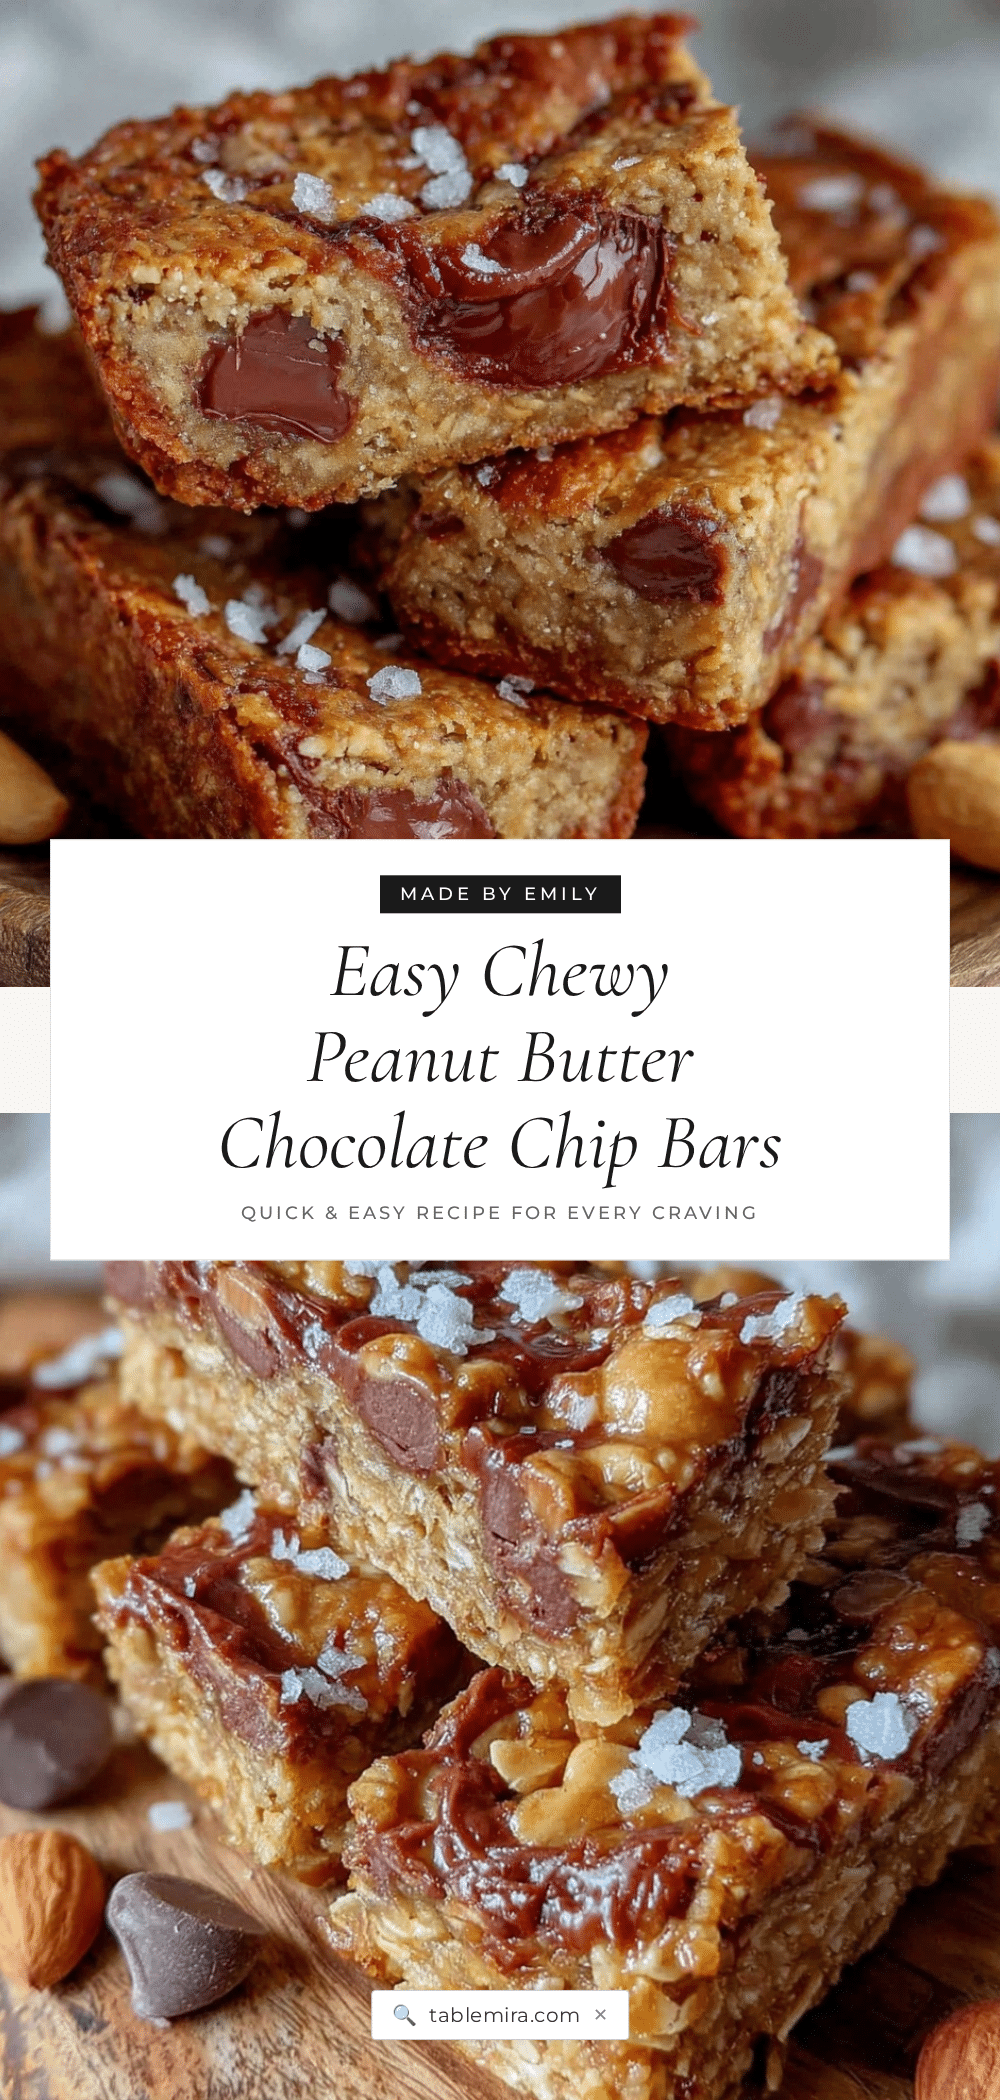
Easy Chewy Peanut Butter Chocolate Chip Granola Bars
These chewy, sweet, and slightly salty granola bars combine peanut butter and chocolate chips for a satisfying homemade snack that’s quick and easy to make.
- Prep Time: 10 minutes
- Cook Time: 5 minutes
- Total Time: 2 hours 15 minutes
- Yield: 12 bars 1x
- Category: Snack
- Cuisine: American
Ingredients
- 2 cups (180g) rolled oats (old-fashioned)
- 1 cup (250g) peanut butter (creamy or chunky)
- 1/3 cup (113g) honey
- 1/4 cup (50g) brown sugar, packed
- 1 teaspoon vanilla extract
- 1/4 teaspoon salt
- 1/4 teaspoon baking soda
- 3/4 cup (135g) mini chocolate chips
Instructions
- Line a 9×9 inch (23×23 cm) baking pan with parchment paper, leaving some overhang on the sides for easy removal.
- Toast the rolled oats in a dry skillet over medium heat for about 5 minutes, stirring frequently until nutty and slightly golden (optional but recommended).
- In a microwave-safe bowl, combine peanut butter and honey. Warm in 20-second intervals, stirring between each until smooth and well combined.
- In a large bowl, stir together toasted oats, brown sugar, salt, and baking soda.
- Pour the warm peanut butter and honey mixture into the dry ingredients along with vanilla extract. Stir until everything is evenly coated.
- Gently fold in mini chocolate chips, reserving a few to sprinkle on top if desired.
- Transfer the mixture into the prepared pan and press down firmly using parchment or wax paper to compact the bars.
- Refrigerate for at least 2 hours or overnight to let the bars set properly.
- Lift the bars out using the parchment overhang, place on a cutting board, and cut into 12 even bars.
- Serve immediately or store as directed.
Notes
Toasting oats enhances flavor and texture but is optional. Warm peanut butter and honey gently to mix smoothly. Press mixture firmly into pan to avoid crumbly bars. Use mini chocolate chips for even distribution. Chill bars fully before cutting to ensure chewiness. Bars freeze well for up to three months.
Nutrition
- Serving Size: 1 bar
- Calories: 200
- Sugar: 11
- Fat: 9
- Carbohydrates: 24
- Fiber: 3
- Protein: 5
Keywords: peanut butter granola bars, chocolate chip granola bars, chewy granola bars, homemade snacks, easy granola bars, peanut butter snacks


